Years ago, Steve built our dining room table from old 2″ x 6″ tongue-and-groove pine flooring that came from a hangar at Love Field in Dallas. I wanted a table I could baste on and not feel bad if the finish got marred and it’s been perfect!
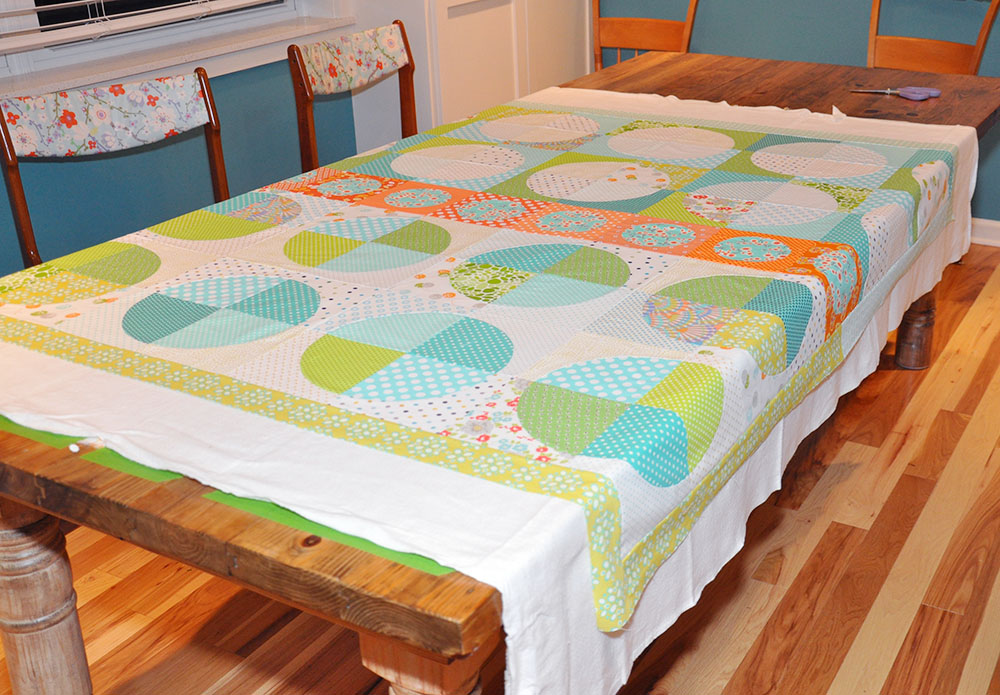
However, the stain and polyurethane on the table top has gotten gummy over time. Our friend Jacquie (who makes the Hand Crafted Sewing Boxes) thinks the oil in the pine reacted with finish. After 3 years of wishing someone would fix it, I realized I was the someone.
First, I stripped the table top (the legs are fine) with a paint and varnish removing gel. You cover it with plastic to keep the gel moist and let it sit for 1-24 hours. I lasted 2 hours and then I started scraping. It took off the polyurethane, but not the stain.

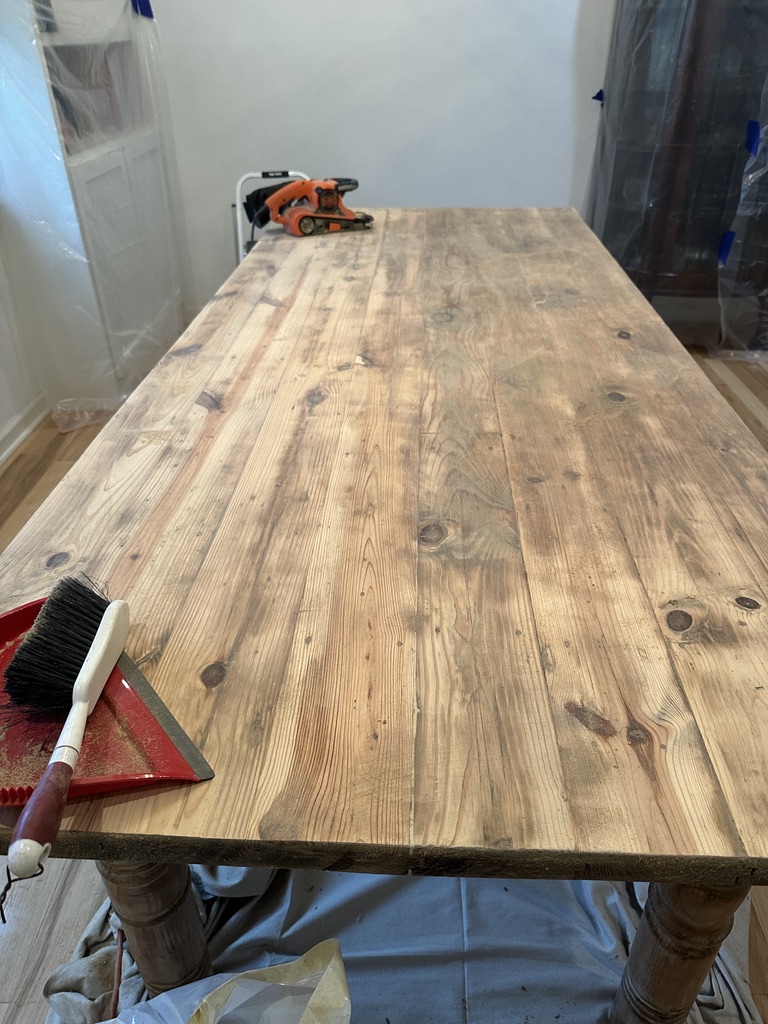
Then I sanded. So much sanding! 5 hours with the orbital sander and 50 grit sandpaper took off a lot of the finish, but not enough… I could still feel the gumminess in the wood.

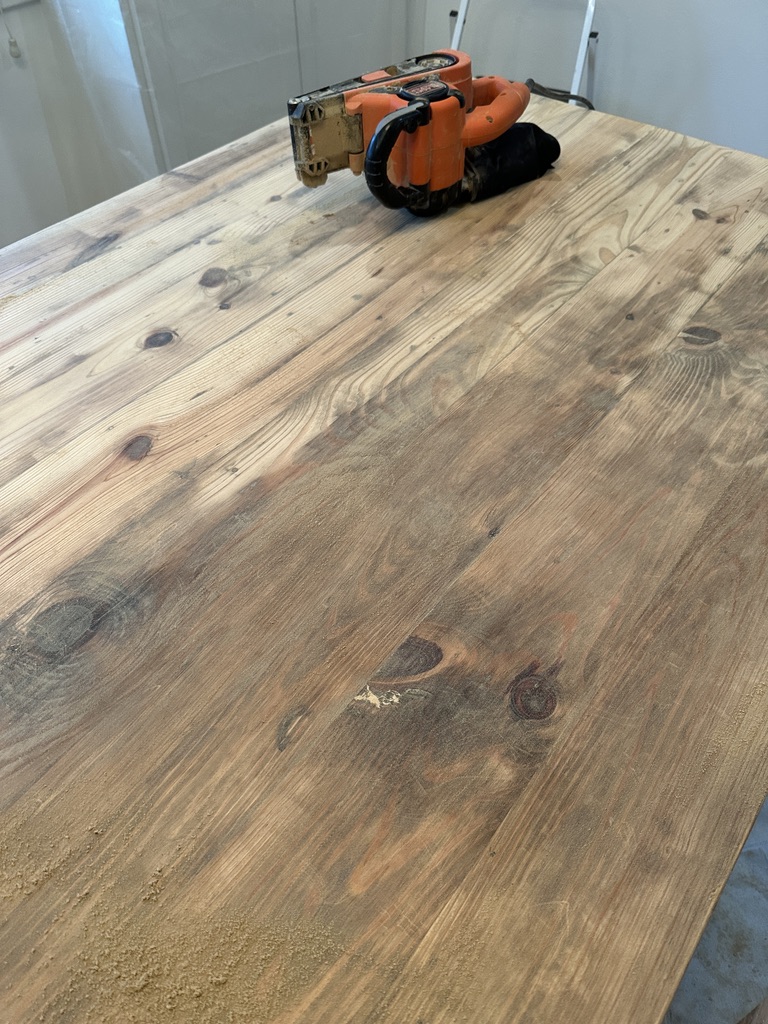
After a consult with Elizabeth (who makes our Mending Turnips) I pulled out the belt sander for 2 more hours of sanding with 80 grit sandpaper. I went through a lot of sandpaper because the finish was gummy and clogged the sandpaper but, as you can see below, I finally got down to clean wood.
That used up one full day. The next morning, I put on a coat of Odie’s Oil. This stuff is like magic! It doesn’t have much of an odor and, what you can smell, is pretty nice. Not a problem to use inside the house! It’s food safe, can be used on cutting boards, and it looks great on the table.
I added a second coat of oil the next day and I can add more over time if I need to. It cures for 3 days, with hand buffing as needed. Jacquie says the oil in the pine and Odie’s Oil will be good because oils like each other (I’m paraphrasing there).

We can see a lot more of the pine wood grain because it is not hidden by the stain and Steve and I both like it. If we want to, we can get the darker Odie’s Oil and even it out, but not yet. It is wonderful to have this job marked off the long-term list!
Side note: Belt sanders make a huge mess—I was happy that I had a mask on—but I should have covered the light fixture before sanding 🙄. Almost all of the rods in my Sputnik light fixture had to be unscrewed and everything thoroughly dusted. TIP: I put a tiny bit of Lolo Moisturizer on the threads before screwing them back in and that made the action smoother.


I am inordinately proud of myself 🤣.


your tabletop is beautiful!
LikeLike
You should be proud of yourself and the beautiful outcome. You are an inspiration.
LikeLike
Great Job! It is always nice to finish a big project!!,
LikeLike
lots of work and time but a beautiful finished product.
LikeLike
Looks great…I might try that on my kitchen chairs. Thanks
LikeLike
Can you baste your quilts on the table after putting oil on it?
LikeLike
Oops… my reply posted as a separate comment that you can read below.
LikeLike
Yes! It dries hard. In fact, there are a lot of oil finishes out there (Watco, Danish Oil, Minwax makes one) and I have used several of them. I don’t know why we didn’t put an oil finish on this table the first time!
Having used other oil finishes, I can tell you the Odie’s is different. The fact that it doesn’t smell and is food safe is pretty wonderful.
LikeLiked by 1 person
Love the color of your table!
LikeLike
Nice job! Thanks for the tip about sanding being so messy! Good to know!
LikeLike
WOW!!! You did an amazing job. It turned out beautiful. I have my parents’ oak pedestal table. I think it belonged to my great-grandmother on my mother’s side. I’ll be 73 next week and I’m pretty sure they had this table in the house they moved into when I was about 3. It’s held up amazingly well considering the generations of daily use it’s had.
LikeLike
Wow! Your table turned out beautiful! You took on a major project. More sweat and tears compared to making a quilt.
LikeLike
Great job! I much prefer oils like Teak etc to finish wood over a stain or polyurethanes.
LikeLike
Table looks wonderful. I spent years refinishing furniture so appreciate how much time and energy it takes. But so worth it.
LikeLike
Congratulations!! That’s quite a project!! You did a great job and the table looks amazing. Thanks for the tip about using LoLo.
LikeLike
As you should be!! That’s a LOT of work!!! The table looks WAY better than it did before!!!
LikeLike
Good for you! It looks like a job well done.
LikeLike
Wow, Becky…You did a beautiful job on the table and can definitely be proud of your hard work! I refinished a table many years ago but still remember it was a colossal pain and didn’t do half the work you did! Isn’t it great to feel so accomplished every time you look at that table!? 😀
LikeLike
Yes, indeed I do feel like I did a good thing when I see the table. Not sure when that will wear off 🤣
LikeLike
I have an old English gateleg table. Same thing, finished years ago with Minwax. And has been a base for many a basting! Have refinished many pieces of old wood. You did a fabulous Job! And what a great rescue of some good pine!
LikeLike
Quite a project! And your perseverance and attention to detail paid off with beautiful results. Congratulations on finishing a project that has been in the offing for a while. Much as we all love quilting, it is so rewarding to do something that actually takes less time and we see quicker results
LikeLike