
Welcome to Buttonwood Village—my newest Block of the Month! I hope you are excited to get started and the place to begin is with fabric :-).
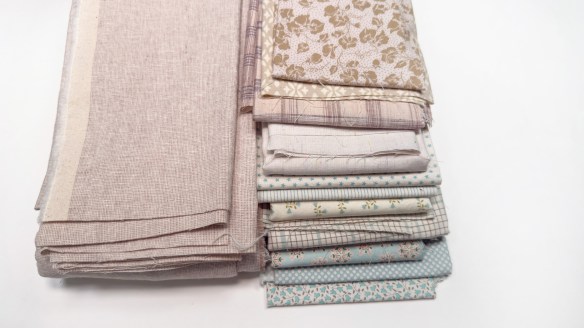
The first decision to make is your background, because everything else is built on top of it. I pieced my backgrounds from more than one fabric, but you may prefer to use just a single fabric—and either choice works beautifully. I chose a light, almost-solid off-white with tiny slubs of color woven in. From there, I added light blue prints (because… sky!) and a few light tan prints to give the background a little more visual weight.
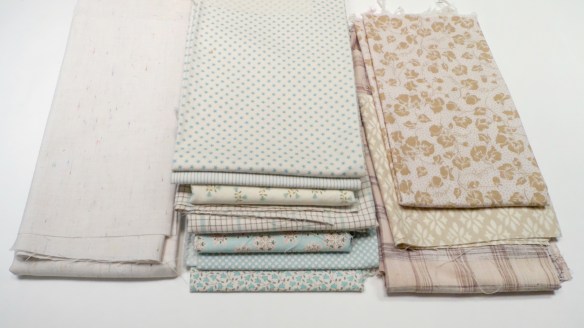
For the border block backgrounds, I switched things up just a bit. I’m using a cotton/linen blend in a slightly darker tan. Since there isn’t an inner border strip in this quilt, that change in value—and texture—helps visually separate the border from the interior of the quilt. It’s a subtle shift, but an important one.
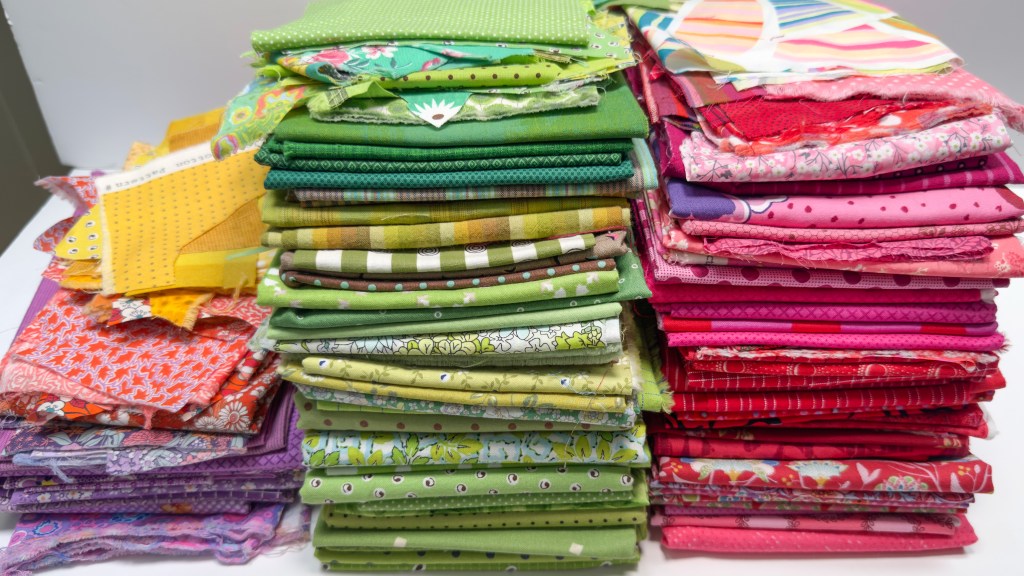
With the backgrounds settled, it was time for the fun part: coloring the village. I raided my scrap bins first, pulling out all those small, lovely pieces that I just couldn’t part with. You’ll notice there’s a little bit of almost every color in the mix—that variety is exactly what gives the village its charm.st colors.
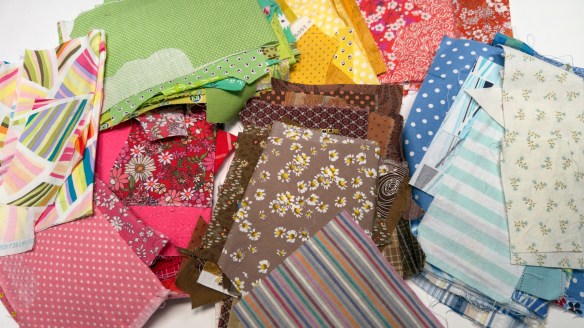
Next, I visited my stash to fill in a few gaps and expand my color palette. I won’t use everything you see here, and I may add more as I go. This part is meant to be flexible and playful. Gather the colors and fabrics that you love, see how the colors talk to each other, and remember—you can always adjust along the way.
Once you have assembled the fabric, your village will be ready to come to life, one block at a time.
Find Buttonwood Village BOM at Piece O’ Cake: https://pieceocake.com/products/buttonwood-block-of-the-month-digital-pattern
Find Buttonwood Village plus the the Live monthly class on Creative Spark: https://ctpub.com/products/3324756?ref=BECKYGOLDSMITH


A great new pattern for quilters to work their personal magic on. Can’t wait to see how it is done.
LikeLike