These socks sum up my attitude most days because I do love an easy challenge! I’m OK with hard challenges, but easy challenges get marked off the list makes quicker which makes me so very happy :-). I hope that Karen, this week’s winner, feels the same.
This week’s giveaway is over. Be sure to come back next week! Until then, you can find this and more at pieceocake.com!
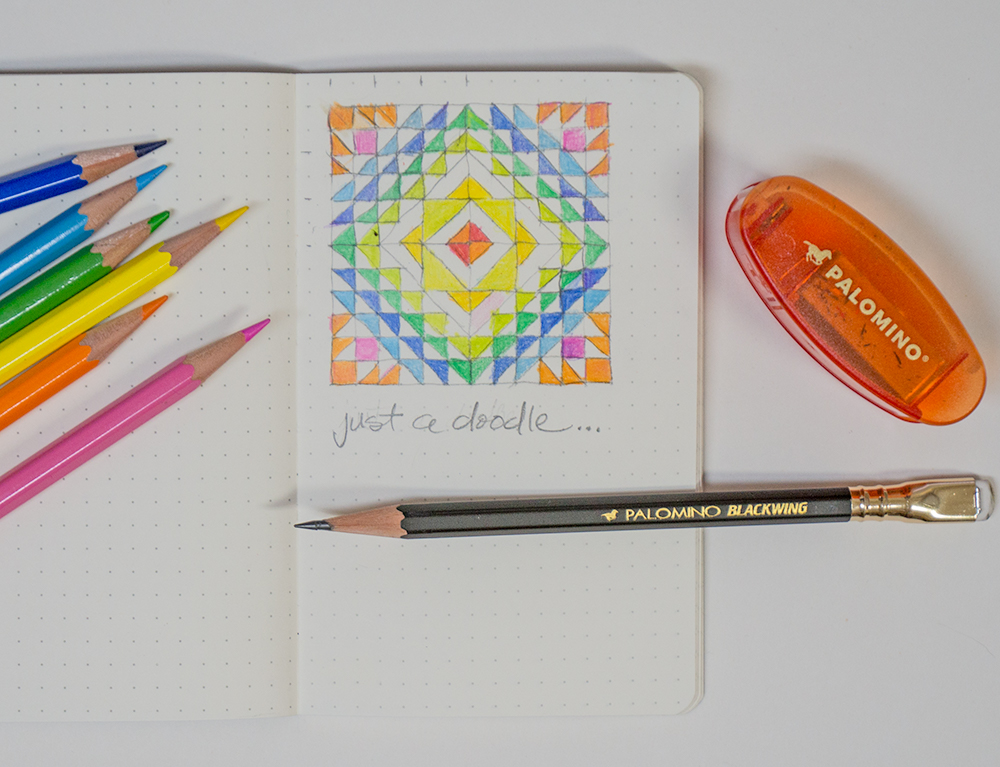
This week’s winner is ‘uptown Connie’ and she will receive a trio of Blackwing’s Clutch Notebooks. The pages have a light dotted grid which is nice if you want to sketch blocks. I like the dot grid better than lined pages because I really don’t like staying on the line :-).
Sandy is this week’s lucky winner. She will receive Sewline’s 9mm white chalk pencil. This pencil makes a line you can see that isn’t too thick. The chalk is firm enough not to break as you draw on fabric, unless you push too hard. I use this pencil when I am drawing very small or fine shapes.
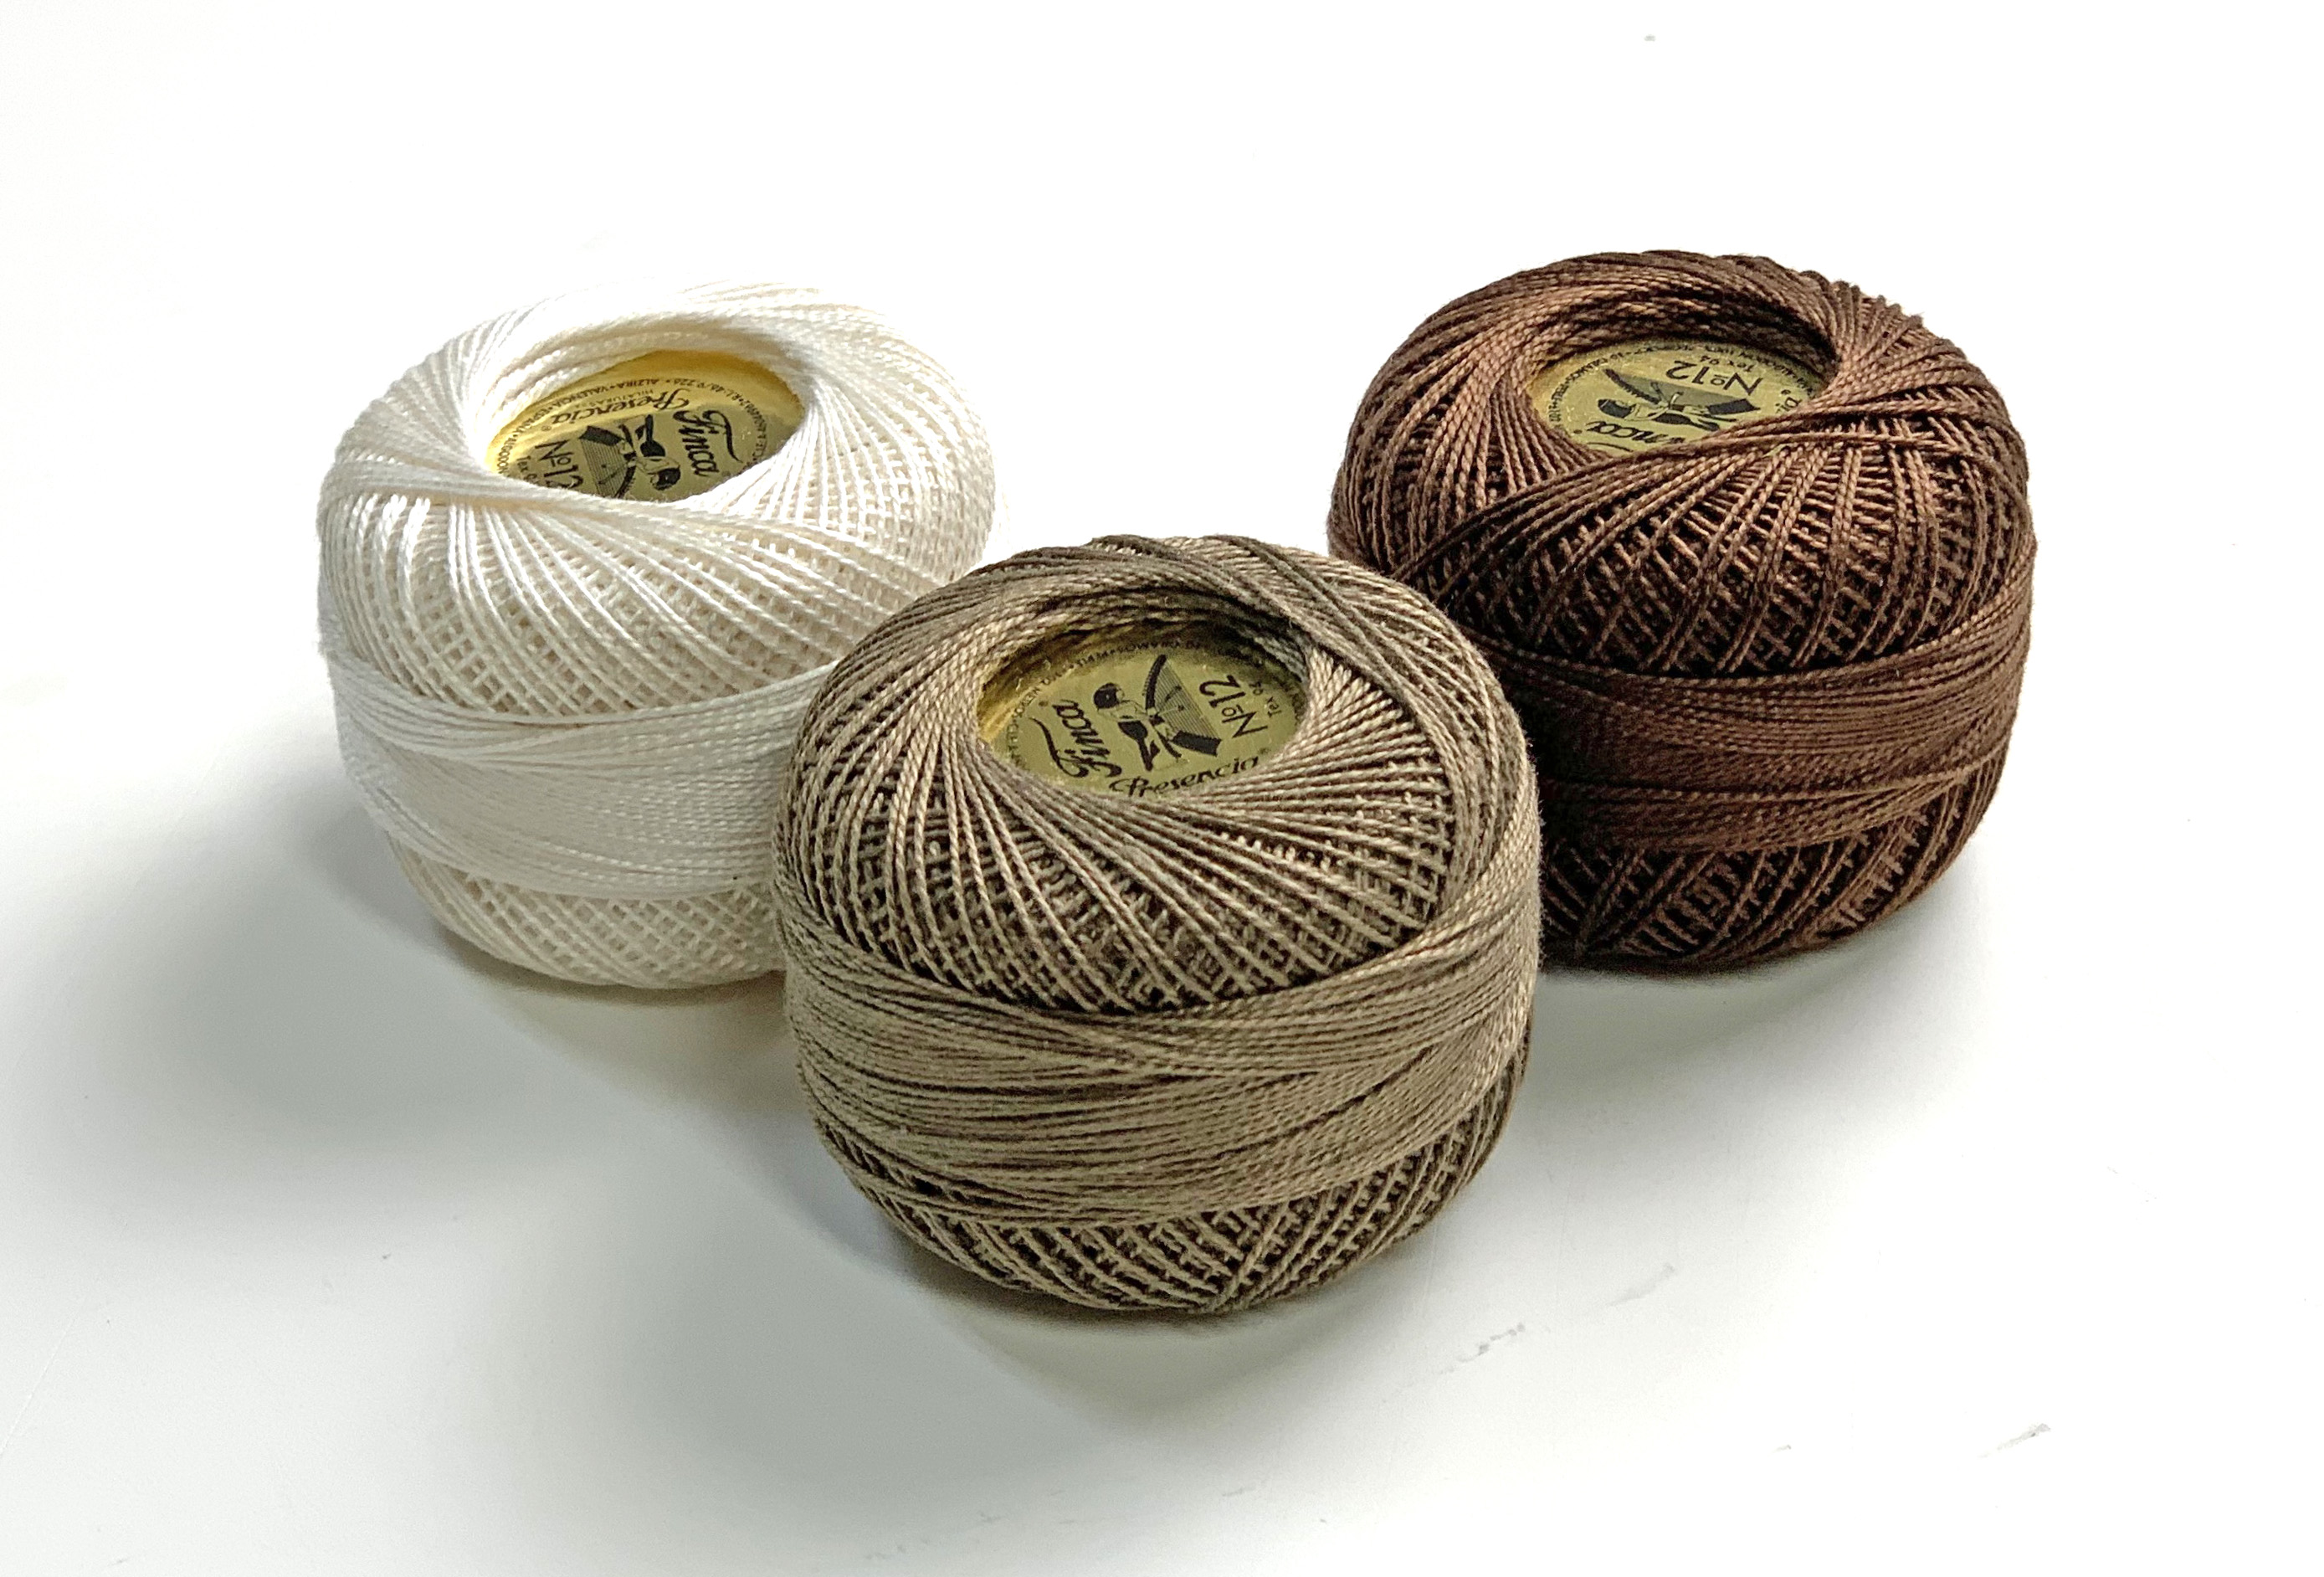
Sue H. is the lucky winner of this week’s Give Away. She’ll be getting 3 spools of #12 perle cotton in cream, medium brown, and chocolate brown. This size of perle cotton is perfect for applique stitches made to be seen, embellishing, and big stitch hand quilting. There are several needles that work with this thread—my favorite is the Bohin #9 crewel needle.
If you aren’t sue and you would like to find this (and more), visit pieceocake.com!
I cannot believe it, but I don’t think I ever blogged about the Bullseye quilt! Honestly, how did that happen?!
Blue Bullseye – 60″ x 60″
Many years ago, when I was a new quilter, I saw a Bullseye quilt like in a book of antique quilts. I loved it but had no idea how anyone could begin to make one. There was no pattern, just a photo. Fast forward to 2017 when I ran across the photo again and I suddenly saw how to make it using foundation paper piecing.
Bullseye Quilts: From Vintage to Modern is the result. It is a pattern pack with an instruction booklet and foundation paper pattern pages that comes inside a pretty, sturdy, book-sized envelope. The loose pattern pages make it easy to make the copies that you will sew on.
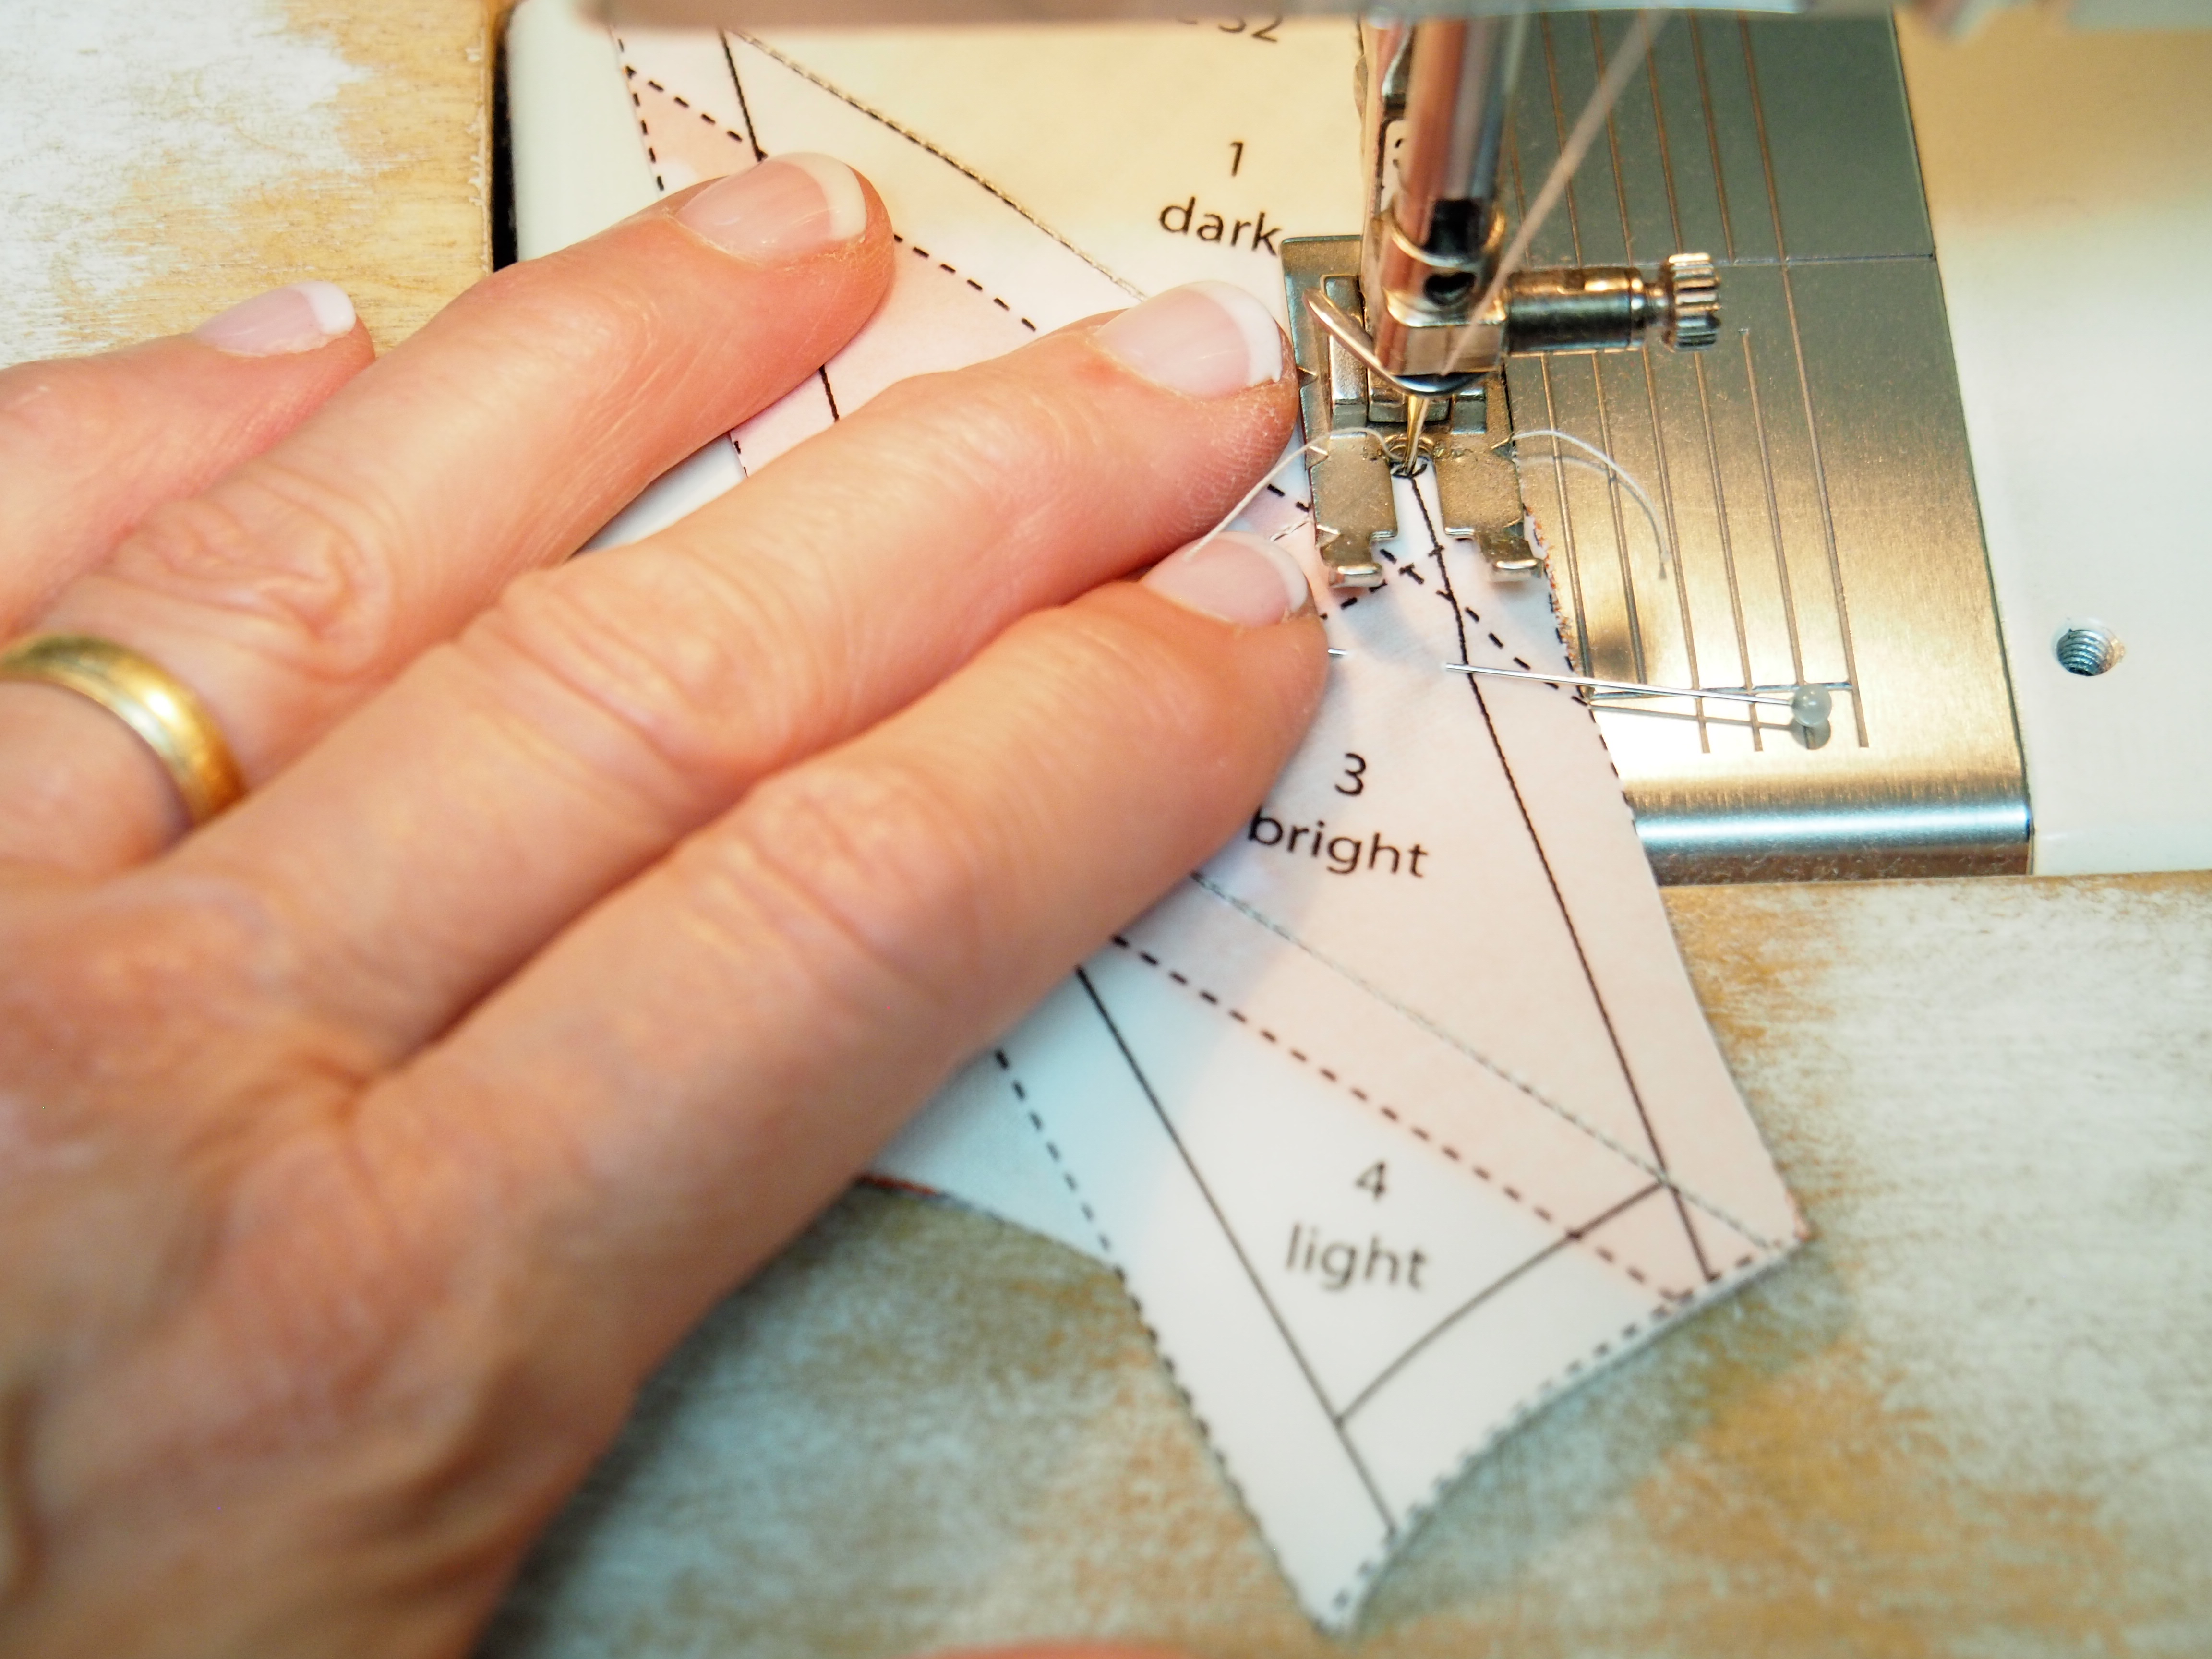
The hardest part for me was drafting the pattern and writing the instructions. You might not believe it but the sewing part is easy. All you have to do is sew on the solid lines and everything comes together.
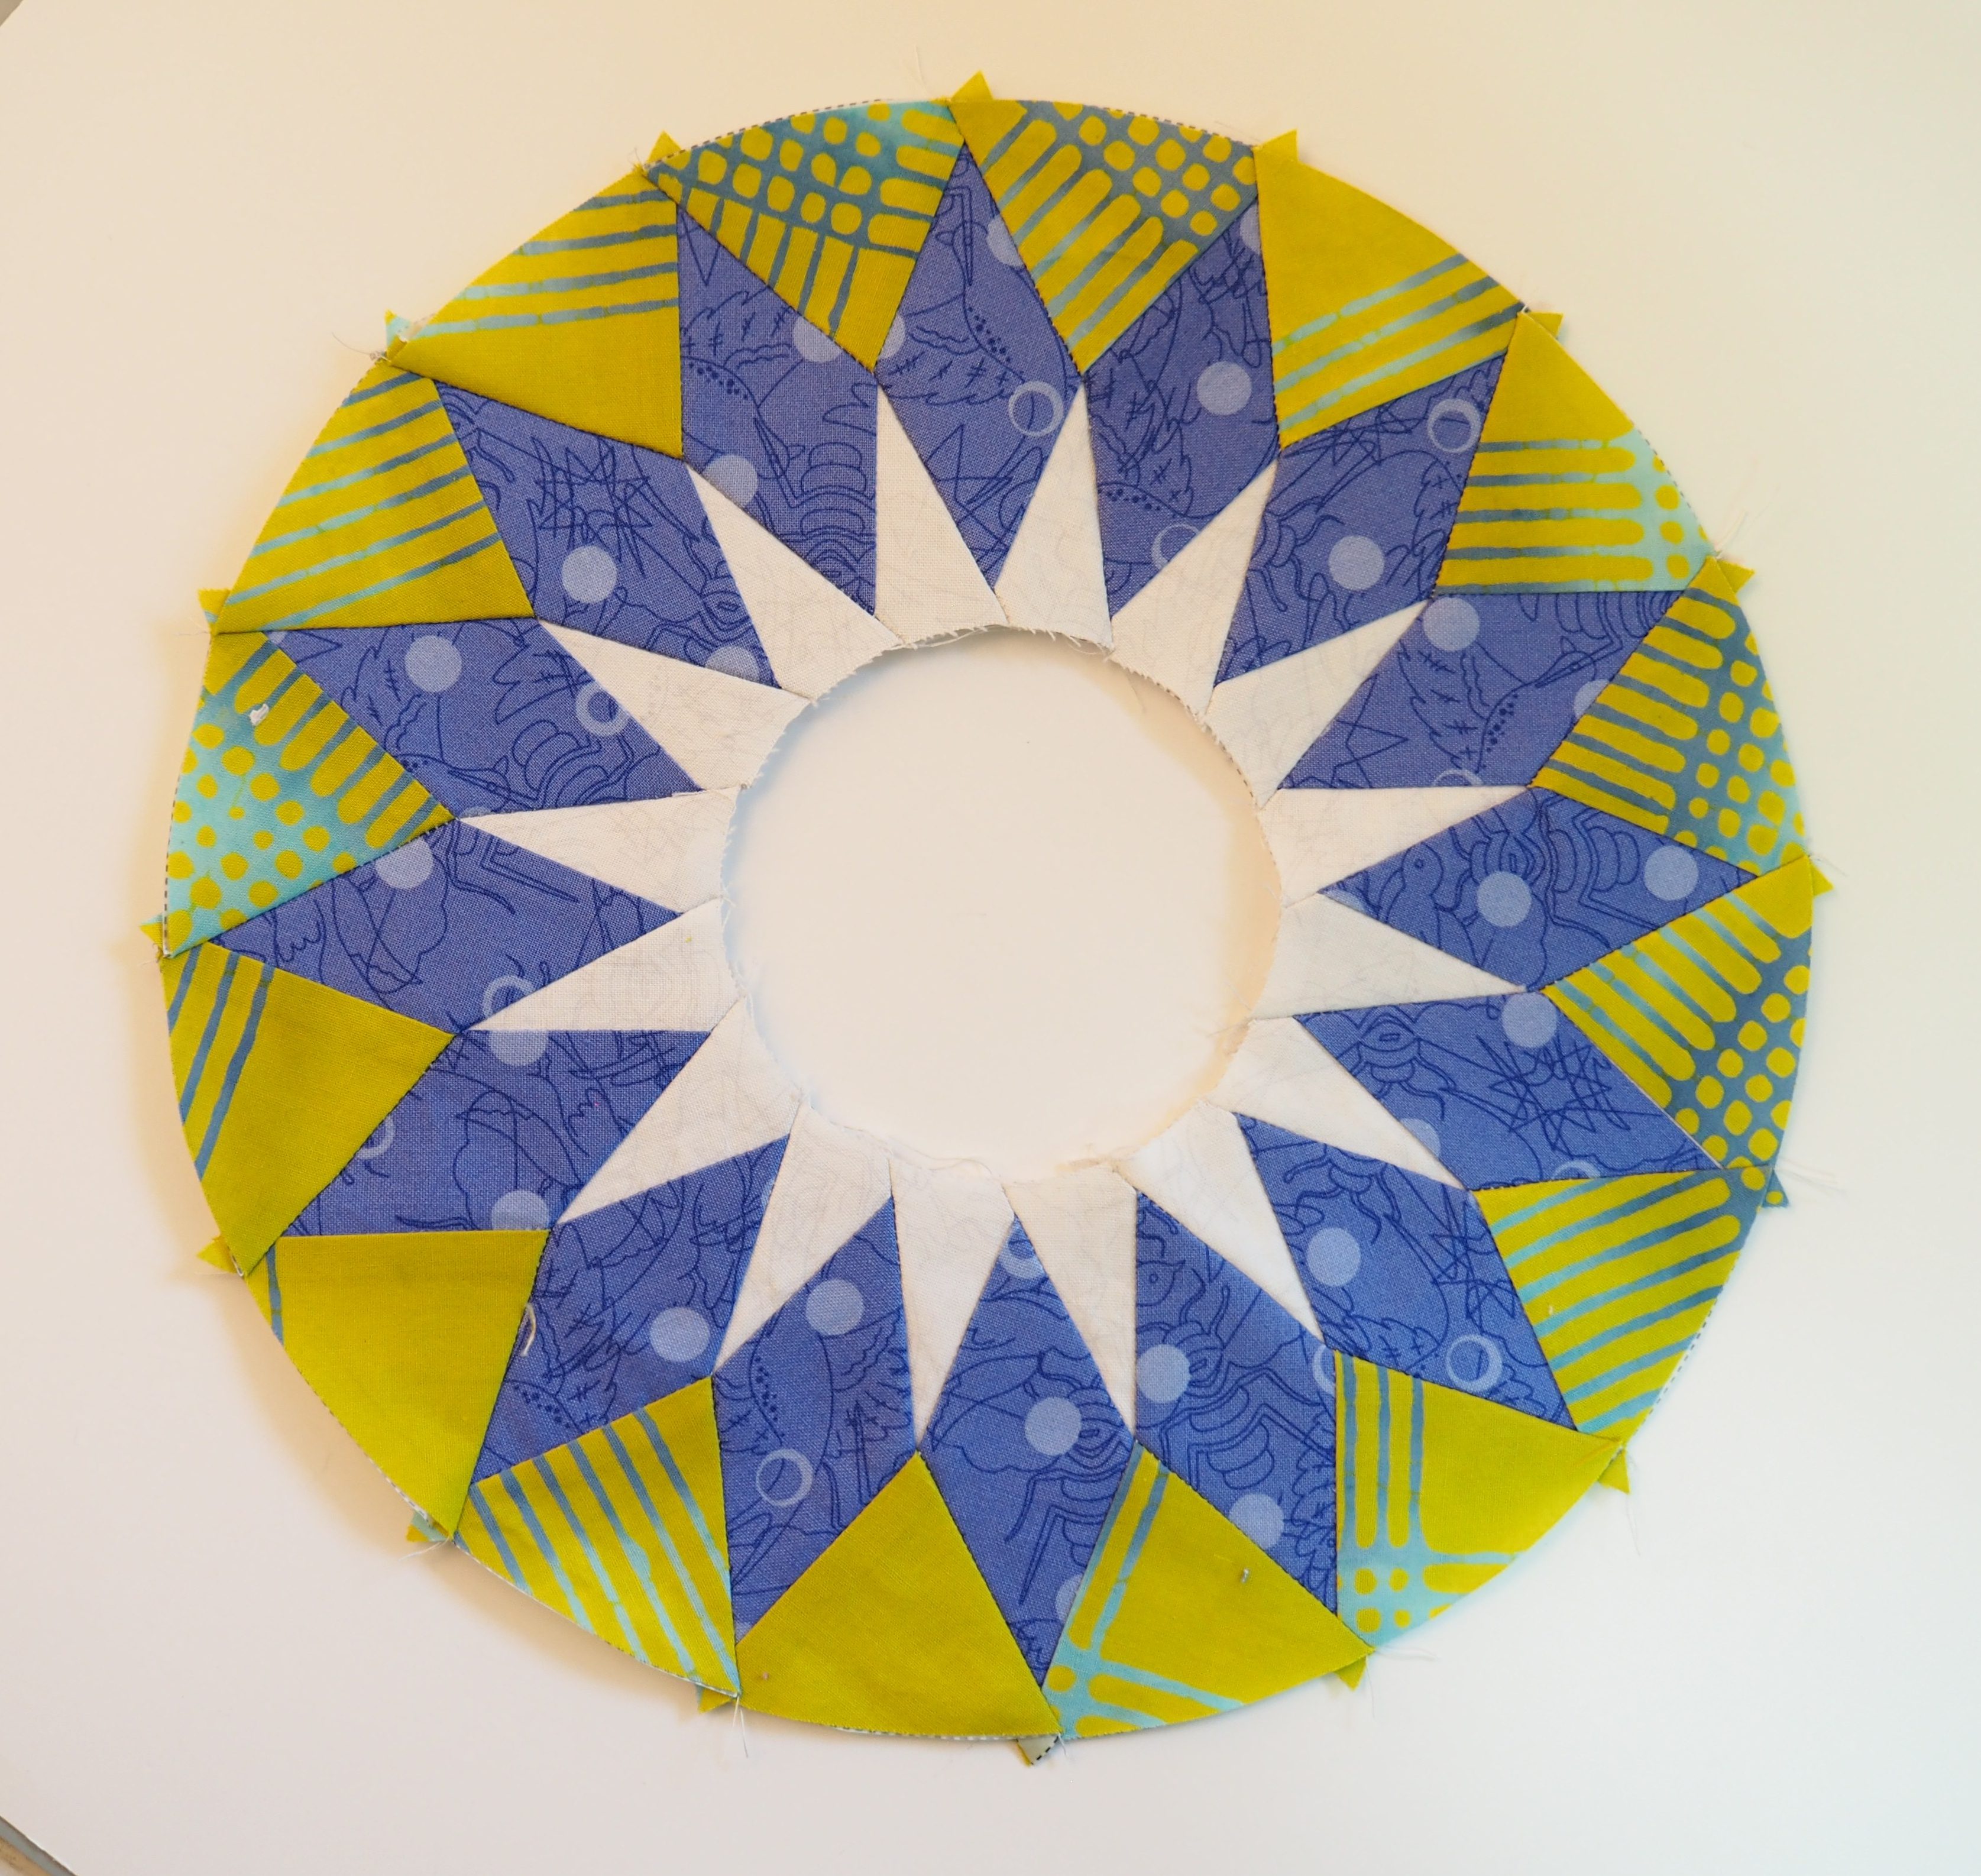
The quilt is constructed in rings. Each ring is made up of smaller segments that are sewn next to each other.
I show you how to set in circles. Once you know how to do it, you will wonder why you haven’t sewn circles sooner. The hardest circle is the one in the center because it’s the smallest. Once you sew it, the rest are a piece o’ cake!
The instructions are clear, with lots of good photos that walk you through each step.
After I made the big blue quilt, I realized that you could stop at any ring to make smaller blocks. I wanted to do that so I drew the corner patterns that fit each ring. They are included in the pattern pack as well.
The Baby Bullseye block, below, is 36″ x 36″ and is surrounded by 1″ x 2″ flying geese (also in the pattern)
Baby Bullseye – 40″ x 40″
I didn’t stop there! I made one more quilt with nine 20″ blocks and 2″ x 4″ flying geese:
Nine-Block Bullseye – 68″ x 68″
And then I made myself stop, even though it was hard :-).
If you would like to know more, click here to go to my website where you will find Bullseye Quilts: From Vintage to Modern. On the same page are links to some very helpful how-to videos. Happy sewing!