Snippets of the city that caught my eye:


St. Mary’s Cathedral…


And now we head to Orkney!
Snippets of the city that caught my eye:
St. Mary’s Cathedral…
And now we head to Orkney!
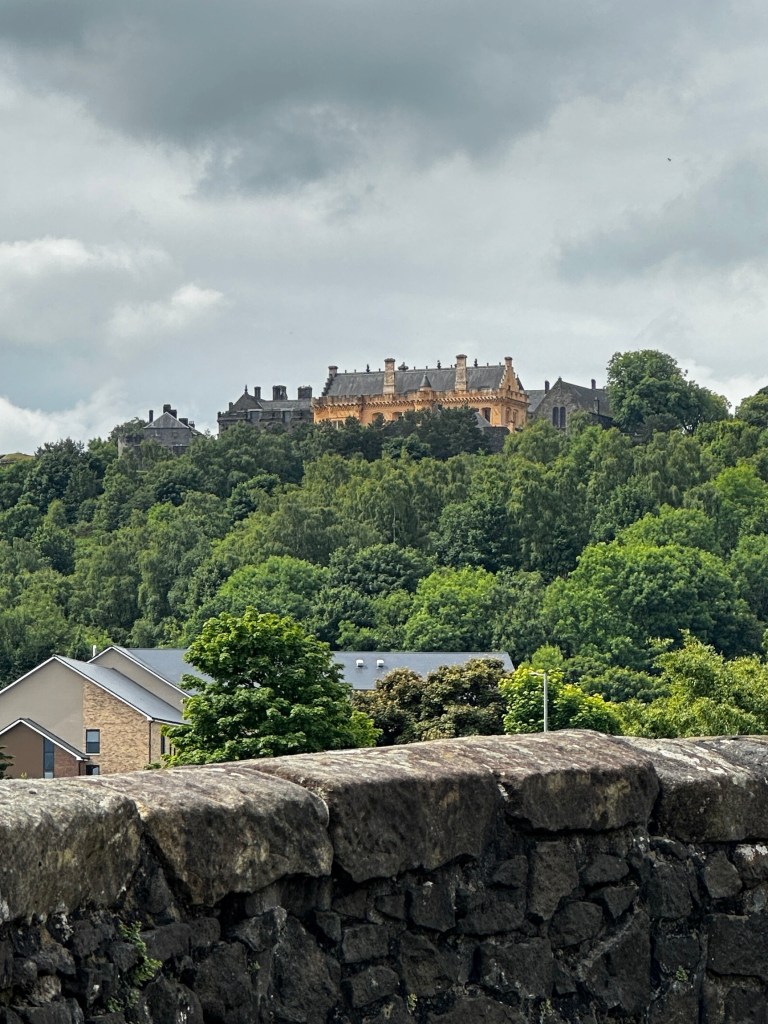
I was surprised to walk a block from our apartment and be able to see the Castle in the not-so-distant distance.


Lorna decided to tend her cold which is still hanging on while Steve, Chris, Jeff and I climbed up to the Castle. If you are coming to Scotland and want to go to things like this, buy your tickets online ahead of time. They do sell out.
We had tickets for 9:30, when the gates open. There were people, of course, but not as many as there were when we left.

The views from the castle are expansive…


And there are more buildings inside the castle walls than you might think. Too many to fit in just one photo.

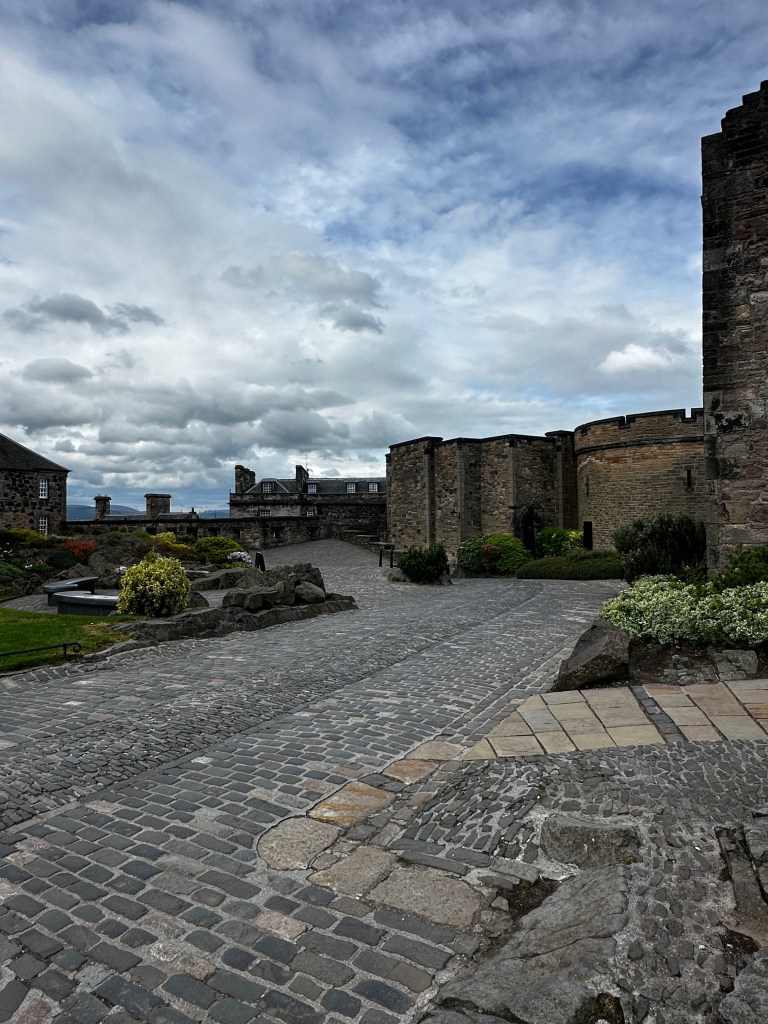


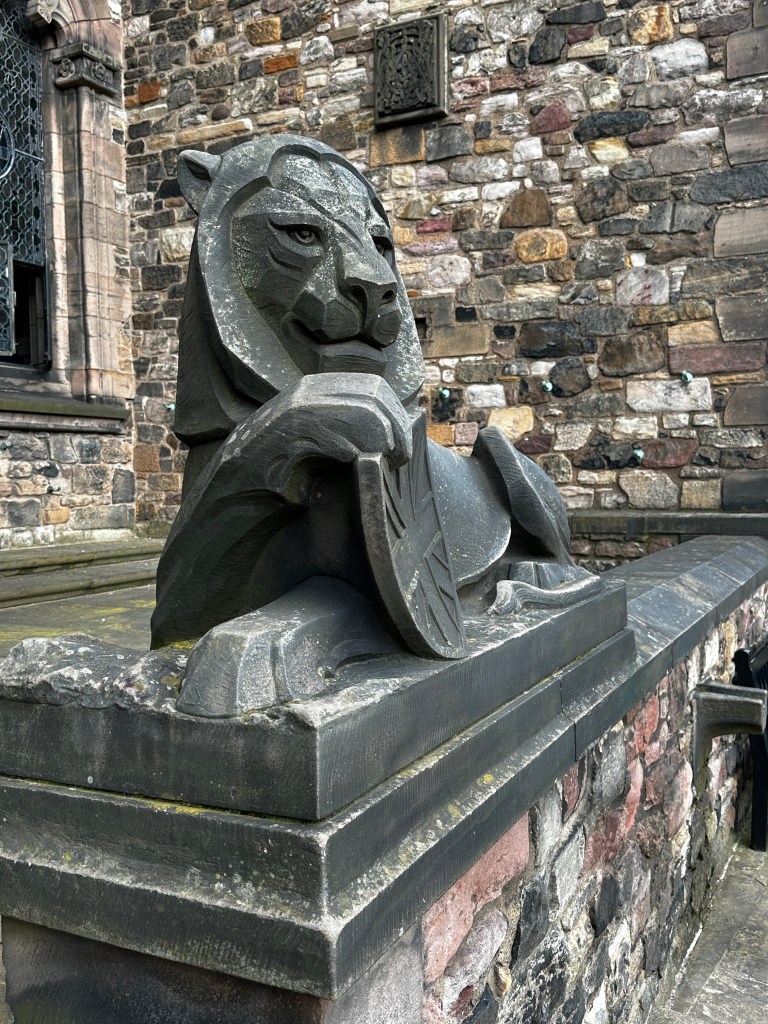
And interesting details…


We walked down most of the Royal Mile after the castle. Yes, the buildings are interesting but it’s a lot a shopping. And we don’t have any more room in our bags 🤣.
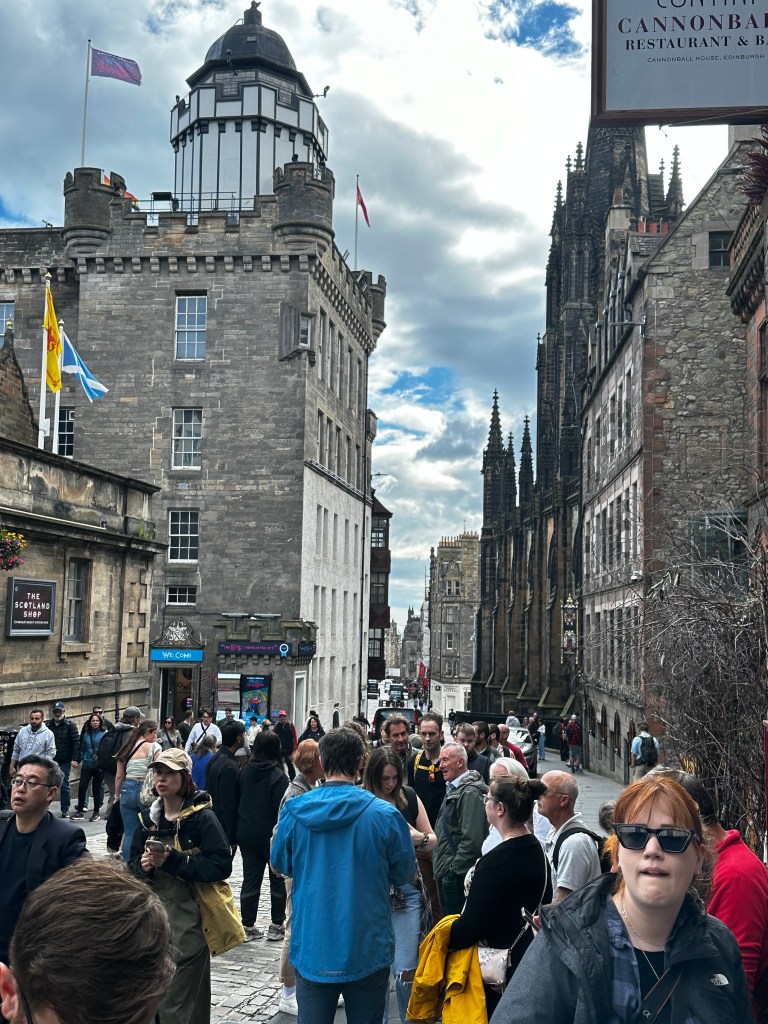


No matter where you walk in this part of Edinburgh, there is something to see.


On the way from Stirling to Edinburgh yesterday, we stopped at a lovely book store/cafe. The coffee was good, the cake was even better! Then we diverted into nature, stopping to hike The Birks loop trail to see, and I quote, the dramatic Falls of Moness.
Uphill, a lot, often walking next to water falling.

It was worth the effort!
On the way out, I took photos of some trees—Anne, these are for you :-).


After enjoying nature, Chris drove us to Edinburgh where we found our Air BnB. An apartment on floor 1 which, to us, is actually floor 2. Here, the ground floor is either 0 or not numbered.

If we walk out the door and look right, we can see St. Mary’s Cathedral!

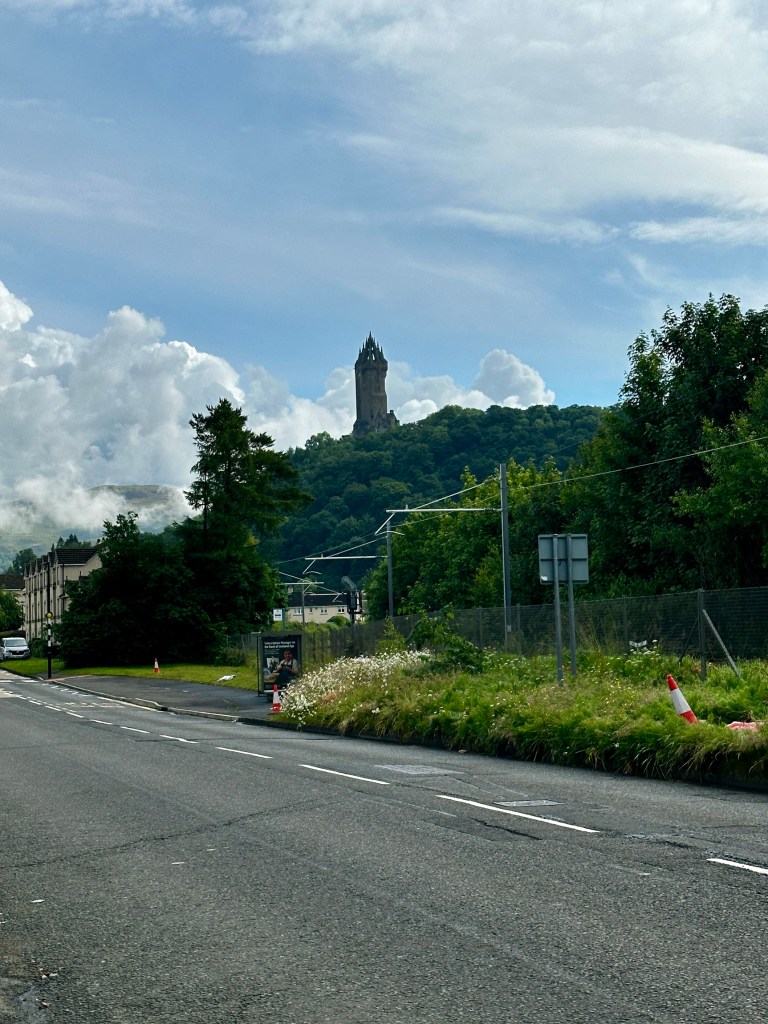
Steve and I walked the 2.4 miles to the Wallace Monument. I now firmly believe that everything in Scotland is uphill 🤣. You can see it below, to the right of the bridge, way in the distance.

Closer to…
We met Amy who lives on the street on the way up. She gave me tips on things to see on Orkney 😊.
Once at the monument, you can take a free shuttle or walk up. We walked, because we can. there were fun stops.

And signs…

One in we climbed up the very narrow spiral staircase to the top.


I was glad we went early because school groups and other tourists came up a bit after us.


The views were vast…
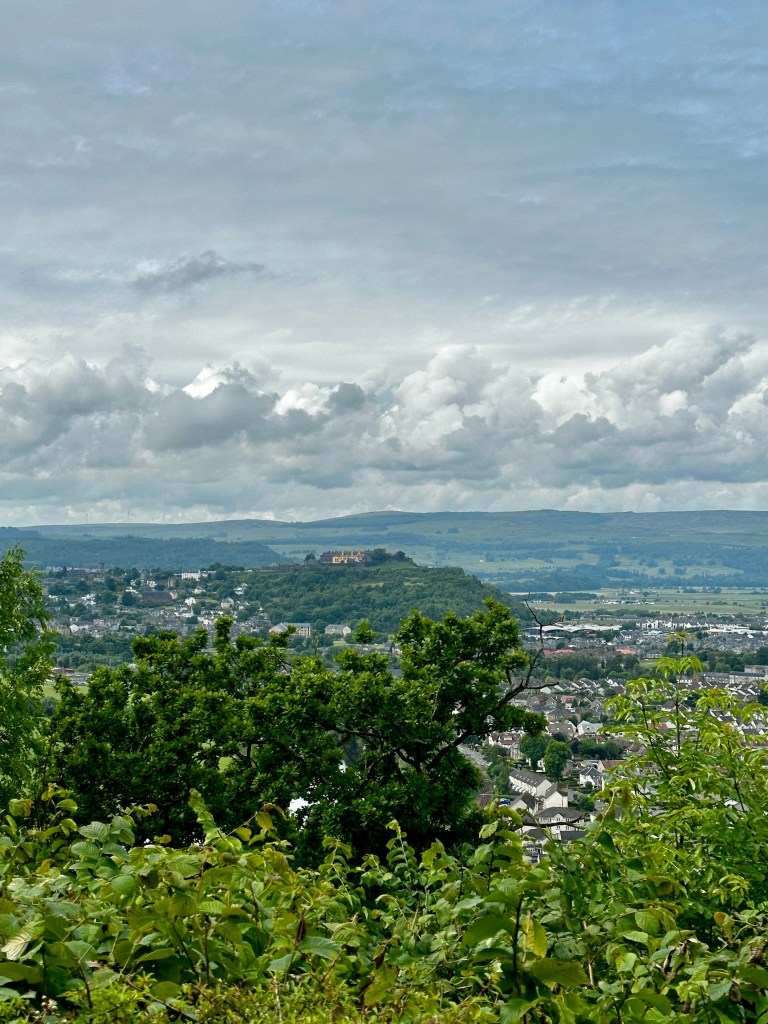
That’s Stirling Castle in the distance.
We stopped for a banoffee tart (banana and toffee 😊) in the cafe at the entry.

Remember the stone bridge at the top of the post? This is a view of Stirling Castle from it.
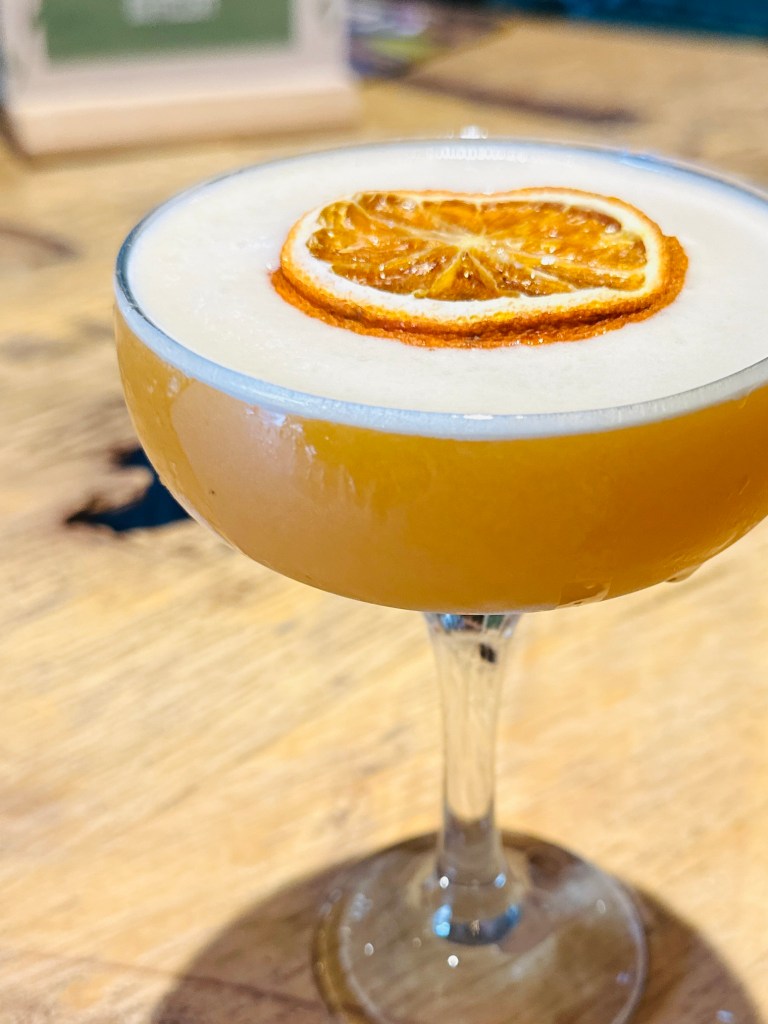
We met the boys at the distillery on our way back where I enjoyed the special cocktail. Soooooo 😊.
Tomorrow we head to Edinburgh via Aberfeldy. And guess what? There is a distillery there!
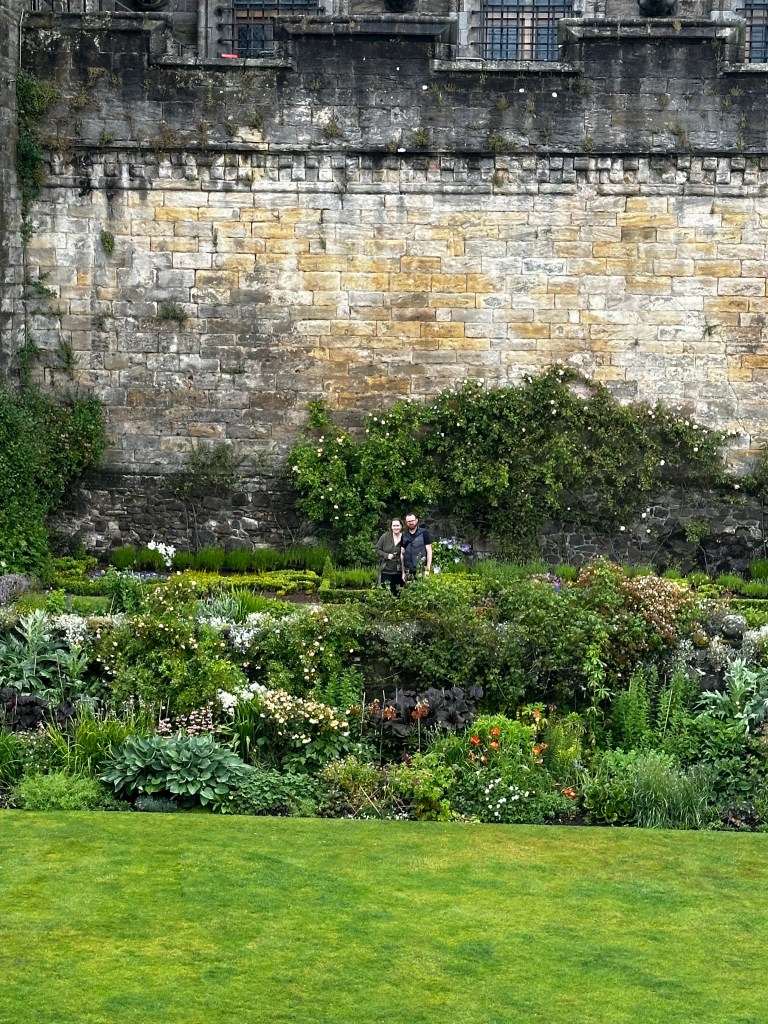
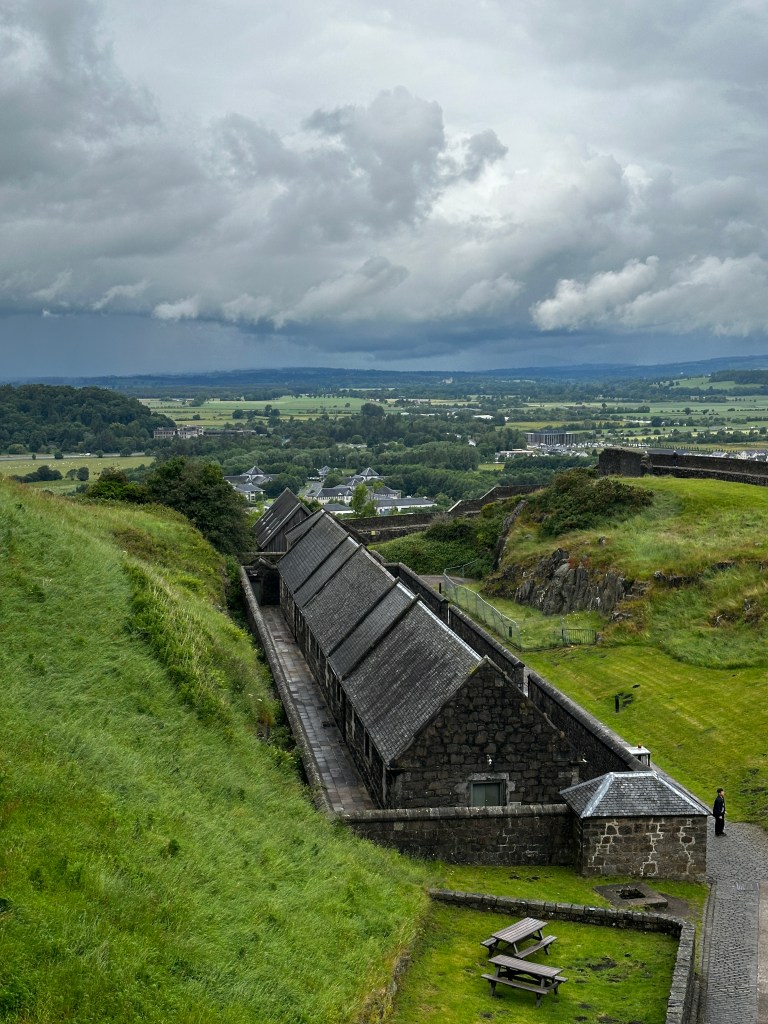
The travel from Islay to Stirling—by car and ferry and then back to the car—took a day but now we are in Stirling where there is a dandy castle! It’s impossible to get a photo from the outside that shows all of the buildings enclosed behind the outer walls.
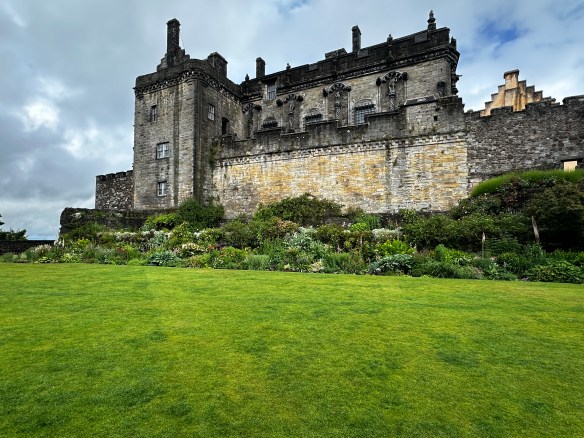
Notice the little bit of the castle that looks gold, behind and to the right of Jeff? That is the Great Hall and it has been restored to look like what it was meant to be in 1503 when it was completed. It is plaster/stucco over stone. A helpful guide said that all of the buildings were originally covered in plaster but only the Great Hall was yellow.

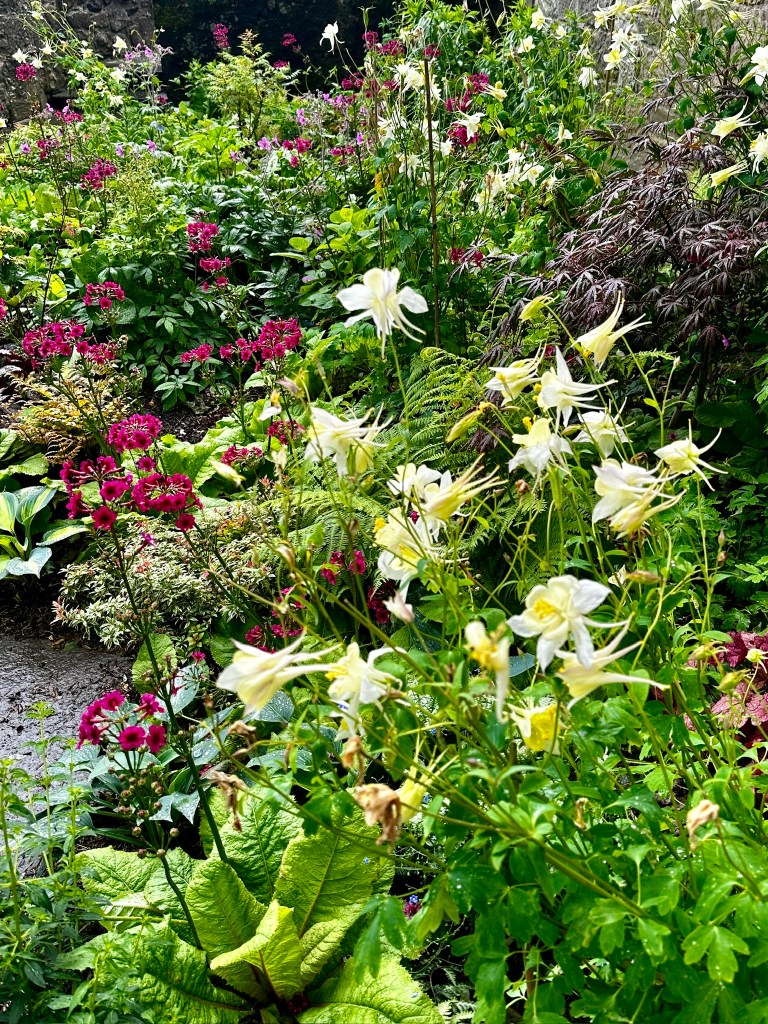
There are gardens!
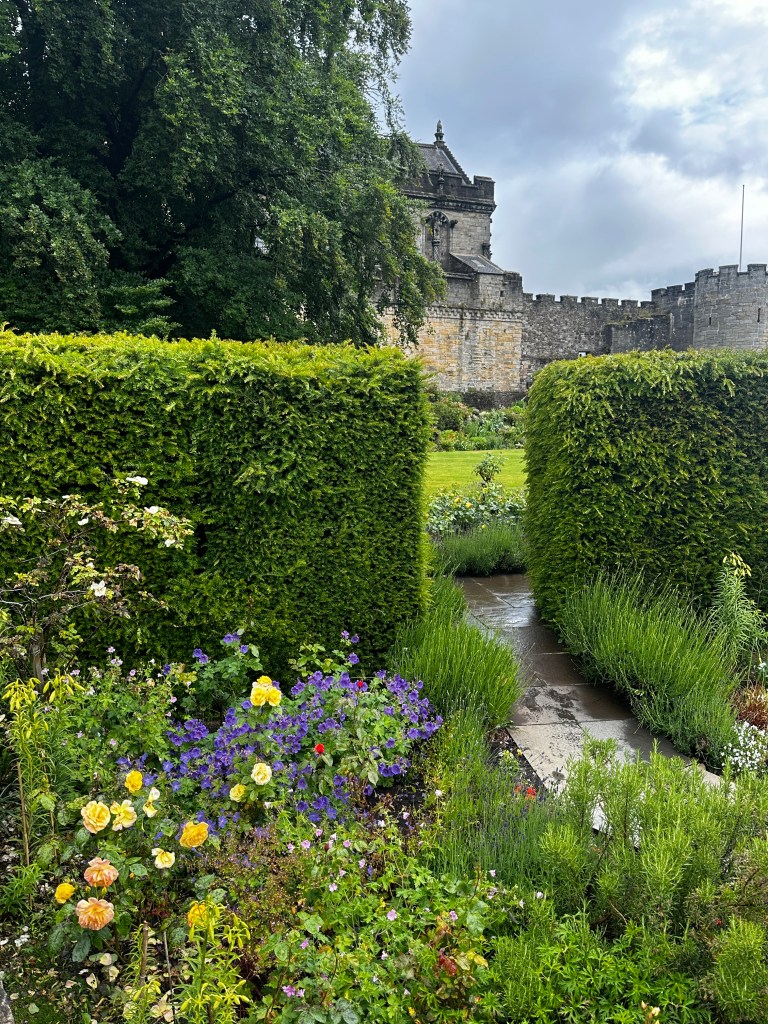
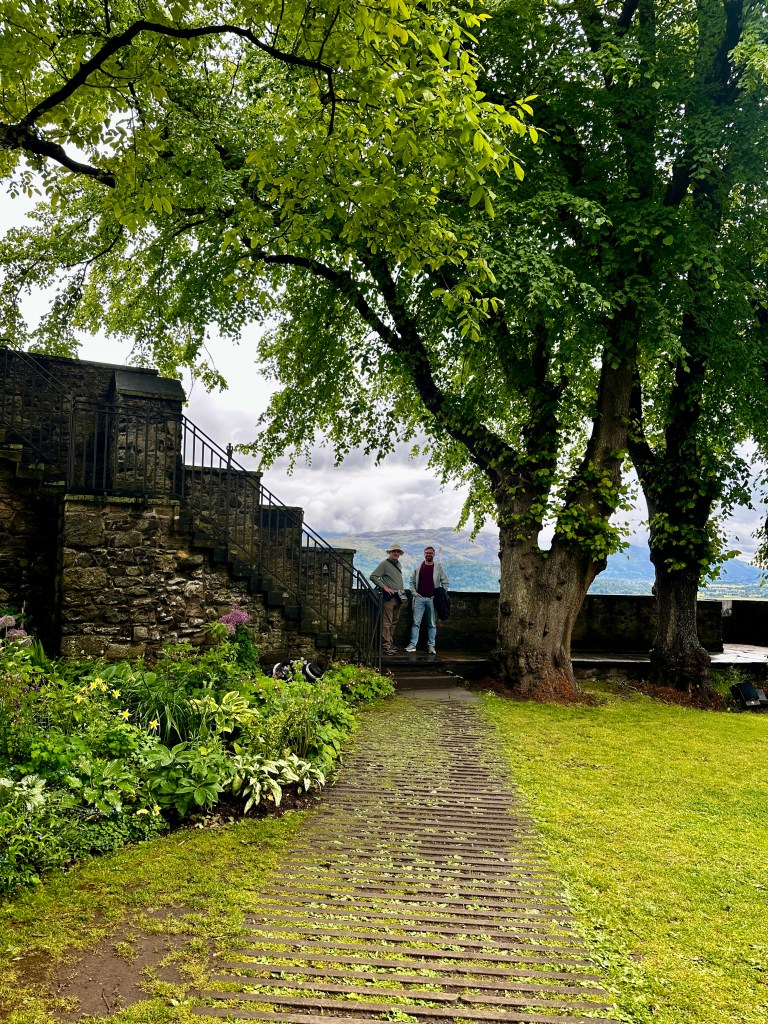
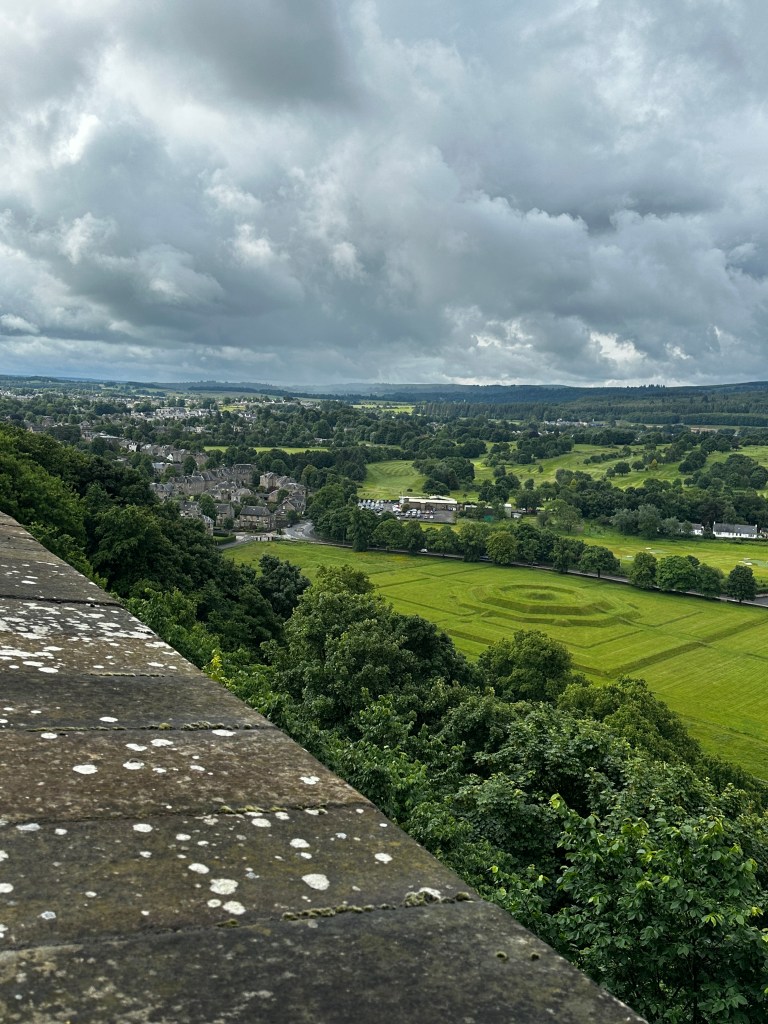
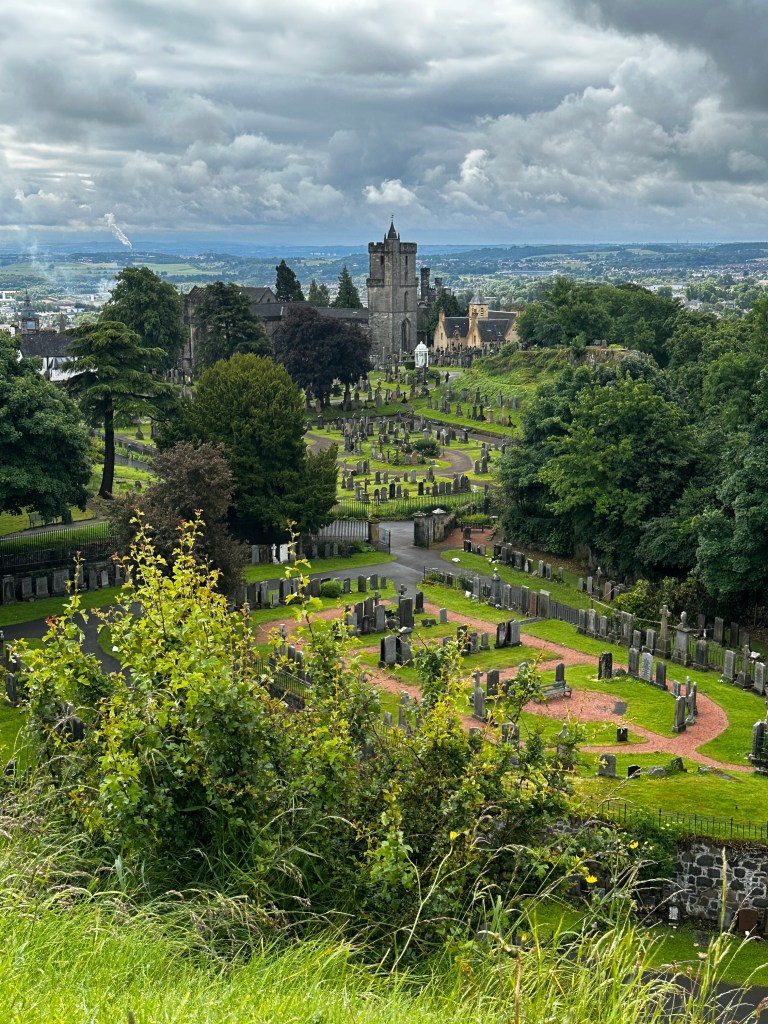
Climb up onto the walls and you can see for miles around…
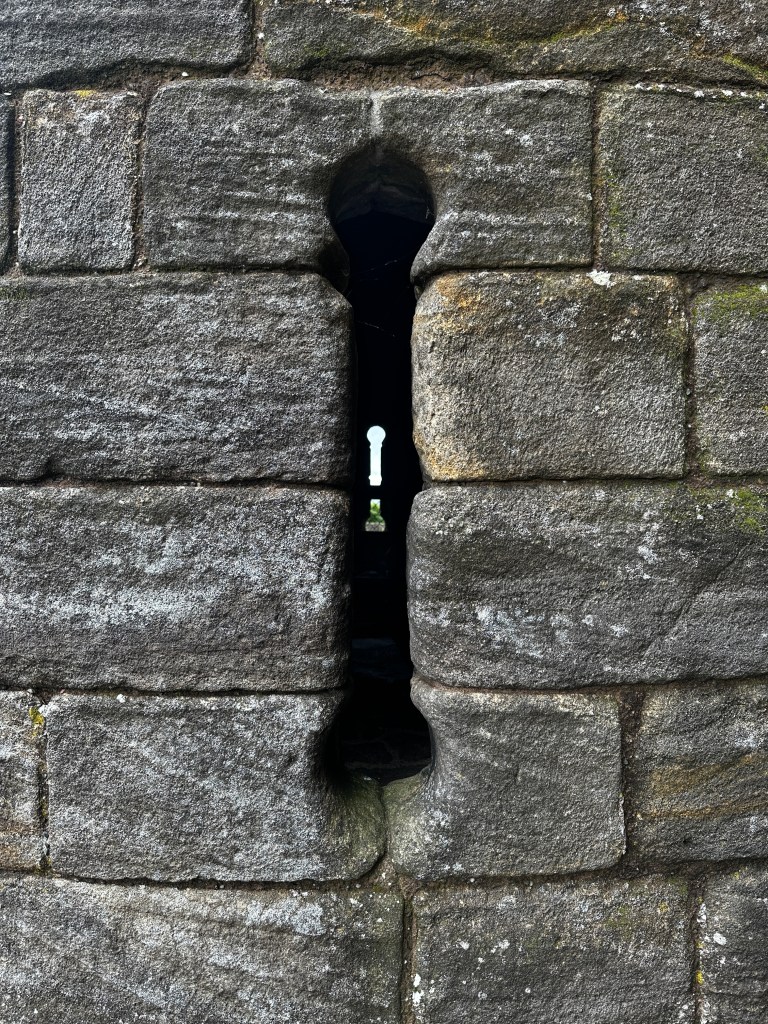
And fun openings to look through…


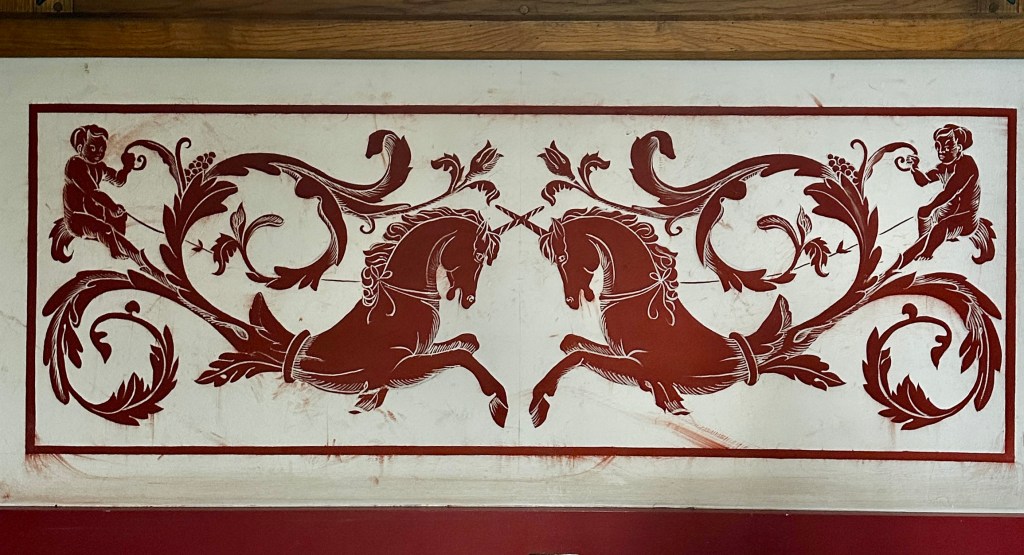
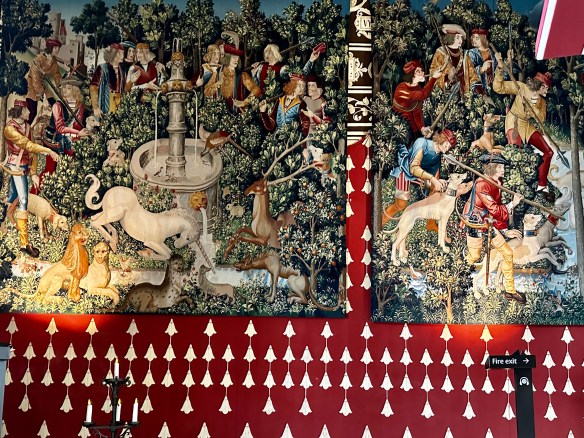
And restored art in which Unicorns featured prominently.
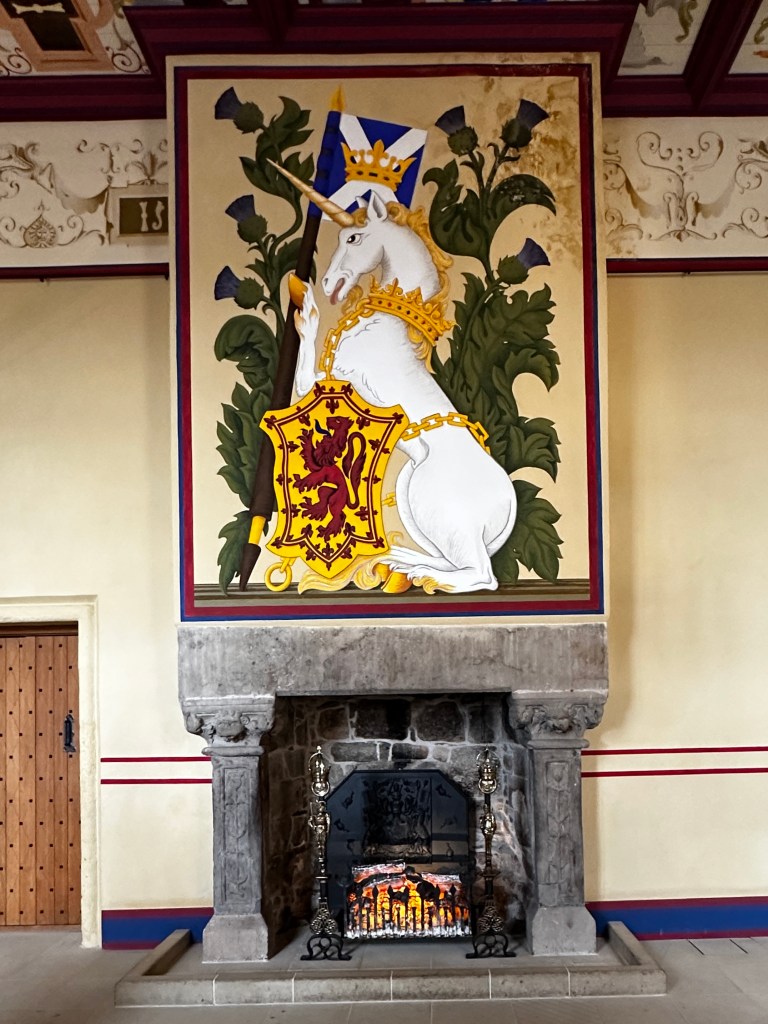

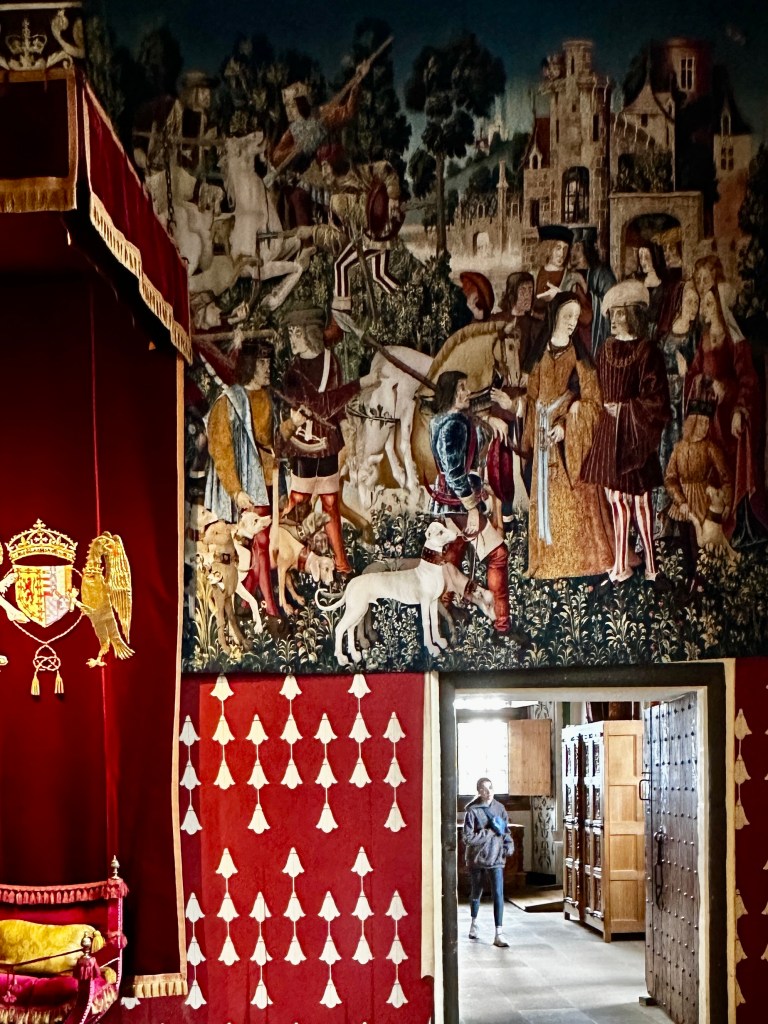
The original James V unicorn tapestries have been lost. The tapestries hanging in Stirling Castle are modern reproductions woven by hand over the course of 14 years. They are near copies of the Unicorn Tapestries owned by the Metropolitan Museum of Art in The Cloisters.
We all scattered after lunch and, after getting caught in the rain, I ended up at the Stirling Distillery—because why not?
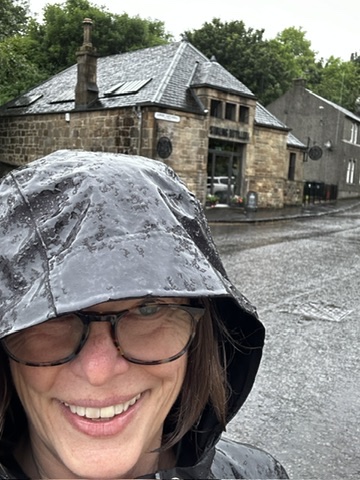
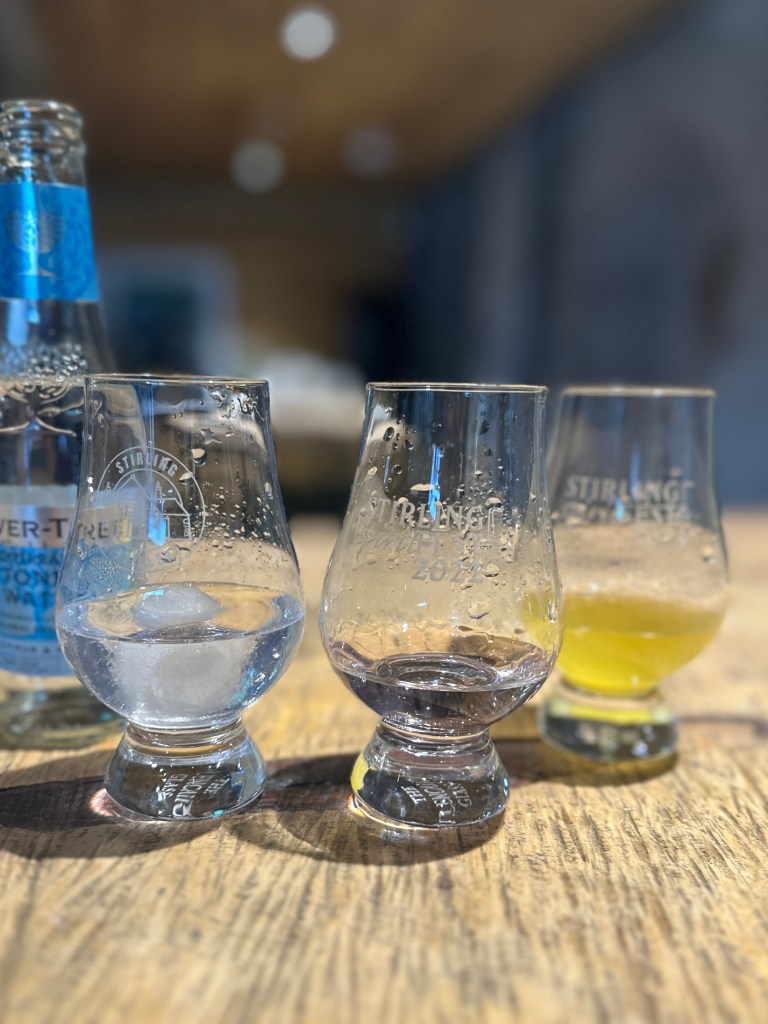
The Tropical Triumph Liqueur is very nice with a little tonic and ice :-).
Tomorrow is a quiet day. No plans, no agenda. Nice!
The day started with clouds but ended clear. This was a 4 distillery day plus a last stop at Bruichladdich for a photo and a bottle of The Botanist from a 3-year cask which is quite nice.
The first 3 distilleries are close to each other. We started at Bunnahabhain, the farthest from us.

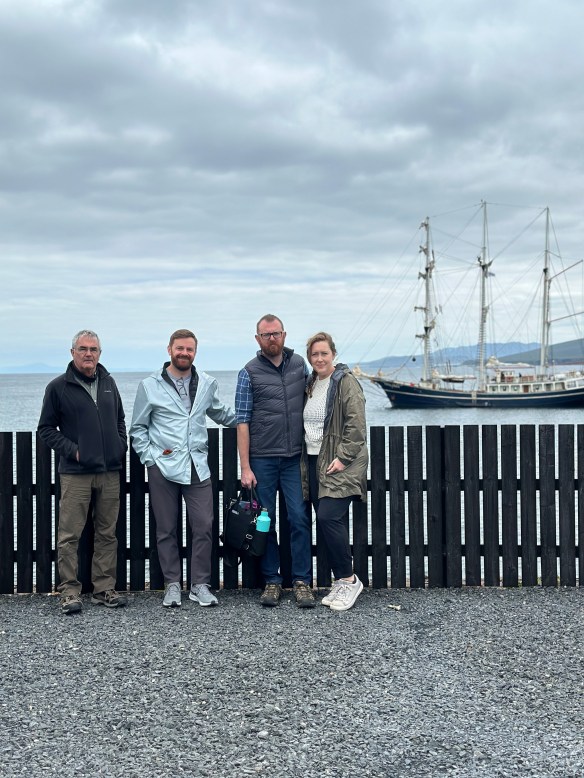
Everyone was very impressed and Steve bought me a tasting set to try later. I also got a small driver’s dram (maybe two). That’s a thing here… the driver can sometimes be given, or buy, a very small pour to have after driving, at the end of the day. Very civilized.

There was a group of Dutch folks who were on a whiskey tour from the sailing ship in the background. How fun! I have no idea where they boarded or how long their trip was.
I commenced to be the driver. I think I did a fine job. Anyone who might have driven their adult sons in similar circumstances knows that they might not agree with my statement 🙄.

Our 2nd stop was Ardnahoe, a young distillery only a mile or so up the road.

I didn’t taste anything other than a pumpkin spice latte—but that was very nice!
The 3rd stop was at Caol Ila which is a very large distillery owned by an even bigger multi-national company, Diageo. They own so many alcohol producers that I’m not even going to try to list them.

Of course the whiskey tried was lovely, or so I was told. The land in the distance is another island, Jura.
We stopped at Finlaggan Castle which is in ruins but very interesting. It’s a very small island surrounded by what looked to be a bog or shallow lake. it was the seat of the Lordship of the Isles until the 1400s.

And lastly, we went to the Bowmore distillery that was closed yesterday and was about to close for another private event today so our arrival was well-timed.

I like Bowmore’s whiskey! I wish I had been able to sample onsite but there you go.
We came home to sunshine and a clear blue sky. Many of those who live in Portnahaven were out enjoying the sun and one man said this is what June is supposed to be like!

Fingers crossed for more good weather as we travel back to the mainland. We take the ferry back to Kennacraig tomorrow and then drive to Stirling. Good thing the sun stays up nearly to 11PM.


