Last week, I gave away some special pins. This week, Lisa Gosen has won something to keep them in from my personal collection.
The ceramic “spool” is magnetic, so even if it gets knocked over, her pins will stay in place. And it will look great sitting near her sewing machine. Fun!
I’ll be back with another Giveaway next Wednesday. Until then you can shop for all sorts of sewing notions, books, and other fun stuff at pieceocake.com!
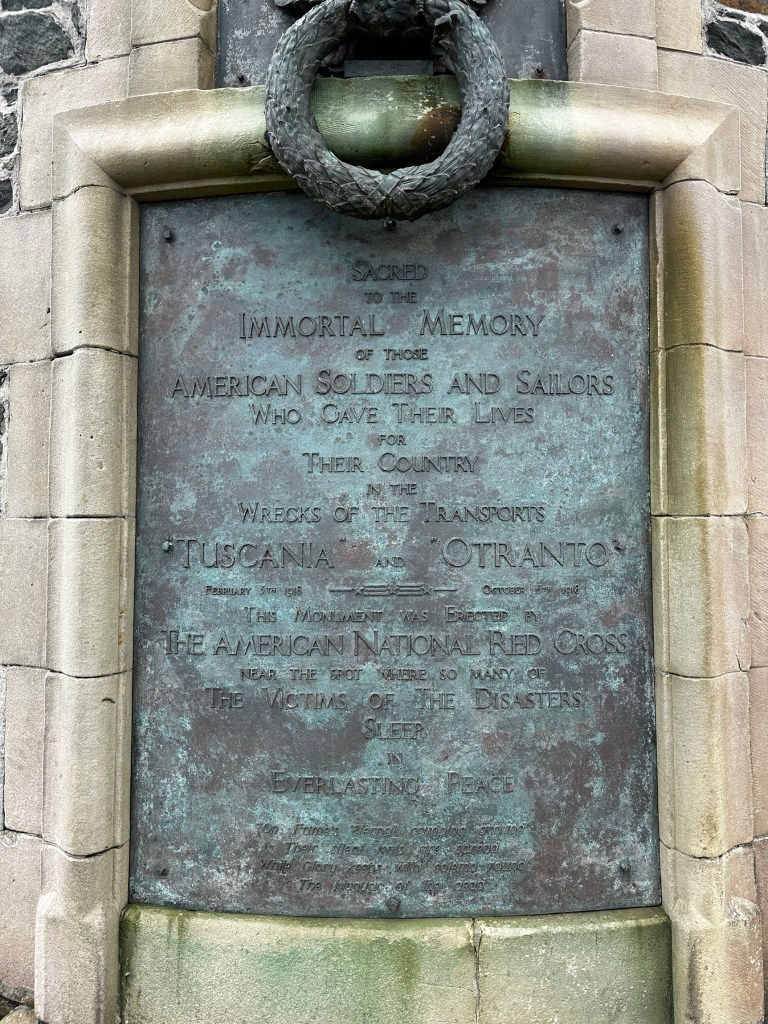
We visited the American Monument today honoring soldiers and sailors who died on ships that sank nearby in 1918. It’s a bit of a hike to get there.
American Monument Plaque
We walked through a small herd of Highland Coos (cows) that appeared docile. But cows make me nervous and these have horns!
Highland Coos
Part of the trail ran alongside the top of cliffs. Not the most giant cliffs you may have ever seen, but falling off would kill you. of course my sons tempted fate and went to the edges 😳🙄😱😬.
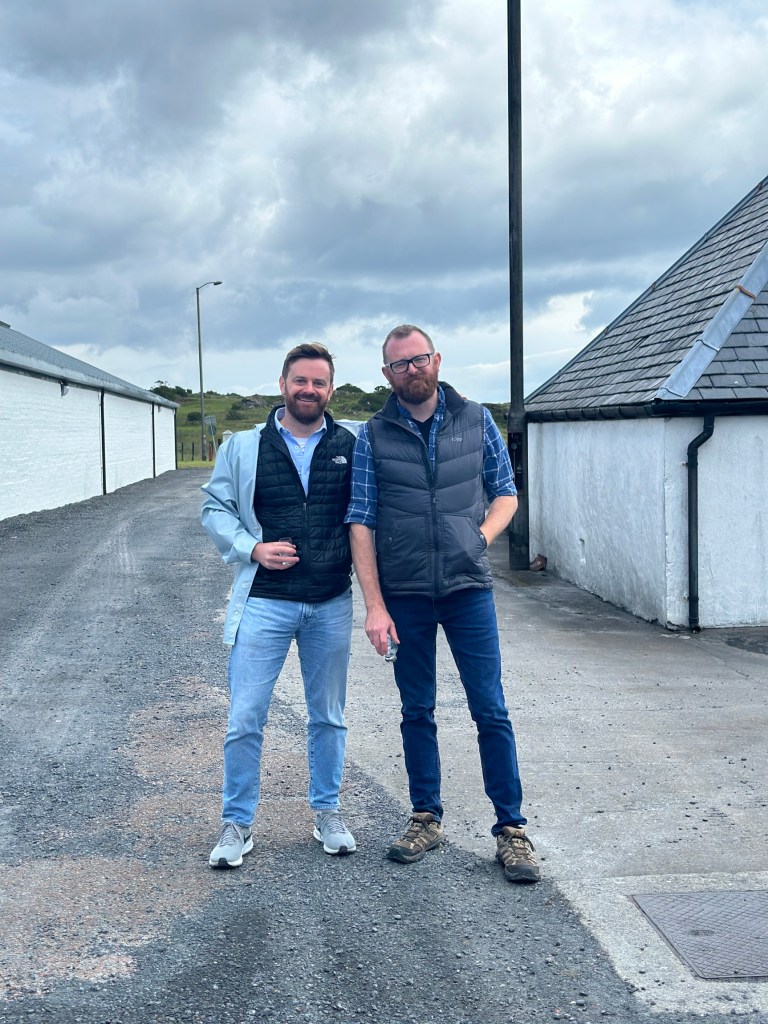
Jeff and ChrisLorna had to look away. Steve near The American Monument Jeff, near the cliff edge wayyyyyy up there to the right of the Monument
I stayed back from the edge :-).
Bowmore Distillery was closed for a private event so tomorrow will be a 4 distillery day!
Each distillery has whiskies that are not available where we are in Texas. Those are what the boys especially are interested in tasting.
Ardbeg
Our only scheduled tour of the trip was in the Ardbeg warehouse rather than in the distillery which was “quiet” for cleaning and maintenance. I learned a lot and enjoyed the smells of the whiskey.
The casks are oak, and many come from American bourbon makers.
Laphroig came next. My people loved it 🥰.
Laphroaig
The last stop today was Lagavulin where I had a lovely mocktail!
LagavulinTonic with a nonalcoholic distilled plant-based spirit that was a lot like gin.
It was here that a man behind us noticed me knitting (I wasn’t drinking so knitted instead 😊). He and his wife had never seen anyone knit in the American way—“throwing” the yarn with the right hand. Turns out they were with a group of friends from Bavaria who call themselves the Whiskey Pilgrims. They have been visiting distilleries in Scotland since 2013… what an amazingly good idea!
The gentleman on the left was a knitter in until his 20s and work got in the way.
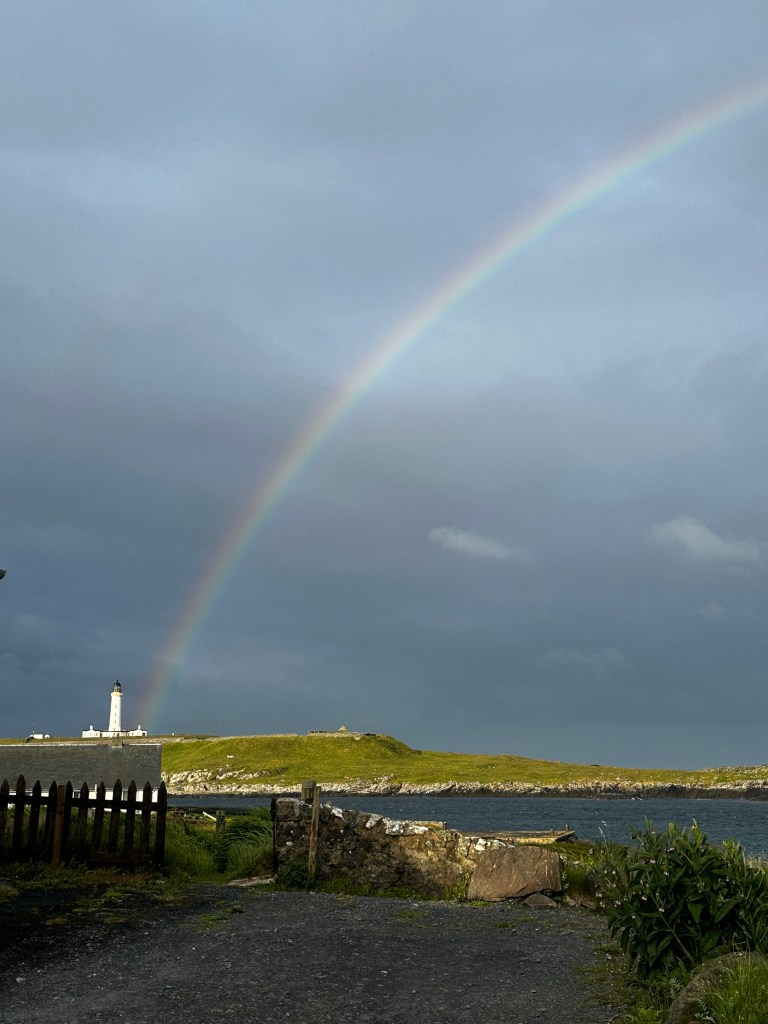
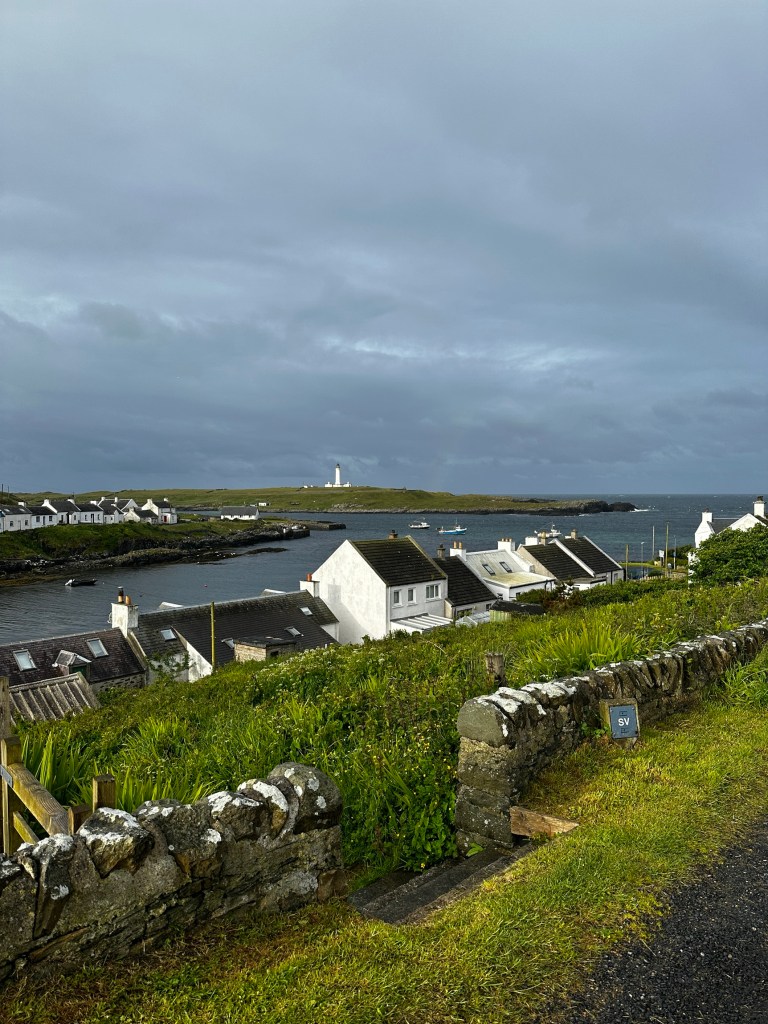
Steve and I walked in the village before most people were up.
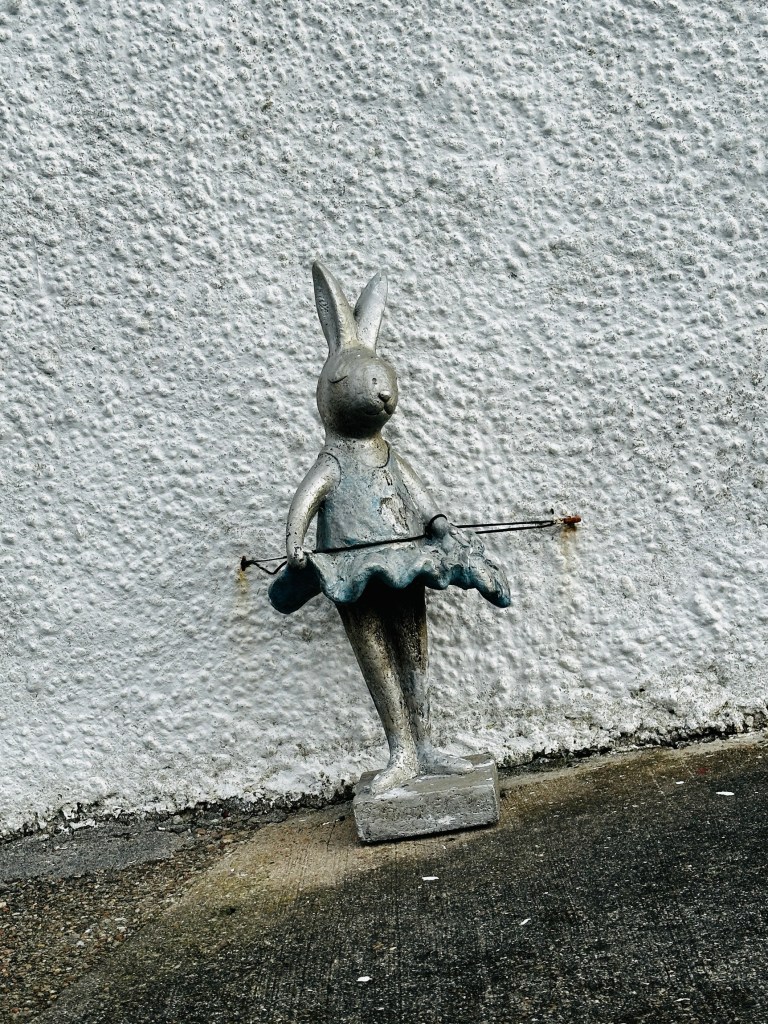
Rainbow outside our door. Lots of white walls and colorful trim. Love it so much!Houses and harbor, PortnahavenTiny dancer…There may be a phone in there. Old, beat up, lovely.
Went walking in nature.
Jeff, Steve, Lorna, Chris
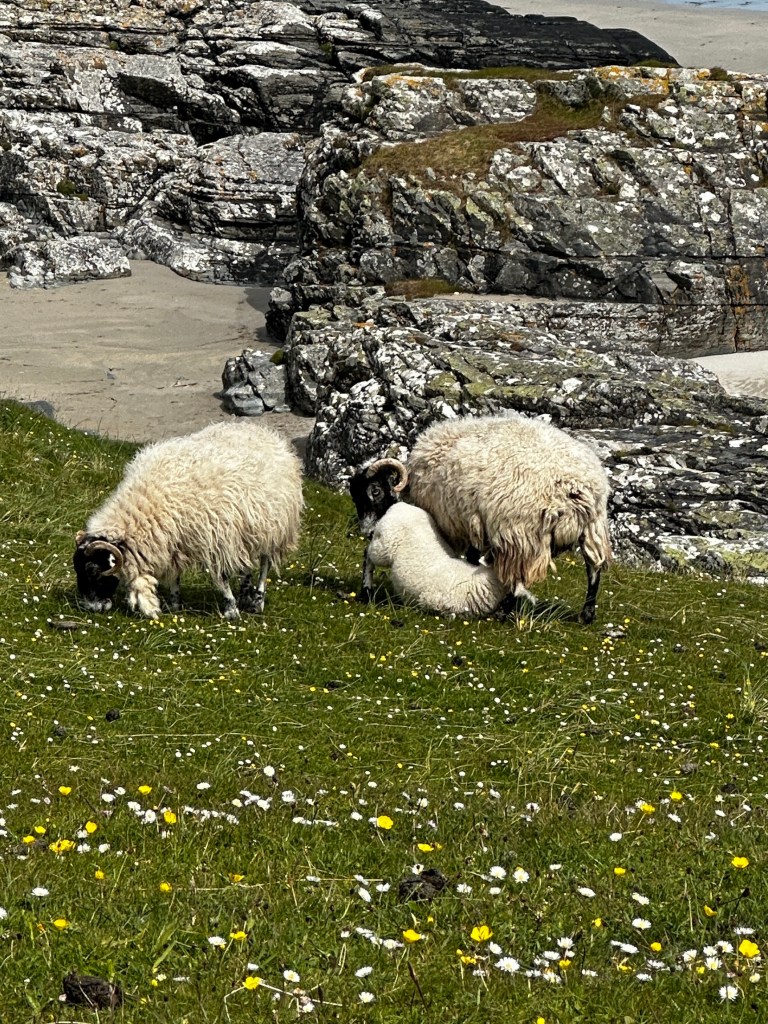
There are sheep with little lambs…
Baby lamb, chowing down.
And Highland cows!
We also visited Kilchoman and Bruichladdich distilleries where I failed to take photos—or drink because I was the driver!!! Hello left side of the road and one lane two-way streets! So exciting, and we got home just fine.
Flew from Dallas to London and London to Edinburgh with minor hitches. Had a rental van adventure (#1 had tire issues, #2 would not go forward and it wasn’t our fault 🤣, #3 is perfect!).
On the drive to Tarbet.
Got up today and drove to Kennacraig to catch a ferry…
Drive on, drive off. Steve is birding on the ferry.
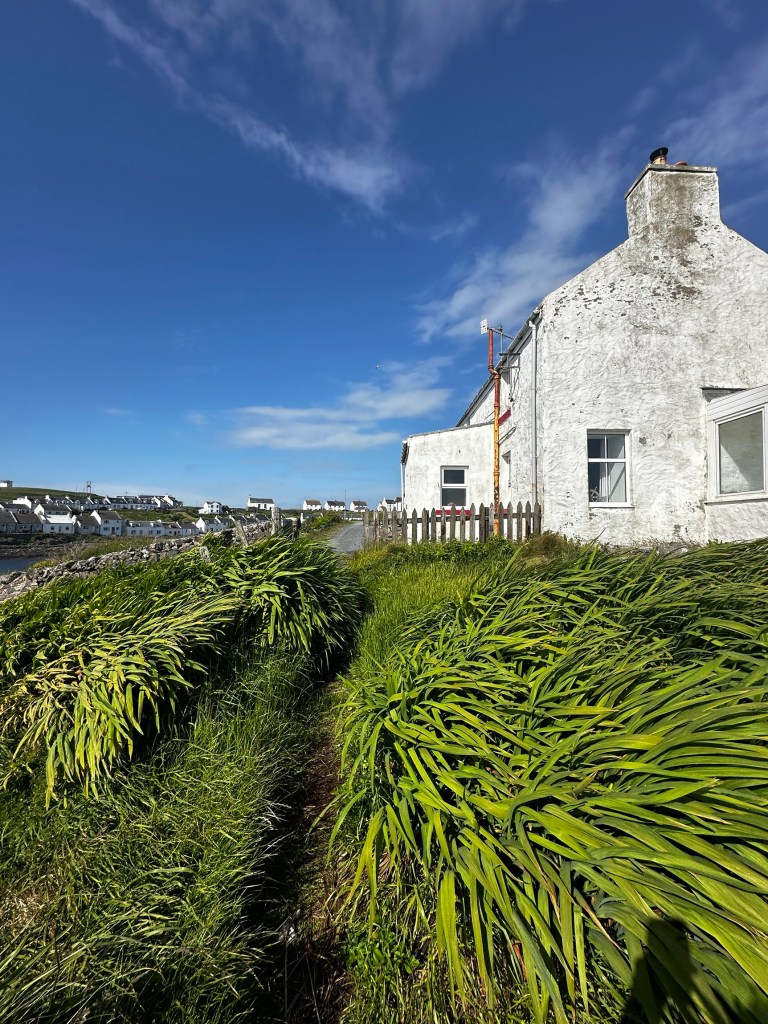
And now we are on Islay and it is beautiful 😊.
In the village of Portnahaven, IslayThis is our house, for many days 🙂And we can swim 🤣!
The package of Clover’s Flower Head Pins goes to SuzannaCamile. These pins are great because the flat heads do not distort the fabric as you sew on the machine. The pins are finer than many quilting pins and the bright flower heads are easy to see and handle.
(This is one type of the many pins we carry. You can see them all by clicking here.)
I’ll be back with another Giveaway next Wednesday. Until then you can shop for all sorts of sewing notions, books, and other fun stuff at pieceocake.com!