When to trim…

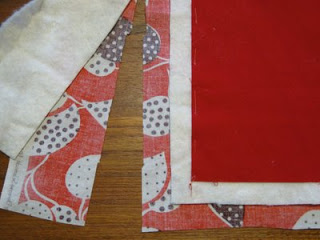
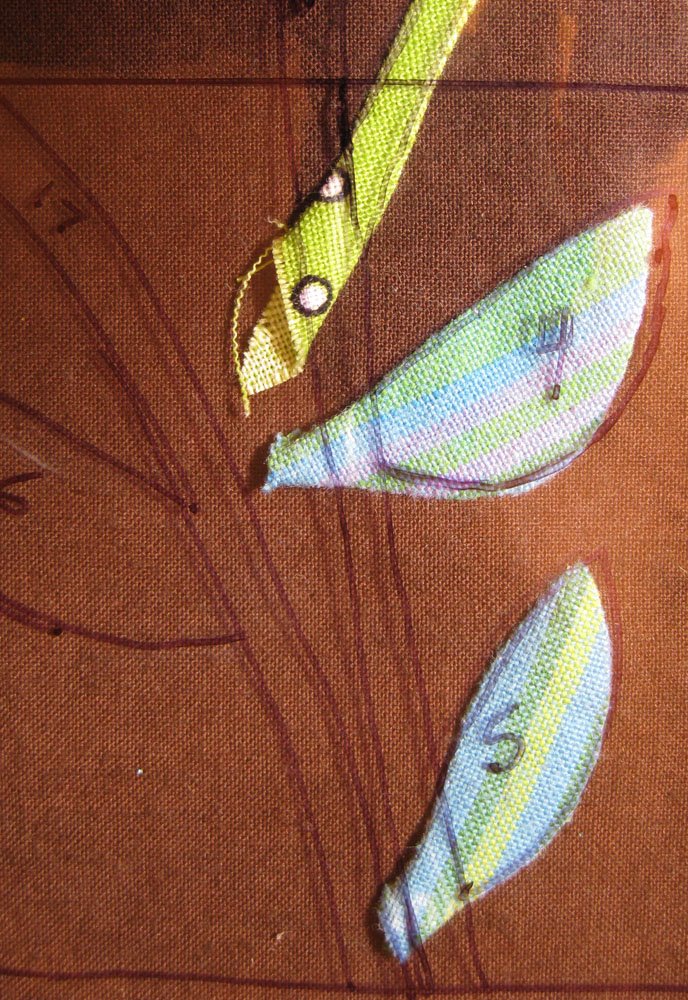
I’ve been sewing some small leaves whose ends lie underneath a very narrow stem. The ends of the leaves have to be trimmed to fit under the stem. Place the overlay over the block so that you can see exactly how much excess fabric to trim away. 


I always check my applique pieces with my overlay before I trim away fabric. I never trim blindly.


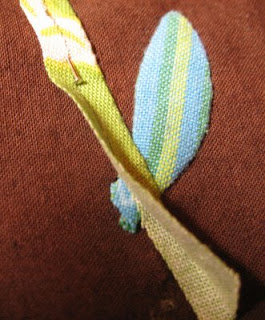
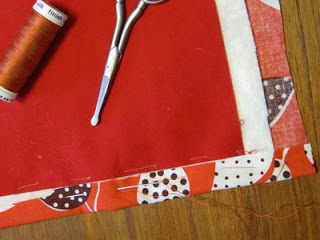
When I can, I wait to trim away excess fabric. These photos show a good example of that… You can see that I have sewn down the side of the stem with the leaves. Before sewing the 2nd side of the stem, I lift the stem up and trim the end of the leaves even with the stem’s turned-under seam allowance. 

The longer seam allowance makes it easier to pin the stem firmly in place over the leaf. If the end of the leaf is not pinned down you have to be really careful when you sew, not to let the leaf “wander” out of position.

Happy stitching,

Becky

My granddaughter, Elanor, and I have a tradition of getting together to make Christmas presents for her to give. Her other grandmother, Judy, will help Elanor wrap and label the presents. This year (and last year) Elanor drew pictures that we turned into calendars. (I’ll show you this year’s calendar after Christmas so as not to ruin the surprise for family members who read this blog.)


Lorna, my daughter-in-law, and I thought it would be fun to “help” Jack make presents too. Handprints on paper came to mind but have you ever tried to get a 13 month old to make 11 good handprints? Judy and I tried that with Elanor one year and the poor kid was very unhappy. Not what we were after.

Lorna and I decided that “art” would be better than handprints. We stripped Jack down to his diaper. I put down drop cloths and we all wore our painting clothes. I got non-toxic washable Crayola paint that did, indeed, wash off when we were done. I used good paper in the hopes that these pieces will age well. Elanor helped – and at the end she got paint on her feet and made some really nice footprints!

We were able to cut out some surprisingly nice “paintings”! Steve shot movies. Here’s a short segment showing the young artist at work… you’ll notice that he’s more interested in the snack than painting until we made that go away to the kitchen.

Now I know…

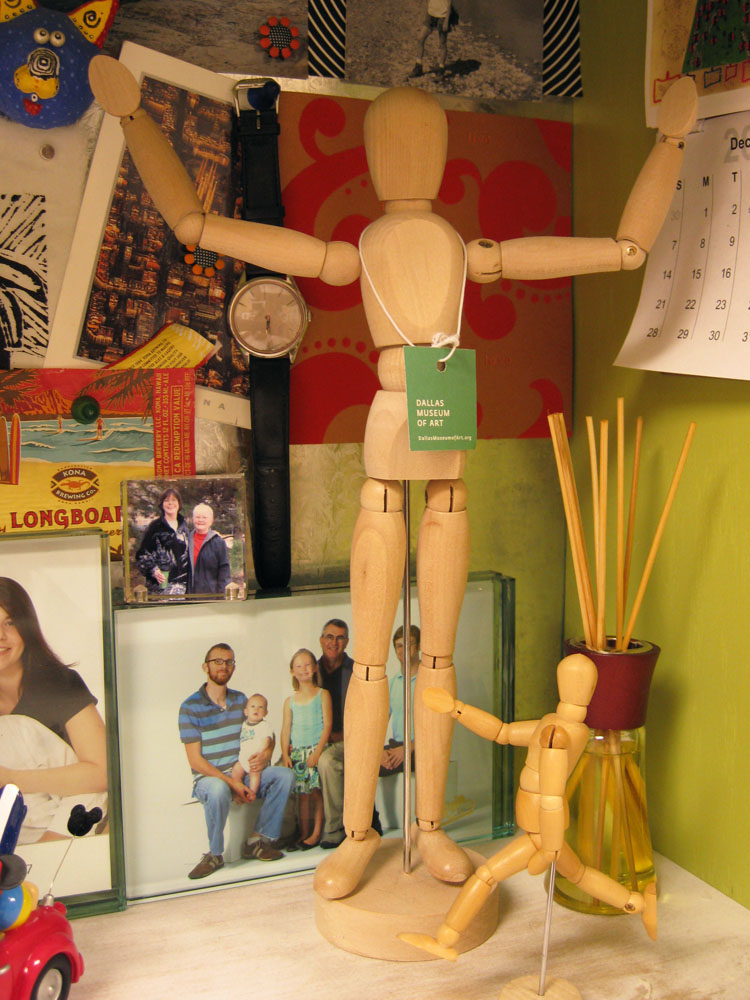
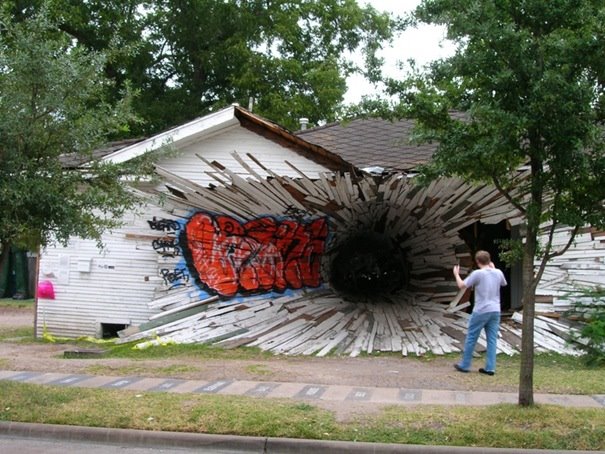
Last night Steve was reading yesterday’s post and he decided that it was the perfect time to give me an early Christmas gift. Now I know what the little man is running from!


Steve found my dragon at the RISD gift shop. It’s the Dragon Manikin from Art-Alternatives.

The wooden guys…

How many of you have one (or more) of these posable wooden figures? I love mine. I don’t usually draw them, they just live on my desk and keep me company. My wooden guys didn’t make me smile, though, until my (grown) sons started playing with them. 


Every now and then Jeff and/or Chris will change a pose. I’ll suddenly notice that the guys have moved, seemingly by themselves! I can’t help but wonder what the little guy is running from, or to…

A quilting tip…

I basted a couple of quilts last week and thought I’d share a trick with you. Whether you hand or machine quilt, here’s a way to protect the batting at the edges of your quilt while you are quilting. First, run a line of basting stitches not quite 1/4″ away from the raw edge of the top of the quilt. This holds the 3 layers firmly together at the edges.


Trim away the excess batting, leaving about 3/4″ of batting beyond the edge of the quilt top. Trim the backing about 3/4″ away from the edge of the batting.


Fold the backing over the batting. Butt the raw edges of the 2 fabrics together. Baste the backing over the batting. Do this on all four sides of your basted quilt.

You’ll be surprised at how much this simple step will protect the outer edges of your quilt from stretching and fraying as you work. And it cuts down on the amount of lint generated when you machine quilt.