Visiting with Friends

Can you believe I am writing on the blog.  I have lots of ideas and good intentions. Somehow I manage to procrastinate too much. I told Becky I was going to begin writing on the blog on a regular basis. She said she would have to see it. 

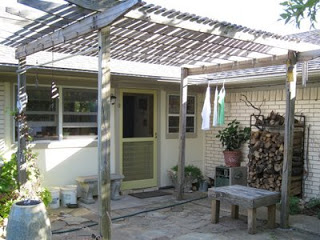
It is always so much fun to have a friend come to visit. Especially if they are a quilter. My long time quilting friend Glenna Hailey and her husband Bill were recently here.  We share so many interests that it is a none stop gabfest. Bill and Paul love to play golf.

Glenna’s company is Holly Hock quilts.www.hollyhockquilts.com. Check out her new book Sugar Sack Quilts. She specializes in quilts made from feed sacks and reproductions of feed sacks. You should see her room with all the feed sacks. She has the largest collection of them I have ever saw. I always wanted to spend a night in that room. 
Glenna also sells antiques and collectables including feedsacks. http://www.feedsax.etsy.com. She is so much fun to go antiquing with. I have learned a lot from her. She found a spread while we were out that was nursery rhymes characters. I would have walked by it but she saw the possibilities for it. It is fun to shop looking at things from another person’s view.
We decided to go to the Palisade Peach festival which is about 15 minutes from my home. What a treat. They gave us peaches to eat when we paid to get in. There was everything imaginable made from peaches there. Wine, ice cream, fudge, salsa, etc. It was a taste feast. I advise you not to try the peach peanut butter. Yuk!
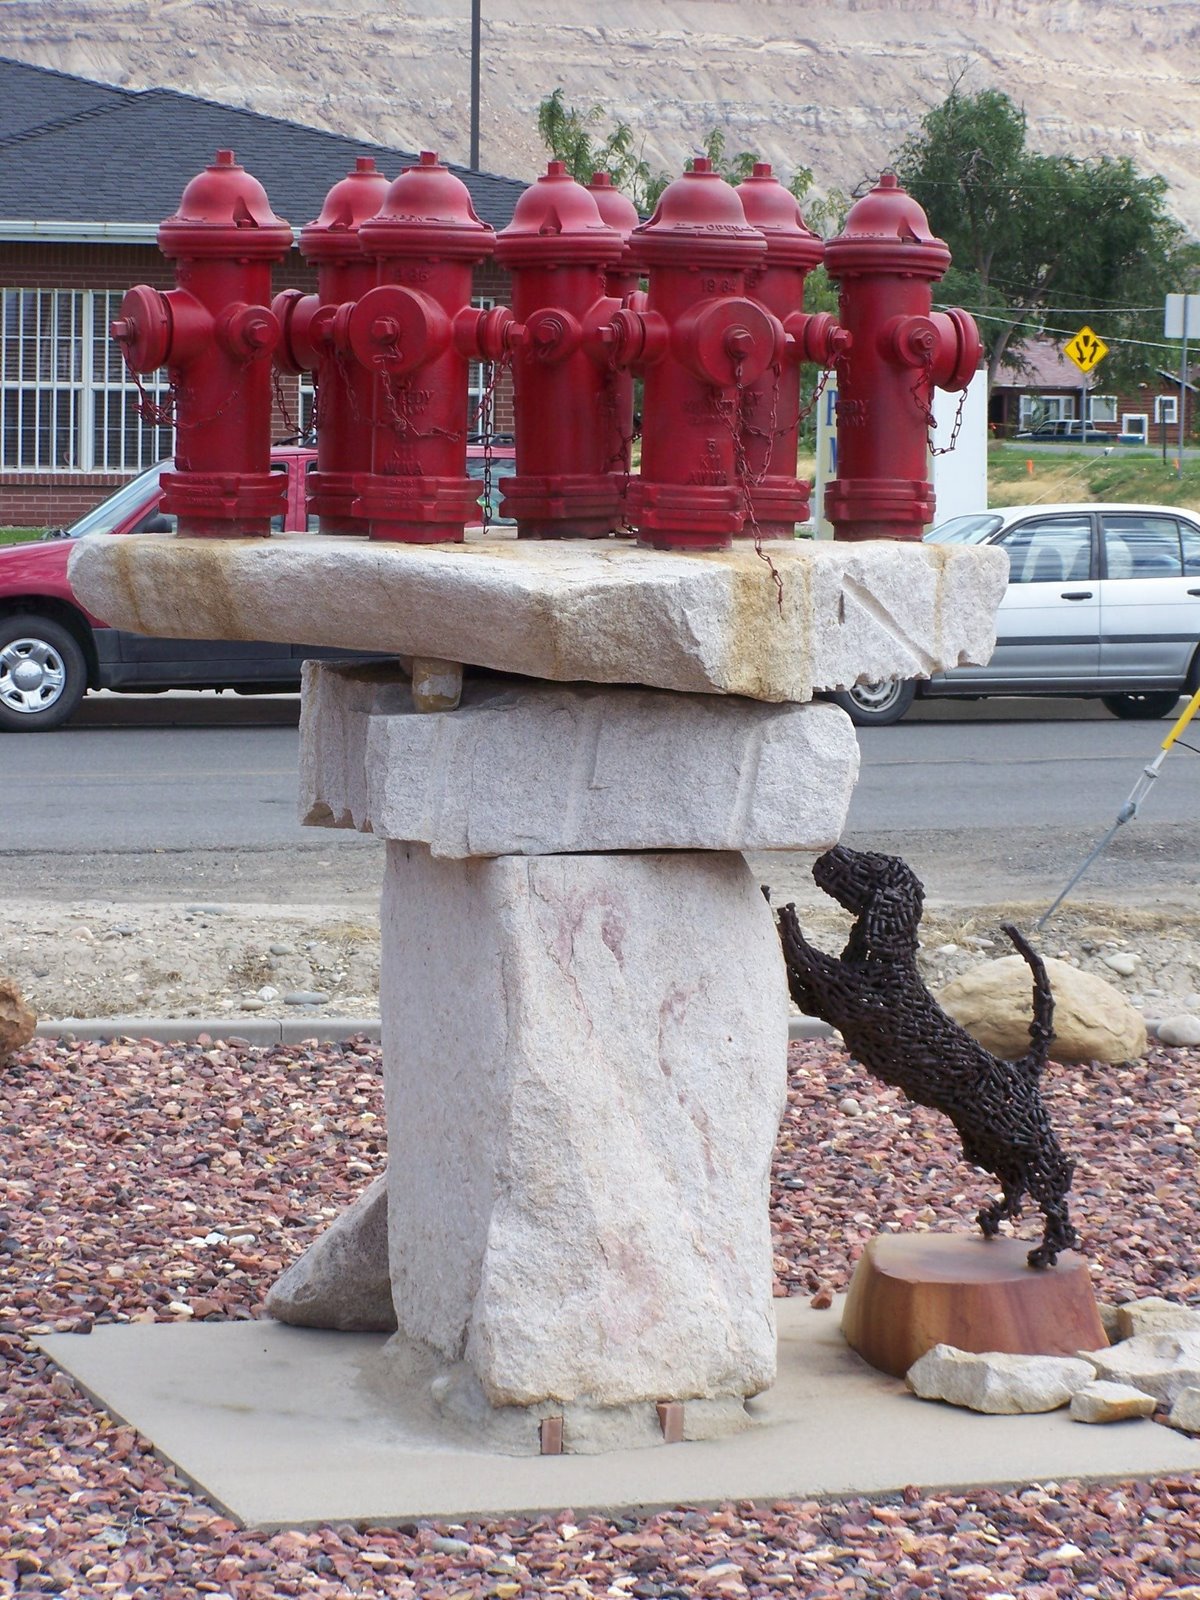
While entering Palisade we saw the greatest sculpture, which gave us all a good laugh. It was a statue of a fire hydrants with a dog at the base trying to jump up to it. 
Have a great creative day. I am making pillows this afternoon for my sister’s birthday.
Linda

Applique a "wheel" off-the-block…

I’m learning new things! I found flickr and pictobrowser. Flickr is a photo sharing website. Pictobrowser works with flickr to make cool slide shows like the one below.

What I’m showing below are the steps that go into making a “wheel” off-the-block. This particular wheel is going into a smaller version of the Lorna’s Vine quilt that is in our book Amish-Inspired Quilts. This is a big wheel –  the block it goes on has a finished size of 6″ x 6″.

You will find smaller wheels in the center of the Aunt Millie’s Garden blocks. The construction technique is the same for the smaller wheels.

I wrote notes to go with each image, explaining what I’m doing in each step. Run your cursor over “Notes” on the bottom right side of the slideshow and they should show up. The window cuts off a little bit of each image, but you can grab the image with your cursor and move it around. Next time I’ll make the slideshow narrower which should eliminate this cropping problem.

I have posted this slideshow on our website with each of the books mentioned above.

It’s a beautiful day…


I worked in the yard this morning. There were weeds to pull and plants to move. Steve got out the chainsaw and pruned the ash tree in the backyard. It’s going to have to come out in a few years – it’s too close to the foundation. We’re going to plant a replacement tree as soon as it’s cool enough.


There are days of yard work ahead but that’s for later. I’ll be going to Tampa to teach for the Feather Princesses on Tuesday so my gardening is over for now. (BTW – Isn’t “feather princess” a great name for a guild?!)


I have a huge sage out front. It’s easily chest-high and is usually buzzing with bees. Lately there have been monarch butterflies on it as well. They flit around a lot but I did get one non-blurry image. The orange habanero pepper was not moving and was easy to take a photo of.
I plant peppers in the front yard, next to the big sage. I’m going to add even more vegetables out front next year. They blend in with the rest of the plants and the neighbors don’t seem to care. Steve makes a great habanero sauce with these peppers.

Painting pumpkins…


I helped Elanor paint pumpkins a few days ago. This was after we worked on a birthday cake for her mom and dad – they both had birthdays this week. And after we fixed the hole she cut in her shirt with scissors that morning. (We fused a star over it.)

Elanor had me draw outlines for the eyes, nose, and mouth on each pumpkin and then she did all the painting. We used acrylic tube paints (which is what I had on hand). There was some color mixing. She was after scary pumpkins and I think she nailed it!

Did you notice that I forgot to spread newspapers underneath the paint? Elanor did fine, but I managed to get paint on the table. It mostly came up!

Good ideas from dorm rooms…

When I was catching up on some blog reading I read a post on designsponge that led me to a NY Times article. It’s an article about interior design on the cheap – done by college students. Click on the multimedia slideshow on the left side of the page to see the images. 


There are some really good ideas! I especially like the big polka dots on the wall in slide #7 (at left). I’ve been wanting to add some dots in my kitchen and this might actually get me moving.

You may need to register yourself with the NY Times to see this slide show. It doesn’t cost anything and it’s a very good site. I find a lot of interesting information on their site.

Drying clothes outside…

I don’t know about you, but I hang a lot of my clothes to dry. The fabric looks better longer if it’s not in the dryer too often. I hang wet clothes on hangers on a rod in the utility room. When that’s full, I end up hanging clothes in the bathroom(s) on the shower curtain rod(s). I don’t have an outdoor clothesline. Why is that?


If you read about my studio re-model this summer, you may already know that I have a pretty small backyard. There is not a particularly good place for a clothesline. On special occasions I have been known to tie a rope up on the supports for the roof over the patio. I had a “special occasion” on Tuesday when I washed our pillows.

FYI — I washed the pillows because I realized they needed it. (Surely I am not the only person who doesn’t think to wash the bed pillows regularly.) Two of the pillows were filled with polyester and two with down. I washed them all, two at a time. I didn’t have tennis balls to put in the dryer with them, so I used 2 small wooden blocks. Boy, did that make a racket! They got mostly dry in the dryer, but needed more – forcing a “special occasion” clothesline outside.

Then I realized that I should really have a permanent clothesline. It’s the green thing to do. And clothes hung outside smell great! But where would I put it? Duh! I hang my clothes on hangers, on rods, to dry. I didn’t need a clothes line so much as I needed a clothes pole! 

I figured I could put up conduit (a pipe that electrical wires are put through) on the same patio roof supports from which I suspend my “special occasion” clotheslines. I bought two pieces of 3/4″ conduit and some U-shaped hardware to hold them onto the posts. I cut the pipes to the correct length and hung the pipes myself. Honestly it wasn’t hard at all. I spent less than $15 and it only took 1 1/2 hours.

You can see the clothes hanging on the pole on the far side of the patio. I put up two clothespoles, on opposite sides of the patio. 


I moved the clothes to the other side to take this photo. I figure I’ll want to keep our clothes out of the sun and I’ll use whichever side is in the shade.

As I sat back and admired my handiwork I got to wondering why it took me so long to come up with this solution. I wish I knew! We’ve been in this house for 14 years!!! Dang! Then I thought, OK, blog about it. So here you go – I hope this is helpful to some of you.