Recovering office chairs…

StudioFrmBedroom-01
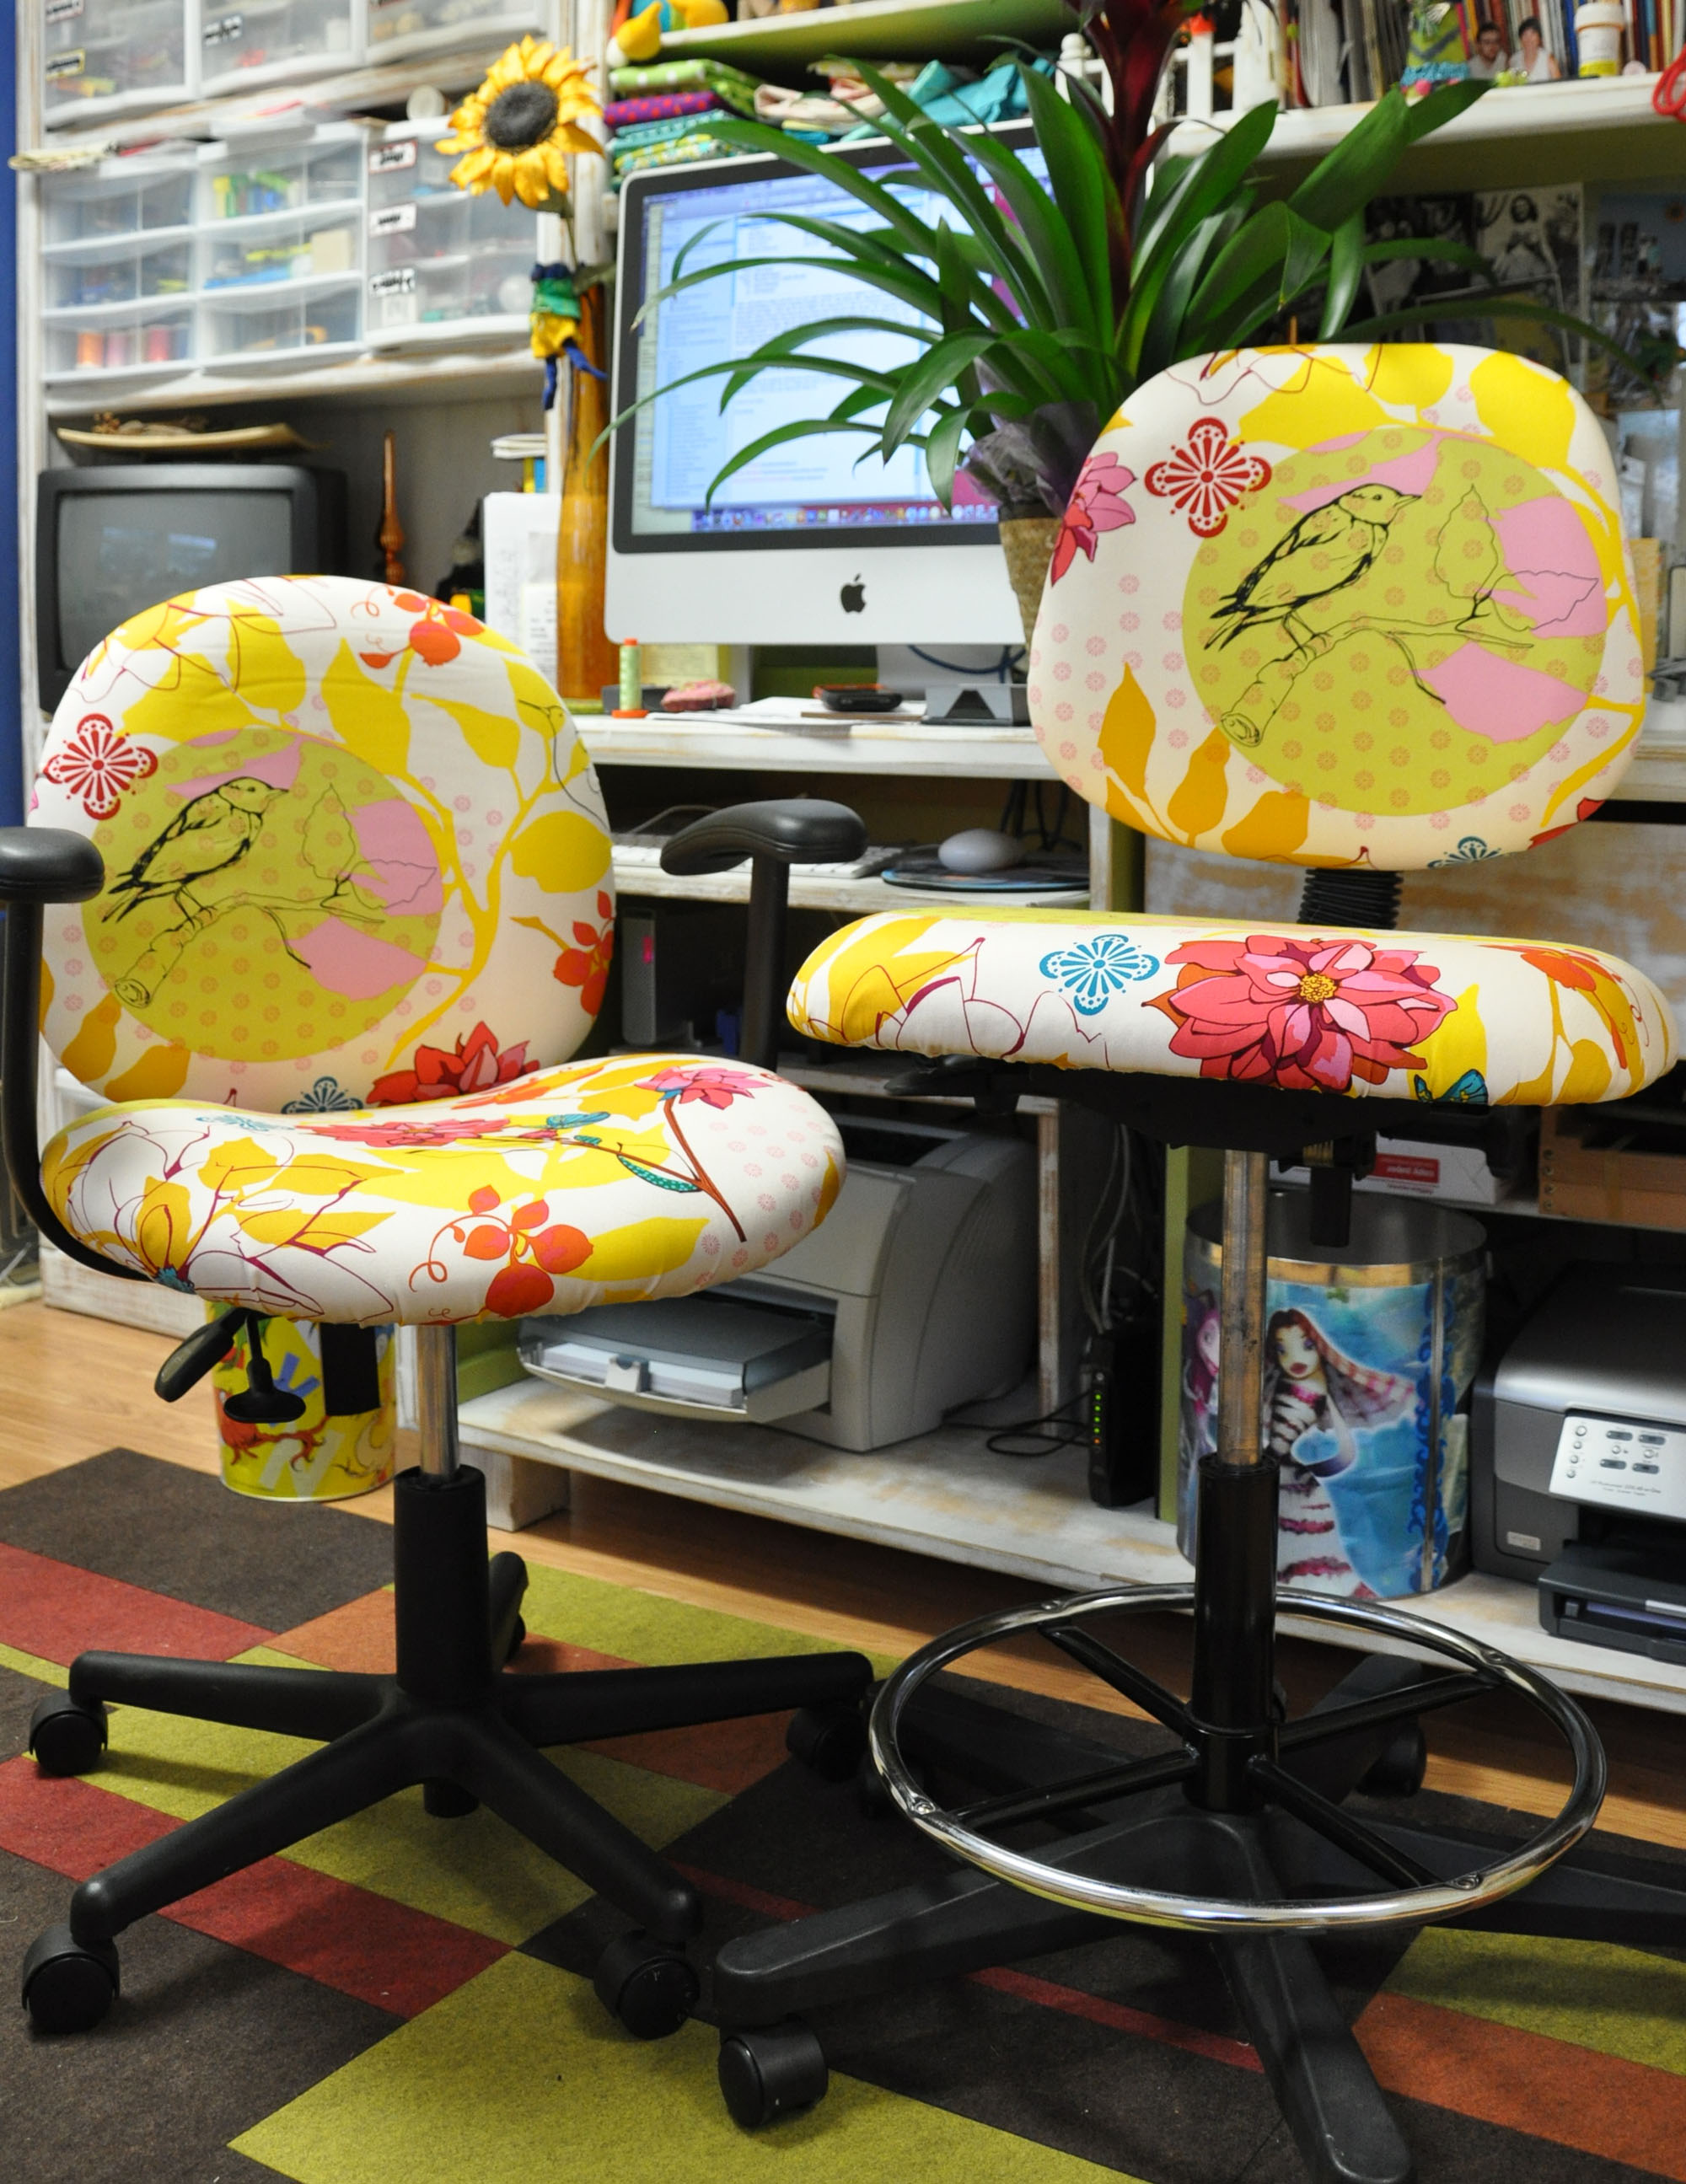
I've had two mis-matched office chairs in my studio for several years. One is tall for my drafting table, the other is the one I use at the sewing machine and computer. I finally found a perfect fabric (by Heather Bailey – Oops! I just found out is Anna Maria Horner's fabric. Both ladies do such great work I got confused) to recover them.

Last weekend, when my head was too sore to applique (due to a sinus infection) I decided to tackle the chairs. If this is something you've wondered about doing I want you to know that they were surprisingly easy to recover.

Both of the chairs' seats were screwed to their chair's base. Once off, it's pretty easy to remove the old fabric from the seat and put on new fabric. The chair backs are more cryptic.

There's an obvious join between the back and front of the chair back. To separate them put a small pry bar into the join and pry them apart. In both of my chairs the front and back had been nailed together with 1" finish nails. I recovered the individual parts. Nailing them back together is a trick. I snaked new 1" finish nails into the fabric in such a way as to be able to pop the fabric over the end of the nail once it was nailed in. I was careful not to mar the fabric. 

RecoveredDeskChairs 

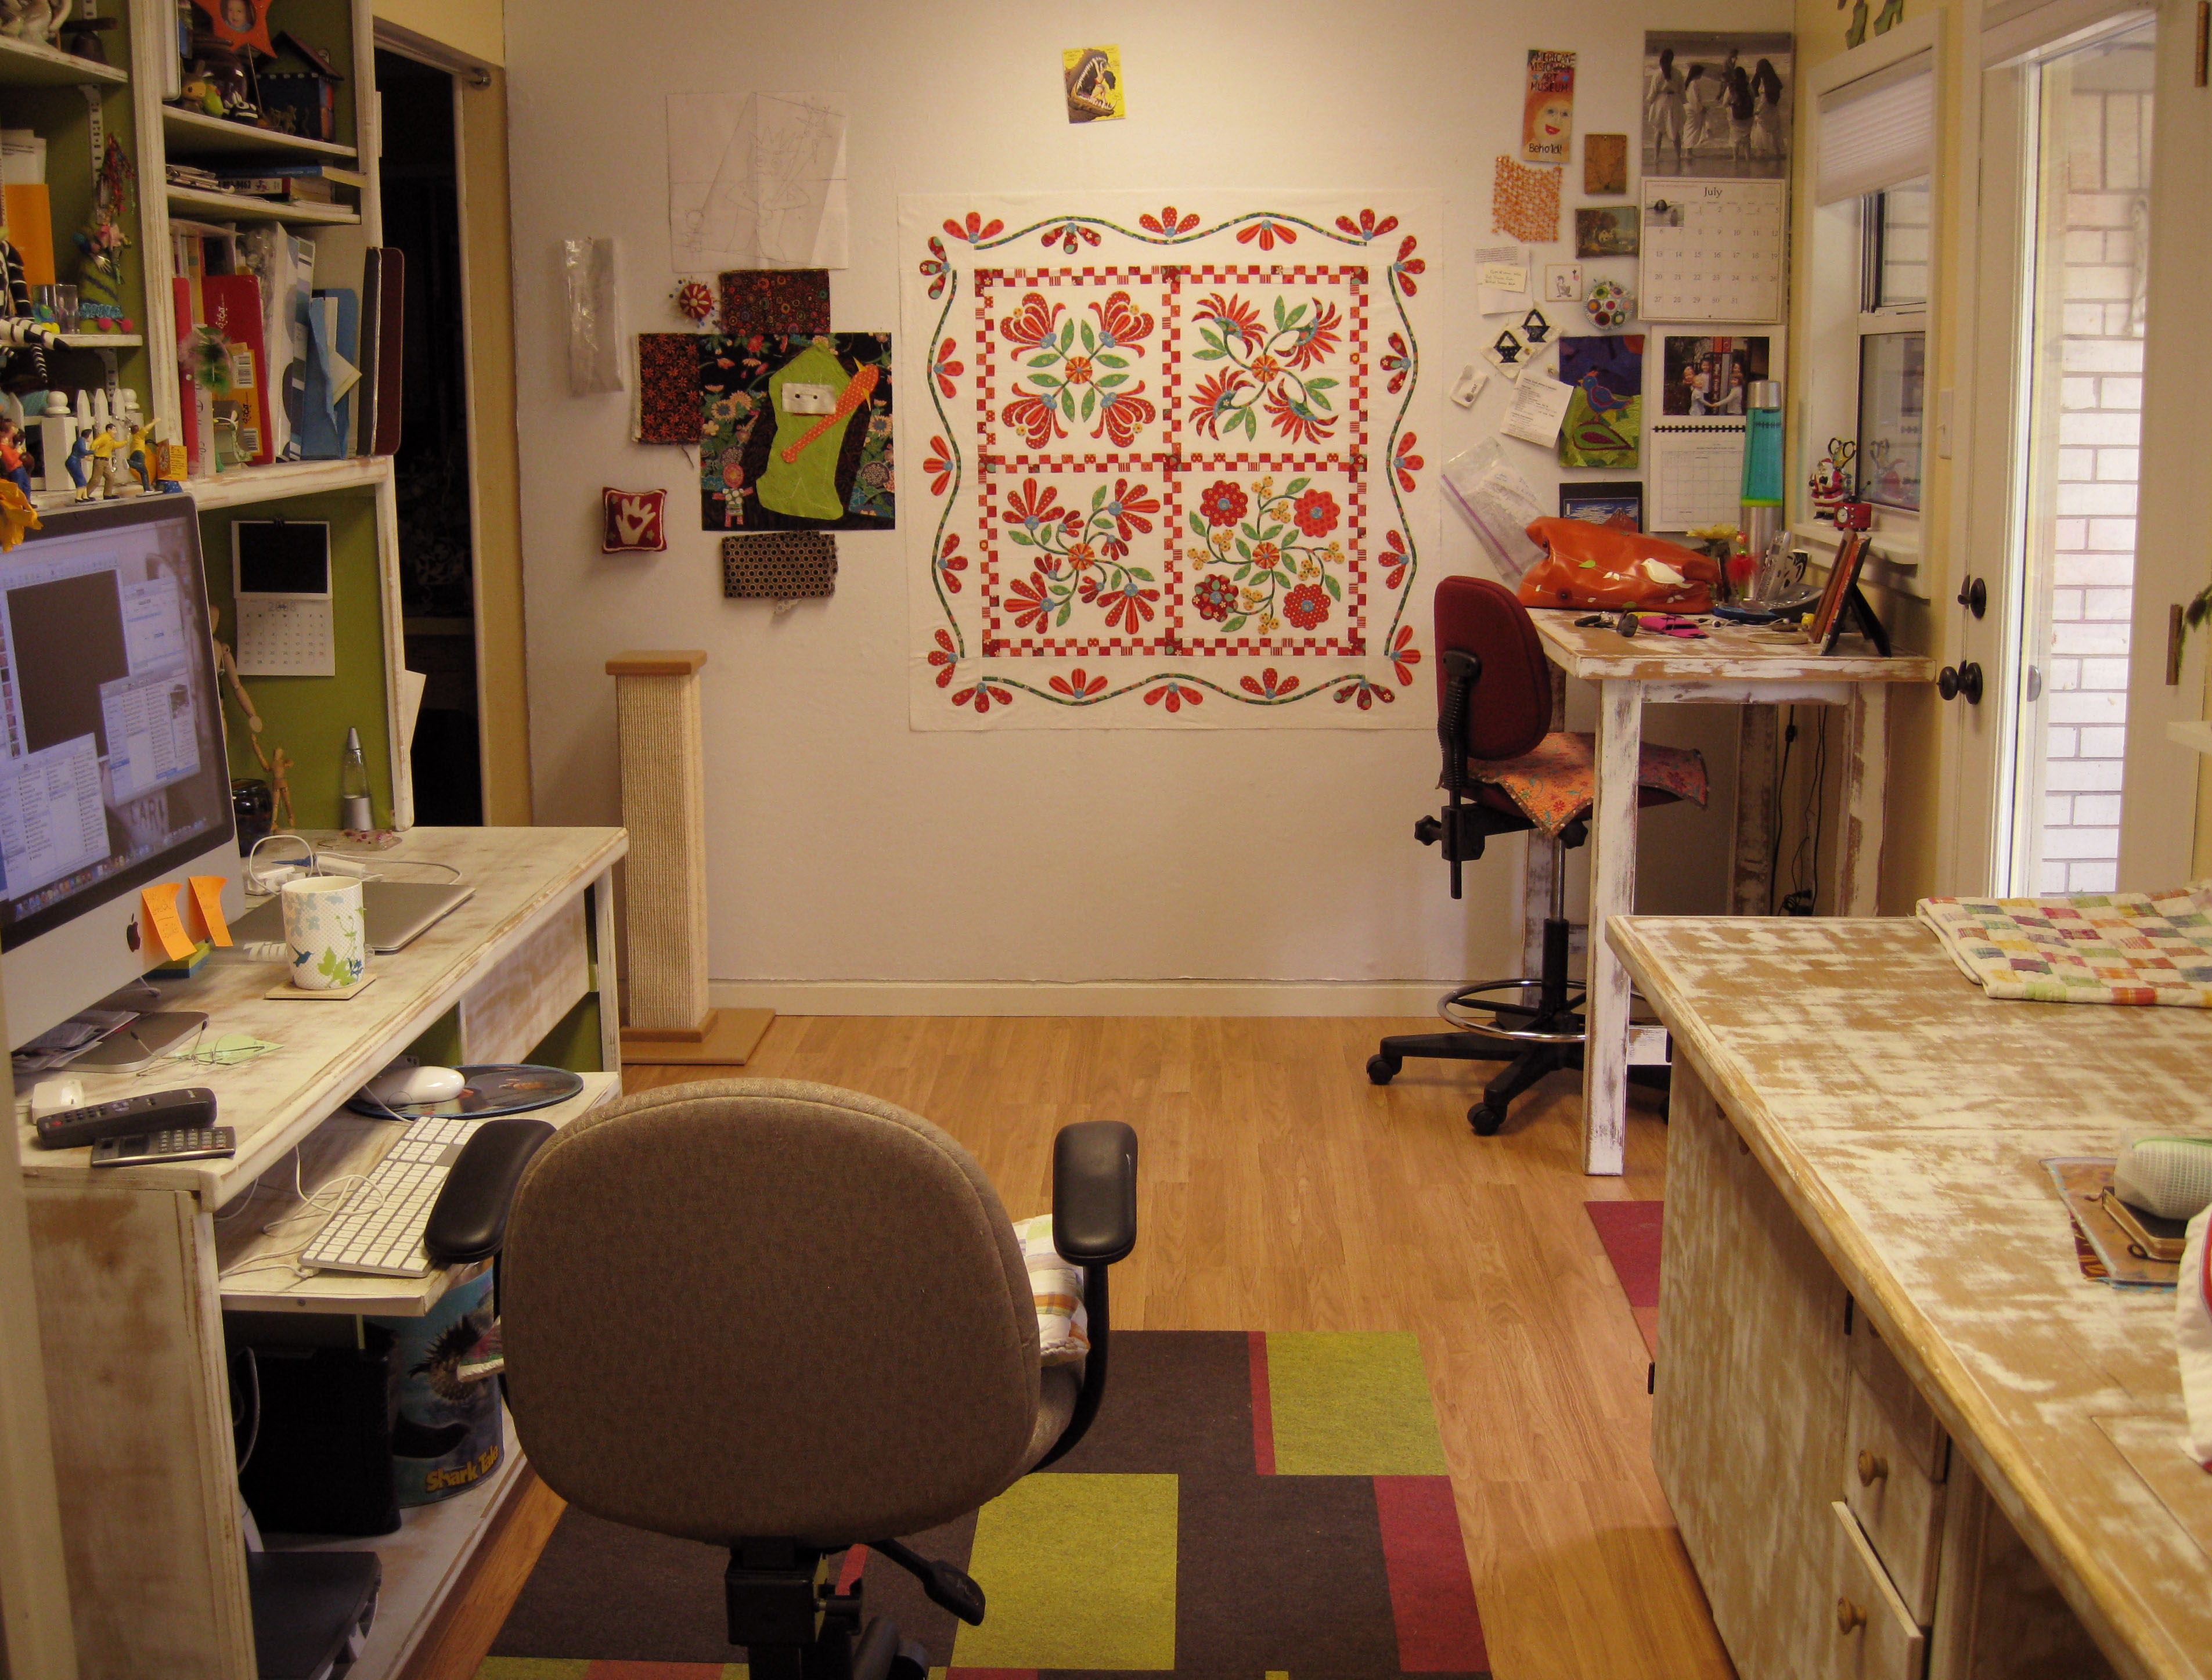
Aren't they cute! I sprayed them with Scotch Guard and I hope it works. I considered spray painting the metal parts of the chairs a color but the black looks OK and I just didn't want to fool with them any more. In the photo above I cleaned up the area around the chairs. Just so you know that my studio is not that pristine, here they are in their actual environment:

RecoveredDeskChairs-02 

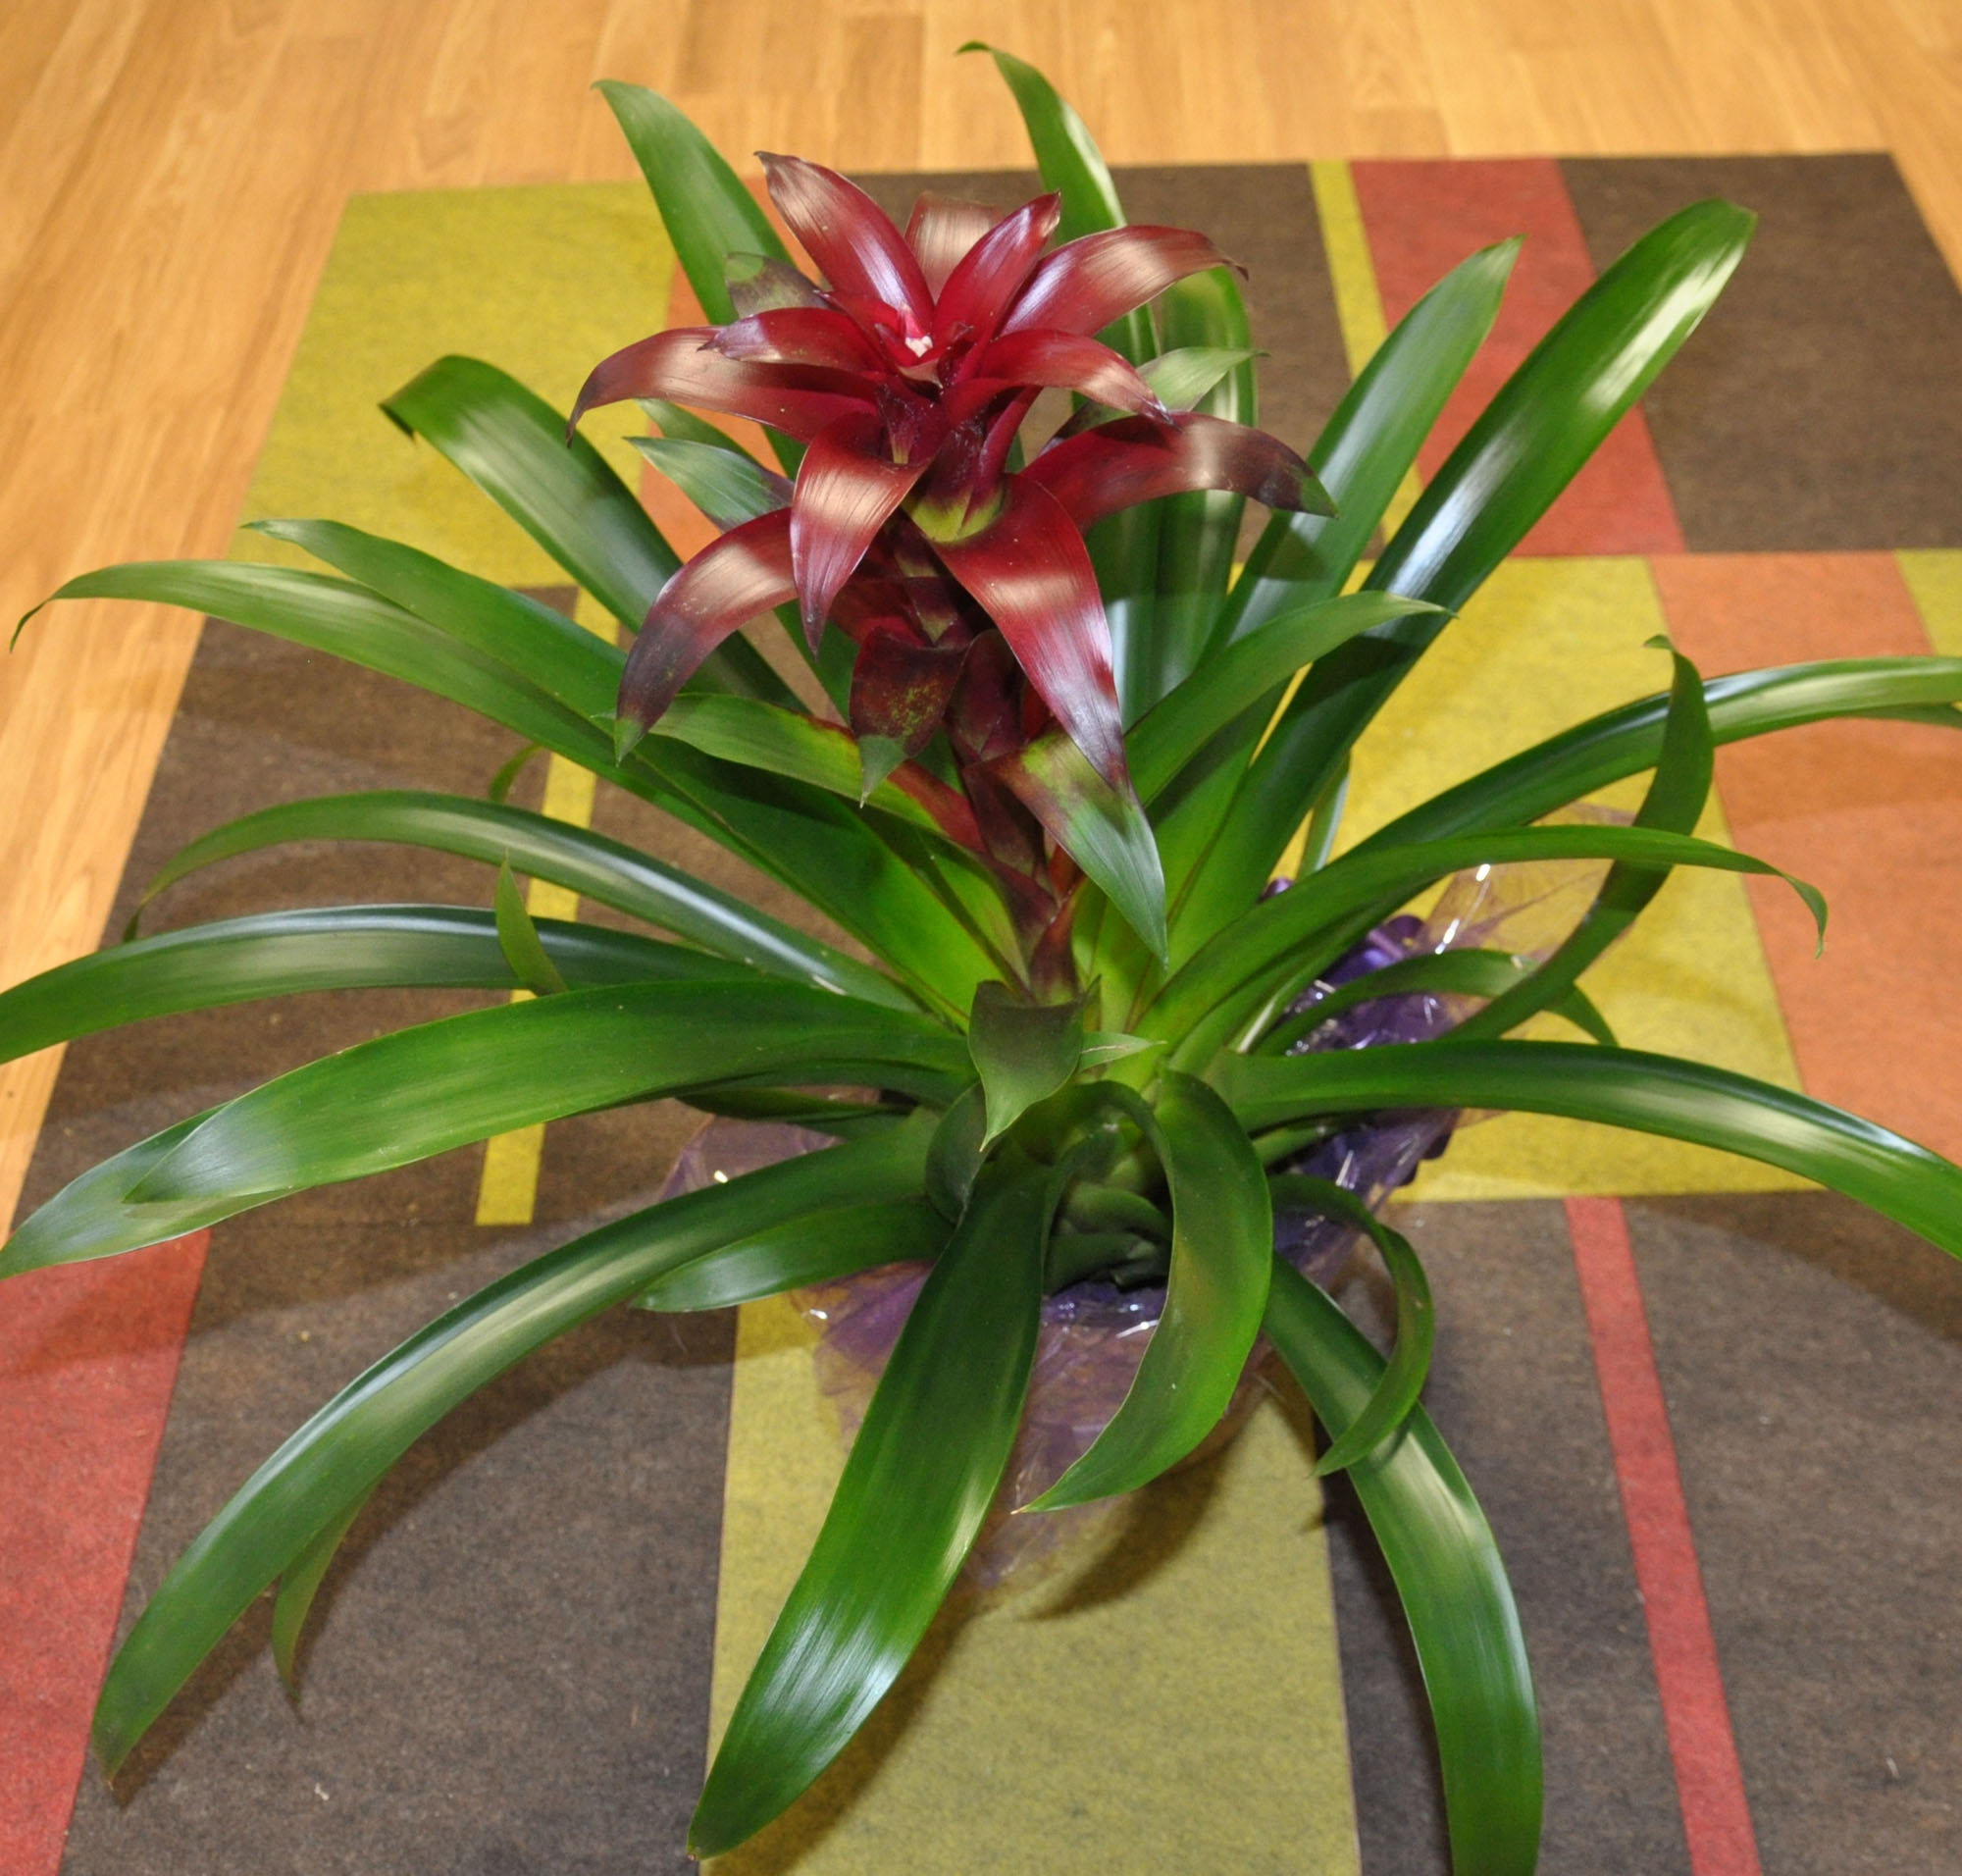
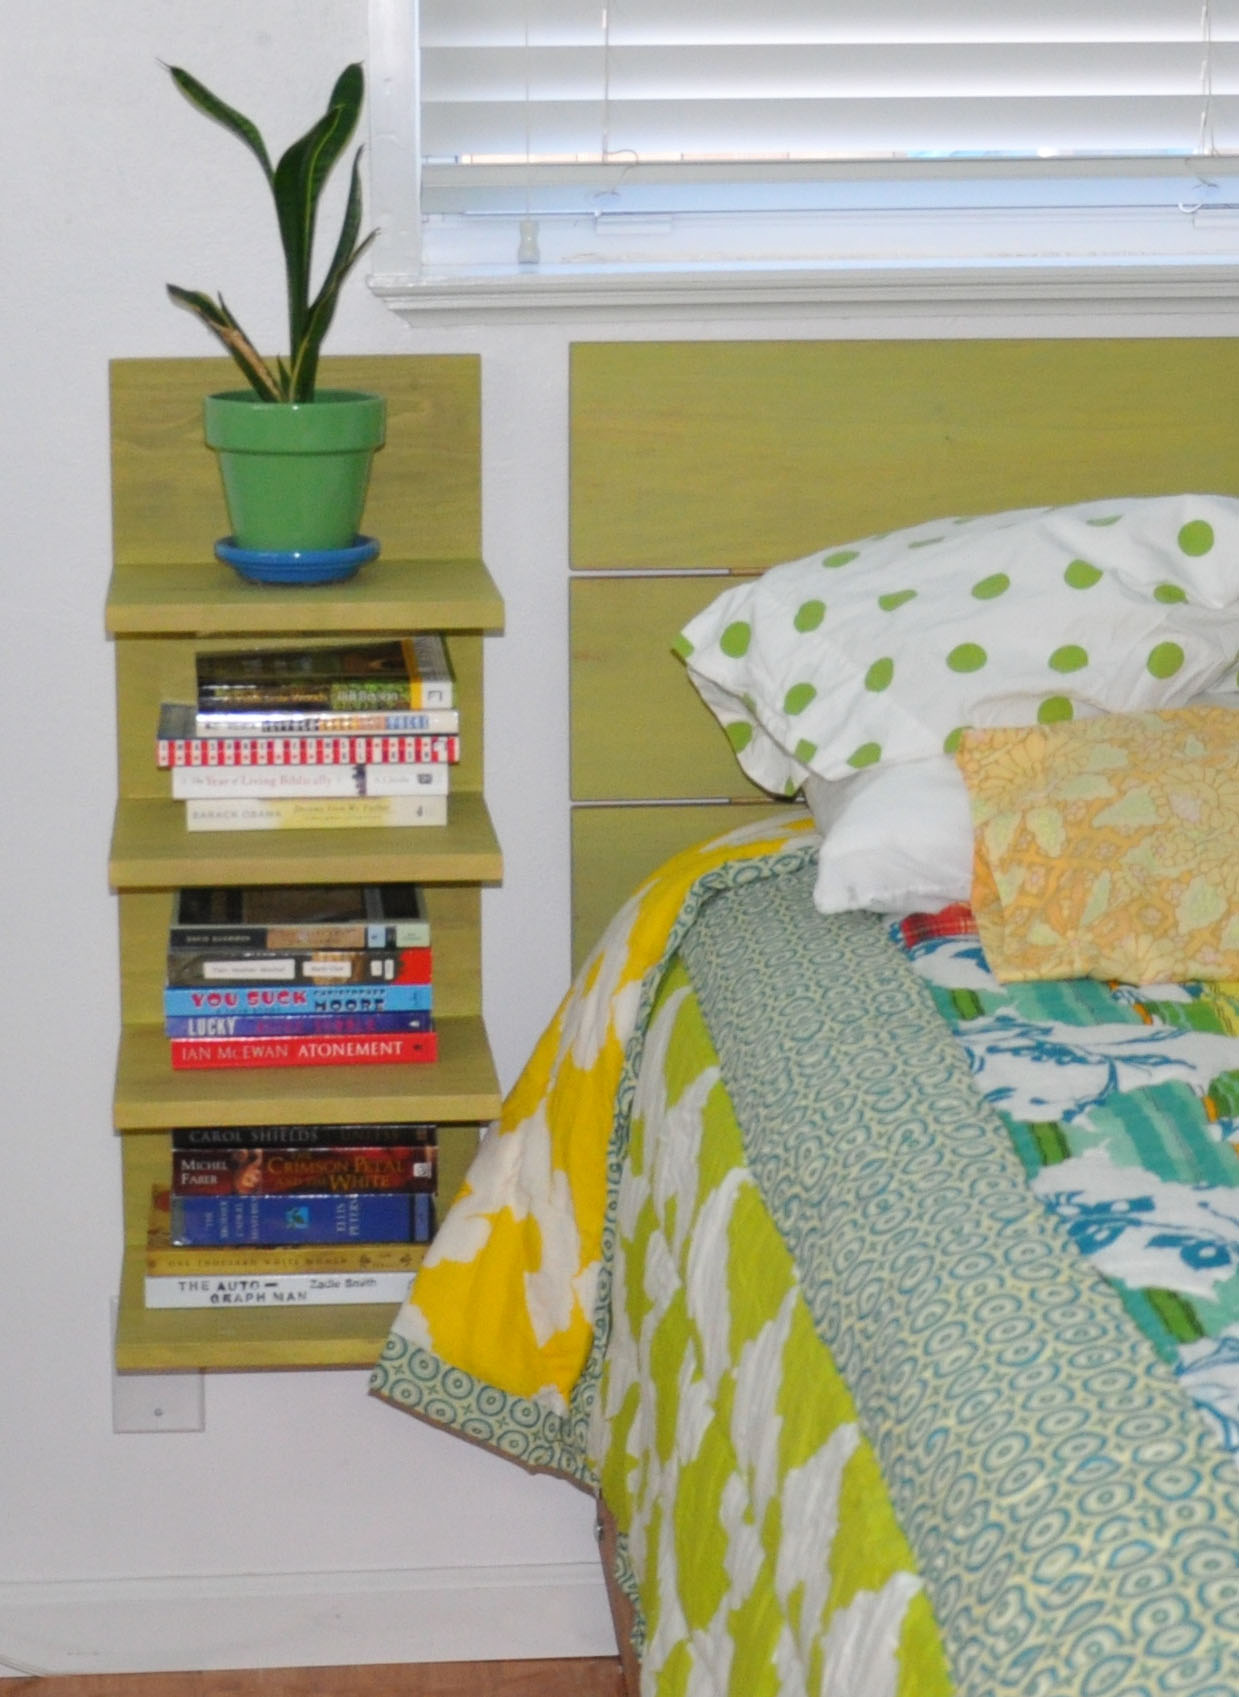
And a question… does anyone know what that plant in the background is? It was a gift and if I know what it is I'm less likely to kill it. I'm guessing it wants light and not much water – and a bigger pot than it is currently living in. Here's close-up:

WhatPlantIsThis

More paint play…

I've done more with the Liquitex paints! I made 2 little quilts for C&T to use in their booth at trade shows. I had a half of a lemon in the refrigerator that I used as a stamp. I mixed the paint with Iridescent Medium and stamped on my fabric. Here is Red Lemonade:

RedLemonade copy 2 

I hand quilted this with big stitches in hand-dyed red pearl cotton. I finally found a use for my painted safety pins – they are holding bits of dyed wool felt in place through all the layers of the quilt.

RedLemonade copy 

I continued to use the same lemon. Here's Fuzzy Yellow Lemonade:

FuzzyYellowLemonade copy 2 

It's "fuzzy" because I stitched a silk hankie on top of the fabric. I also added a strip of sheer, ribbed polyester fabric. The metal rings are something from my grandfather's hardware store that we have carted around for 30+ years. There is some machine stitching with big-stitch hand quilting with hand-dyed pearl cotton.

FuzzyYellowLemonade copy 

Playing with paint could become addictive!

Playing with paint and a stencil…

PaintAndStencils-01C&T, our publisher, is now packaging Liquitex acrylic paints, inks, and Inktense pencils in sizes (and prices) that are good for quilters. I got some samples to play with and yesterday took some time to do just that.

I decided to use this flower stencil, from The Crafter's Workshop, with the paint.

I have to admit that I have worked with paint and dye before and I knew that if the paint was too thin or too thick it wouldn't work with this stencil.

I tried placing the the stencil on top of the fabric and painting over it. I decided that I didn't want that much paint on my fabric.

The next thing I did was paint one side of the stencil, turn it upside down on top of the fabric, cover it with a paper towel (to absorb excess paint) and roll it all flat with a brayer. If you don't have a brayer, use a rolling pin covered with plastic wrap.

PaintAndStencils-03 

I had hoped for crisper prints but the more I looked at these, the more I like them. I know that I could get crisper lines if I used the stencil to make a silk screen and then silk screened the fabric. That's actually not hard to do – but it's not how I want to spend my time.

This was fast and fun and it's yet another good way to make your own fabric.

PaintAndStencils-04 


About those piles of fabric…

This event was just brought to my attention and it deserves to be shared. I am quoting an article from News-Leader.com in Springfield, Missouri, about a house fire in a quilter’s house:

“A fire in a back room in a southeast Springfield house was
particularly stubborn to extinguish because the room was filled with
cloth and quilting materials, a Springfield fire marshal said after the
early-morning blaze was extinguished.

While a sewing room
in the house was gutted, flames that
entered the attic caused so much damage that the rest of the house was
made uninhabitable, Fire Marshal Ben Basham said.

A malfunctioning electric heating unit in a window caused the blaze, he said.

Firefighters were called to the scene after an alarm was sounded at 3:38 a.m.

The
house’s three adult occupants who were alerted by a passing newspaper
carrier called in the alarm before fleeing unharmed, Basham said.

The fire was difficult to fight because of what was inside the sewing room, he said.

“The room was completely filled with fabrics and quilting materials,” he said.

Firefighters had to pull apart piles of fabric to spray them with water, he said.

No firefighters were injured, Basham said.”

FabricCloset copy Doesn’t that make you consider a sewing room clean-up!

I recently tidied up my own closet of fabric. There are currently 2 boxes with a total weight of 38 lbs of fabric heading to a friend.

As you can see, the shelves still sag under the weight of my remaining fabric, but there is space for new purchases!

Tulips in the Park – an error to note…

Tulips in park choc It was brought to my attention last night that there is an error in the Materials section on all of the Tulips in the Park ePatterns. It's my mistake and I apologize for it.

If you bought and downloaded any Tulips in the Park ePattern before February 4, 2010 (this morning), please look at the Materials section. Do you see a listing for black border background fabric? You do NOT need the black border background fabric. You DO need the 2 1/2 yards of brown background fabric that is listed near the top of the Materials section.

Again, I sincerely apologize for any inconvenience this may have caused you.

New nightstands…

When I painted our bedroom and rearranged the furniture, my old nightstand didn't fit anymore. Steve had already made us a simple headboard that hangs on the wall and I got to thinking that nightstands hanging on the wall would work well with it.

NewNightstand 

I drew up the plans and Steve built them for me. I finished them with paint mixed with glazing fluid. The colors are not an exact match, but they are surely close enough. I really like the fact that they are not taking up floor space.