Bird ornaments…

I make Christmas ornaments every year to give as gifts. This year's ornament is a bird made from vintage fabrics. Each bird is made up of 2 sides and 1 bottom gusset. I used a different fabric in each position on each bird. Here are a few of the 21 ornaments I made:

BirdOrnament-02 copy 

I covered wood clothespins with glitter and hot glued a bird to each clothespin. Luckily I don't mind living with a little glitter because it went all over my studio.

BirdOrnament-01 copy

I keep one ornament for myself. One side of my bird is light, and the other side is…

BirdOrnament-03

…red! The bottom gusset is the red and white dot. I ran three lengths of flexible wire through each bird after I turned them inside out, during the stuffing process. I glued a wool bead to each end of each wire, making the birds look more festive. We'll probably be putting this pattern in the Christmas book we are currently working on.

Gluten Free Cookie Answers…

Jonelle asked about the gluten free cookies I made. Lorna, my DIL, has a gluten free flour mix that we use just as you would regular flour. She mixes 2 parts brown rice flour with 1 part tapioca flour and a pinch of xanthum gum.

How much of a pinch? I had a 20 ounce package of tapioca flour (however many cups that turned out to be) that I mixed with 40 ounces of the brown rice flour and I added 1 1/2 teaspoons of xanthum gum.

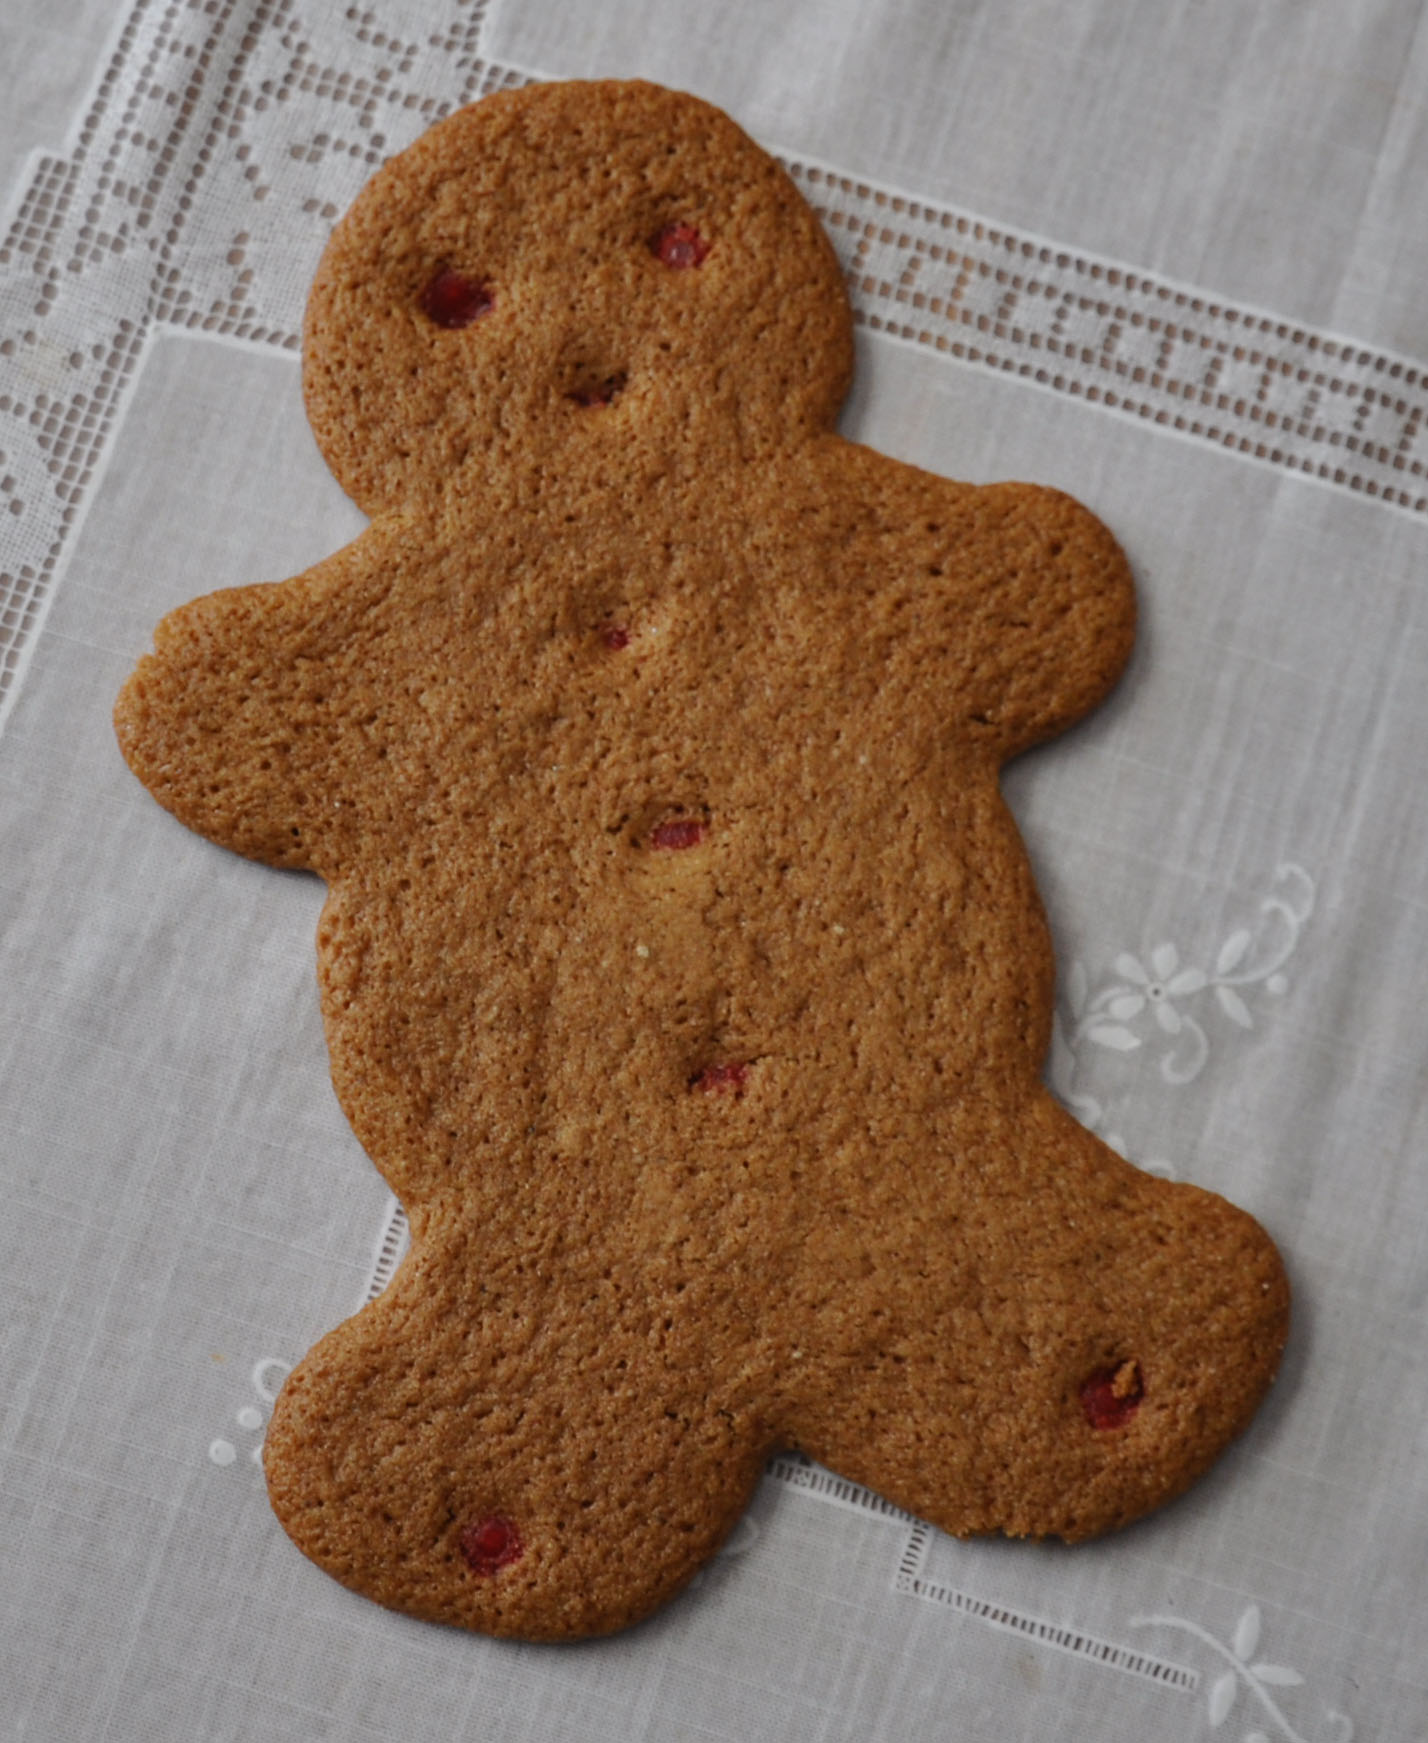
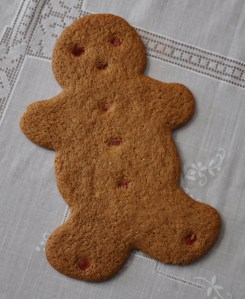
This is a grainy flour as you can see in the photo. It works great in cakes. It's a little sticky for gingerbread men but I added more flour as I rolled the dough and that helped. As the dough gets warmer, put it back in the refrigerator to chill. I used parchment paper on my cookie sheets so as not to contaminate the gluten free cookies with any bits of flour that may live on my cookie sheets (I am really careful about that sort of thing).

GlutenFreeGBMan

I use an old Martha Stewarts gingerbread recipe that calls for a little ground black pepper. It adds a nice kick to cookie. I tried to find it online, but couldn't so here it is:

Crisp Gingerbread Cookies

From Martha Stewart's Decorating for the Holidays, 1998

6 cups sifted all-purpose flour
1 teaspoon baking soda
½ teaspoon baking powder
1 cup (2 sticks) unsalted butter
1 cup dark brown sugar, packed
4 teaspoons ground ginger
4 teaspoons ground cinnamon
1 ½ teaspoons ground cloves
1 ½ teaspoons salt
1 teaspoons salt
1 teaspoon finely ground pepper
2 large eggs
1 cup unsulfured molasses

In a large bowl, sift together the flour, baking soda, and baking powder. Set aside.
In the bowl of an electric mixer, cream butter and brown sugar until fluffy. Mix in the spices, salt, and pepper; add eggs and molasses. Add in flour mixture on low speed. Divide dough into thirds; wrap in plastic. Chill at least 1 hour.

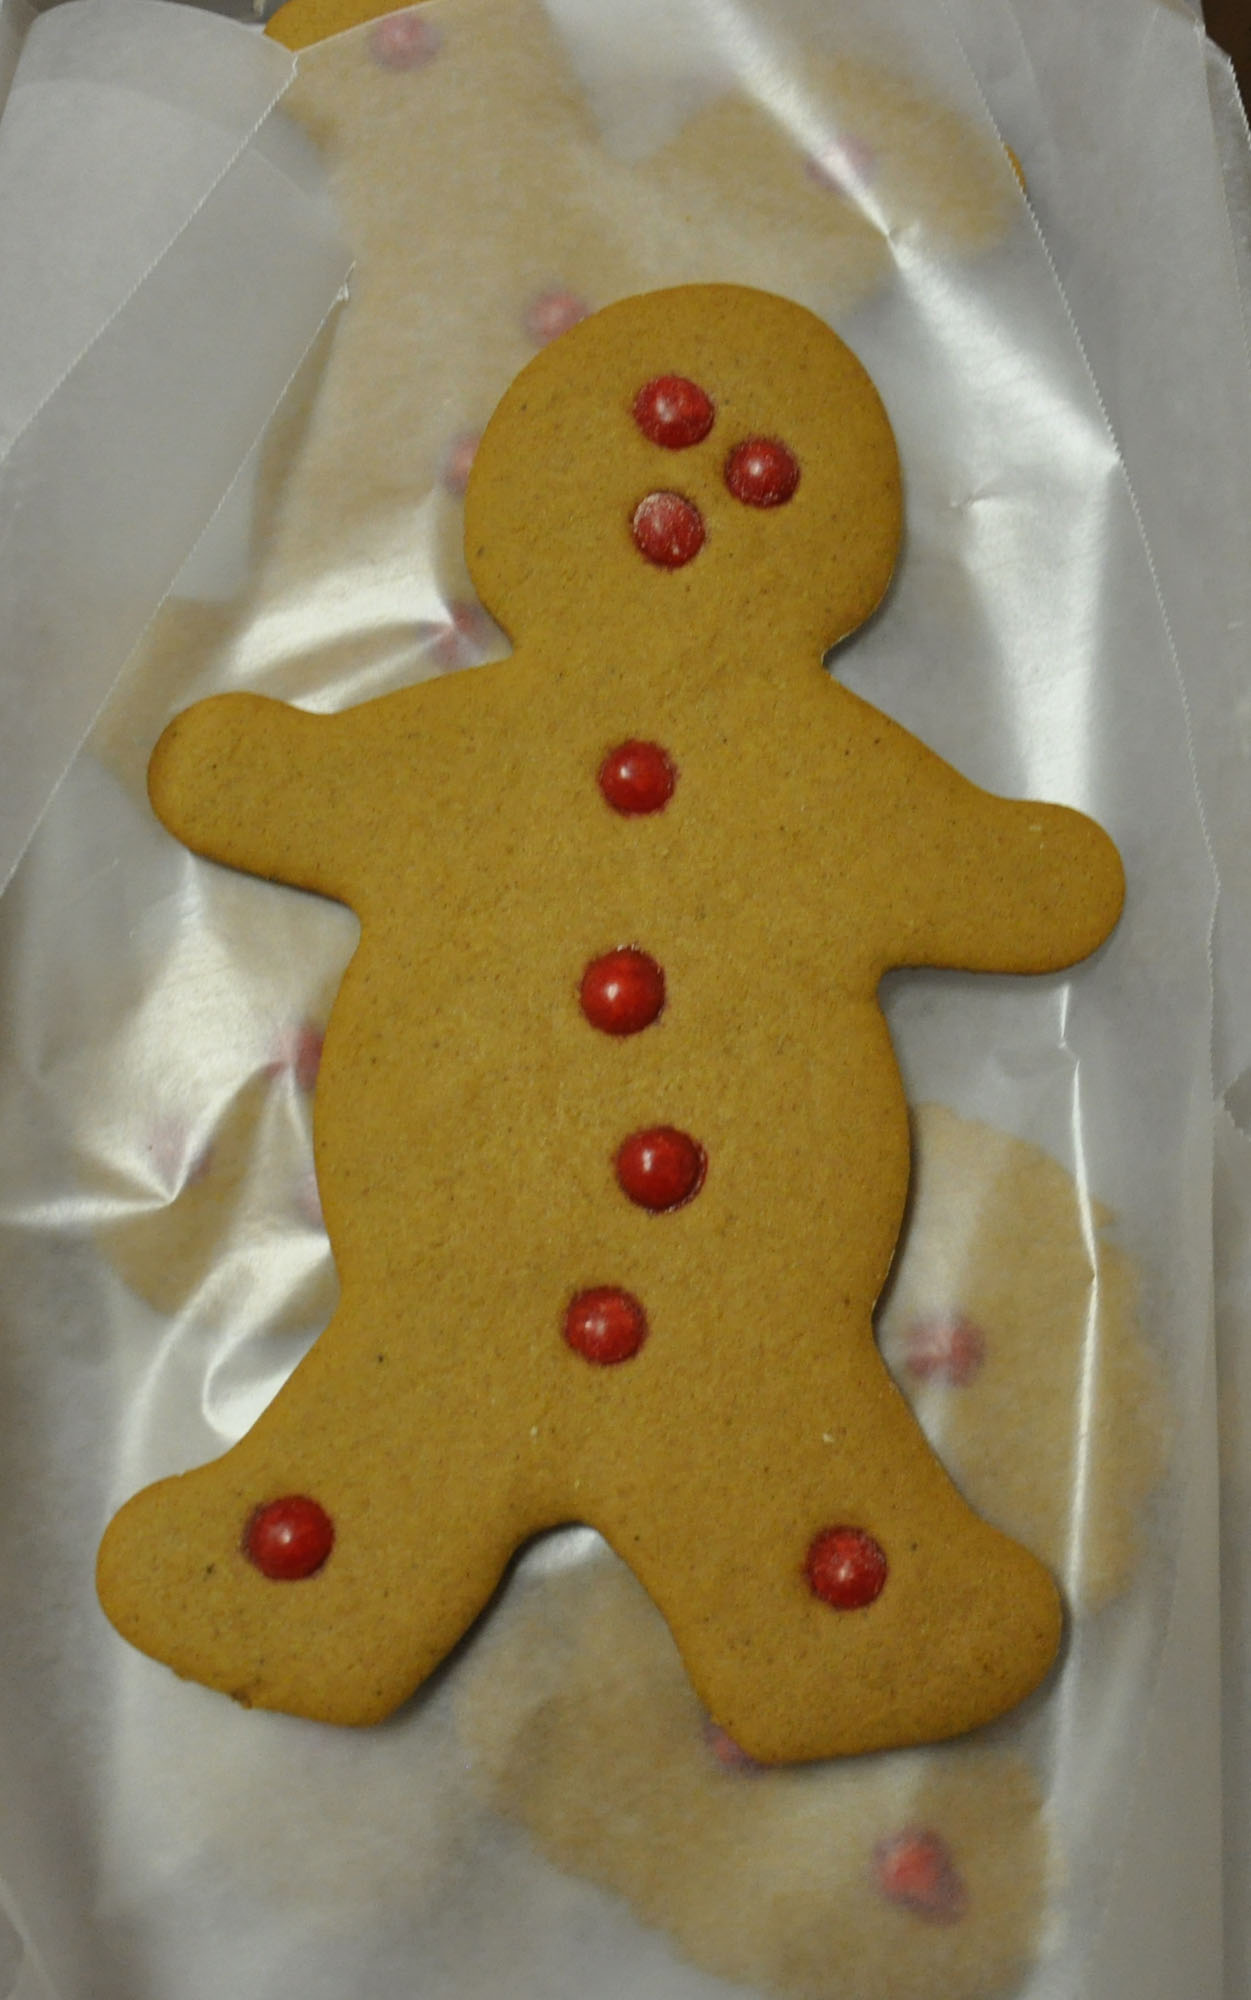
Heat oven to 350°. On a floured wok surface, roll out dough 1/8" thick. Cut into desired shapes. I like to decorate the cookies with red hots before cooking – the more the merrier!

Transfer to baking sheets lined with parchment paper. Martha's recipe
says to refrigerate the cookies before cooking them, which I sometimes
do.

Bake 8-10 minutes, or until crisp but not darkened. Let the gluten free cookies rest a few minutes on the cookie sheet or they will break into bits when you move them. Cool on wire racks.

Gingerbread men…

 ShermanSymphony

This weekend is the annual Pops concert at Austin College put on by the Sherman Symphony Orchestra. It is always a festive and fun way to get into the Christmas spirit. We opt for a table which means that we sit up near the stage and we have a place to put our hot chocolate and cookies during intermission. I always make gingerbread men for this event.

I had Elanor and Jack over yesterday morning and I thought it would be fun to let them help with the baking. I am now going to admit to something that not every mother or grandmother will admit to: I do not bake well with children.

I do not have fond memories of baking with my boys when they were little and that is probably because I have erased those days from my memory. My husband has always been better in the kitchen with children and I've decided that I really don't need to try to do what he already does so well. I made a promise to myself – never again. None of us needs the stress that was generated yesterday by doing what was supposed to be fun.

However, at the end of the day, we did have lots of gingerbread men and women (both with gluten and without) and everyone was very happy. FYI – I use red hots instead of raisins on my GBM. They add just the right sweet punch to the cookie.

 
GingerbreadMan

Pool build – day 8

I hope you each had a lovely Thanksgiving! Ours was different. We visited Steve's family in Moore, OK, on Wednesday night. We visited my mom and my sister, who was still in the hospital, on Thanksgiving. And then we drove home and built fence. We ate our turkey dinner on Friday which was odd, but not bad.

PoolBuild-58 copy 

PoolBuild-59 copy 

I'm showing you our trash containers – not photogenic but it's where they live. I spent a few hours on Friday moving wheelbarrows full of that red sand you can see there. I'm so glad that I don't have to do that on a daily basis.

PoolBuild-60 copy 

Steve built a lovely gate. The hinges are self-closing (for safety) and they work like a charm.

BirdFeederPole 

Steve devised a way for me to hang my bird feeder so that I can fill it from the yard and then move it out over the alley. That way the squirrels can't get to it and the bird seed falls in the alley, not next to the pool – but I can still see the birds at the feeder from my studio window. The design needs a little tweaking, but it's going to work really well.

Pool build – day 7

Here's what happened today: the cement truck pulled into the alley behind our house.

PoolBuild-51 copy 

The decking crew came too and got right to work. They spread more sand and taped off the house so that it wouldn't get dirty from the cement. Then they started moving wheel barrows full of cement.

PoolBuild-52 copy 

This is not easy work. The only guy standing and watching was Bill, our pool contractor. And me – I took pictures.

PoolBuild-54 copy

In the photo above you can see one guy smoothing the surface of the cement. There were 2 guys spreading it into place and making it level. And then there were the 2 guys with the wheel barrows. And their boss, Al, who was overseeing and doing whatever needed doing.

After the cement got set enough, they stamped the pattern into the concrete. The stamps aren't at all what I imagined. They were thin and flexible. One was 3'-4' square and the smaller one might have been about 18" square.

PoolBuild-55 copy 

That hole you see is a drain. They put 3 or 4  in and connected them to a french drain to move the water off the deck, away from the house.

PoolBuild-56 copy 

We chose a pattern that looks like sandstone in a sandstone sort of color. Bill said to go darker than we want because over the course of the first year, it will lighten. The way it works is that once they smooth the concrete, they spread the concrete stain "dust" over it. As the concrete sets up, it draws in the color. They also added dark highlights to make it look more natural. It should be set up and looking good in a couple of weeks.

We've also been working on the fence. Here's a shot from Sunday…

PoolBuild-48 copy 

And this is what it looks like on the outside:

PoolBuild-49 copy

The most wonderful pie crust…

Sue Conrad has been making and selling pies in Sherman, TX, for a very long time. Her pies are legendary and it's because of the crust. Her pie crusts almost taste like a cookie – buttery and perfect. I bought her cookbook this summer and am just now getting around to using it. I'm making her famous strawberry pie tonight.

For those of you about to bake a pie, try this. It's amazingly good and easy. I've added to Sue's instructions, answering the questions that I had as I made mine.

PieCrust-02

Sue's Pie Crust

(Sue says to use the exact amount called for. Don't get sloppy.)

  • 1 3/4 cup flour
  • 1/4 teaspoon salt
  • 1/2 stick butter, melted
  • 1/4 cup Wesson oil (I wouldn't substitute unless you absolutely have to since she is very specific)
  • 1/4 cup buttermilk

I used my Kitchenaide mixer and it worked perfectly. Put the flour and salt in the bowl and stir it with a fork. Attach the mixing blade. Add butter and oil, blend well on low. Add buttermilk and mix well. Form into a ball.

Roll out between waxed paper – don't add any flour. (Wipe your counter with a damp cloth first to keep the waxed paper in place.) Makes one 10-inch pie shell.

Carefully put the crust into a pie pan. (This was the tricky part for me but if I can do it, so can you.) Trim the edges, add crust where you need to by pressing more into place. Make the edges pretty.

When preparing crust for cream or fruit pies, prick the bottom and sides of the crust in a few places with a fork. Bake the crust at 350 until golden brown – it took mine about 25 minutes to reach this stage.

For pies that require an unbaked crust, Sue recommends baking the crust for 8-10 minutes before adding the filling.

Sue also says to start baking your pies on the bottom rack. Move it up as the pie becomes firm.