It’s sort of like piecing…

I had the privilege this week to spend some time with my oldest son, Chris, tiling his tub surround. I taught Chris how to tile a year or so ago but I think he is now better at it than I am which makes me proud!

Image

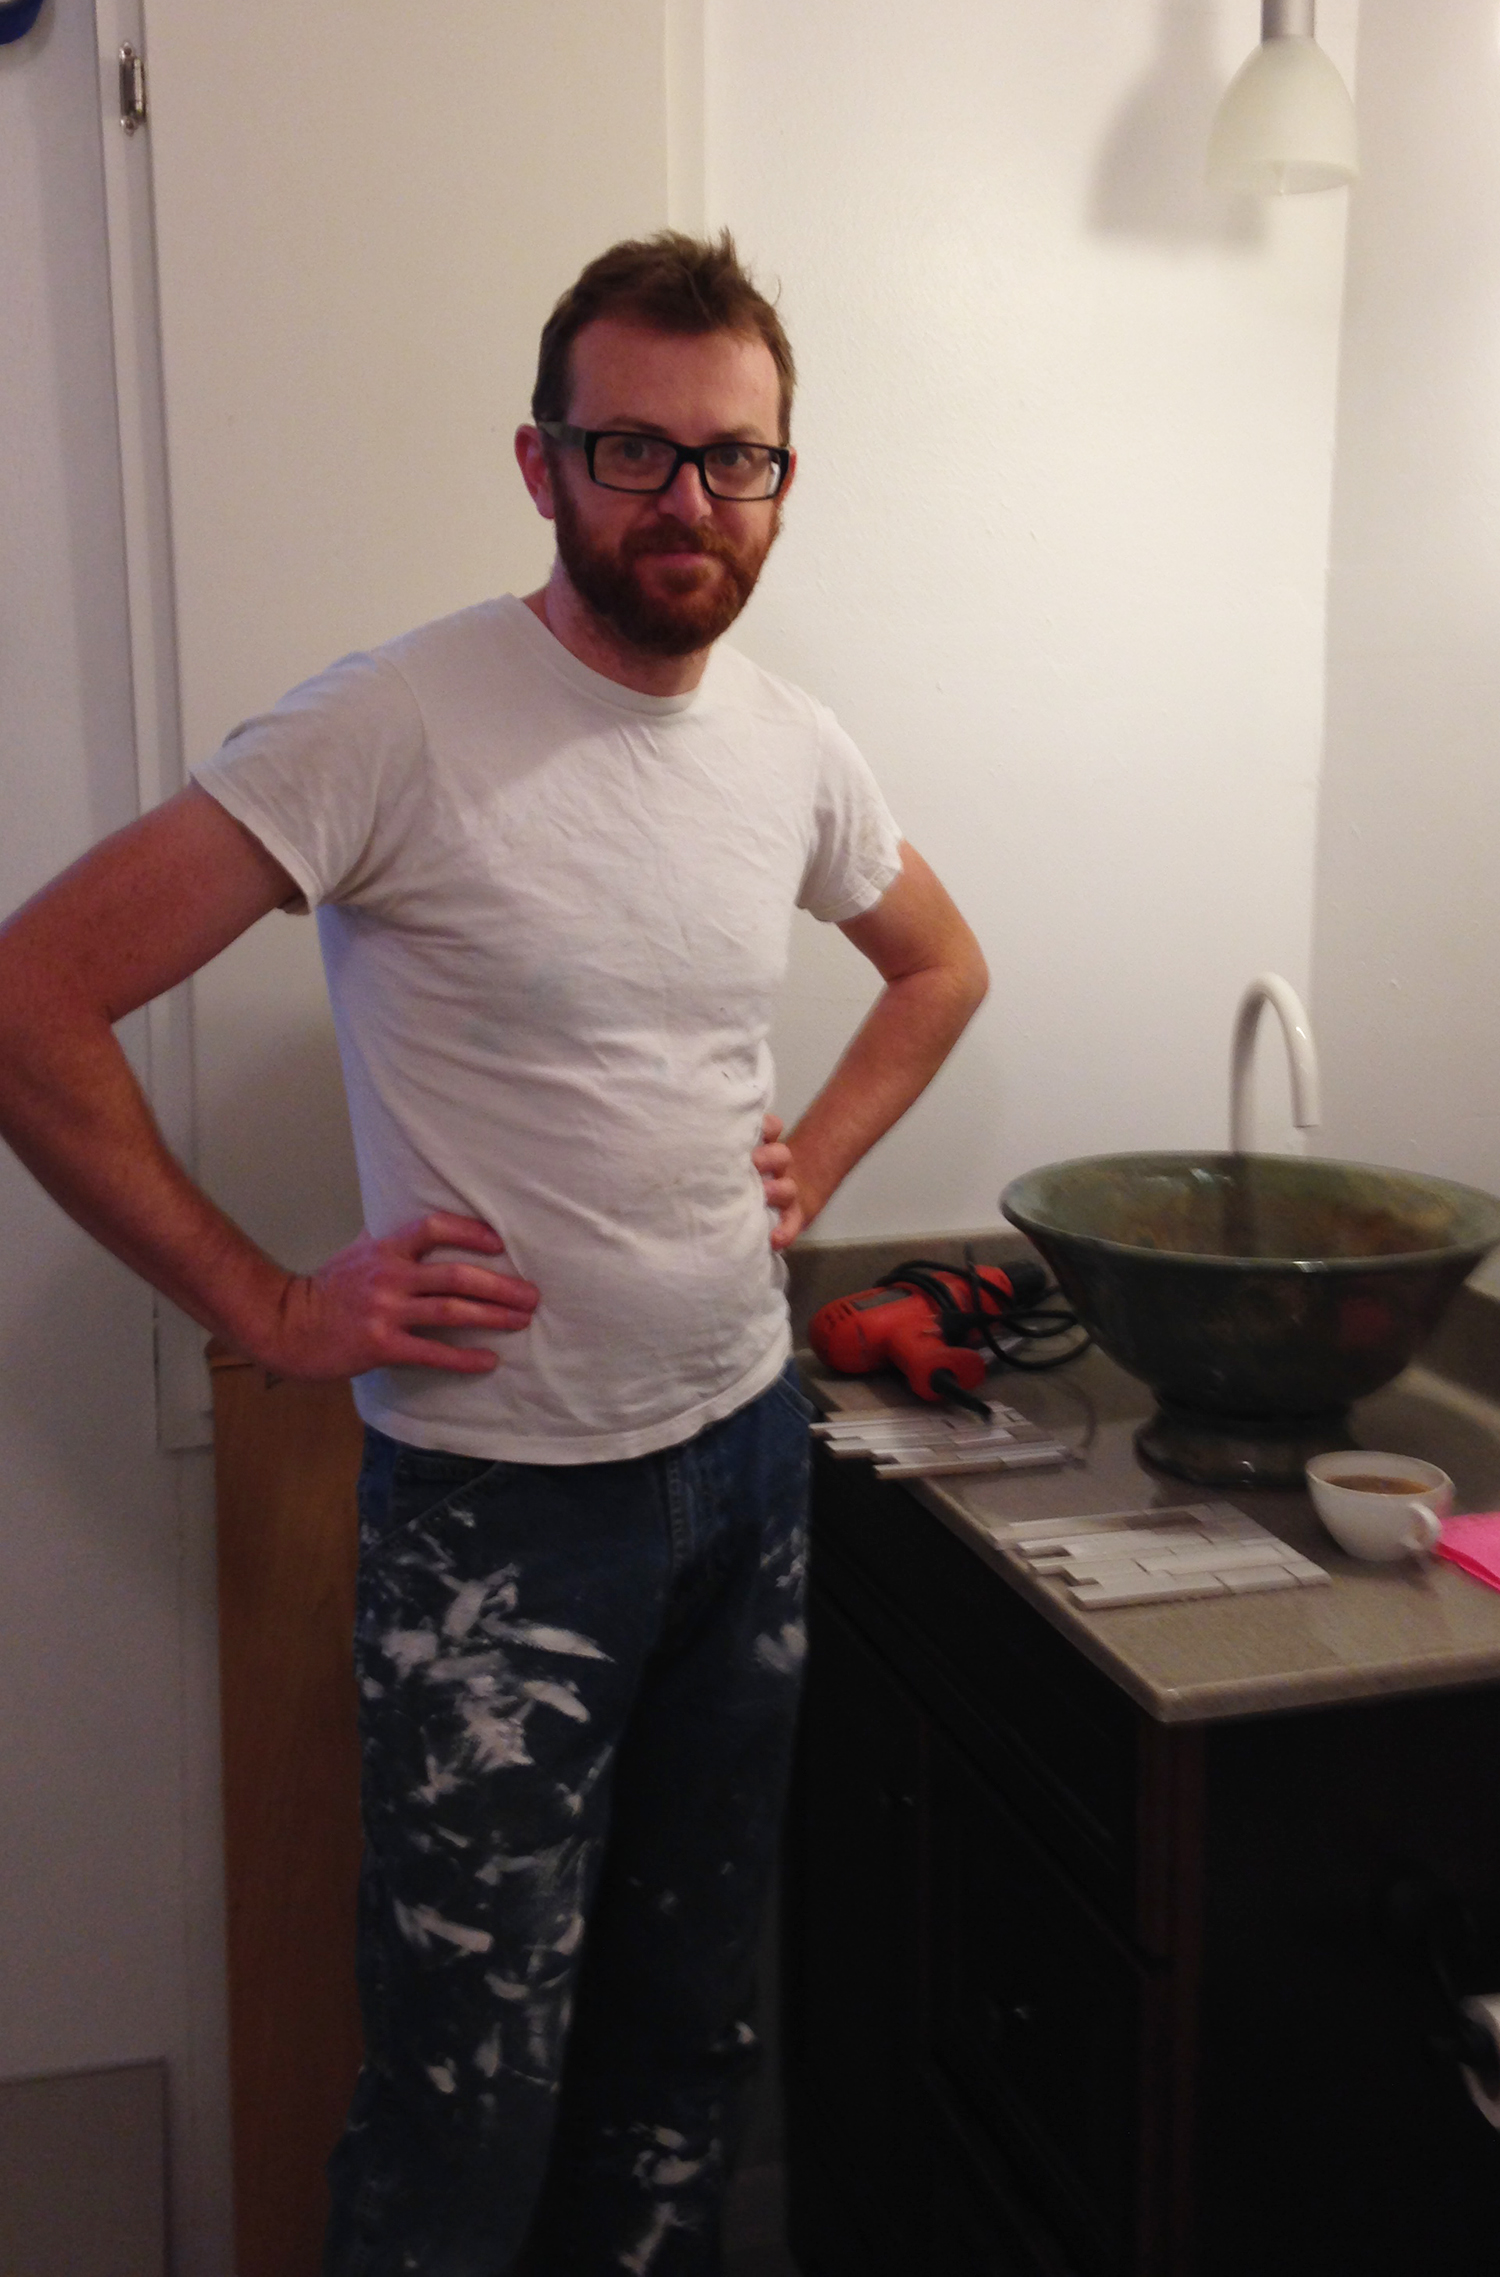
I helped him tile this bathroom floor a few weeks ago and then we both got busy with other things. Since then he managed to work on the walls, set in the toilet, and the vanity. The vanity required extra attention because the plumbing was in the wrong place. A drawer had to be removed and a shelf added. He installed the sink (twice) and the faucet (also twice) because of plumbing issues. The boy is more patient than I am, or at least he appears to be to me.

Tiling this tub surround was complicated by the fact the the bottom 6″ of the wall was not completely flat. The tiles did not sit flush against the wall. They rocked in places and the gap was big enough that the tile pattern was not going to work the way we originally thought it would. But, thankfully, there was a fix! We cut the bottom 12″ tiles in half, lengthwise. The non-flatness is not noticeable—yay!

I had to draw the tile pattern, and use a calculator. Chris was quicker and did more in his head but it was good that we checked each other before taking the tiles to Lowe’s to be cut.

Image

The wider, back wall was pretty easy. The harder wall was the one with plumbing…

Image

We were going to drill holes in the tile but it didn’t take long to figure out that, even with a tile bit, it would take hours. Instead we had the tile cut in such a way that we could set back in a little L-shaped piece. The holes themselves will be covered with plates that come with the plumbing fixtures.

Image

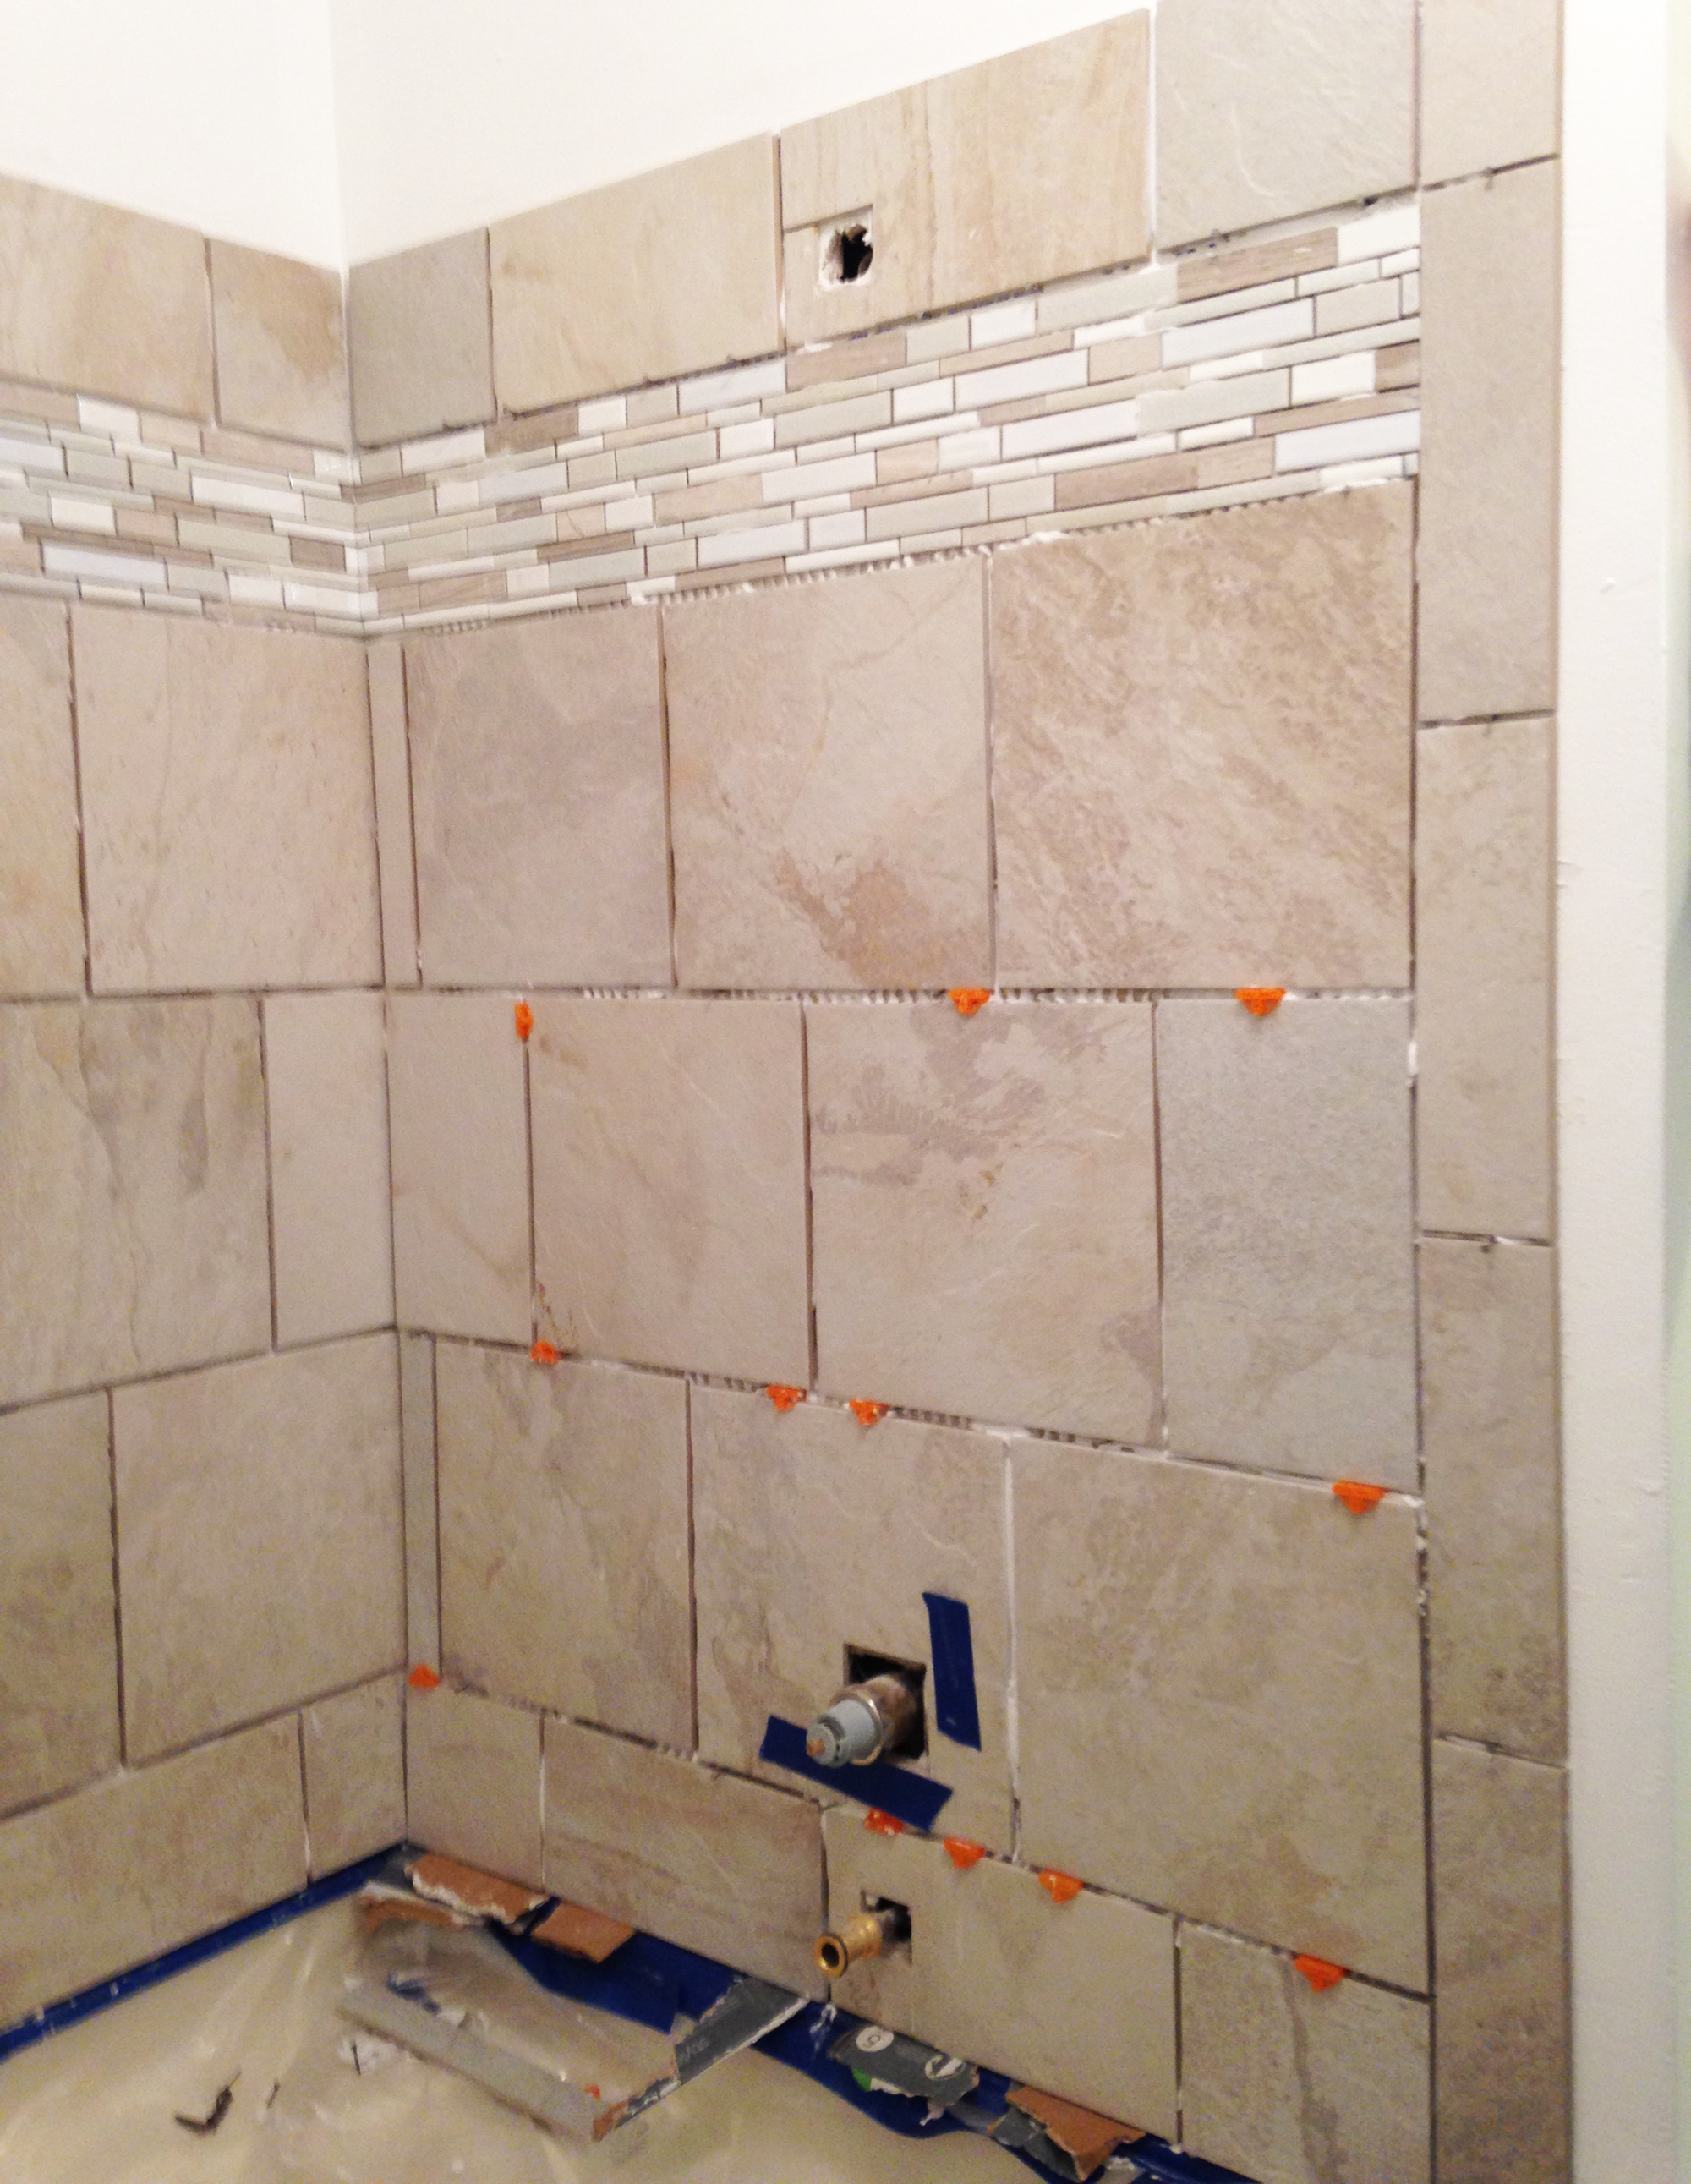
We ran into ‘level’ issues on this wall. For some reason, even though everything was level, the horizontal grout lines that carried over from the back wall wanted to not line up. The spacers only worked in some places and in others the spacers weren’t big enough. We ended up using nails below the tiles in some places to keep them from drifting down. It’s stuff like this that makes tiling so much easier when you have two people… even if one person (me) was not doing any actual tiling.

Image

Christopher is, today, cleaning out the mastic that oozed through the gaps. Then he’s going to grout it. I’m so glad I’m not involved in that job… I really do not like to grout. They should be using the shower by Saturday and I know that Lorna is extremely excited. And Chris is way happy too :-).


Window dressing…

The very last bit of our home remodel happened without me writing much about it. We replaced all of the windows that needed it a couple of months ago. That part was fast. The other part of this job, however, was slower because I wanted the inside window trim changed.

What I have always called a ‘window sill’ is actually called a window stool. My mom’s house in OKC had marble window stools and they were so very nice. I knew that if it was going to happen in our house, it had to be now. I wanted ours to be made from Caesarstone, the same one (Nougat) that we used on our bathroom vanities.

The Caesarstone had to be ordered and it took some time to come in. Before Easter, Rick’s crew took off all of our interior interior window trim…

WindowTrim-1The windows weren’t lovely, but we lived with it until our job could be worked into the Caesarstone crew’s calendar.

WindowTrim-2

A week or so ago David and his crew put in the new window stools. Then Rick’s crew put in the new trim and generally tidied it all up.

WindowTrim-3

Steve and I cannot remember a time when we could look around the house and call it done. We don’t have anything on the list that needs to be fixed. It’s unnatural—but nice! That doesn’t mean that we don’t have a project looming… it’s just that it’s not a project for our house. Oh happy, happy day!


Days 5 and 7…

Steve had to work at his real job for a good bit on Friday. I painted inside, Christopher worked outside. This is what the north side of the garage used to look like:

BrockettBefore-GarageNorth-01 copy

Chris took off the siding, soffits, and gutter:

BrockettBefore-GarageNorth-03 copy

Taking off the wall led to a serious cleaning out of the garage. I think Chris enjoyed imposing order on his stuff. The pile of debris next to the street is much bigger. I need to take a picture of that tomorrow!

Steve did have time to take the siding off of the front of the garage and he replaced the rotted parts of the studs that hold the roof up.

BrockettBefore-GarageWest-03 copy

BrockettBefore-GarageNorth-02 copy

The garage is open to the breezes for now.

We took the 6th day, Saturday, off. I did some actual quilt-related work. There are now fat quarter bundles up on the site! Click here to see them. I expect to send a newsletter soon. Probably when we are about done with the renovations.

Steve and I worked 3 hours today, Day 7. Steve put up some extra wall studs on the north side of the garage. We put the facing up around the side door. We caulked. I put the finish coat of paint on the wall around the window inside the bedroom. You can see the quilt, The Ground (as seen from above) hanging over the bed.

BrockettBefore-Bedroom-04 copy

The window still needs to be trimmed out. The french doors to the back yard (which you haven't really seen yet) get replaced later this week. The bedroom is mostly done, but not all the way done.

This afternoon Mom and Elanor and I are going to see the local production of Fiddler on the Roof. It'll be a nice break! Tomorrow I begin painting outside and the guys are going to be putting up more siding. I'm hoping that by the end of the week most of the painting will be done as the final siding and soffits go up.


The renovation begins…

Chris and Lorna's house, on the outside, needs attention. The side porch, the garage, and the back of the house are covered with siding that is itself covered with black mold and peeling paint. We could have spent a lot of time dealing with the mold and paint but instead we decided to take off the old and replace it with Hardie panels.

The soffits in these areas also need replacing. But we figured out how to do that last Christmas when we worked on the front of the house. It goes faster when you have a clue as to how to do something.

We have finally hit the 100s in Texas. I am so very thankful that Chris has big trees and we mostly are working in the shade. You have no idea how much that helps. Or maybe you do know. All it takes is working out on a hot hot day to realize how much shade helps.

First, how about the before photo of the area we started with…

BrockettBefore-SidePorch-01 copy

As it turns out, some of the siding is very cheap. What you see around the door and what's on the back of house that you haven't seen yet may be masonite. It's hjard to take off because it breaks apart. The wood siding on the garage is old wood and would be OK except for the mold. On the upside it's easy to take off.

FYI – Making the mold be really gone is not that easy, especially when you live where mold loves being. Just covering it up with the Hardie paneling is not a good idea. When wet weather comes, the mold blooms. We need the mold to be gone.

Now, look above the door. See that roof? It's not got enough slope. That's why there is so very much mold in this area. We are waiting for a roofer to come. Our consensus is that we need a professional to make that part of the roof do its job. We're guessing that the roof needs rebuilding. It looks like a $1500 jpb don't you think? If that takes care of the water issues it will be money well-spent.

At the end of today, the side porch area looked like this:

BrockettAfter-SidePorch-01 copy

The old siding is no longer there. You can see two 4'-8' Hardie panels on the left, on the garage. We can't do much more here until the roofer comes.

Chris and Steve also got this small soffit up. It may not look exciting, but it's better than what was there.

BrockettAfter-SmKitchenEaves-01

We have 2-3 weeks of hard work ahead. None of us has time for this. But when it's finished, we will look with pride at the end result.

You might be wondering why it is that Steve and I are part of our son's remodeling project. I'll tell you why… it has a lot to do with my father. That man did stuff. Daddy had tools and skills. There was not a home repair that was off limits. When Steve and I could, we helped with his projects. We happily help our kids with their projects.

Steve is a better worker/helper (more upper body strength and tool knowledge) but I do add something to a job. I like to think of myself as foreman but really I'm the one who says 'keep at it'. And I think Steve might say that I can have a good idea. But mostly my job is keeping us moving forward. I may not be loved at all times. I can live with that. 

But there's another thing going on here. When Chris was born in 1981, our money was tight. Steve was in grad school, we had no insurance. Mom and Dad paid for Christopher. When we talked about paying back that loan, my dad looked at me with a smile and said someday Mom would need help and we could pay back the loan then. (I think Chris is free and clear now.)

Chris is in grad school. He and Lorna have 2 kids and no extra money. And they have a house that needs work. Truth be told, the raw materials do not cost that much. It's labor that costs and if you do the work yourself, there you go. Not that expensive. But I looked my son in the eye before we started with what I hope is my father's grin and said someday, I may need some grocery money! I have complete faith that it will be there if I need it. Or if Steve needs it. Steve and I plan to go out together but that hardly ever works…

PS – There are many women who opt out of this sort of work. I wish it was cooler but I actually enjoy this sort of thing. I do the parts I can and let the guys do the heavy stuff. I've got enough of my Dad in me that I must be a part of this kind of job. That's mom and dad, in the 1970s…

Dad&mom-in-kitchen