I am a quilt designer/teacher/author, a wife/mother/grandmother, and certified yoga instructor who is searching for balance, strength, and happiness in all things.
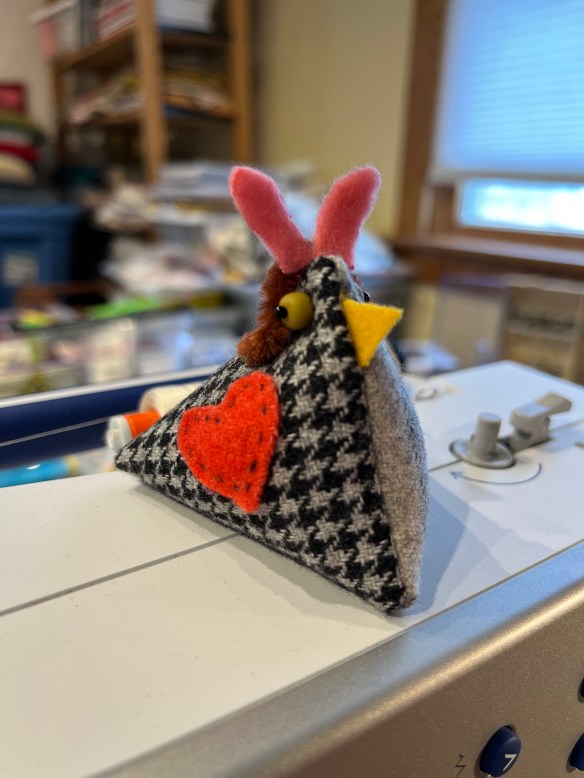
Joan made another chicken, this time for her sister—for Easter and it’s a chicken/bunny! Instead of grandma or something more conventional, she is called Bunny by her grandson. Hence, the bunny ears!! 🐰
Joan says her sister is going to love it… of course she will 🥰!
Joan’s chicken is wearing a rabbit-ear headband. Isn’t that inventive? And, you know what? There could be other headbands… reindeer antlers, hearts, shamrocks, and many more. Joan, feel free to ignore these ideas 🤣 and thank you for sharing your Easter chicken/bunny!
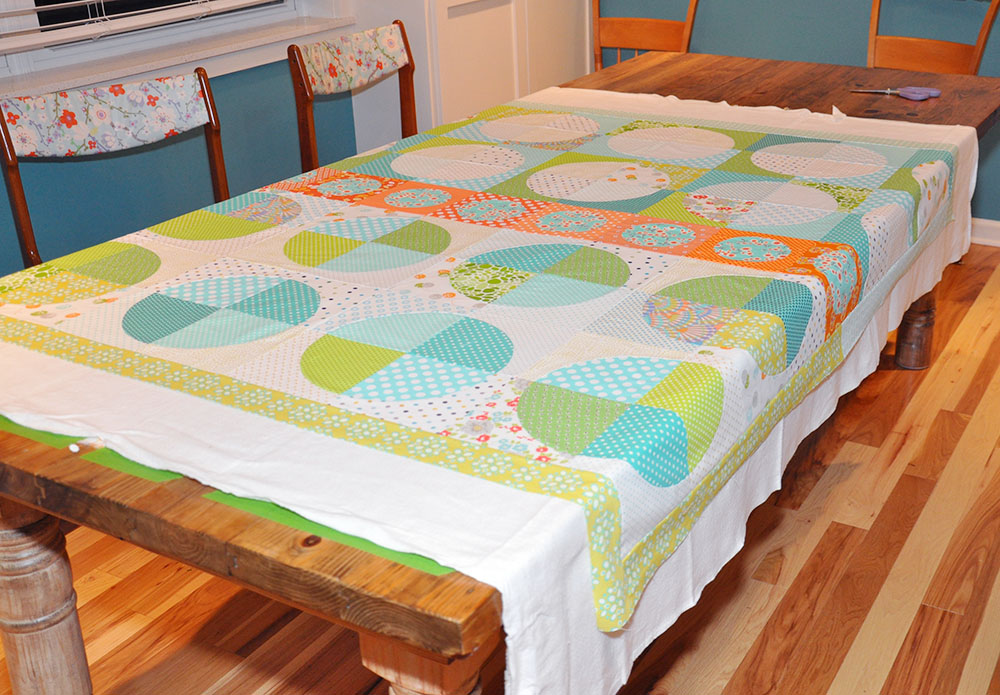
Years ago, Steve built our dining room table from old 2″ x 6″ tongue-and-groove pine flooring that came from a hangar at Love Field in Dallas. I wanted a table I could baste on and not feel bad if the finish got marred and it’s been perfect!
However, the stain and polyurethane on the table top has gotten gummy over time. Our friend Jacquie (who makes the Hand Crafted Sewing Boxes) thinks the oil in the pine reacted with finish. After 3 years of wishing someone would fix it, I realized I was the someone.
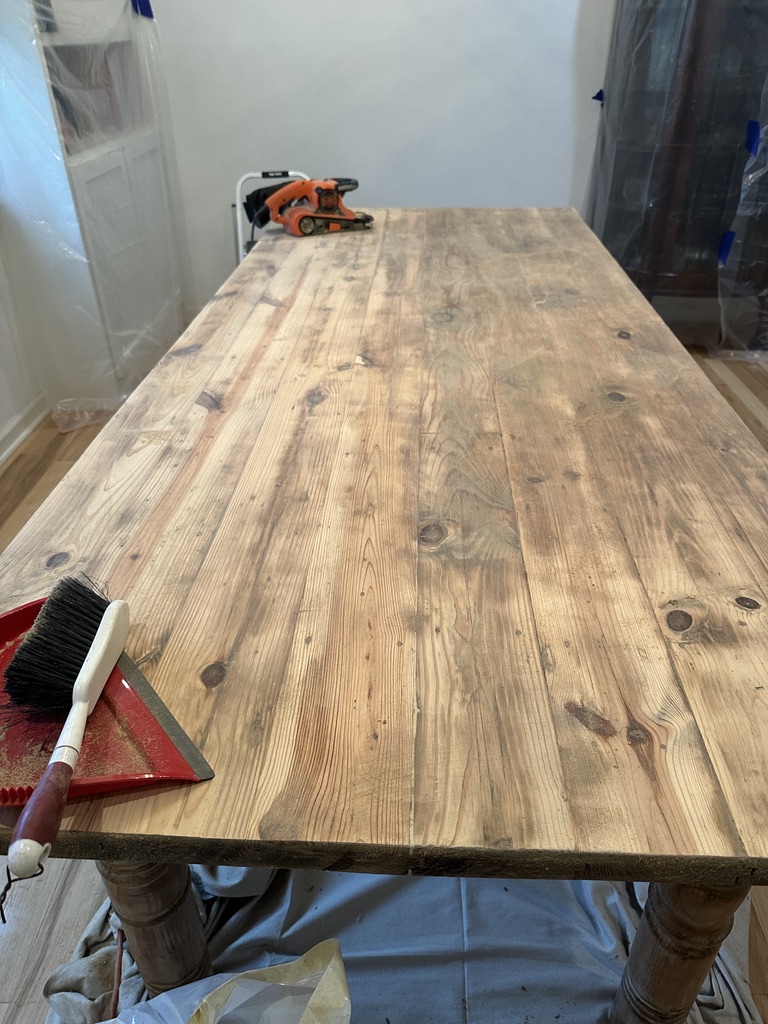
First, I stripped the table top (the legs are fine) with a paint and varnish removing gel. You cover it with plastic to keep the gel moist and let it sit for 1-24 hours. I lasted 2 hours and then I started scraping. It took off the polyurethane, but not the stain.
Then I sanded. So much sanding! 5 hours with the orbital sander and 50 grit sandpaper took off a lot of the finish, but not enough… I could still feel the gumminess in the wood.
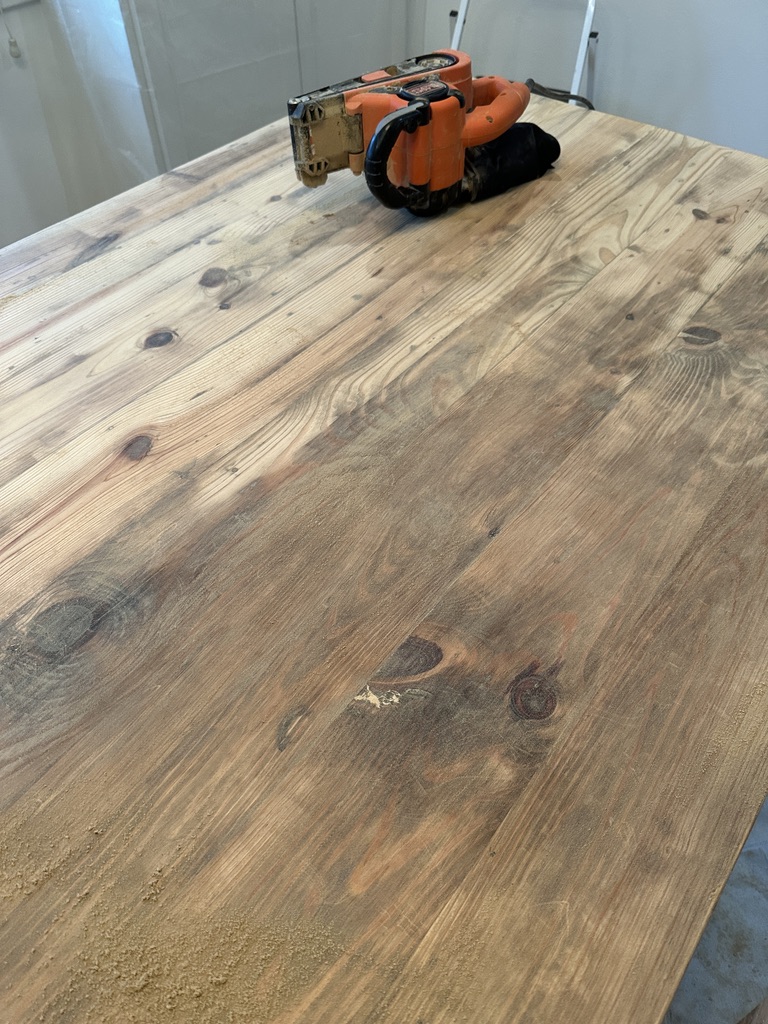
After a consult with Elizabeth (who makes our Mending Turnips) I pulled out the belt sander for 2 more hours of sanding with 80 grit sandpaper. I went through a lot of sandpaper because the finish was gummy and clogged the sandpaper but, as you can see below, I finally got down to clean wood.
That used up one full day. The next morning, I put on a coat of Odie’s Oil. This stuff is like magic! It doesn’t have much of an odor and, what you can smell, is pretty nice. Not a problem to use inside the house! It’s food safe, can be used on cutting boards, and it looks great on the table.
I added a second coat of oil the next day and I can add more over time if I need to. It cures for 3 days, with hand buffing as needed. Jacquie says the oil in the pine and Odie’s Oil will be good because oils like each other (I’m paraphrasing there).
We can see a lot more of the pine wood grain because it is not hidden by the stain and Steve and I both like it. If we want to, we can get the darker Odie’s Oil and even it out, but not yet. It is wonderful to have this job marked off the long-term list!
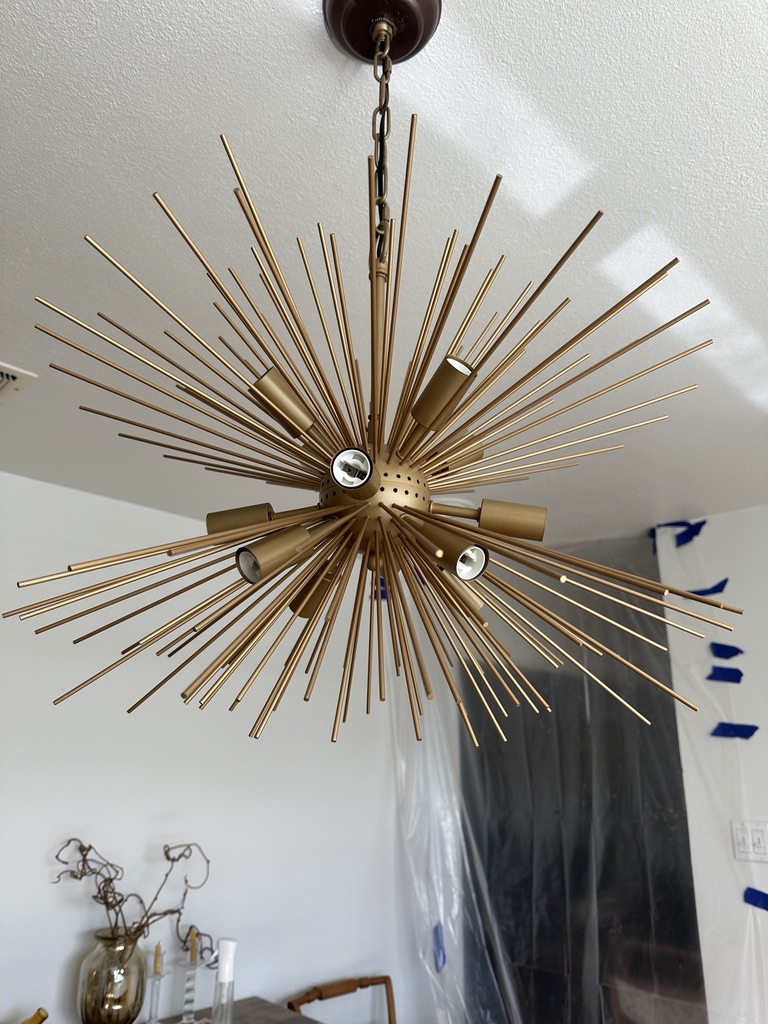
Side note: Belt sanders make a huge mess—I was happy that I had a mask on—but I should have covered the light fixture before sanding 🙄. Almost all of the rods in my Sputnik light fixture had to be unscrewed and everything thoroughly dusted. TIP: I put a tiny bit of Lolo Moisturizer on the threads before screwing them back in and that made the action smoother.
I crochet in between projects or when I am need handwork without needles and pins. I am a mostly self-taught crocheter and can follow complex patterns but I am always willing to learn something new so I happily signed up for the Beginner Crochet Workshop by Shannon Roudhán and Jason Bowlsby on Creative Spark. What a great class!!!!
It is a short, affordable class that is good for all skill levels. I learned several things that I didn’t know I didn’t know 🤣. The class projects are easy and an excellent way to practice what you learn.
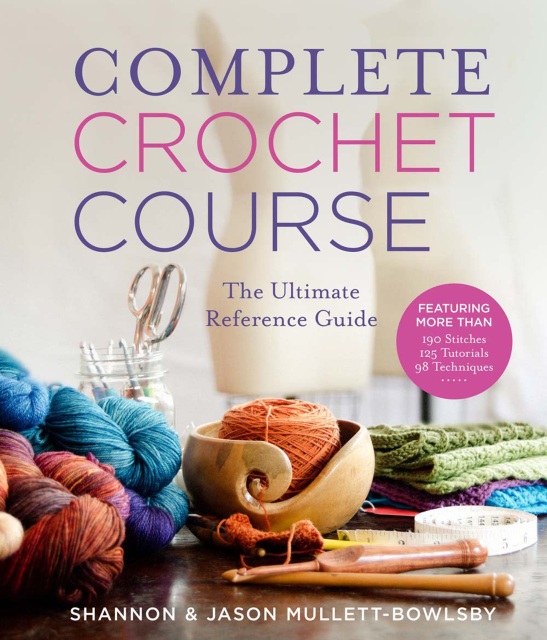
Shannon and Jason also have this book that I don’t own… yet! It’s on my list and would be really good to have on hand for the grandkids!
But, before I start in on the two projects in the class, I need to finish the Rainbow Dots Blanket, designed by Jellina Verhoeff. The pattern is on Ravelry and the yarn she used is Metropolis by Scheepjes. It’s a fingering weight wool that is both warm and light.
The yarn kits for this blanket are gone, but you can substitute other yarn. In fact, Shannon talks about yarn and making substitutions in the Beginner Crochet Workshop class! Again, I learned things in that class that I didn’t know :-).
Shannon and Jason have other classes on Creative Spark—especially on sashiko—that I happily recommend. They are great teachers with lots to share. Enjoy!
Cynthia Helton sent photos of this quilt that her mom, Shirley Ray Hatley Alford, started in 1995. Shirley passed away in July, 2007. Cynthia, thank you for sharing her quilt with us, I know you all must treasure it.
I remember Shirley! She was in my North Pole class at Sharon’s Quilt Depot way back in 1995 when the book, A Sampling of Santas, was new. Shirley was a lovely woman and I have a smile on my face when I remember her.
This is excerpted from the very well-written documentation patch:
Shirley hand appliqued the blocks and machine pieced them together. As her health began to decline due to breast cancer, Shirley invited Corinne Lageose to finish the hand quilting. Carolyn MIller sewed on the outer binding by hand. And Shirley’s daughter, Cynthia Rae Alford Helton sewed on the red berry buttons and other embellishments. This quilt was lovingly finished by Cynthia while sitting at the bedside of Shirley in July, 2007. This is Shirley’s Masterpiece!
If you are interested in the pattern, A Sampling of Santas is included in our ebook, A Slice of Christmas.
I just had to share this with you. I know you will get a kick out of it!!
So to backup…tonight is our quilt club meeting and we are having a hands-on demo, how-to EPP project. We will be somehow making ❤️ Hearts!! What paper shape it is, beats me. EPP is new to me, but I picked up a little kit and made a “Dilly” bag. It’s super cute. Hexagons. I think I may be hooked. Another skill, right?
Anyway, everyone that attends the meeting will get a little packet (to make a ❤️??) and if we want to participate in a gift exchange we can, but it has to have a ❤️ on it. I want to join in but it had to be quick and easy. (Because I just got home from Florida). I also wanted it to be useful but not another mug-rug.
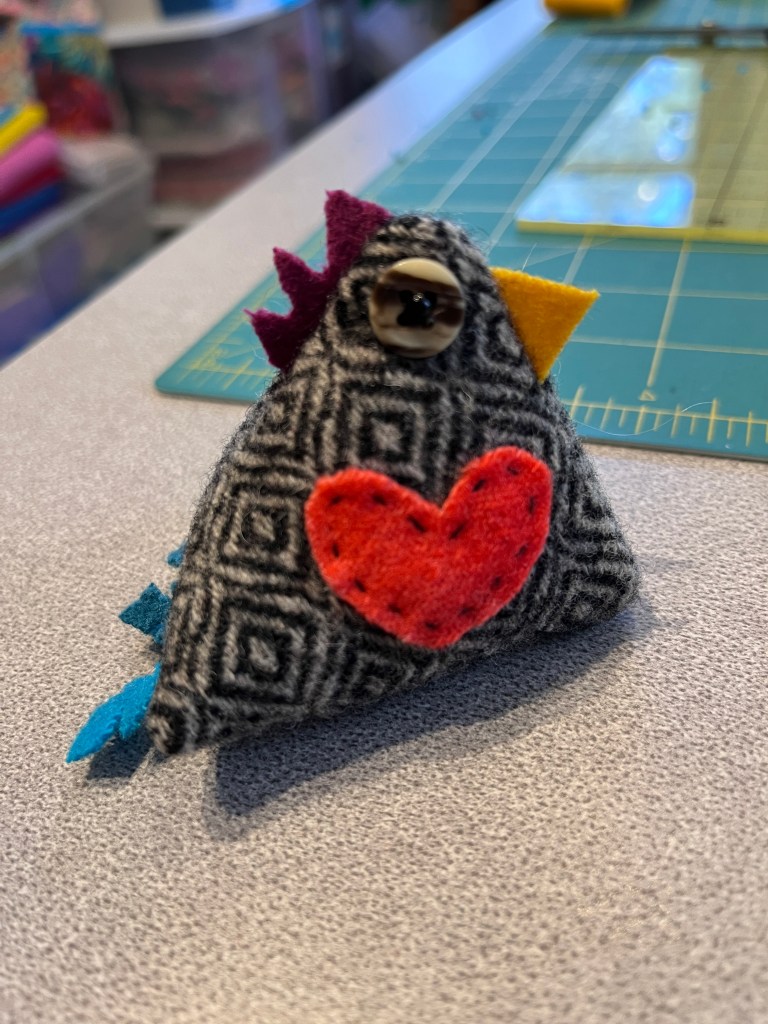
Enter the chicken pincushion from your last post. I love pincushions, can’t have too many of them (unlike mug-rugs😝)!! So I decided to give it a shot and put a ❤️ on her/his chest. Turned out so darn cute.
I may have to make one for myself. For sure if my friend Chris Peterson doesn’t get it tonight in the drawing. She loves chickens, has her sewing room decorated with chickens. She made a rooster quilt. And I think she has a metal nesting box outside that she displays plants/flower pots on her patio. She’s a MN farm girl just like most of us and proud of it. Lives in town, so this is next best thing.
But wait! There’s more!
Yay!! Chris got the chicken and she loved it. It will go with her menagerie of chickens 🐓. 😝
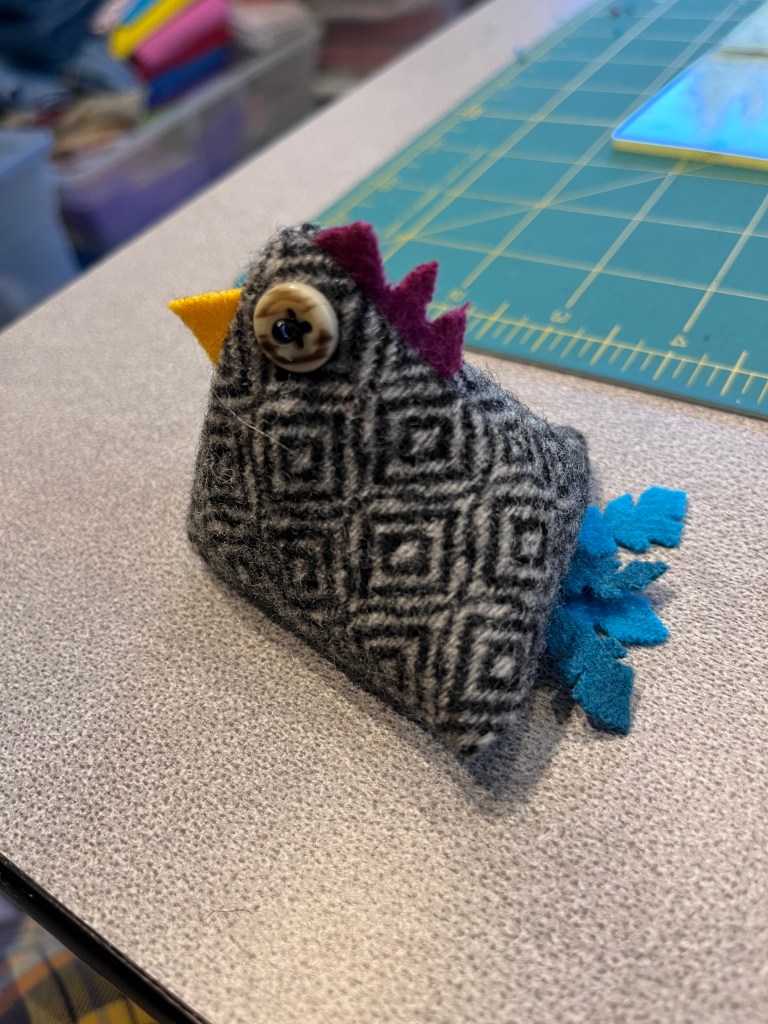
Another funny (jokes-on-me thing) that happened while I was assembling the chicken was I sewed up the wrong side 😑 (across from the beak, same side as beak 🤷♀️??). They are small, so hard to see what side is what (can I think of any more excuses🤔), mine were 3” squares. Nice size.
In any case, when I unfurled the chicken, the tail ended up under her chin (beak) and instead of a tail it looked chicken legs!!😝😂
There you go, a new twist on the pattern. Add 2 strips of wool with a knot at each end for funny legs/feet!! Could be cute or weird!! Maybe I’ll try one for real for myself. (Or my sister in Atlanta, she’s a chicken person. She wants the real chickens to feed/water clean up after!! Not me. I’m done with that; pincushions are better!!)
So that’s my chicken report.
I will make a couple more for friends Jackie & Vicky for our retreat “up Nort” as they say.
Happy stitches to you,
Joan
Many thanks to you, Joan, for sharing the story of your chicken! And may you, too, have many happy stitches!