Unknown's avatar

About Becky Goldsmith

I am a quilt designer/teacher/author, a wife/mother/grandmother, and certified yoga instructor who is searching for balance, strength, and happiness in all things.

Outside at the Woods…

This post is mainly for my Mom, who asked me this morning why I hadn’t show pictures of the outside. The property is not really visible from the road. As you drove over a small hill, from the road, this is what you see. There’s the new shed on the left. The Woods house is down in those trees. You can see the front of Steve’s pickup, which is backed up to the door of the screened-in porch…

WoodsHouse-26

Here are some recent before pictures of the porch. Trust me when I tell you that these before pictures are way better than it looked a few weeks ago. I should have taken pictures of it then. Sigh.

WoodsPorch-01

WoodsPorch-02

WoodsPorch-03

Today, Steve finished cleaning up the porch. Yay! All it needs is a welcome mat!

WoodsPorch-04

WoodsPorch-05

WoodsPorch-06

There is a bit of loose screen to fix—later, when it’s cooler out.

WoodsPorch-07

WoodsPorch-08


Barns and farms in Indiana…

I had no idea that there were so many Amish and Mennonite farms in Indiana! Last week I landed in Ft. Wayne and then was driven to Elkhart. It’s about a 1 1/2-2 hour drive through lovely country. If we had stopped the car every time I wanted to take a picture, I’d still be there :-). As it was, I took photos with my iPhone from a moving car. (Side note: my iPhone takes a really good picture!)

In many pictures, you can see a reflection on the windshield that I took the picture through. It adds something to the photos that almost make them more interesting…

INFarms-06

INFarms-05

INFarms-01

Farm buildings don’t have many windows or doors. Each building is comprised of big, simple shapes. The colors, and the way the colors change in shadow, are mesmerizing.

INFarms-02

There is something, too, about the weathered nature of these buildings that make the so much more interesting. The owner probably wishes that this barn was scraped and painted, but I like looking at it the way it is.

We stopped to take this photo, and the next one. This is a small building off to the side of a much-large farm building complex. I found out that the Amish will often paint the trim around the doors like this one below, or in a similar fashion. I see hearts when two doors meet!

INFarms-04

This is the larger structure…

INFarms-03

You know, I love the look, but I have less-than-zero desire to be a farmer or to live in the country. That said, I am really, really happy that there are those among us who are called to grow the food that we all eat. If that’s you, thank you!


More from The Woods house…

I wish I had taken some before photos of the living area of the Woods house back in May… you’d really be impressed now! But I didn’t. You’ll just have to take my word for it that a major transformation has taken place.

Mostly we threw away the stuff that just had to go, and then I cleaned up the space. Everything with upholstery was too dusty and dirty to keep. The carpet remnant was gross. Some of the chairs and tables were too rickety to trust… It’s all gone now!

The walls in this part of the house had one coat of paint already, but the ones I could reach got another coat of bright white paint. The wood walls and high ceilings are going to stay the way they are.

WoodsHouse-11

The turquoise is the new coffee table, at least for now. It adds a nice pop of color and it’s already there. The wood chairs are solid, but the webbing in the seats had rotted away. Steve cut plywood to fit and I found cushions at Lowe’s. They are very comfortable now!

The upstairs is big and will mostly be used for beds. It gets hot up there in the summer.

There is a wood stove that will be wonderful on cold winter days (and nights). This area is way, way cleaner now than it was just days ago.

WoodsHouse-12

The black chairs will have blue cushions to match the other two chairs. I spray painted the old, stained lamp shade white—it’s on an interesting lamp on the table. There is another shade that I’ll spray paint when I go back to paint the bedroom.

WoodsHouse-13

The dining table and chairs are solid and comfortable.

WoodsHouse-14

Steve and I both are pretty happy with the results of our efforts. This is a nice place and should see more use now :-).

Working on The Woods house…

While I was out of town teaching in Indiana last week, Steve made progress on the shed. I’ll share more pictures of that later because today I want to show you how the work inside the house is coming now that ‘stuff’ has been moved to the shed.

BEFOREs

Here’s the bathroom, before cleaning and painting…

WoodsHouse-04

WoodsHouse-03

And the bigger bedroom, downstairs…

WoodsHouse-06

WoodsHouse-07

And the room that used to be way too full of the ‘stuff’ that is now in the shed, or that has gone to metal recycling, or that just had to be thrown out… There was a lot of stuff in this room!

WoodsHouse-09

AFTERs

You know, elbow grease and paint will help any interior. The bathroom still needs a toilet paper holder and towel rack (or 2), but that can come later. It’s getting a new toilet in a week or two (yay!).

WoodsHouse-16


WoodsHouse-15


This bedroom is in good shape now. It just needs a couple of bed platforms, a night stand for the lamp, and maybe some sort of table to put stuff on. Steve has to tape and bed the other bedroom (that used to be the storage room) before I can paint it.

WoodsHouse-17

Steve built a  cabinet-high table on locking casters to make the kitchen more usable. It will look better when his tools are off of it :-). He used reclaimed wood which was nice.

Since there isn’t a refrigerator in the house, we figured the bottom shelf would be a great place to put coolers and the top surface will be good for food prep.

WoodsHouse-10

After 2 days of work, my hands are sore. I’m glad I don’t have more jobs to do until the other room is ready to paint. Steve, on the other hand, is still cleaning up the site, building bed platforms, and whatever else it is that he can do better than I can. Everybody needs project, right?

I’ll post a few more pictures tomorrow, and then later in the week or next week.

Best baby announcement, ever…

First, let me clearly state that no one that I know of in my family is pregnant or otherwise expecting a new arrival. But our friends, Karen and Hunt, are indeed expecting a brand new grandbaby. They made a youtube video with the other set of expectant grandparents that is just too good not to share. Enjoy!

Summer project—2014…

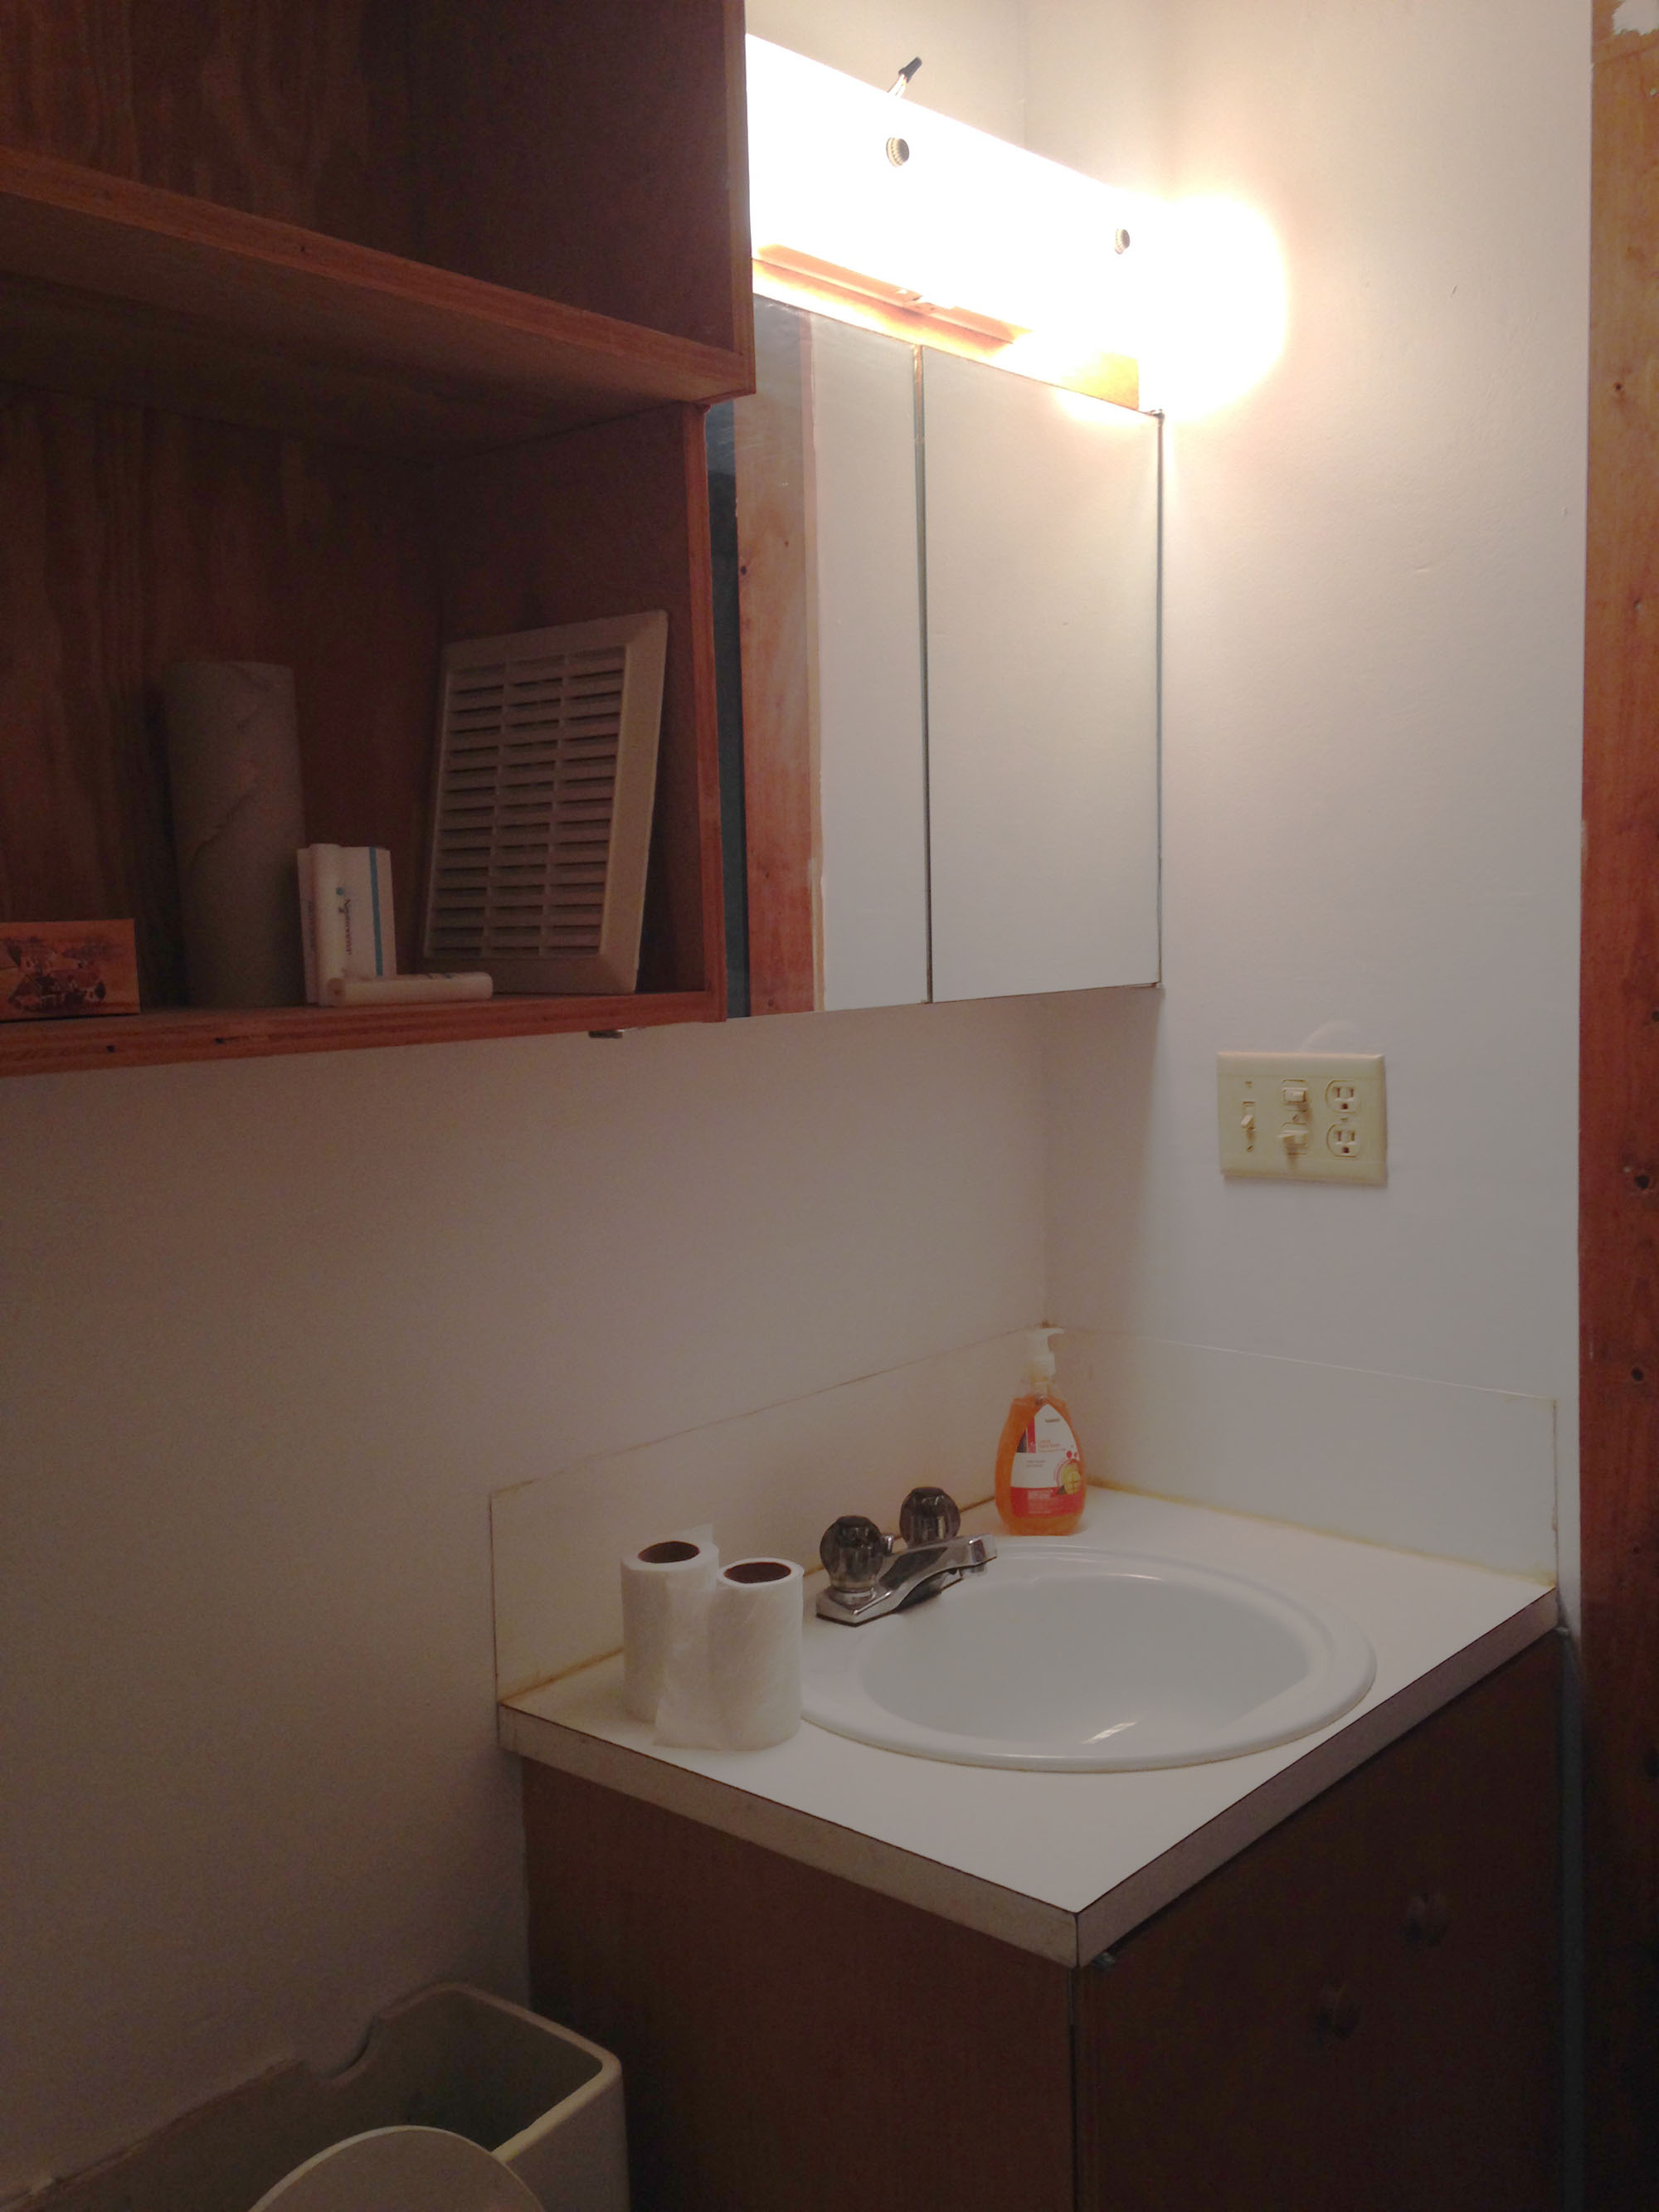
If you have read my blog long, you know that Steve and I usually work on some sort of big ‘house’ project during the summer. Since we just had our house remodeled last year, we don’t have a project to do at our house. We helped Chris with his bathroom remodel in the spring and early summer. Now what?

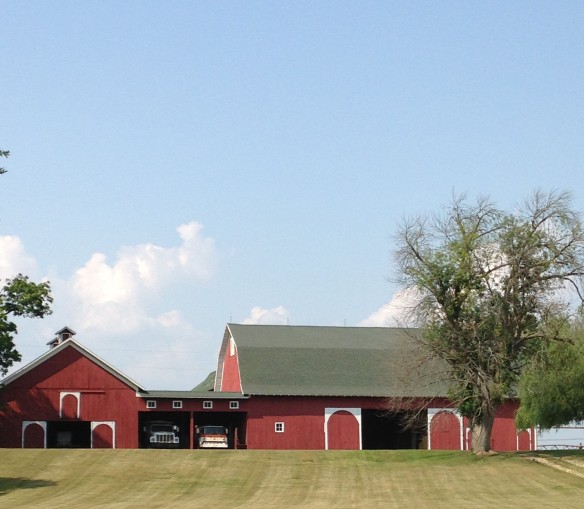
We decided to work on the McCarley Woods. Howard and Marian McCarley donated a wonderful property to Austin College a few years ago. It is primarily used by faculty and students in the biology department.

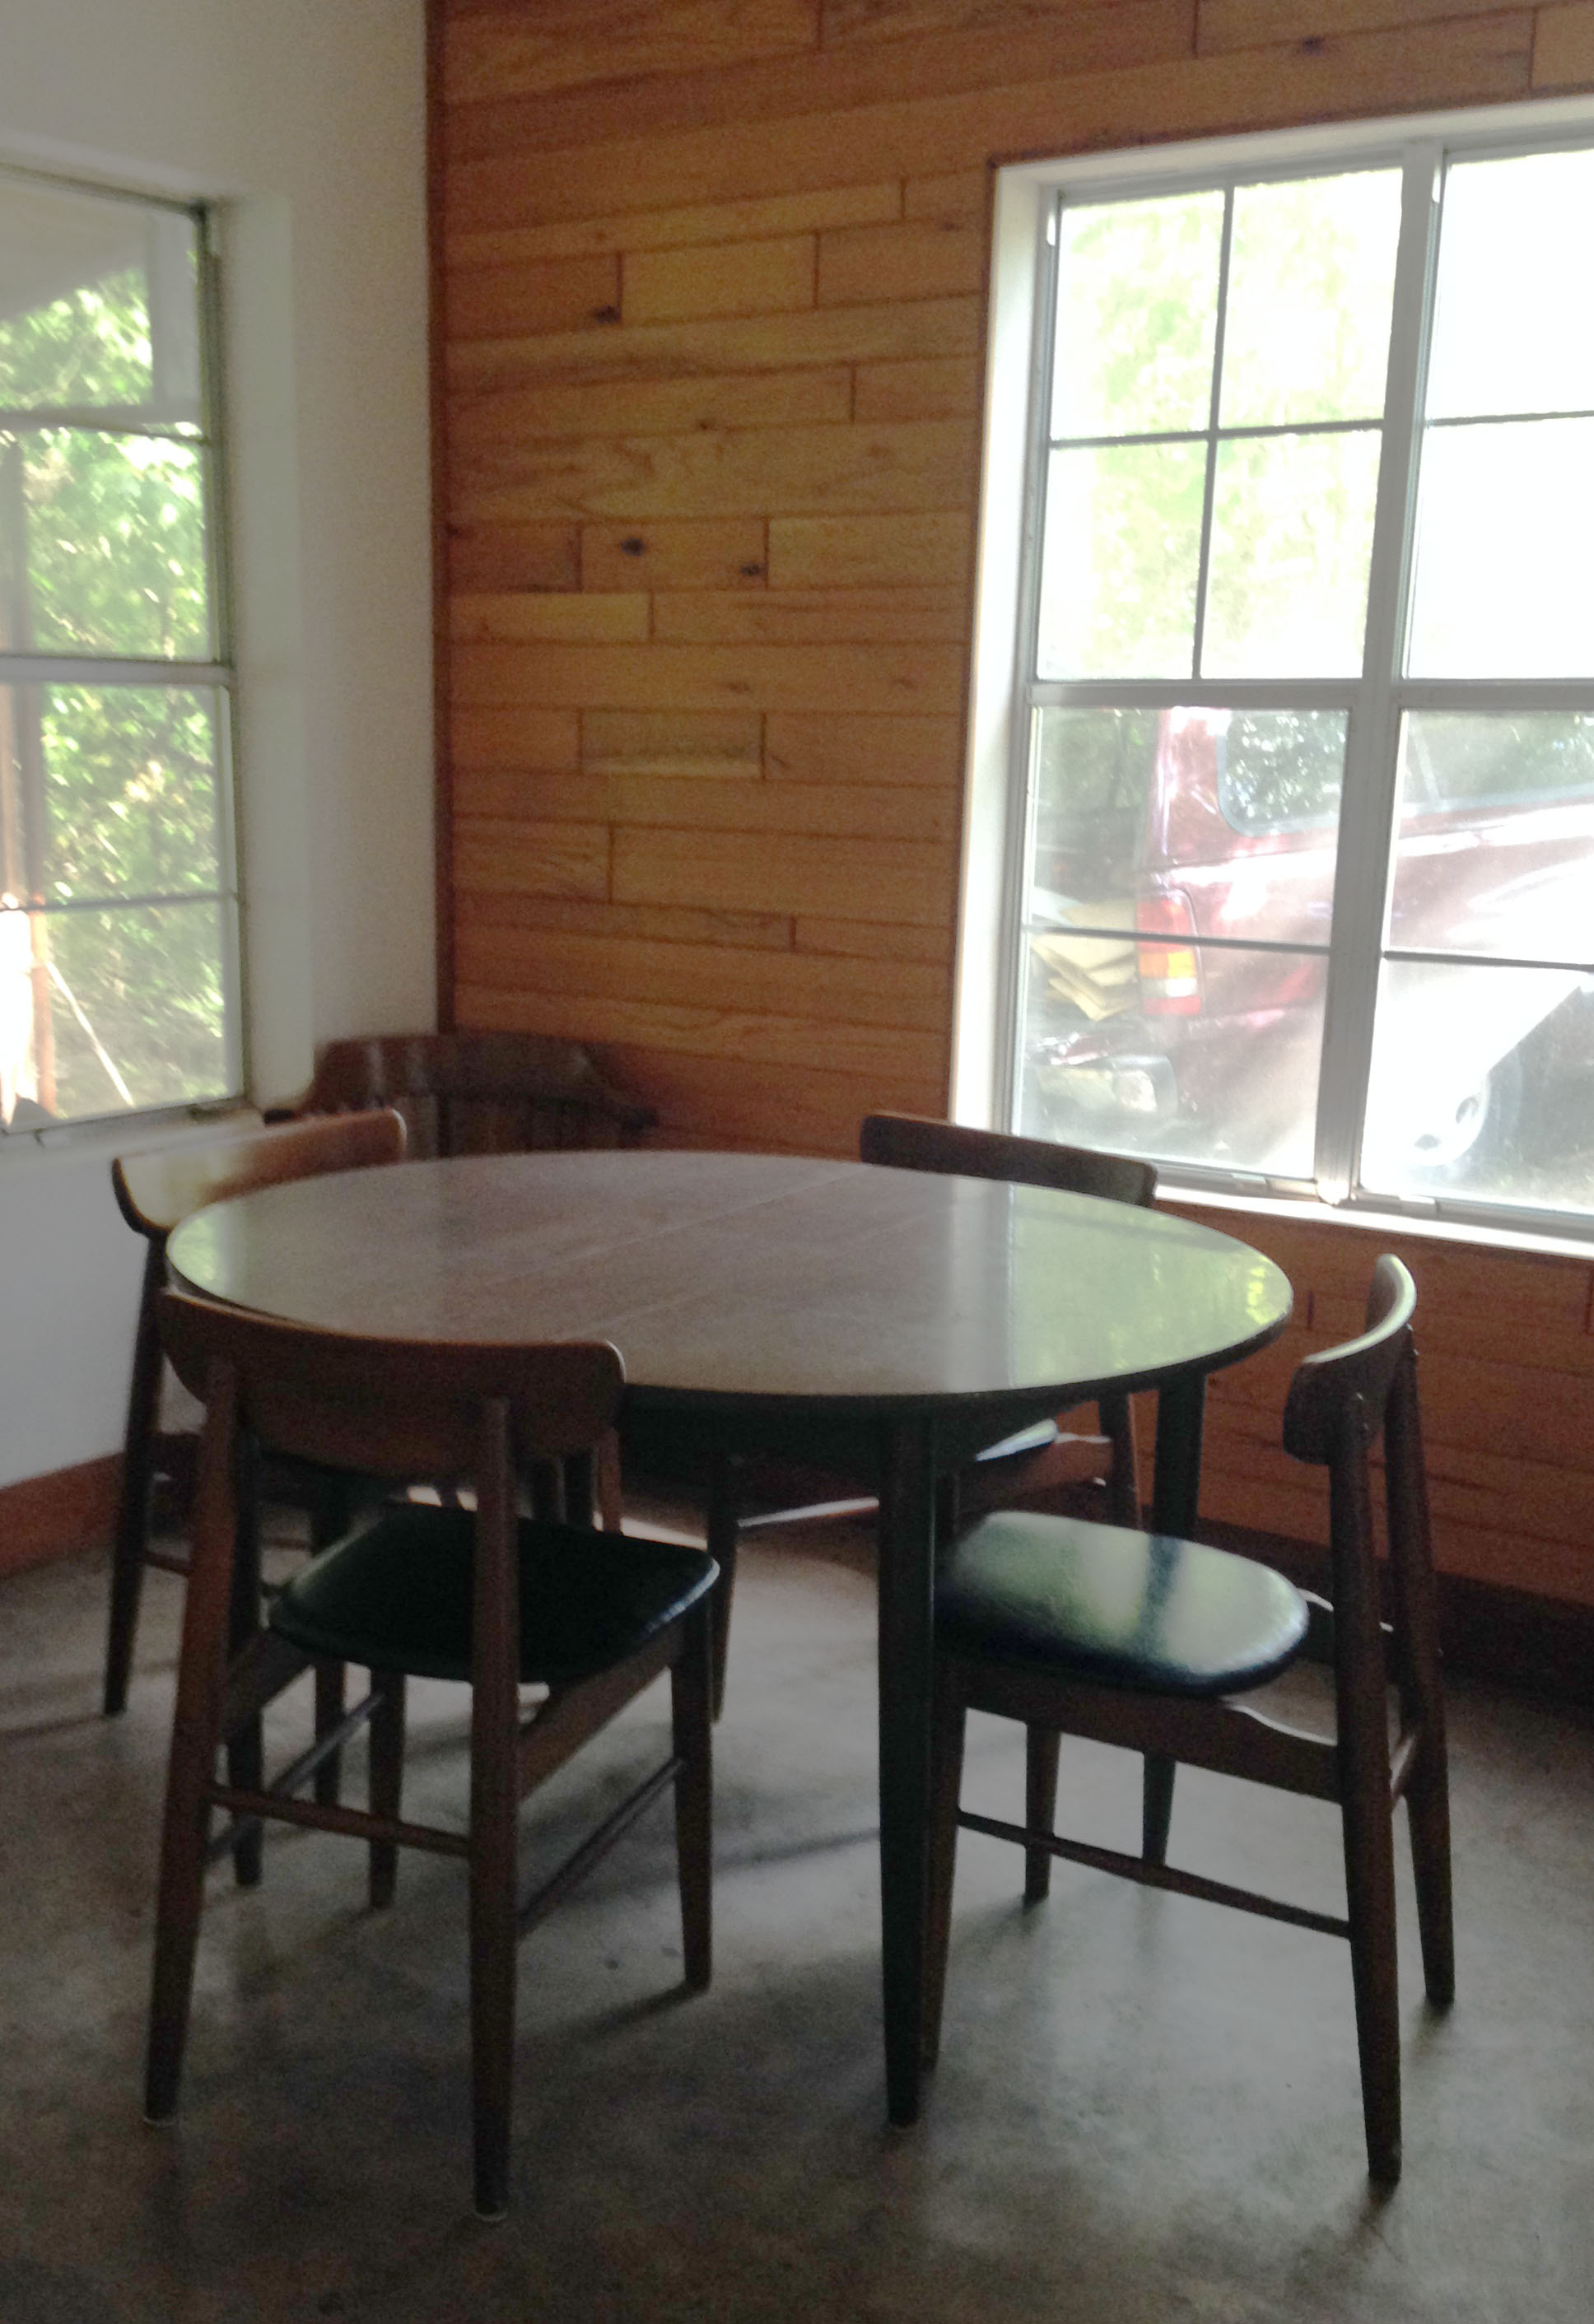
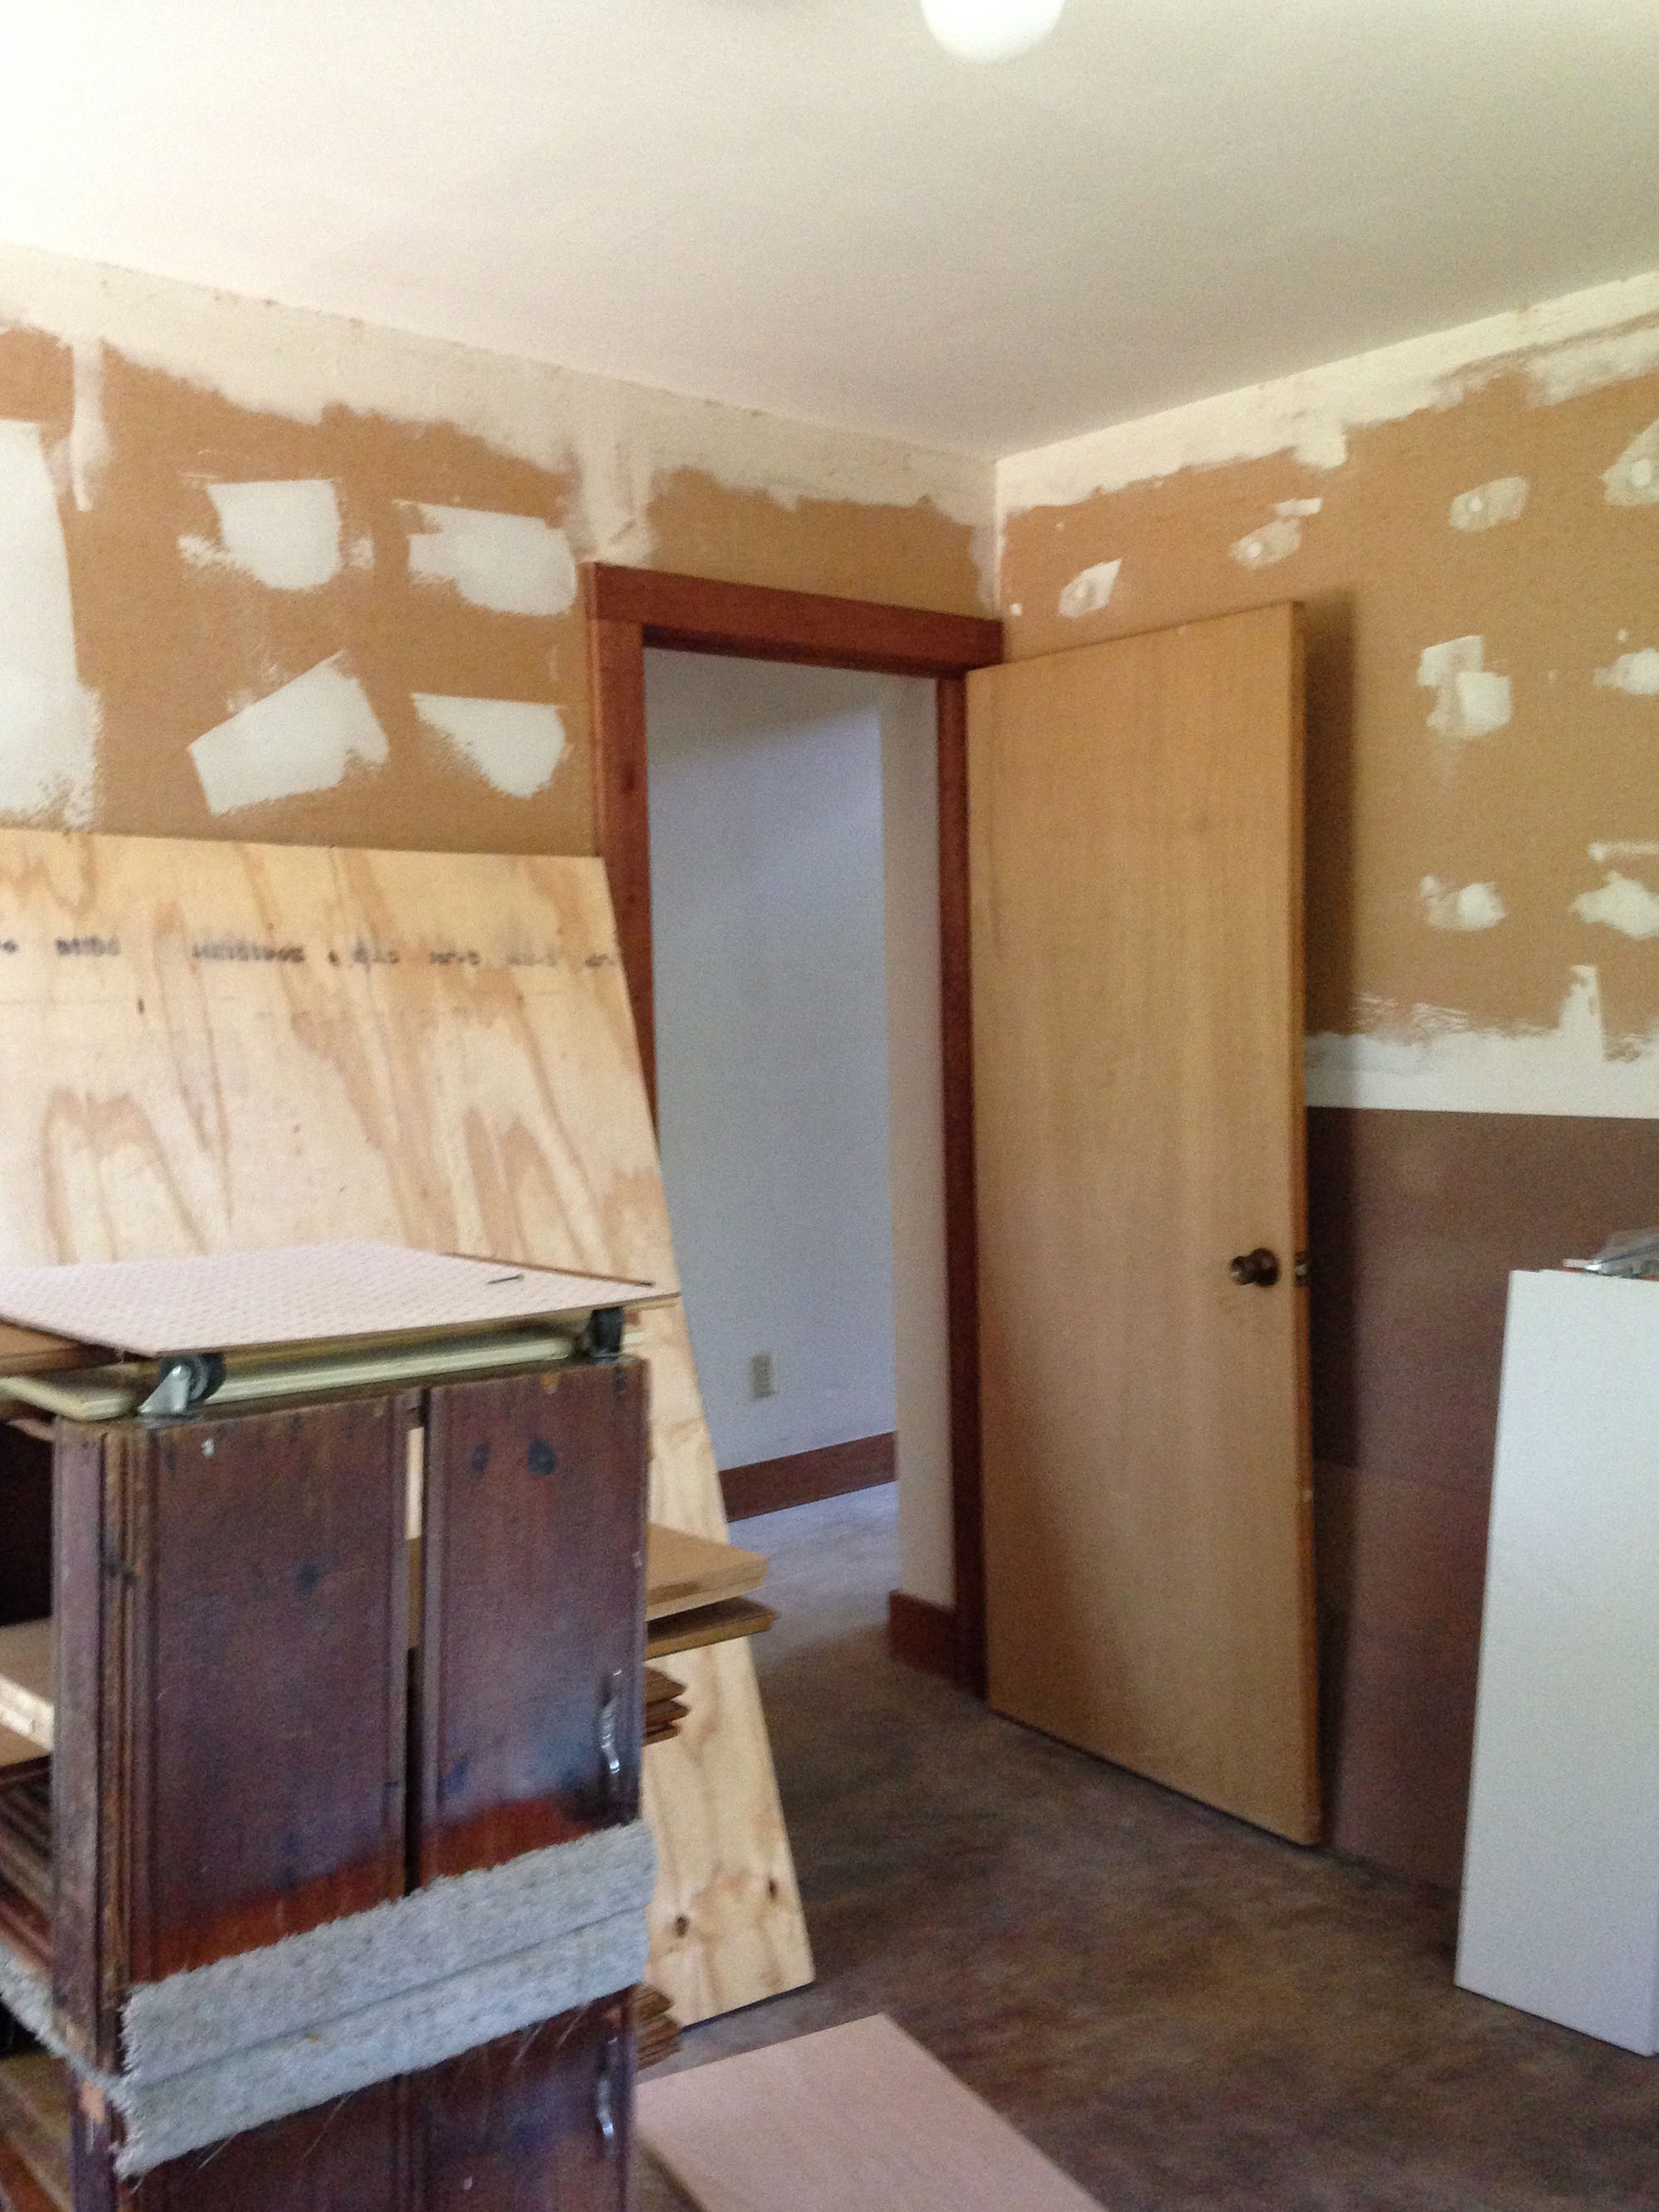
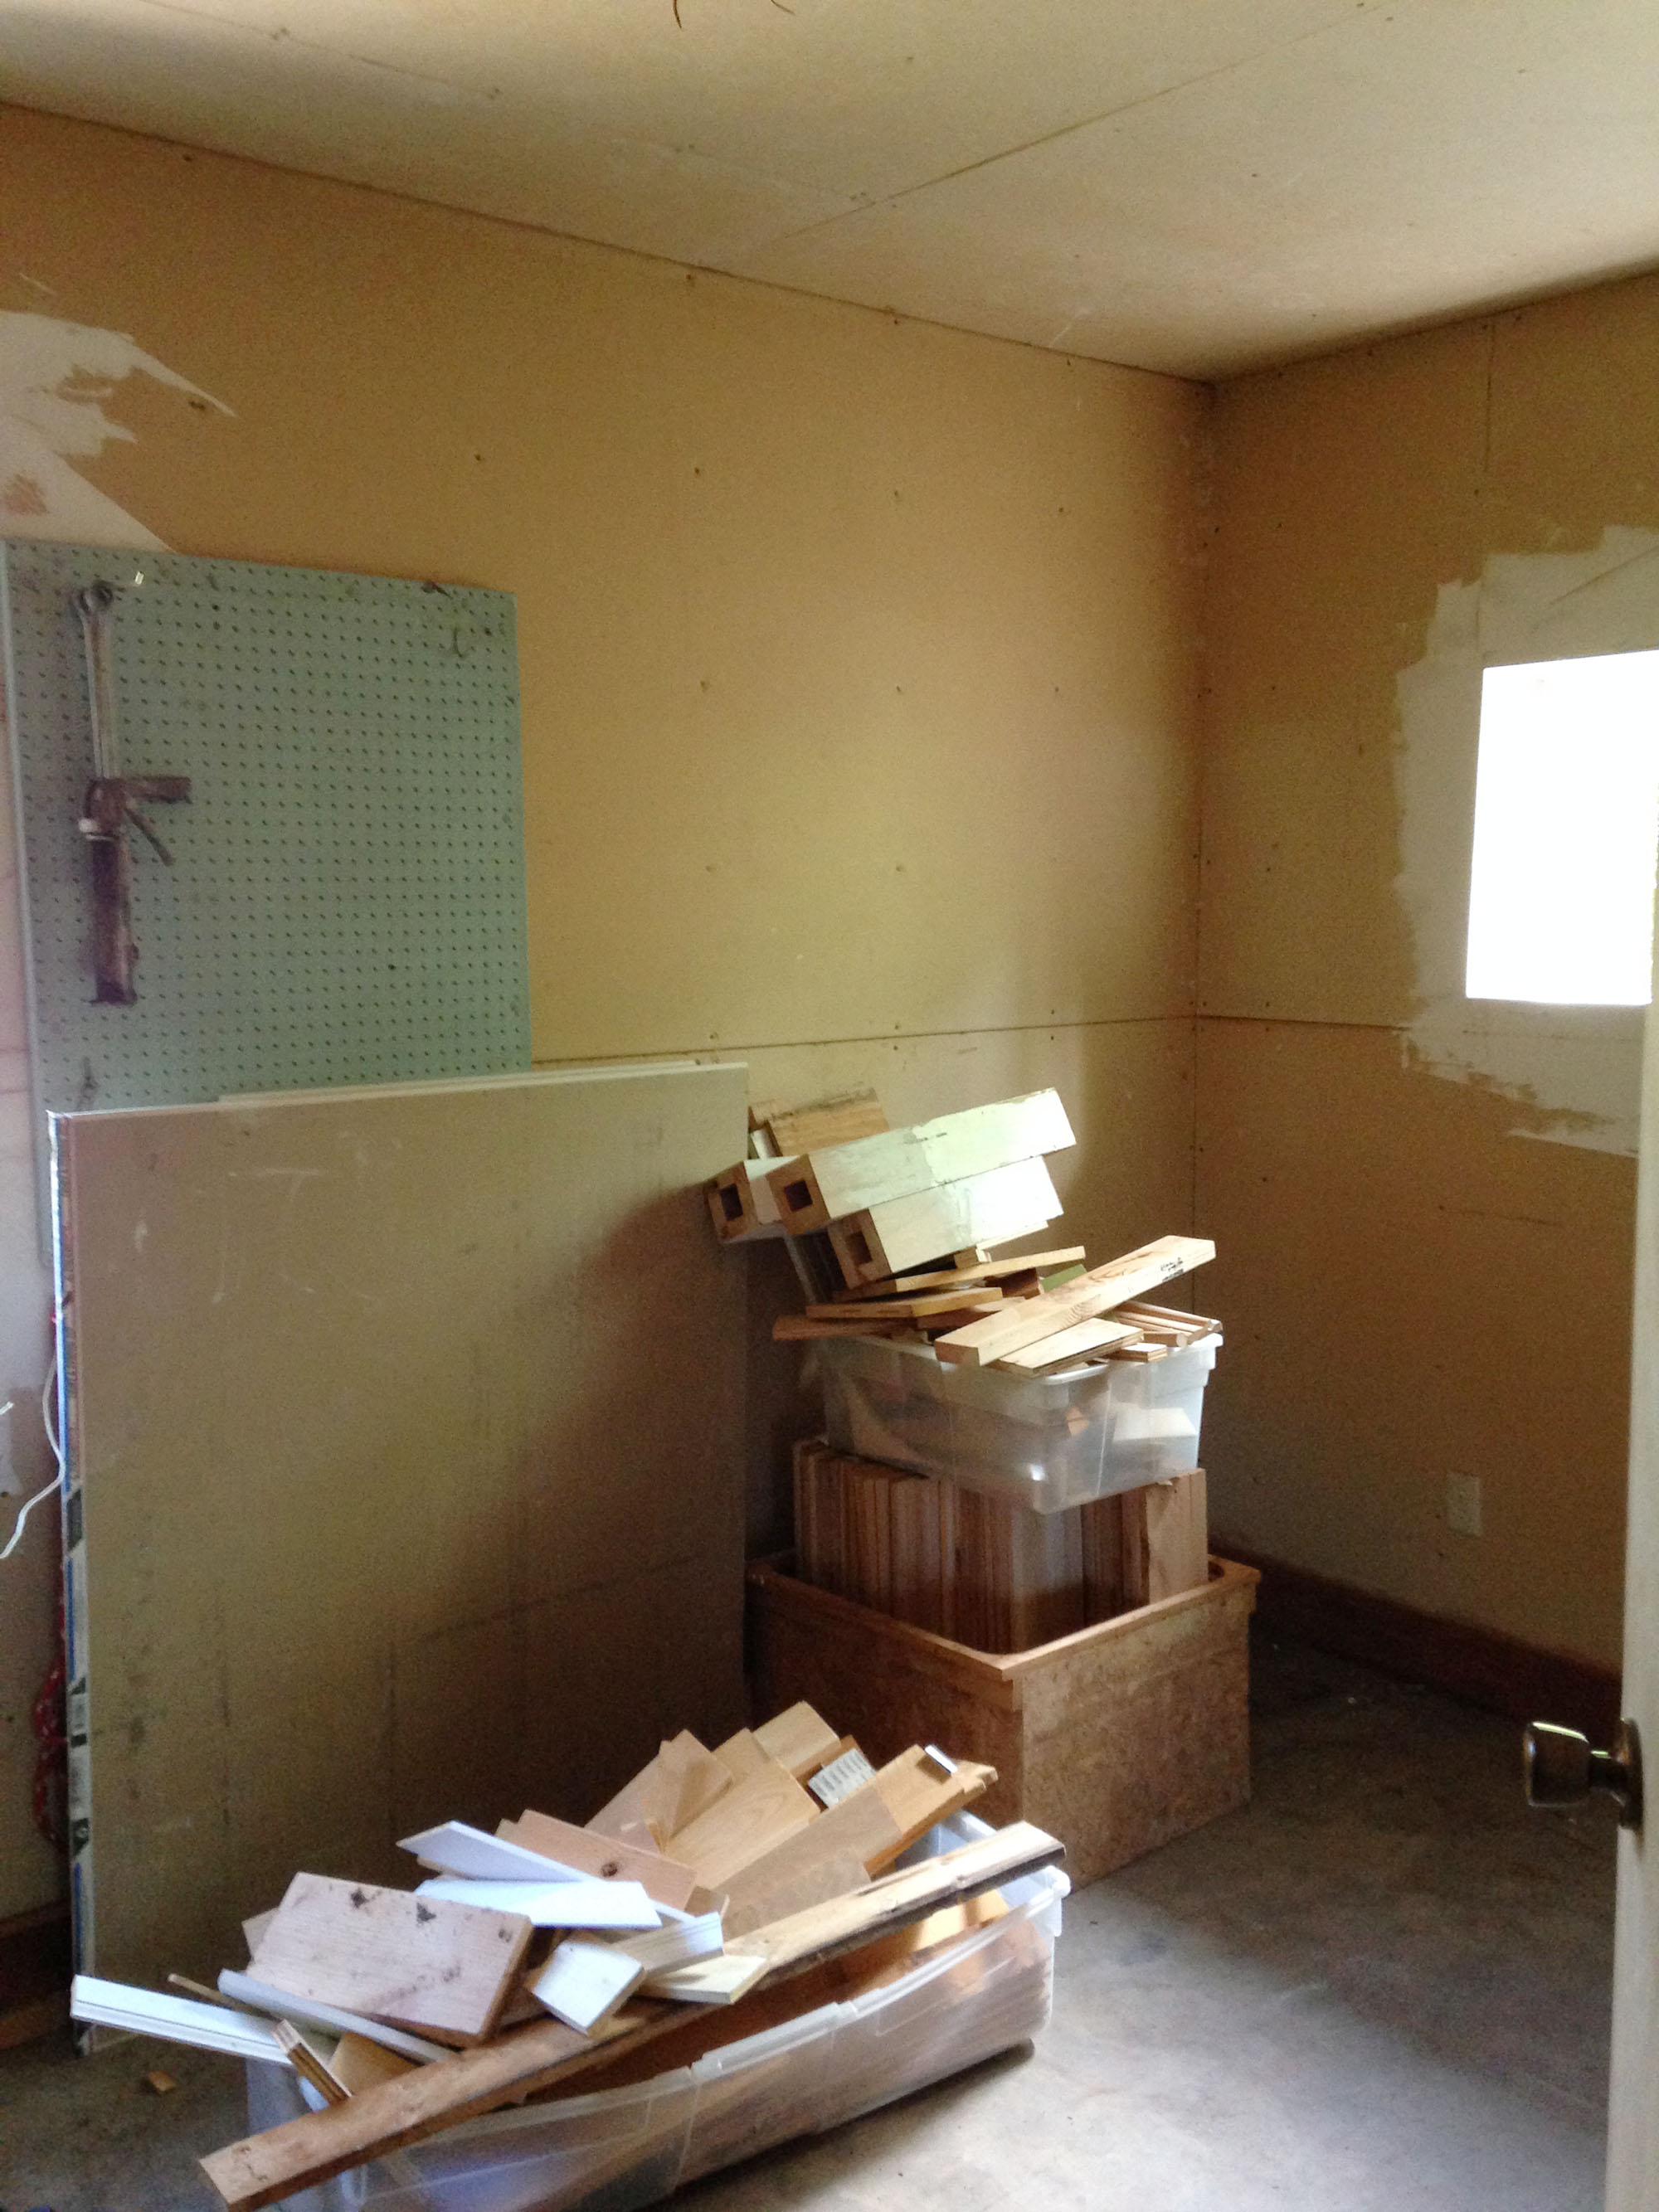
The cabin on the property is solid but needs a bit of spiffing up. Steve and I decided that this would be a great project but first we needed a place to put the tools that are occupying one of the bedrooms. Se we decided to build a shed!

WoodsShed-01

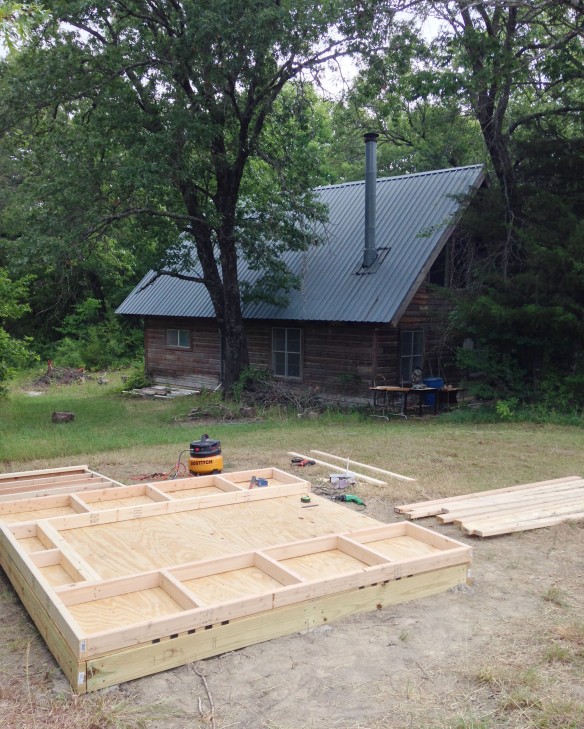
Steve designed an 8′ x 8′, pier and beam structure. Last weekend he put in the foundation and built the framework for the front and back wall. Tuesday morning (after Pilates) I showed up to do my part which is to be both foreman and gopher.

I helped him raise the end walls and secure them in place. Then the framing for the side walls went up. After that, we added the 2′ tall extension that he had prepared to the top of the front wall. The roof will slope from front to back.

WoodsShed-04

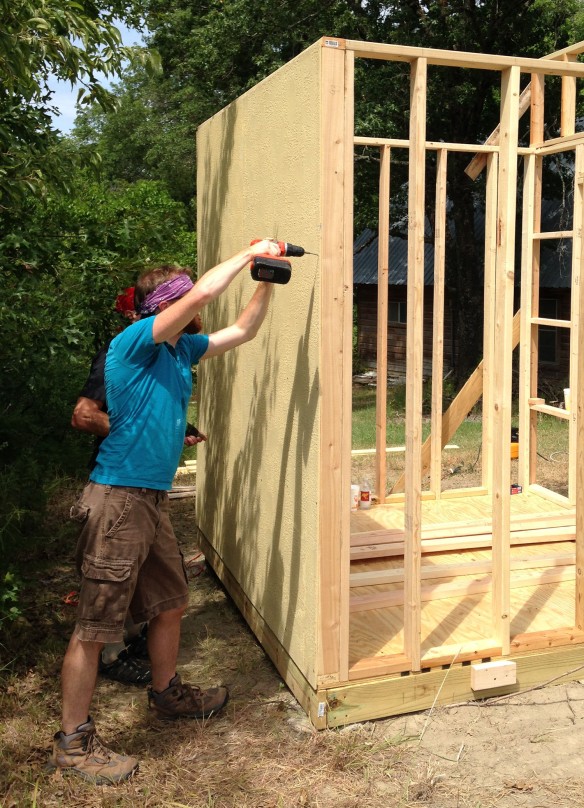
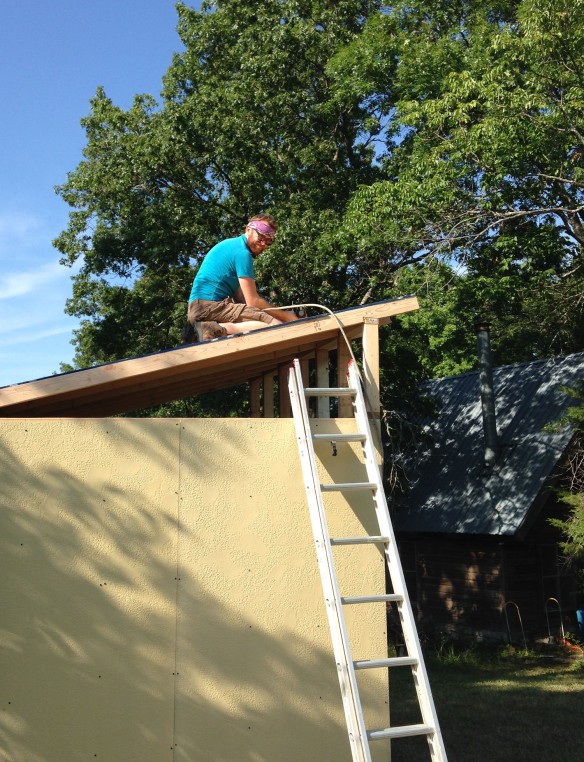
Christopher joined us after lunch and I, for one, was very happy. The siding is Hardie paneling and it is heavy! Drilling holes and driving screws through it was hard on their hands… I have a feeling I could not have done it at all.

WoodsShed-05

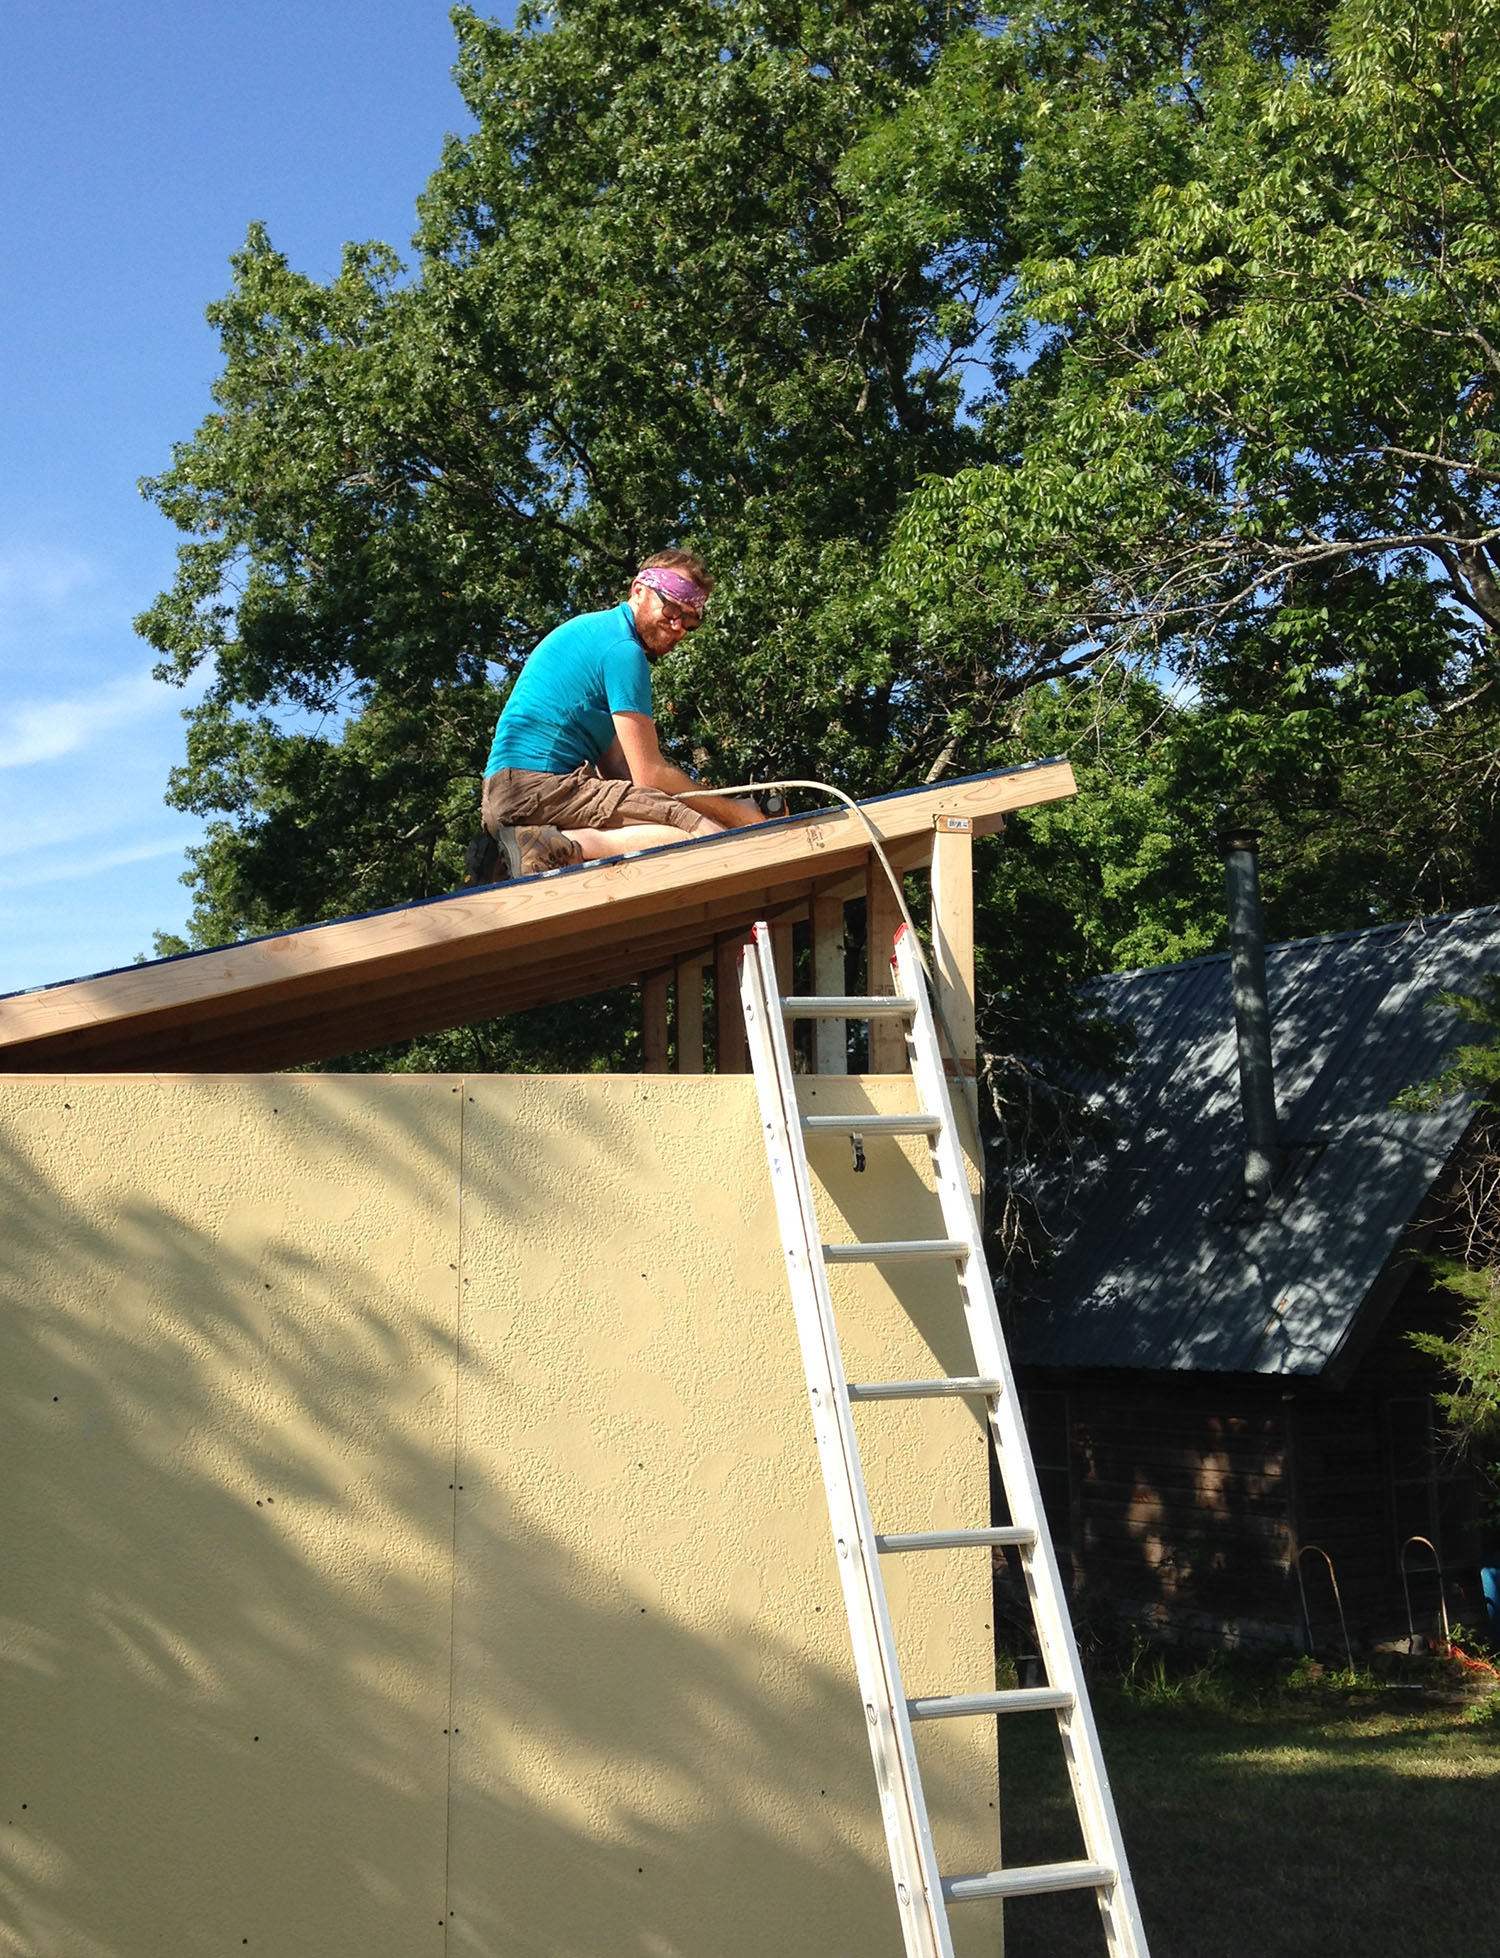
Once the back and two sides were paneled, Steve and I hoisted and slid 4′ x 8′ sheets of chip board up to Chris, who nailed them to the rafters. Next we sent up metal roofing sheets. All of that sounds a lot easier than it was :-).

WoodsShed-09 copy

It was a long day and we called it quits at 6:00. Wednesday it rained. Luckily I had found time to put a coat of water seal on the plywood floor while the guys were doing other things so it didn’t peel apart.

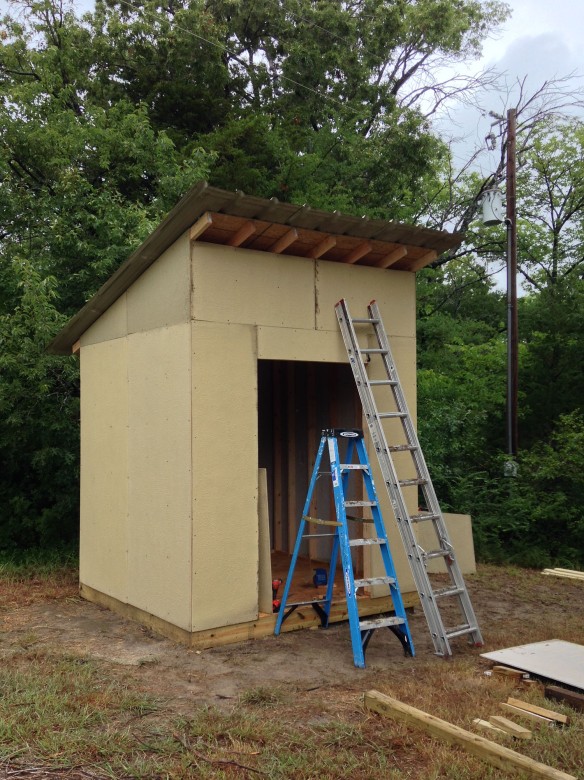
This morning Steve went out early (because I went to Pilates again) and started getting Hardie panels cut and installed on the front wall.

WoodsShed-11


I helped him get the remaining, small wall panels up. Next we worked on enclosing the roof rafters to keep the critters out. And we wanted to trim out the corners of the shed before we broke for lunch. At some point it started to drizzle, and then rain.

WoodsShed-12

We were wet and muddy when we called it quits at 12:30. Steve is going to build the doors later and maybe we can hang them Saturday. We’ll paint the shed in a couple of weeks, when I am back after teaching in Indiana next week.

WoodsShed-15

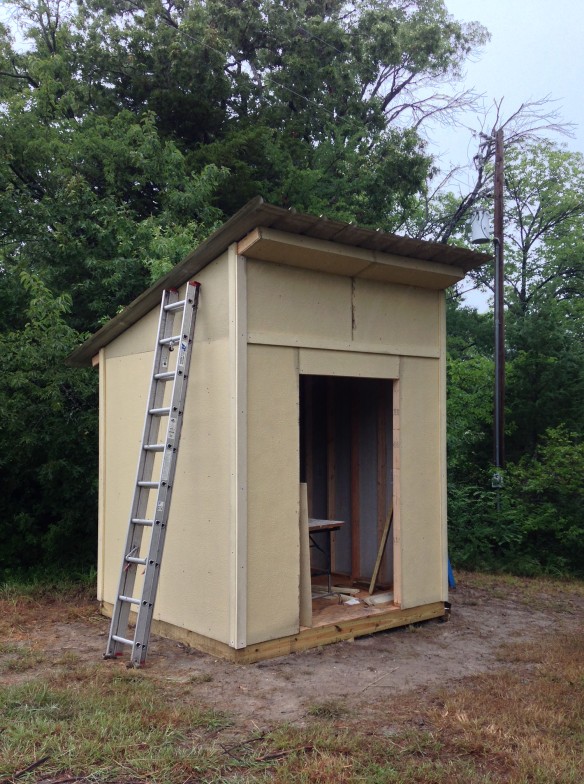
It is solid and functional. Once painted it might even be cute!