Elanor requested this for her birthday and I said ‘sure, I can make that!’ I turned to my favorite cookbook, Gluten Free Baking Classics, for inspiration.
I thought I would make either sponge cake or shortbread layers but wasn’t sure, so I emailed the author, Annalise G Roberts, and she emailed back with ideas. Call me a fan! .
The plan is this: chocolate sponge, raspberry sorbet, crushed chocolate shortbread cookies, sorbet, sponge. Each piece will get a splash of warm chocolate sauce, whipped cream, and fresh raspberries. I used the recipes in Gluten Free Baking Classics.
First I made 2 sponge cake layers. I have avoided this cake because there are so many ways to mess up when beating separated eggs, but it turned out well. Annalise’s recipes always work if you follow the directions!

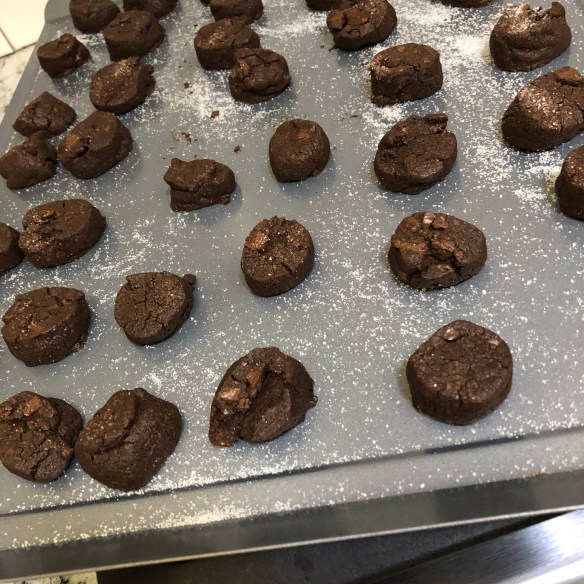
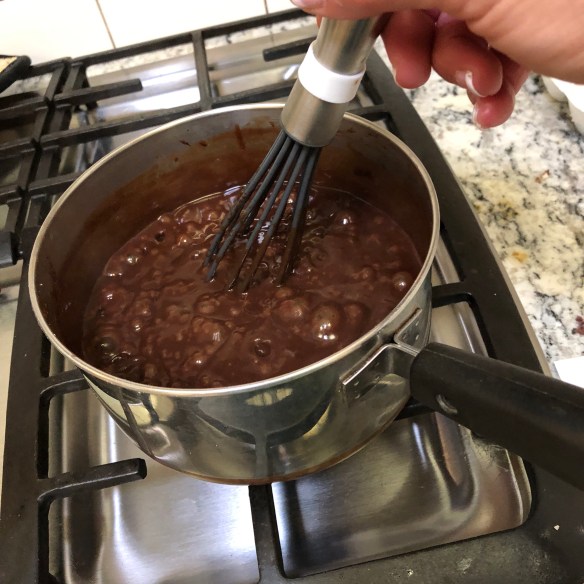
Next I made the chocolate shortbread cookies and the chocolate sauce (recipe at bottom of post).
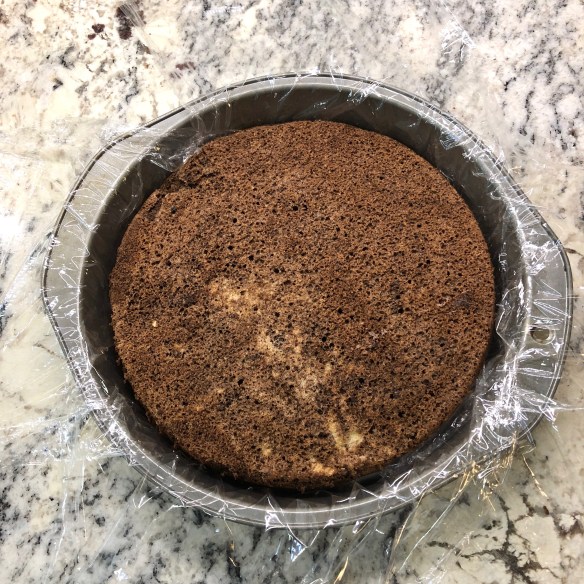
I let everything cool, then thawed the sorbet for 15 minutes. I spread plastic wrap in the 2 round cake pans and placed a sponge layer in each.
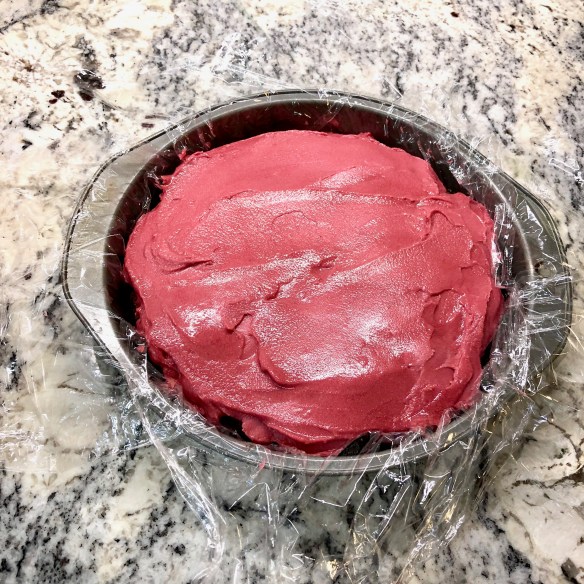
I spread the sorbet on each layer. It would have been better if I had smoothed the outer edges of the sorbet to make it even with the layers.

I covered the layers with plastic wrap and froze them overnight. This morning I pulled them out, unwrapped them, and placed the sorbet layers together with crushed shortbread cookies between them.

It was not as tidy as I hoped it would be…

Next time I’m going to smooth out the edges of the soft sorbet and maybe put the whole cake together before refreezing. Luckily it looked better when sliced AND it tasted great! Everyone, including Elanor, says it is one of the best cakes I’ve ever made. How about that!

As promised, here is my Mom’s chocolate sauce recipe. She always served it the Bisquick’s Velvet Crumb Cake and ice cream.
Chocolate Sauce
- Melt together 1 cube butter (1/2 cup) with 6 oz semi-sweet chocolate chips.
- Stir often.
- When melted, add 1 cup powdered sugar. Stir well.
- Add 1 lean cup of milk and add 1 tablespoon vanilla.
- Stir constantly until it begins to boil Keep on a low boil (still stirring) f
- or 8 minutes.
- Serve warm. Refrigerate any remaining sauce.