Kathi Dineen sent me the story that goes with these 7 wonderful quilts…
I have a Hand Appliquetion class every month. Last December I asked the ladies to bring a Christmas project—quilt table runner—pillow etc. I brought my Slice of Christmas quilt and all fell into “let’s do, it”
Here you go 7 quilts finished this year!! Thank you for all you do-love your work!!
Kathi at The Quilt Works, Albuquerque
Linda and Kathi
I love every one of these quilts! And how fun is it to see how different they are from each other :-).
Lorna has been making sequin ball ornaments using the Sequin Ball Kit at pieceocake.com and she wanted to share the story. Here’s Lorna…
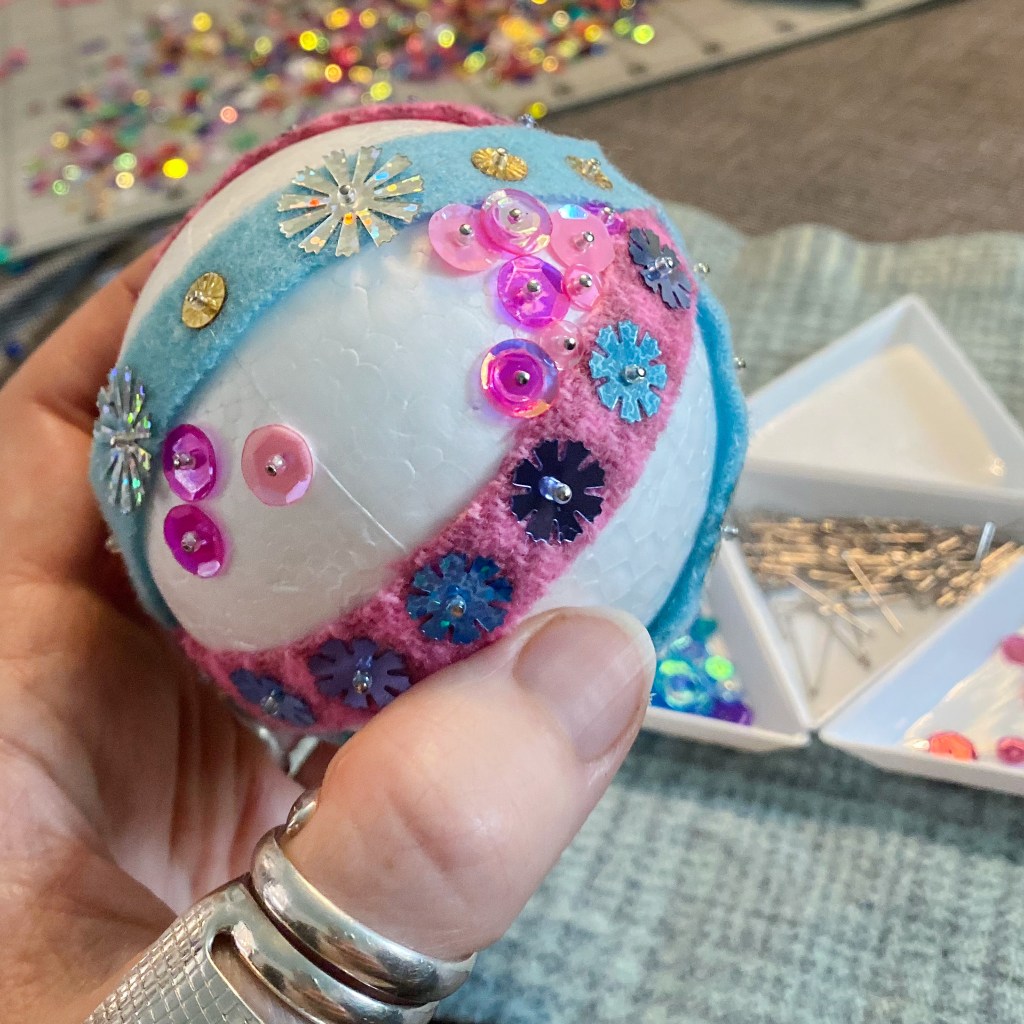
I had an idea to use wool like Becky did (video at bottom), but vertically, and it was honestly easier than I thought it would be. I cut 1/2″ wool strips about 4-1/2″ long (you can always trim, so don’t stress) with a rotary cutter and I set up my work space.
Somewhere in the middle of making the ball, I realized that I forgot to poke a hole through the center of the ball for the wire. I’m going to add that later, after I find a skewer to poke through.
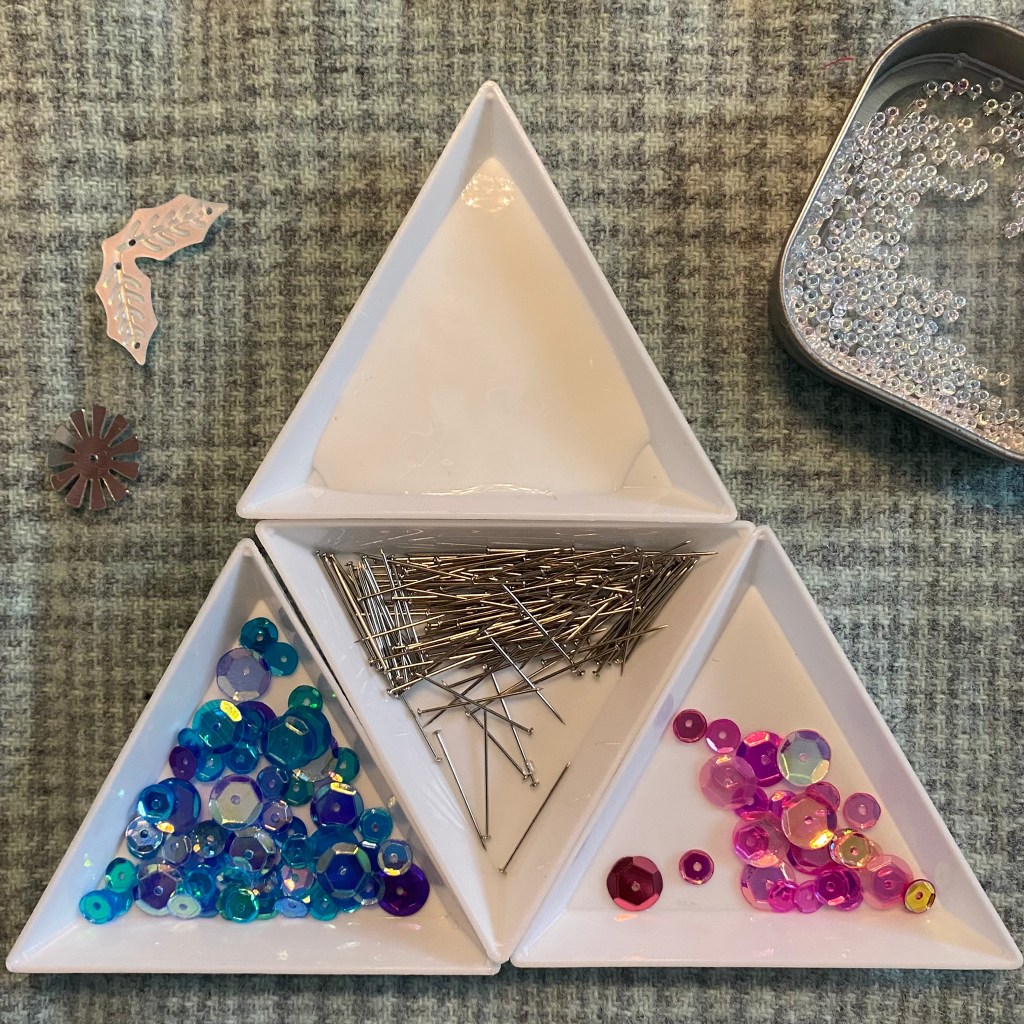
I started with the blue strips. The foam balls have a little mark on the top and the bottom, and a faint line around the middle, again making this easy. I loaded my pin with the bead and sequin, used the tip of the pin to put a little glue at the top (or bottom) of the ball, added the wool on the glue, dipped the tip of the pin in the glue again and then stuck it through the wool into the ball to secure it. Then I did the same at the bottom (or top), and here is where you can trim if your wool strip is too long.
Then it was just the regular process of loading the pin with the bead and the sequin and the glue, but through the wool into the ball. I did the same with the other two blue wool strips.
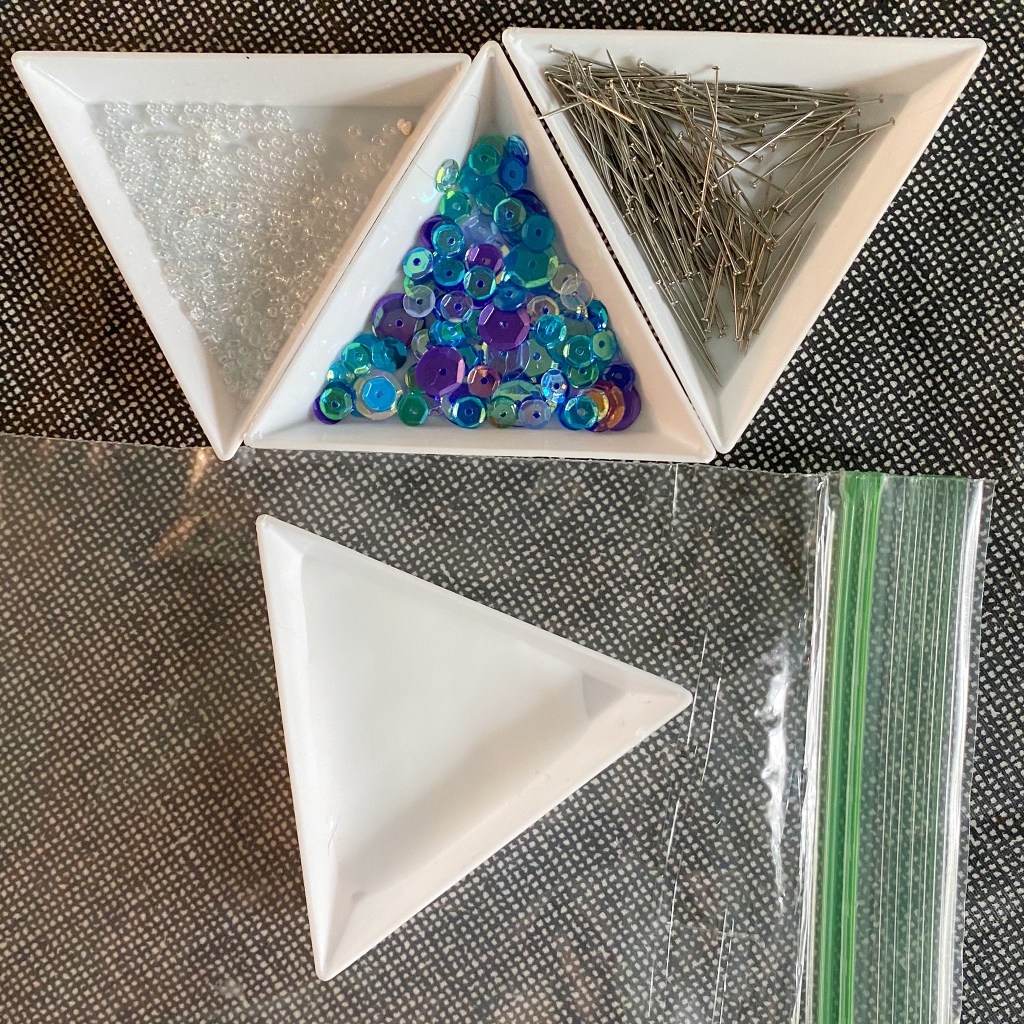
I trimmed the pink wool strips so they would kind of fit in, and did the same process with those three. At that point I had created 6 small empty sections and I sorted out pink and blue sequins into my trays. Then it was just the normal process as described in the video.
I haven’t filled in the blue wedges yet, but the pink are done. Overnight, I put my bead tray with glue into a plastic sandwich baggy to keep the glue from drying, and it worked just fine.
I liked the 1/4″ strips with the little stars, and if I had it to do again, I’d play more with the wool. In fact, I’m already thinking about what my next ball will be like. It might be a rainbow! We talk about wool applique being fast, but wool makes this super fast, too. The more wool you use, the faster it goes. And it’s pretty!
If you don’t already have wool scraps, Tracy Trevethan Wool is the best, quality and color selection, IMO (in my opinion).
I will be visiting with Sophie Scardaci (or Jessica Vaughn if Sophie’s internet is still questionable) live tomorrow, Friday, March 18, on YouTube and Facebook about my new Welcome to the North Pole class!
We’ll start at 12PM PDT, 2PM CDT, 3PM EDT.
The book has been in print since 1997 (amazing, right?!). If you have the book but have not made the quilt because the blocks look a little scary, this class is for you! I walk you through all of the needle turn hand applique techniques you need to know to make this quilt.
There isn’t an ebook for Welcome to the North Pole so please be aware that you need to acquire the book separately from the class. There is a free digital table runner pattern included in the class that you can practice techniques on if you prefer.
PS: We had to cancel the previously scheduled event because of a bad internet connection.
Years ago, Chris and Lorna lost the Christmas stockings I had made for Lorna, Elanor, and Jack—and the one my mom had made for Chris when he was a baby. They were very sad. I was very sad, but what are you going to do?
If you are me, you begin again! I made new personalized whimsical stockings for each of them, and they are in Quilt a New Christmas eBook (the pattern is quick and easy). Everyone was happy!
But then, 4 years later, they found the original stockings!!! So now they have two stockings for everyone (except Bear who was born after the great stocking loss). Last year, Lorna decided to give her mom her original stocking that I appliquéd. Lorna planned to stitch her name on it, but she didn’t sew fast enough.
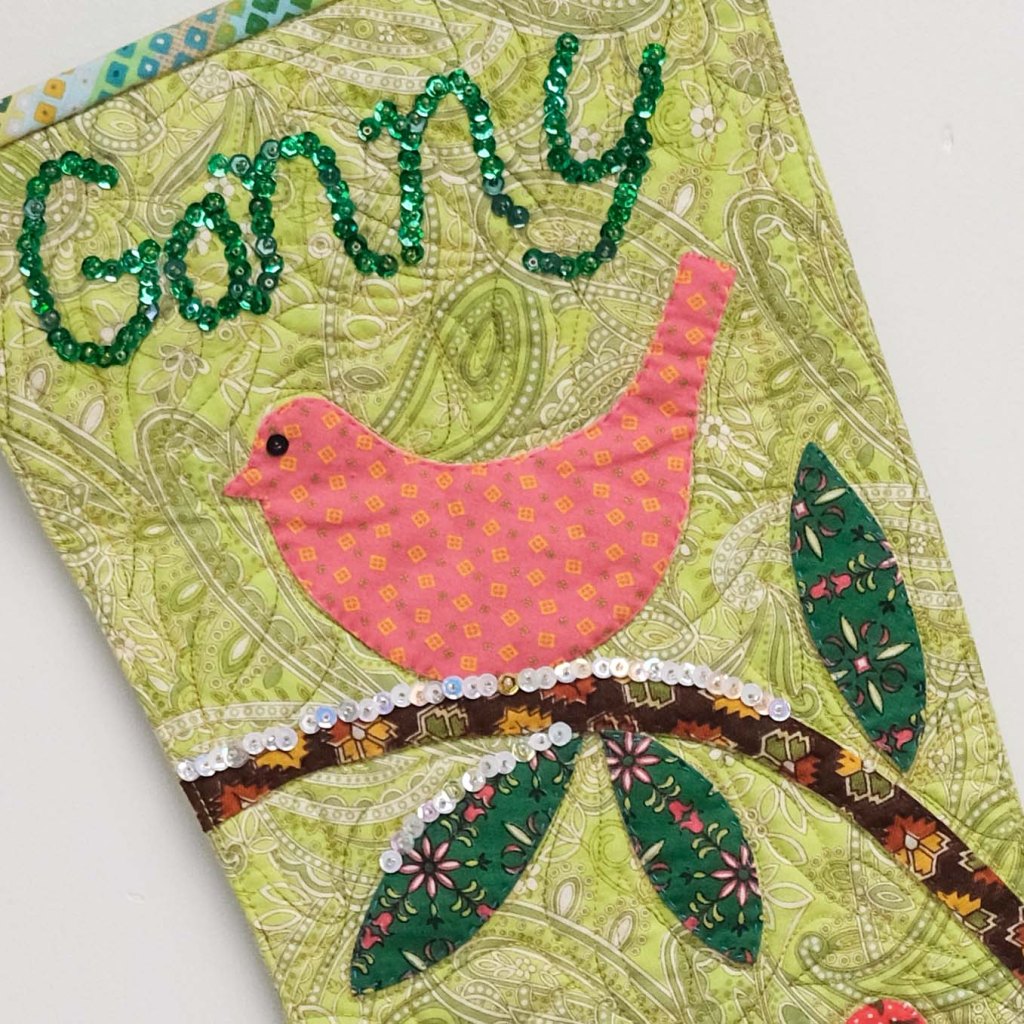
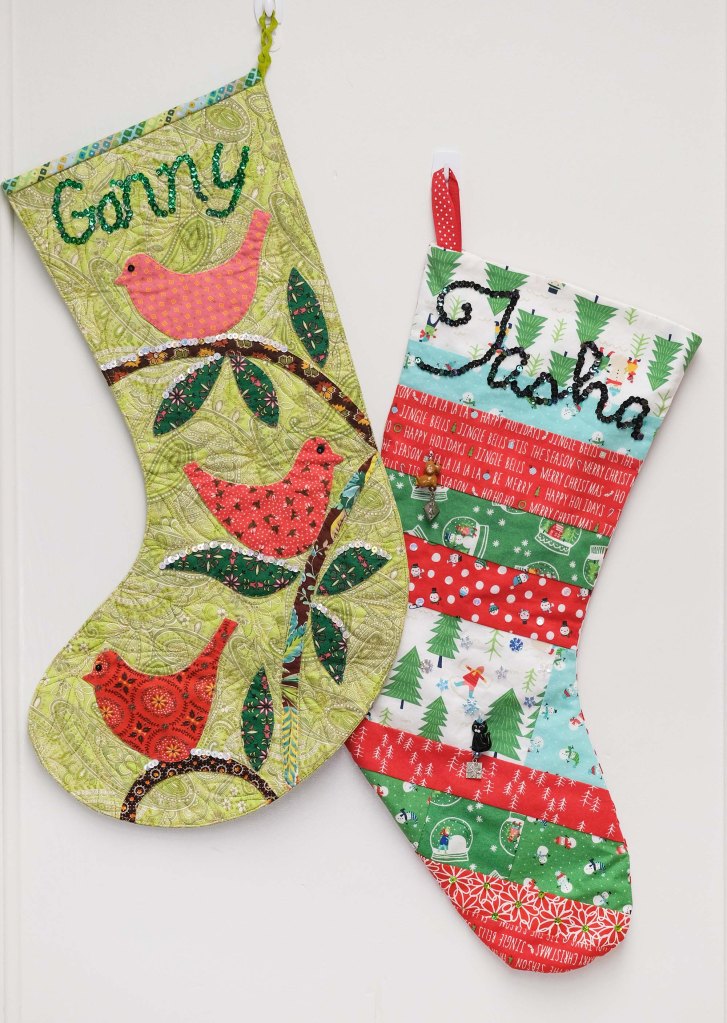
Judy loves her stocking and decided this week to take matters into her own hands. She stitched “Ganny” (what the grandkids call her) in green 5mm sequins, added white sequins for “snow”, and gave the birds eyes!
And while the sequins were out, Judy and Lorna added more embellishments to the stocking they made for their friend last year. Re-purposed scissor charms represent Tasha’s actual cat and dog —so cute!
Stockings (and stuffing them!) are a big tradition for our whole family. If you have an extra stocking, think about passing it on. Or make new ones to share with those people in your life that you treasure. Sharing the love will make you smile—a lot.