Three Ways to Make Buttonwood Village

One of the things I love most about Buttonwood Village is that it gives you options. There isn’t just one right way to make this quilt—you get to choose the version that fits your space, your time, and your stitching mood.

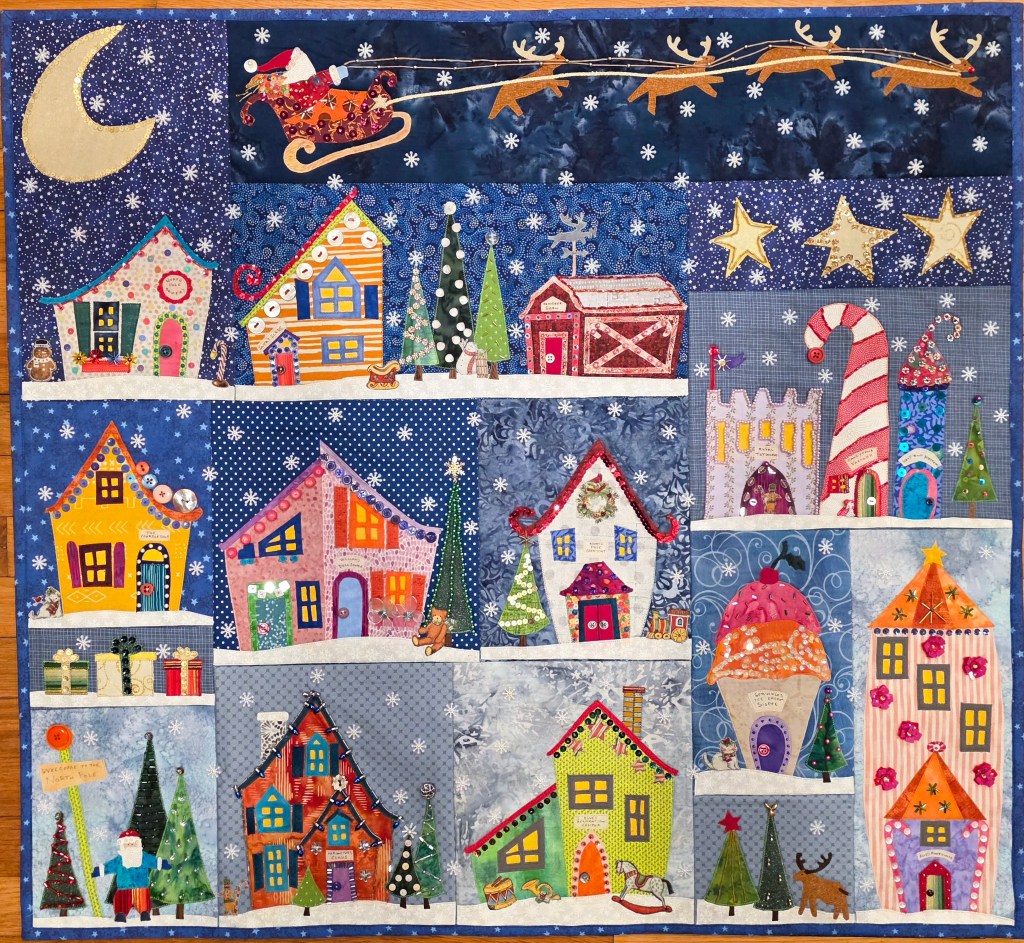
Option 1: The Original Village
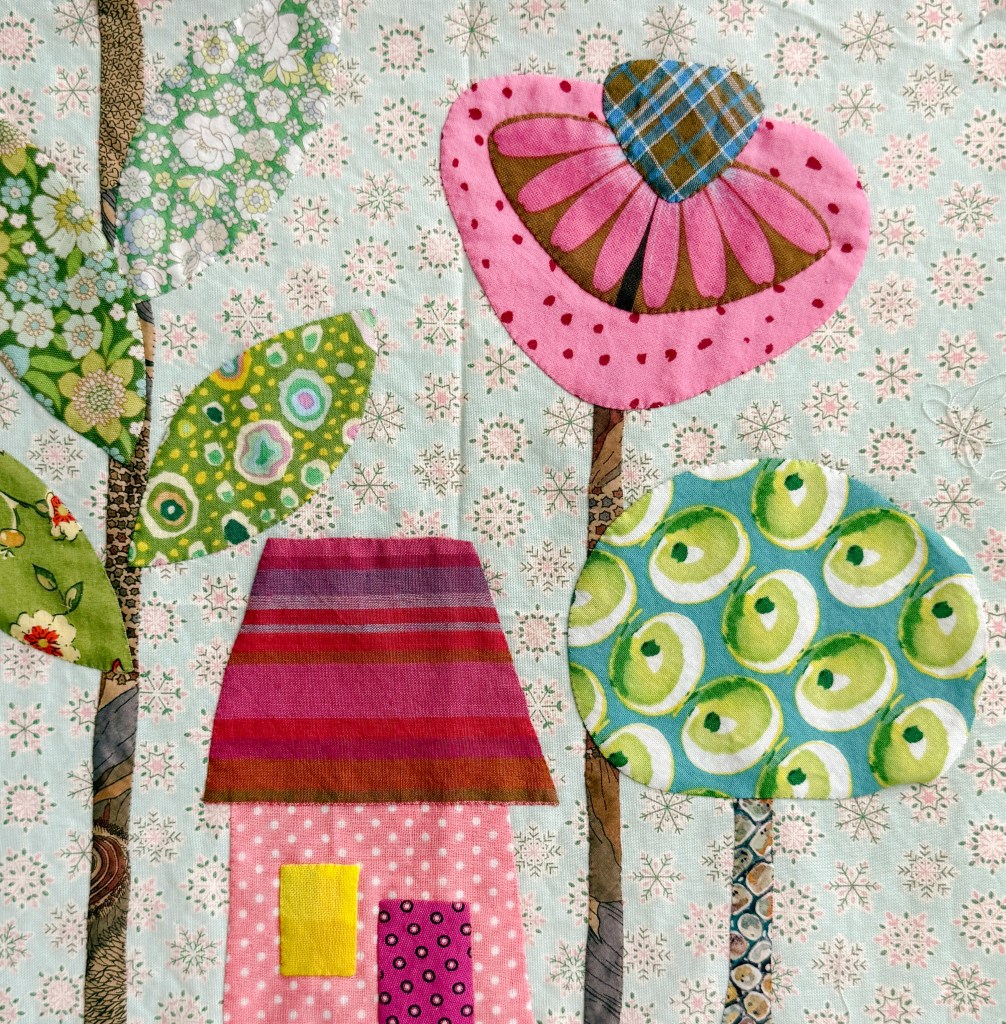
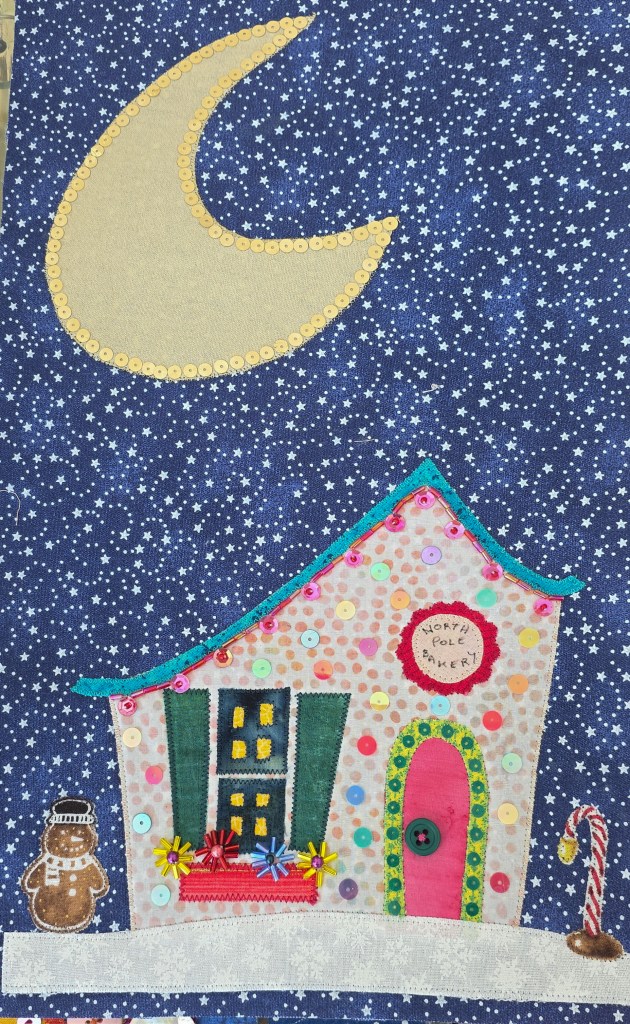
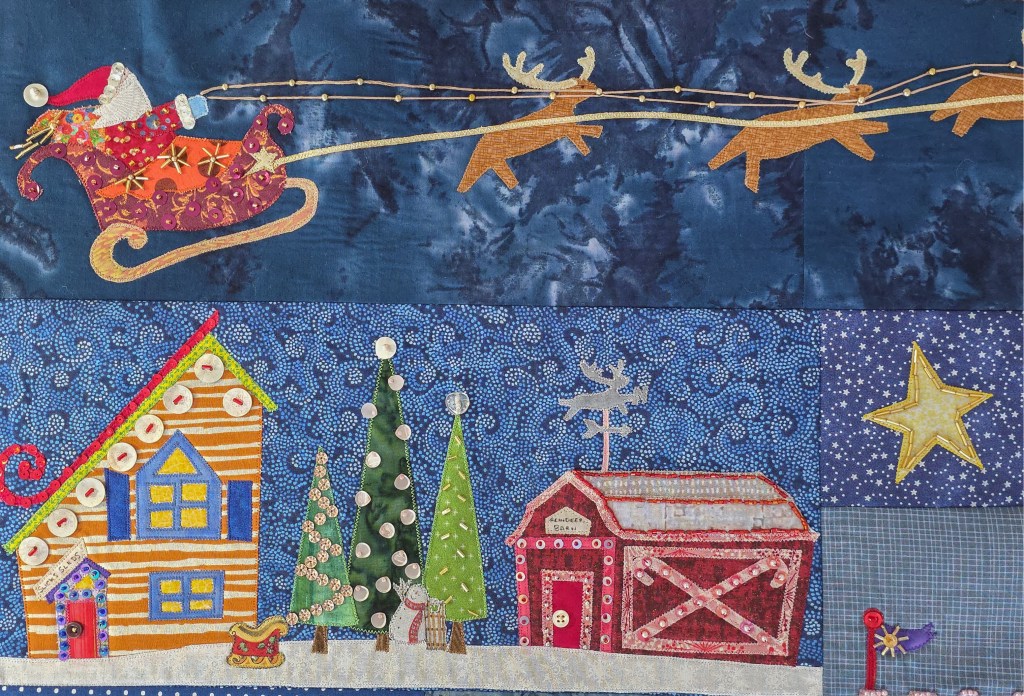
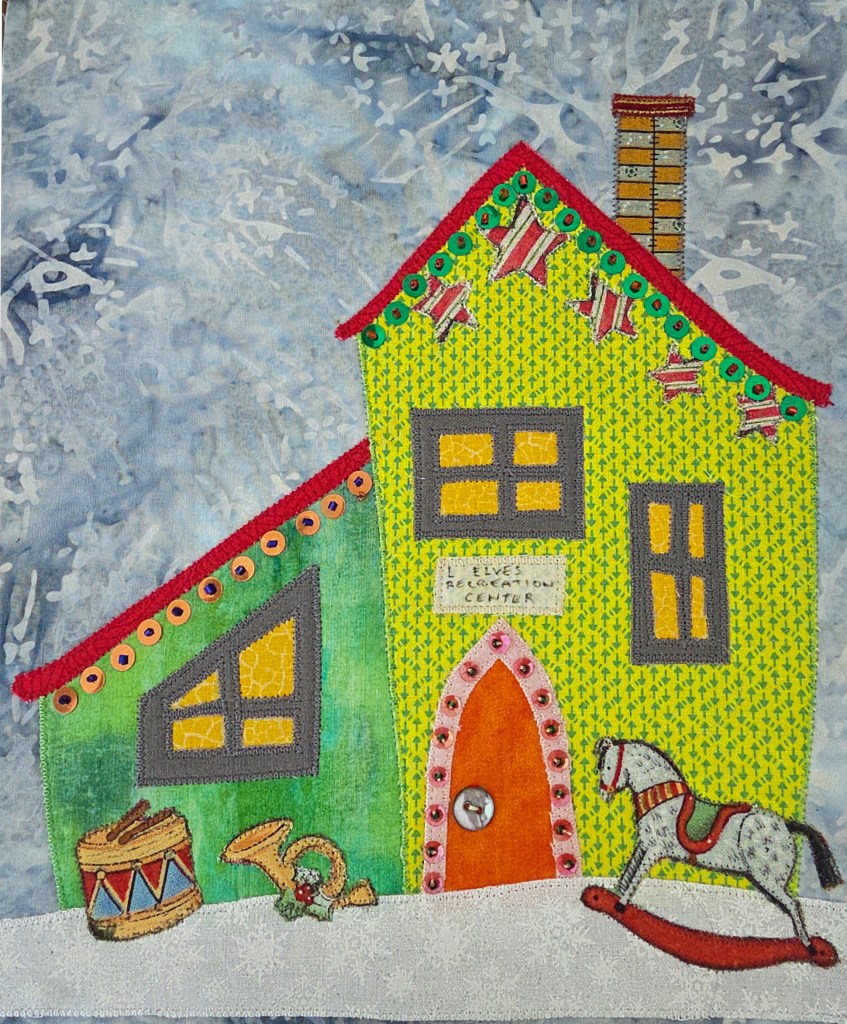
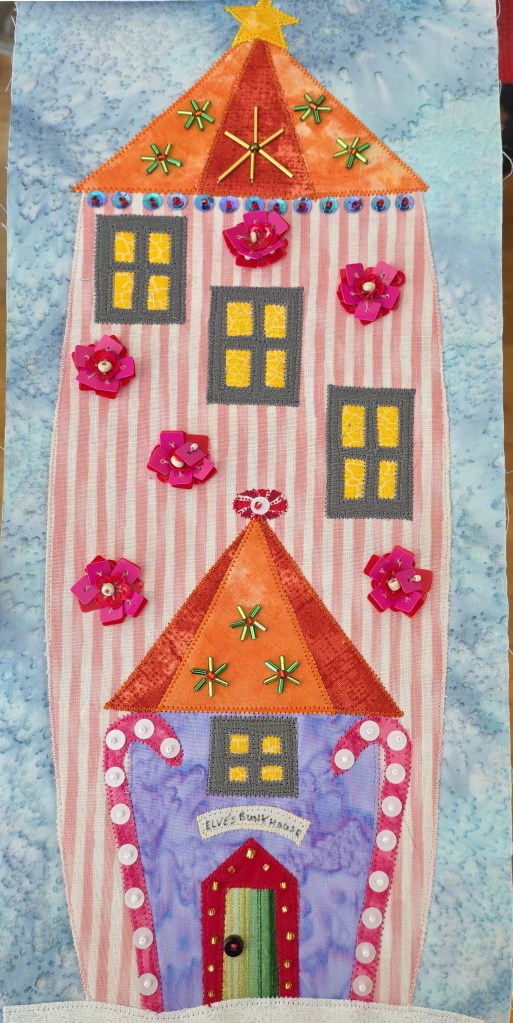
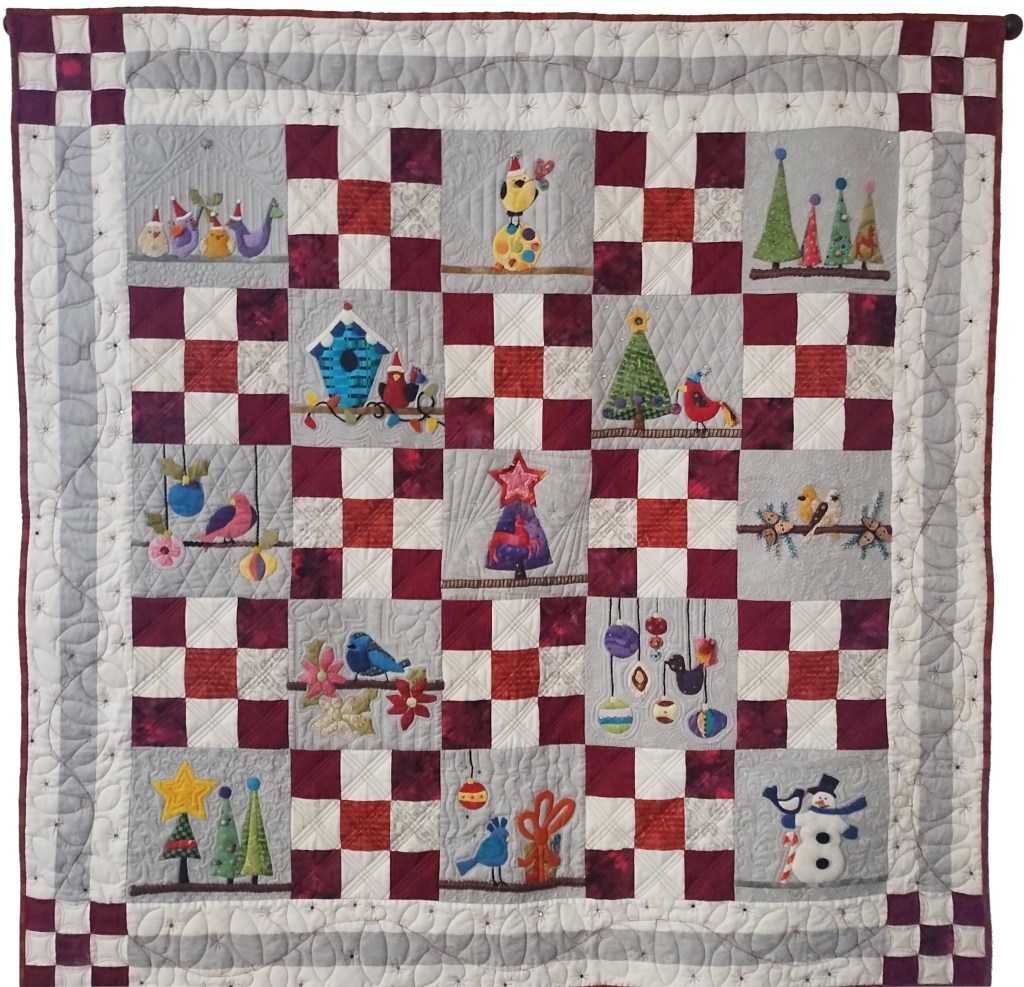
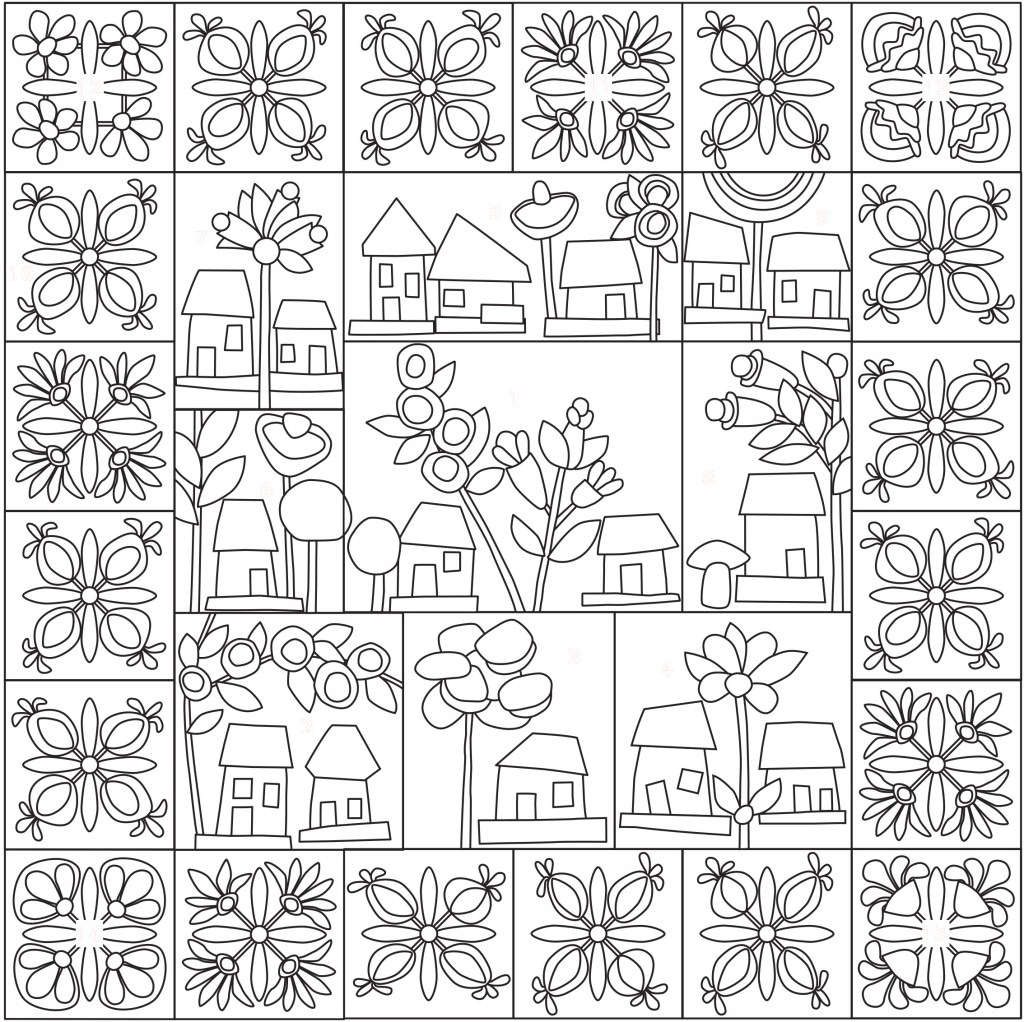
The original Buttonwood Village features 9 house blocks surrounded by 20 border blocks, finishing at 60˝ x 60˝. This version feels complete and cozy, with the houses nestled right into their own little neighborhood.

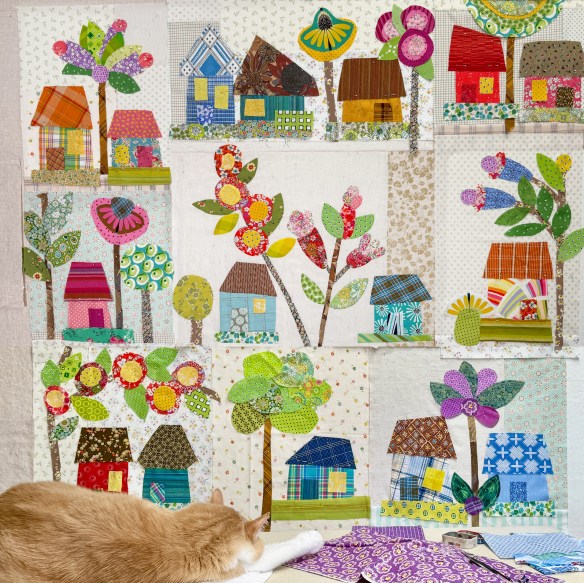
Option 2: Houses Only
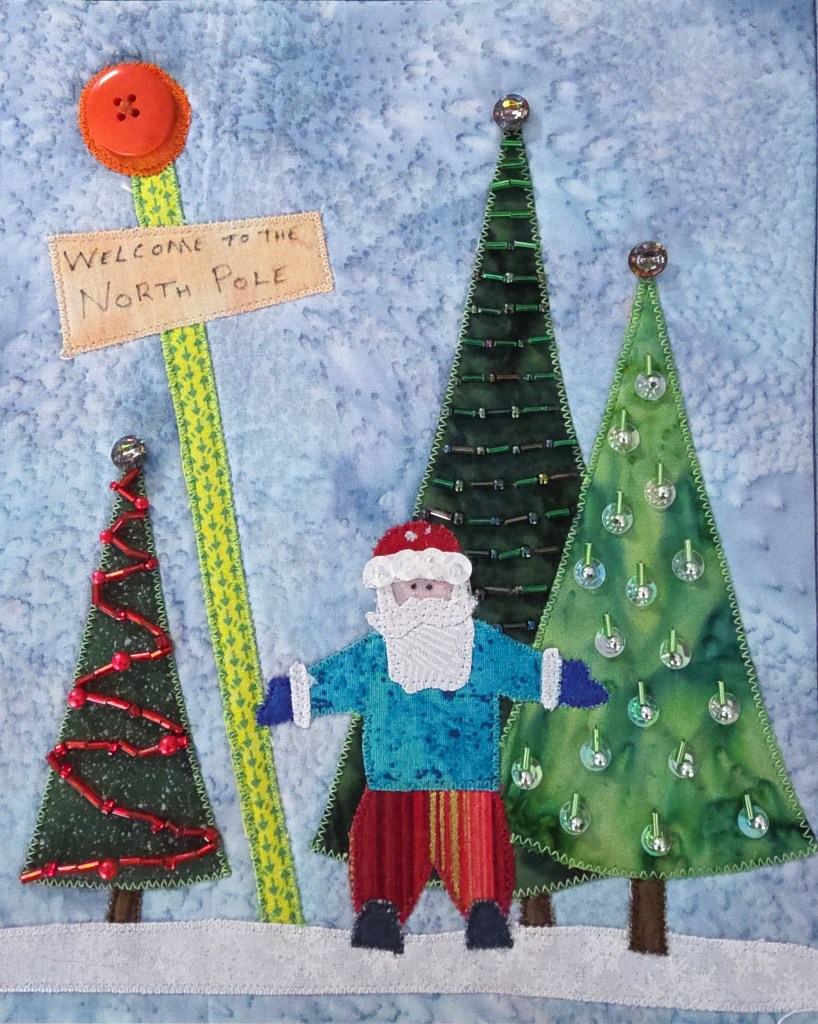
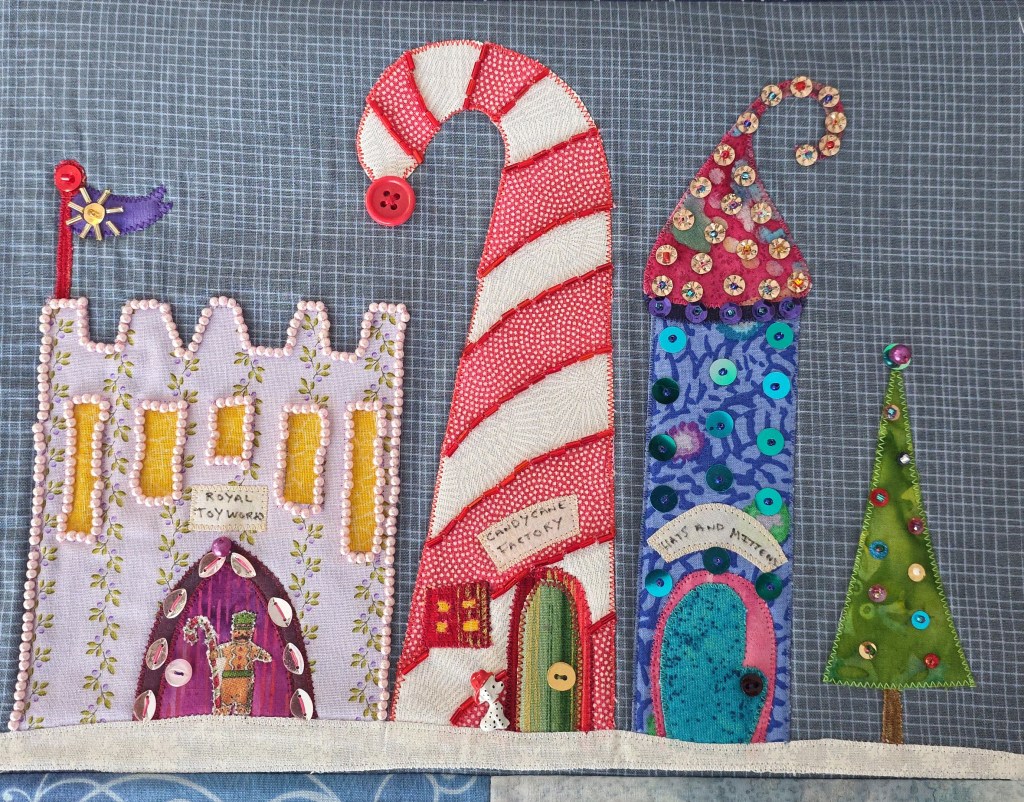
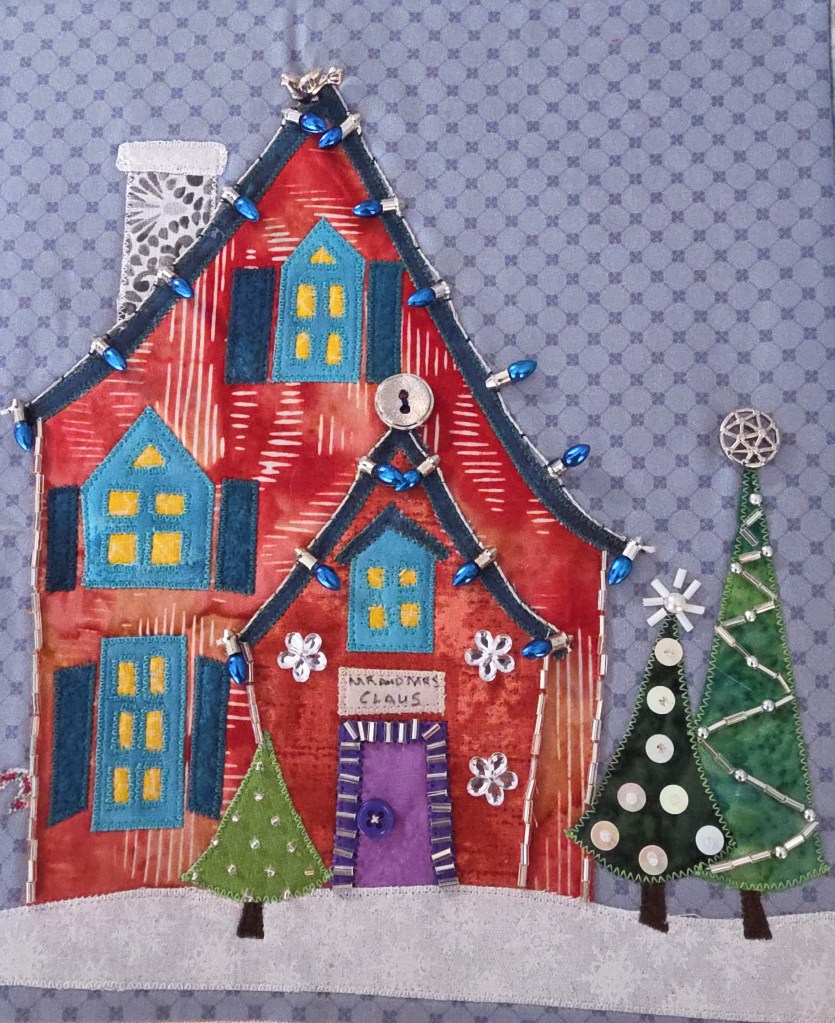
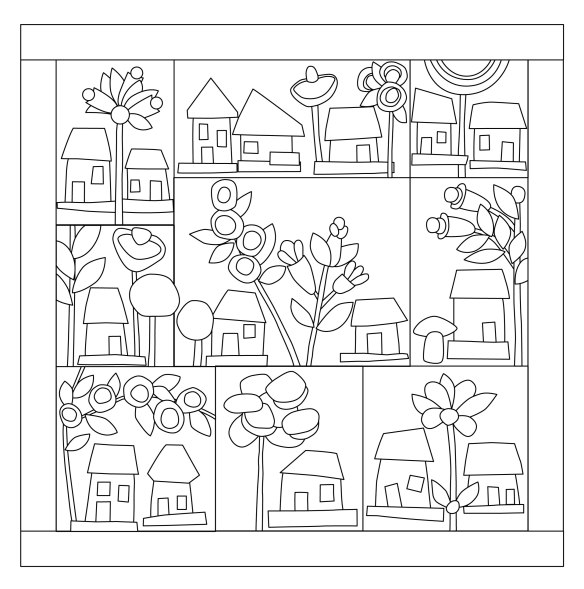
I know some of you prefer a smaller wall quilt. You can make just the 9 house blocks, add a 3˝ border, and end up with a sweet 46˝ x 46˝ quilt. Simple, charming, and absolutely perfect.

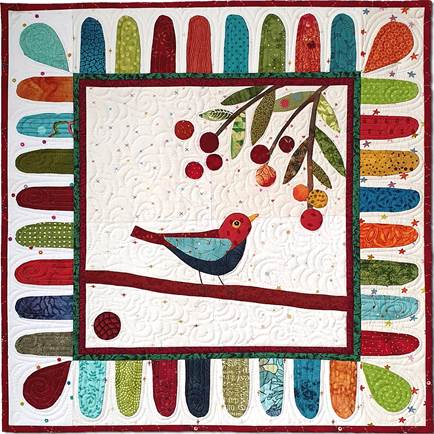
Option 3: Border Blocks on Their Own

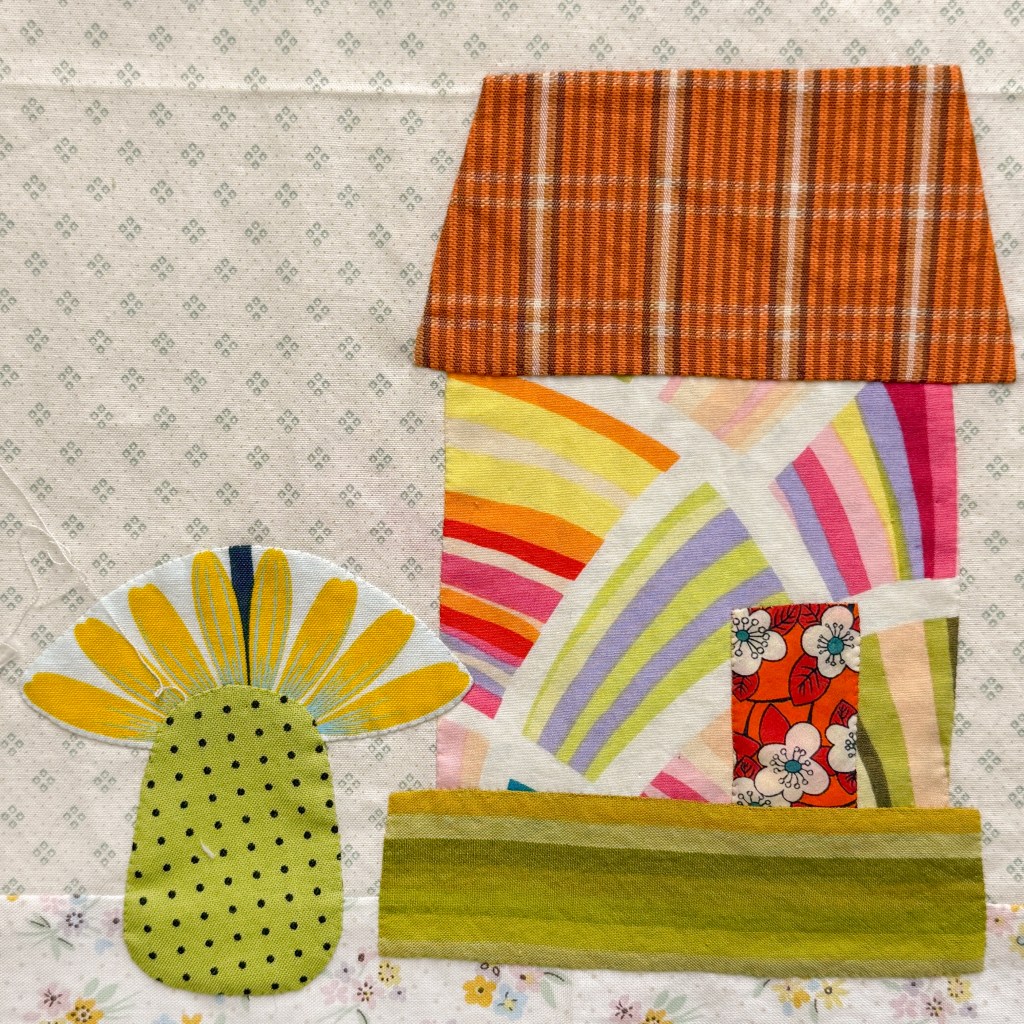
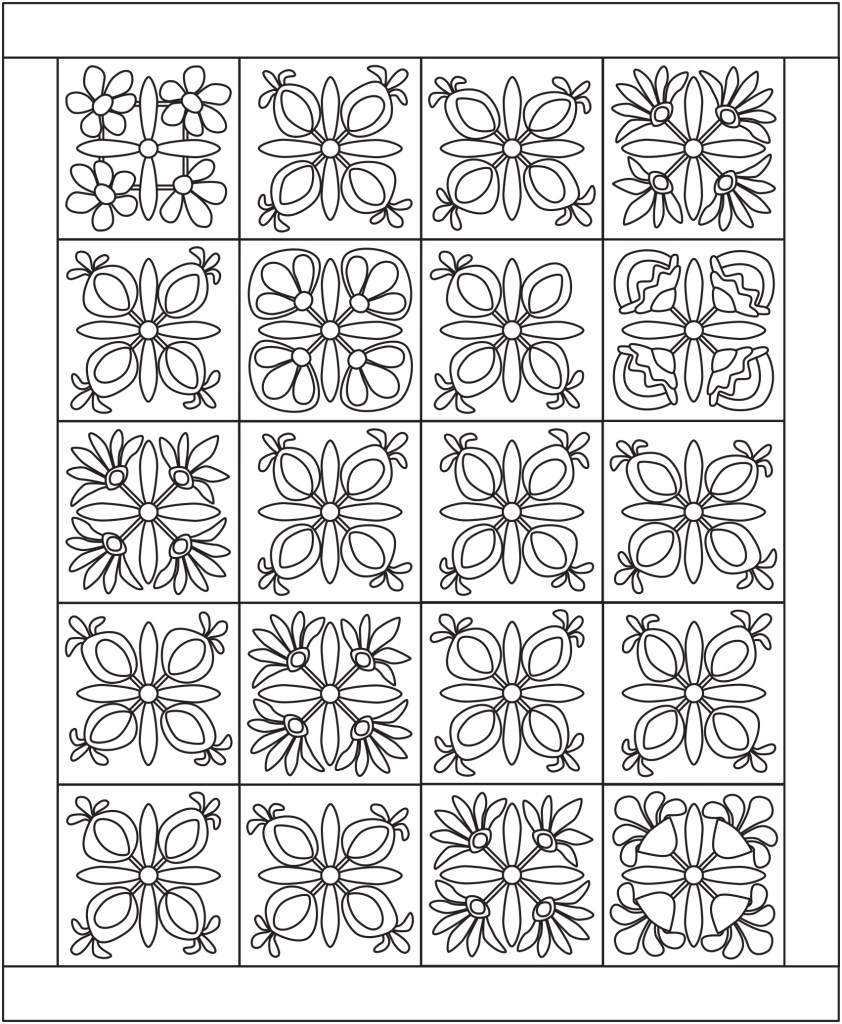
The border blocks measure 10˝ x 10˝, and if you make all twenty of them, they can be set together into a more traditional quilt that finishes at 46˝ x 56˝. It’s a great option if you fall in love with the border designs and want to let them shine.

You don’t need to decide right now. Just tuck these possibilities into the back of your mind as the Block of the Month moves forward. One project, three paths—and plenty of room to make it your own. 😊

Find Buttonwood Village BOM at Piece O’ Cake: https://pieceocake.com/products/buttonwood-block-of-the-month-digital-pattern

Find Buttonwood Village plus the the Live monthly class on Creative Spark: https://ctpub.com/products/3324756?ref=BECKYGOLDSMITH

This is why you buy big prints 😁

Anna Maria’s Zinnia print first came out years ago and since then it has been reissued in different colors. I love them all! Not sure which one I bought first, but it could have been this one:

Each flower is 3 3/4″ wide by 3″ tall if you count the stem. The spacing is tight in all the right ways. but I do wonder if some people shy away from it because the flowers are larger than your typical “small” print. Personally? I don’t mind one bit. As I said… I LOVE this fabric and have it in every color.

I haven’t pieced with it yet, but I will. I even have a stack of Kaffe stripes that would be perfect with these zinnias—later. When I have time. Right now I’m deep into Buttonwood Village and have already found three perfect places for a flower to sneak in.

One flower becomes a tree. Another becomes a pineapple bush? And the third one could be a palm tree!

That’s the thing about bigger prints: if you avoid them, you miss out on so much fun. I encourage you to give them a try—you might be surprised where a big, beautiful print can take you 🌸.

Find Buttonwood Village BOM at Piece O’ Cake: https://pieceocake.com/products/buttonwood-block-of-the-month-digital-pattern

Find Buttonwood Village plus the the Live monthly class on Creative Spark: https://ctpub.com/products/3324756?ref=BECKYGOLDSMITH

Show and Tell… Winter Bird!

Regina Grewe sent this cheerful little bird for us to enjoy! Thank you, Regina!

Regina, the big berry in the lower left corner is a nice touch! It balances the block in a very subtle way. Well done!

This is one block is our Backyard Birds pattern pack—click here to find the digital pattern.

Where does inspiration come from?

Image

Houses have shown up in stitched work for hundreds of years, and that really isn’t a surprise. We live our lives inside houses. The people we love are part of our household. When we stitch houses, we’re often stitching feelings too—memories of homes we’ve lived in, homes we’ve loved, or maybe homes we’re still dreaming about.

Buttonwood Village is a happy place, built with a whimsical attitude and lots of color—and it truly feels like home to me :-). You might notice that the houses are small. Steve and I have never lived in big houses, so small just feels right in my bones.

And those giant flowers and trees? My yard doesn’t look exactly like that, but it is full of plants, flowers, and trees. This photo was taken last spring—by summer everything had grown taller, bushier, and a little bit wild. Just the way I like it :-).

Find Buttonwood Village BOM at Piece O’ Cake: https://pieceocake.com/products/buttonwood-block-of-the-month-digital-pattern

Find Buttonwood Village plus the the Live monthly class on Creative Spark: https://ctpub.com/products/3324756?ref=BECKYGOLDSMITH

Show and Tell… Welcome to the North Pole

Irina Stiop sent me some pictures from her Welcome to the North Pole quilt. I’m pretty sure you will want to see all of them, but let’s start here because Irina changed the positions of the blocks to make a quilt that is more horizontal than it is square. This fits her space better. Well done, Irina!

Notice that the moon is rising in the upper left and the top backgrounds are darker. This sets the stage nicely for a night flight by Santa Claus…

Irina wrote:

I used Autocad to rearrange the layout of the quilt to accommodate my horizontal space, some dimensions had to be slightly changed.

I used a raw edge applique as my method, and fusible fleece instead of batting, because it was intended as a wall hanging. I used small zigzag to attach the pieces and changed the thread according to the colors. I then embellished every block separately, and probably got carried away, but that’s ok.

I put the blocks together, added the one piece backing and stitched in the ditch. At this point a more skilled person would do FMQ around the houses, but since Im yet to master that skill, I’ve decided to add more bling in form of pearly snowflakes, which I use to tackle down the fabric

Irina made many good choices.

  • The layout of the blocks is very pleasing—I’ve not seen this before in all the years people have been making this quilt!
  • The fleece batting should support the weight of the many hard embellishments without sagging. It would be hard to quilt around all these embellishments (whether by hand or machine) so it was good that she decided against that from the beginning. (FYI: you can quilt first, then add hard embellishments.)
  • And the distribution of the snowflakes feels right. It can be hard to do that and make it feel balanced and random.

Thank you, Irina, for sharing your quilt with us! Scroll down to see the blocks in detail.

If you would like to make this quilt, click here to find the pattern.

Show and Tell… Birds in Toyland!

Shirley Ratliff took my Birds in Toyland class online and she recently sent me this photo of her finished quilt. She changed the setting blocks and outer border to suit her style and she machine quilted it herself, using a variety of patterns. Don’t you love it?!

Shirley says:

This quilt always makes me smile. You encouraged us in the class to make it ours and that was fun! Fabrics were all from my stash. And I had a blast collecting sweet nothings for all the embellishments. 

I was new to needle turn applique when I started, and now it’s a favorite technique.  My absolute favorite part is doing the quilting. It was exciting to come up with designs for each block. Free motion and ruler work was done on my longarm.  

Thanks for such a wonderful class!

Shirley 

Thank you, Shirley, for sharing your quilt with us. You did an excellent job and I hope you enjoy this quilt for years to come!

If you are interested, click here to find the Birds in Toyland book.