When your ironing board needs a facelift…

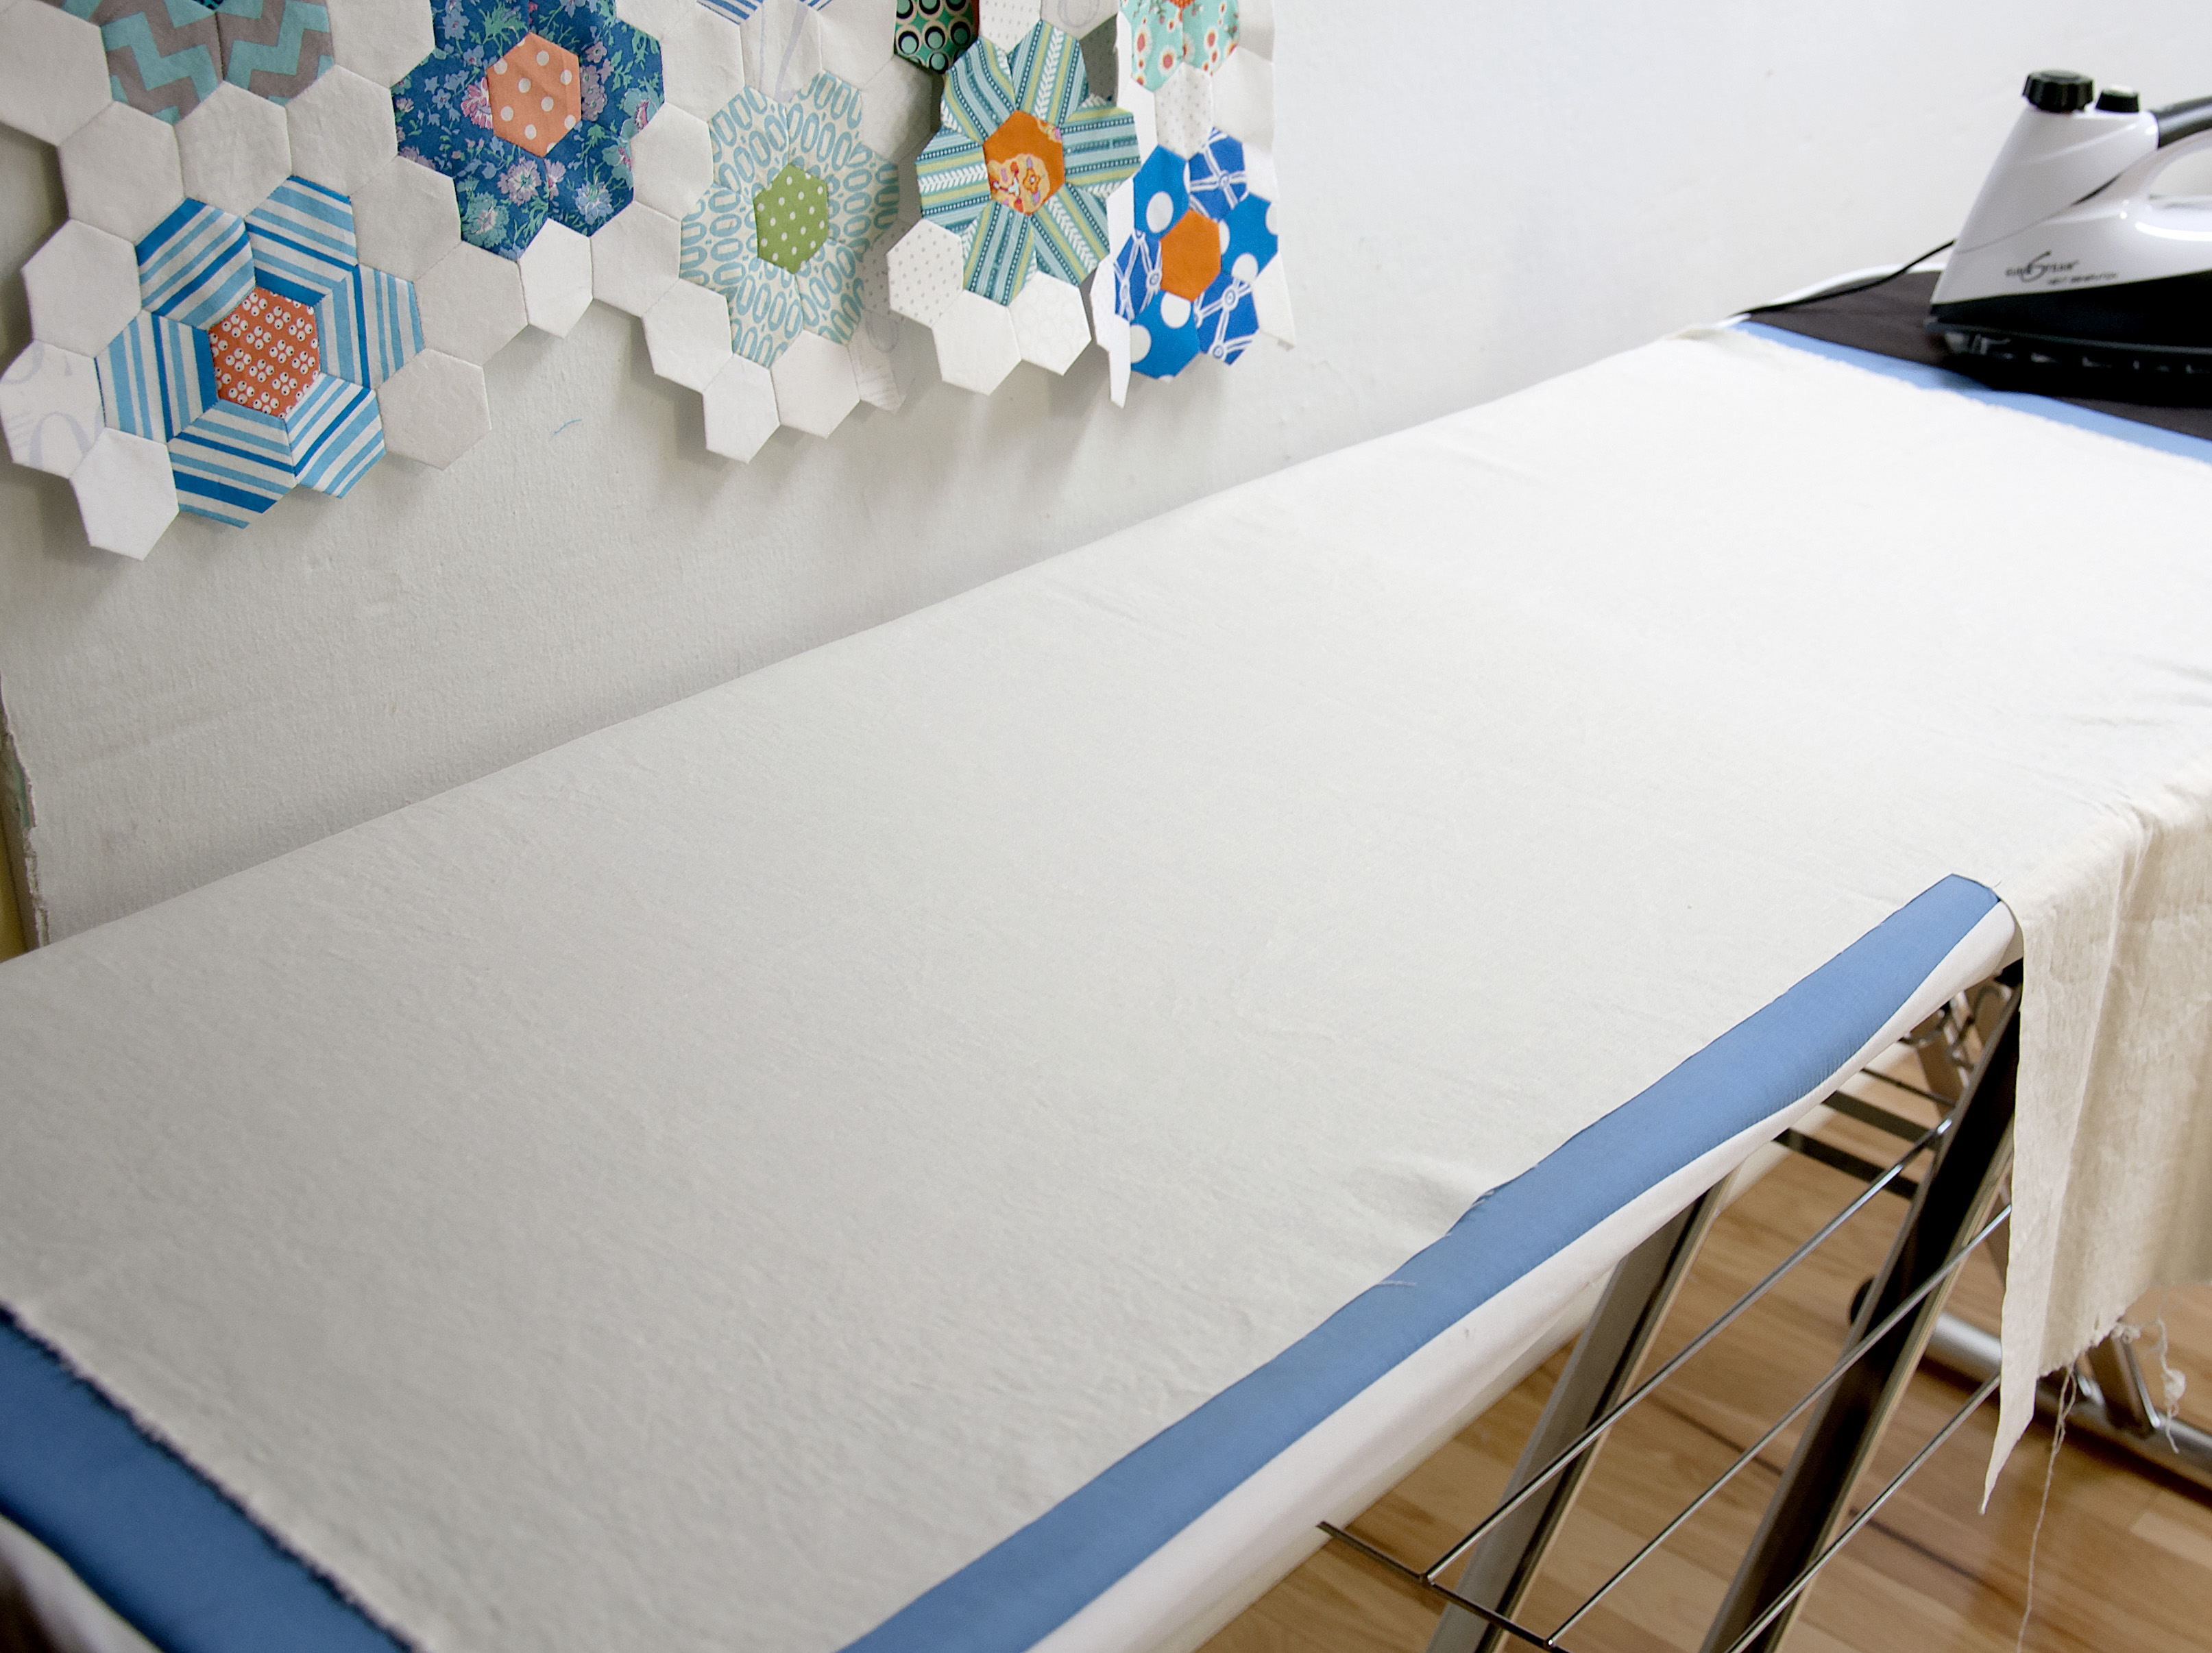
I’ve had this ironing board from Reliable for many years and I love it, except for one minor thing. Well, two minor things. #1: The piece that slides onto the end of the board to square it up wants to come off when I fold it up and carry it to the closet (which rarely happens). I have trained myself not to grab it by it’s end. #2: The covers that go with the board do not want to stay on and they get dirty. (The getting dirty part is my fault.)

OLYMPUS DIGITAL CAMERA

Yesterday I decided that I would re-cover the board in the easiest way I could think of. I left the old cover in place and cut 2 yards of a more neutral fabric and trimmed it about 8-10″ bigger than the board on all sides. (I didn’t measure, sigh.) I pressed a 3″ hem on each side and ran a length of nylon cord inside the hem, thinking that it was easier to sew it in place than it would be to insert it later. I made a cut in the casing at one narrow end for the cord ends to go through.

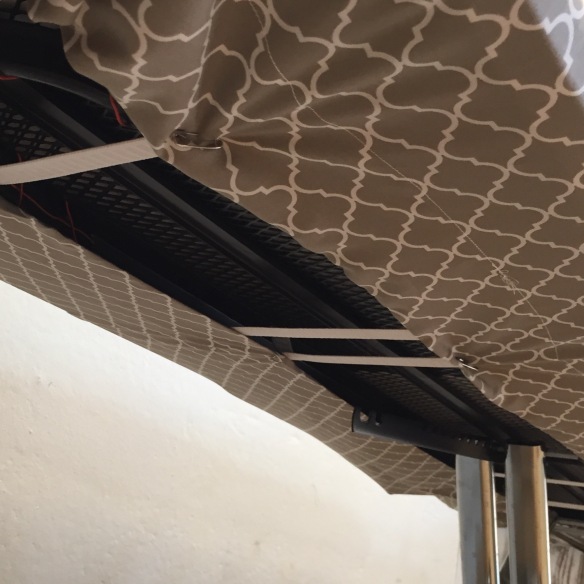
Once sewn, I ran the ends of the cord through a toggle, placed the fabric right side up on the ironing board, and cinched it down. I stood the board up on it’s end for easier access. As I looked at the bottom of the board, it occurred to me that I could wire the two parts of the ironing board together. Why didn’t I think of this years ago?

IMG_9620

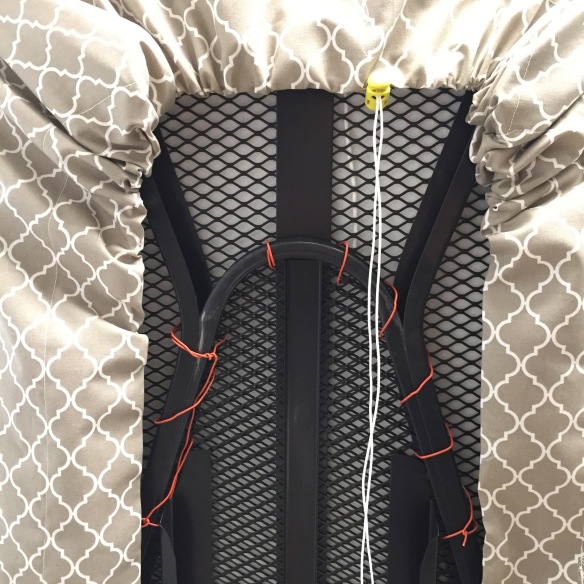
It turns out that I started with way too much fabric, but it works, but it did not fit the board tightly. The old cover has elastic bands that hold it tight and I borrowed that idea. I cut more elastic and used safety pins to hold it in place. Seriously, who besides me (and you) is going to know that I did it the easy way?

IMG_9623

I had not realized until I made this change how distracting the blue cover was. This quieter color is much, much better.

And, in case you are wondering, I have made serious progress on the Kauai Road quilt, seen on the wall in the first photo. Here’s a snippet, quilted. I love this quilt!

IMG_9308

Yet another new iron…

I recently taught at Quilt Fiesta in Tucson. (It is fun show if any of you can make it next year!) There were lots of quilts, and there were vendors. I walked the vendors at a slow time and darned if Jamie didn’t rope me in…

Jamie-EurosteamIron

How have I missed the EuroSteam booth at every quilt show I have ever attended? Who knows. But this time Jamie had my undivided attention and darned if she didn’t sell me a EuroSteam iron. (Let me just say, she’s good at her job.)

You can buy the iron online, but it’s cheaper at a show. Plus you get to talk to a person who is very familiar with it.

EuroSteamIron-1 copy

This is a heavy iron, which is fine with me. It has a ceramic sole plate that is supposed to never scorch. Dandy! It has an aluminum water reservoir, not plastic, so should last longer.

You see that plastic/silicon thing it’s sitting on? The iron lives there. It should never, ever, be stood up on it’s end. Jamie was very clear on this point. Enough so that I have not forgotten.

Jamie showed me how to use the measuring cup that comes with and was very clear that I should never, ever, (ever!) use distilled water. Irons need the minerals in the water. Without them, they spit (I forget why). There is a very good chance that I have ruined previous irons all on my own by disregarding the instructions to use tap water. The end of the long spout is flexible so that you can fill the iron while it is flat.

EuroSteamIron-2

This iron puts out lots of steam. And it does the job. Here is cotton/linen before:

EuroSteamIron-3 copy

And then after a quick-ish press:

EuroSteamIron-4 copy

The EuroSteam works better than my most recent irons. It cost $200 and, if it continues to work well, I will consider to be money well-spent. If you are interested, look for EuroSteam at your next quilt show and try one before buying.

FYI: If you read the instructions that come with the iron, you will find lots of warnings that lead you to think that if you don’t relieve the pressure in the iron (release steam) every 10 minutes it might blow up. Jamie assured me that I could pretty much ignore that. I didn’t mean to, but I did walk off and leave the iron hot and plugged in, with water/steam inside, for over an hour. It did not blow up. I am not saying that you should ignore the safety warnings, but I personally didn’t let them frighten me off.

And, back to the water: Sherman water is full of appliance-killing calcium and salt. Jamie said to use bottled water if I wanted to, just not distilled. I was about to use what I thought was bottled spring water until I looked at the label and noticed that it said ‘purified’. I googled it and it sounds like purified water has a lot of the particles removed from it, making it similar to distilled water which is not good for the iron. I chose to use tap water instead and will look for bottled spring water for my iron.

And I have promised myself that I will follow Jamie’s instructions and drain my iron when I’m done for the day, every day. Cross my heart :-).