Welcome to my new blog home! If you have followed my blog before, and you want to still, please do click the ‘Follow Piece O Cake Blog’ button on the right, above my picture. (FYI: I switched to wordpress because it is easier to manage.)
So, about the crumbs in the post title… I subscribe to Ami Simms’ newsletter and a little while ago she wrote about a student, Megan Null, who was making ‘crumb quilts’. Megan let Ami film her, and her video says it all:
I googled crumb quilts and, who knew! There are pages of crumb quilts! It looks to me like crumb quilts started with Bonnie Hunter and have now taken on a life of their own. I have been too busy writing the color book to have noticed crumb quilts. Sigh.
Anyway, back to Ami. She has issued a 2014 Crumb Quilt Challenge! I generated a lot of lovely, colorful scraps when I was sewing for the color book and for a few days I thought I would start my own crumb quilt(s). I looked at the pile lovingly… and then I admitted to myself that this is not something I am going to do. My pile of crumbs could become your very own crumb quilt!
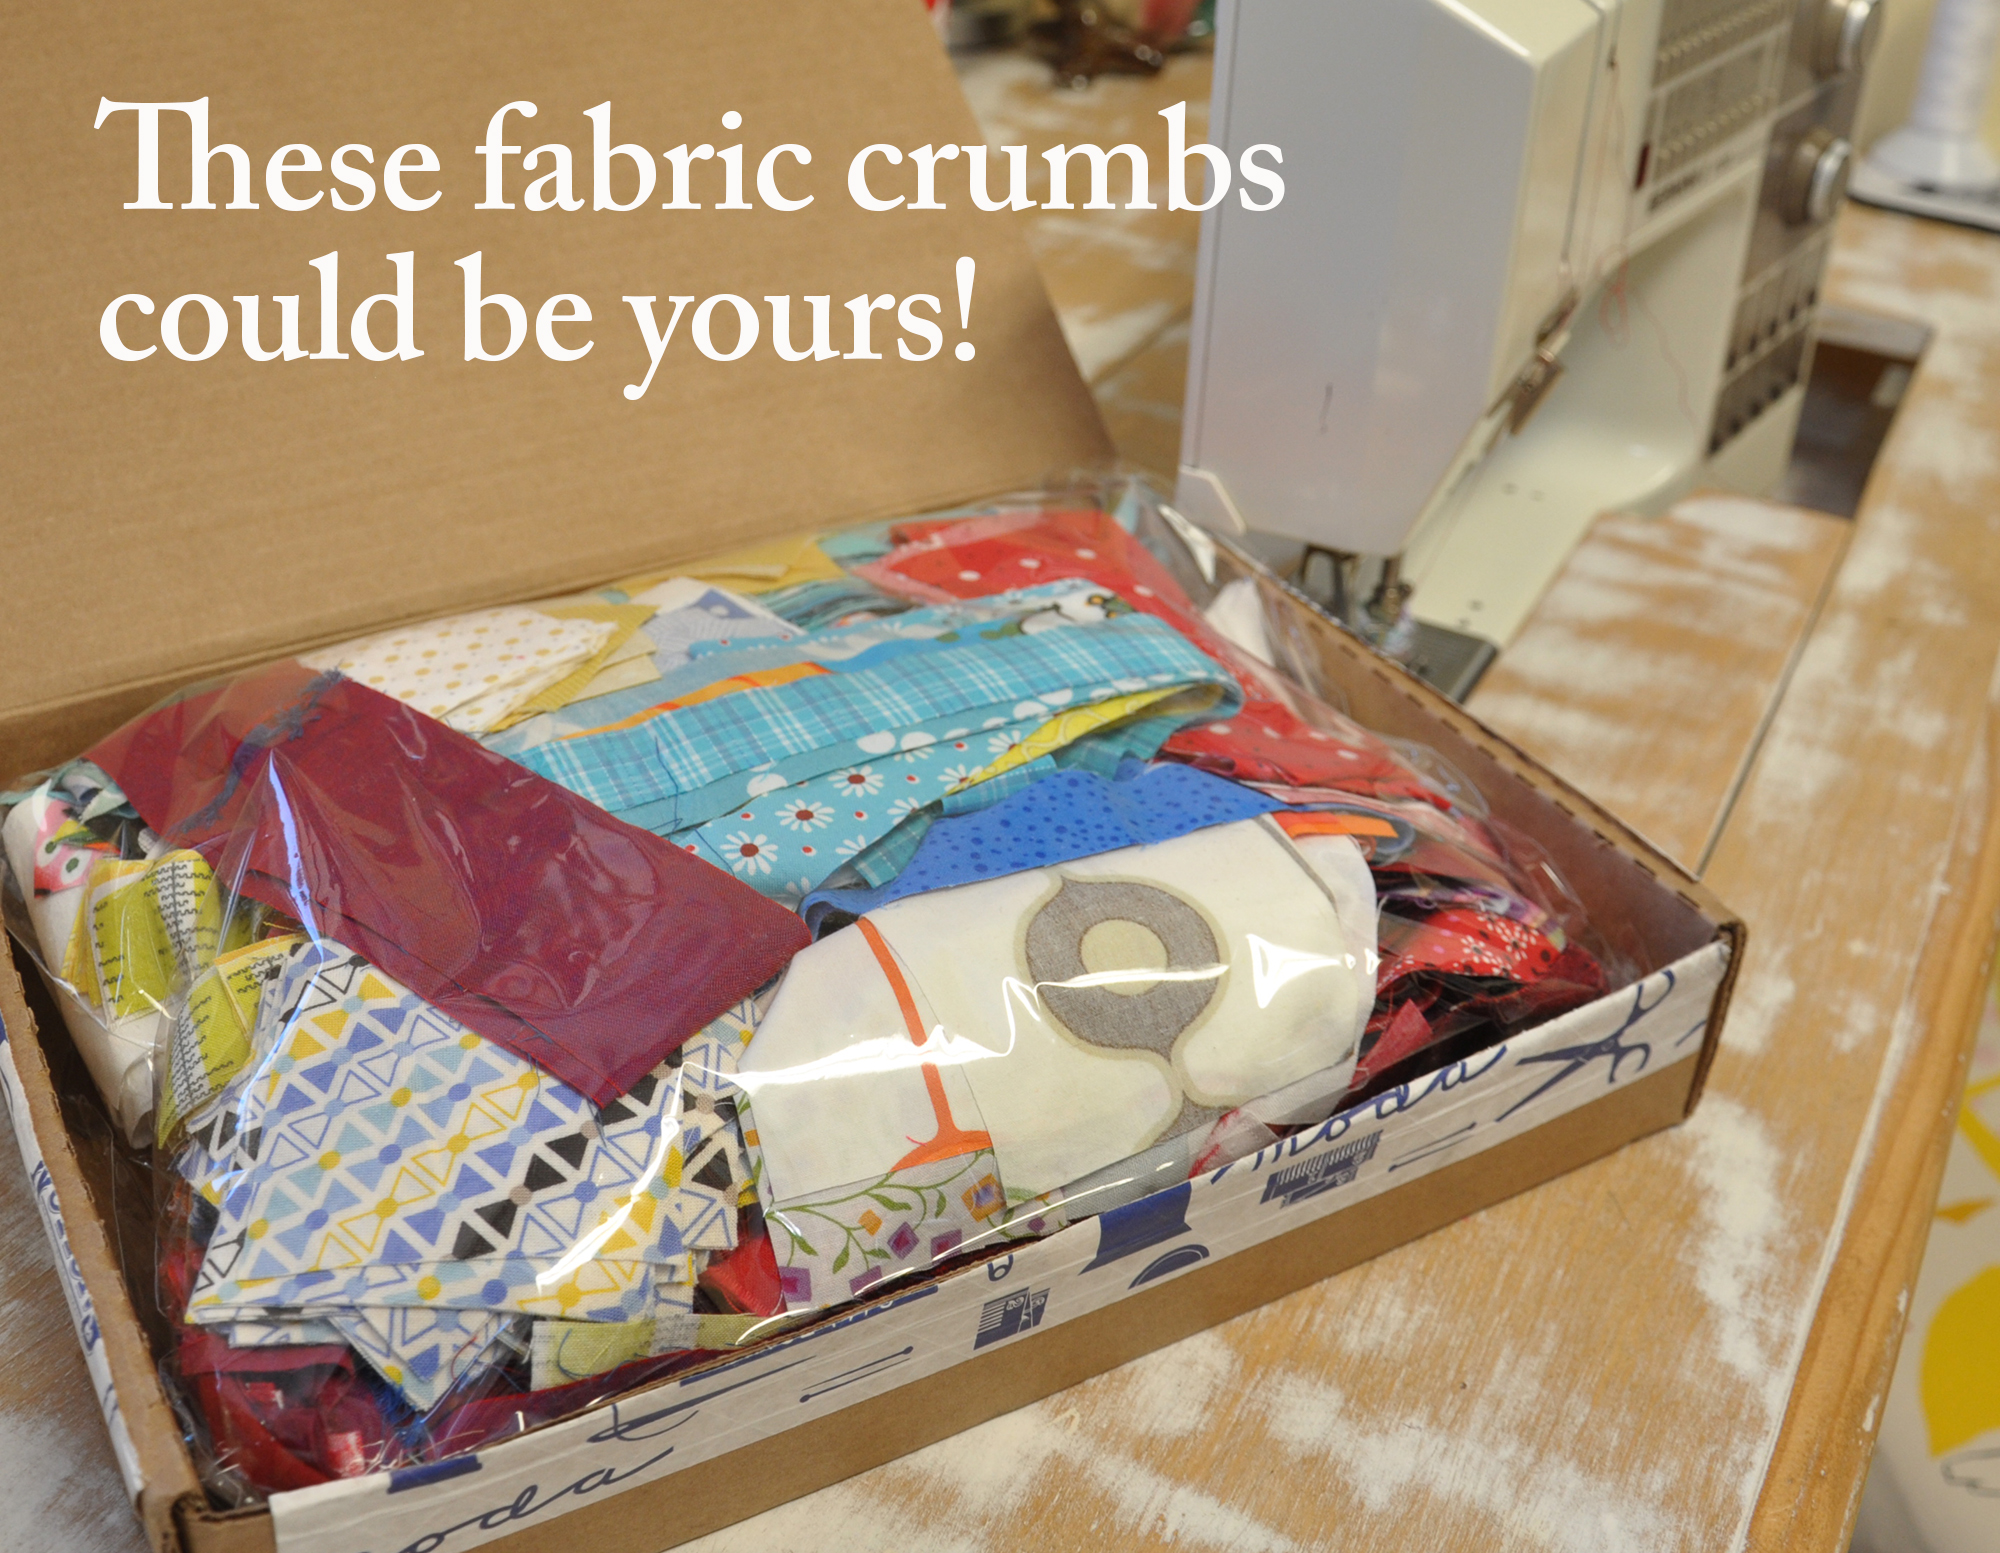
Everything in the box is pre-washed cotton—except for one piece of a silky polyester that is obviously not cotton. I was going to throw it away but thought maybe the winner would love it. There are little pieces and bigger pieces, strips, triangles, and other shapes.
If you would like a chance to win, leave a comment. I will have my random number generator (my mom) pick a number Sunday. I think I’ll be able to contact the winner from your comment but sometimes there isn’t a way to do that, so check back on Monday, mid-morning. I’ll post the winner. It could be you!


