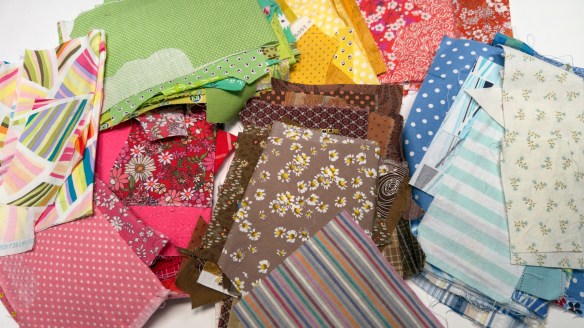
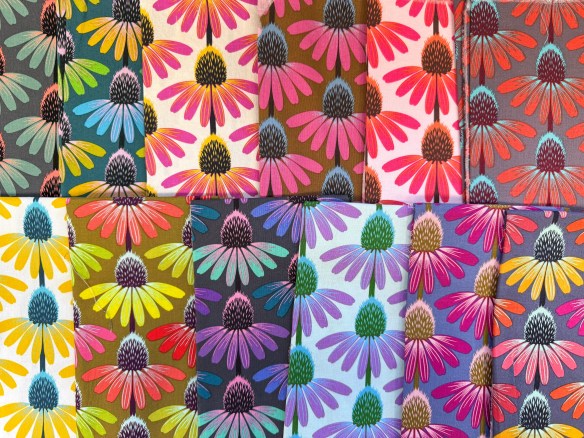
Anna Maria’s Zinnia print first came out years ago and since then it has been reissued in different colors. I love them all! Not sure which one I bought first, but it could have been this one:
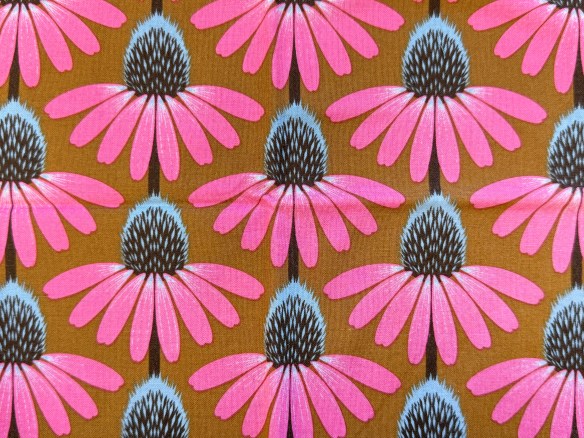
Each flower is 3 3/4″ wide by 3″ tall if you count the stem. The spacing is tight in all the right ways. but I do wonder if some people shy away from it because the flowers are larger than your typical “small” print. Personally? I don’t mind one bit. As I said… I LOVE this fabric and have it in every color.
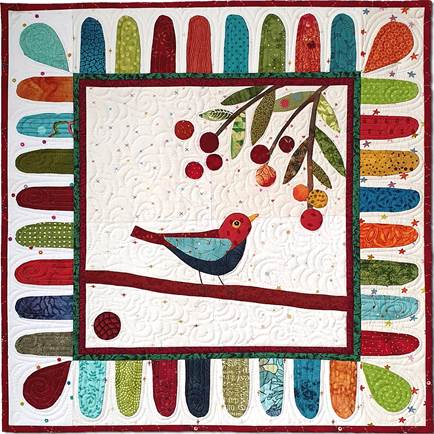
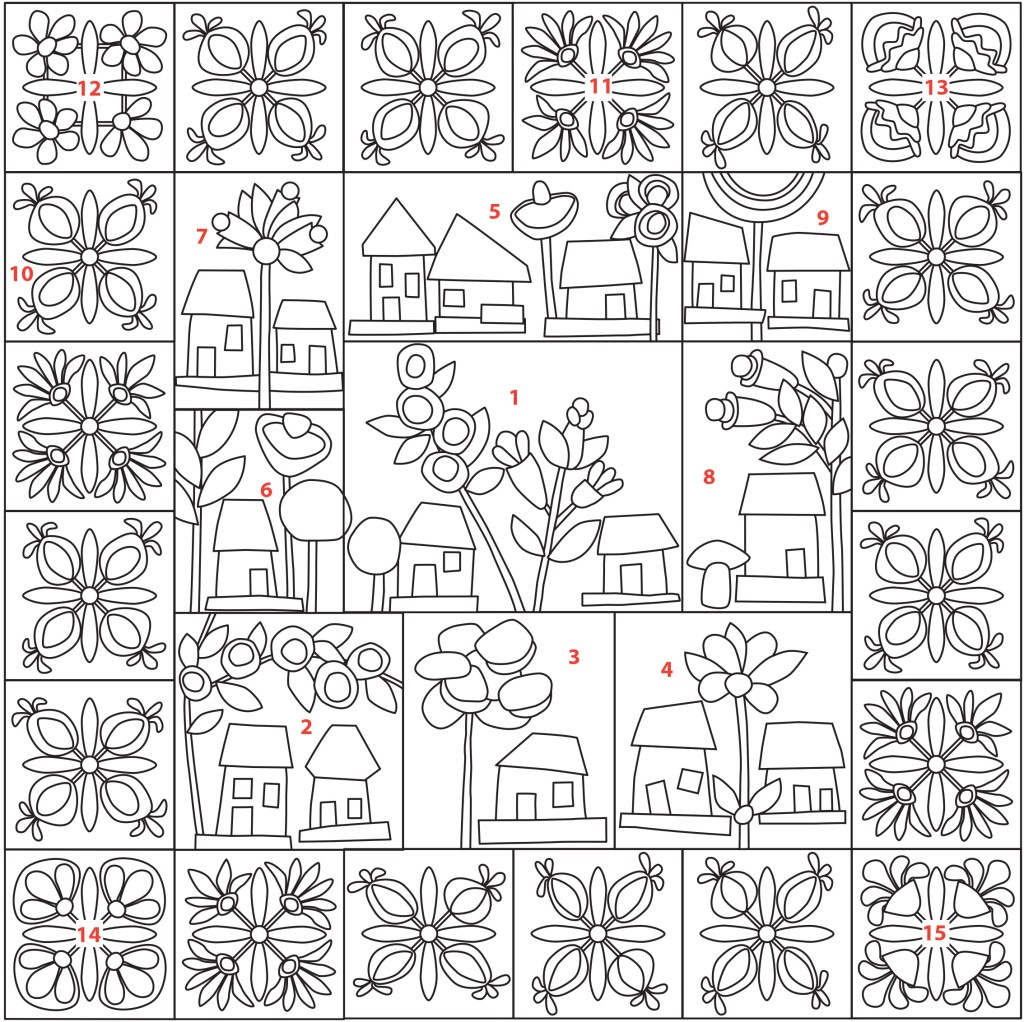
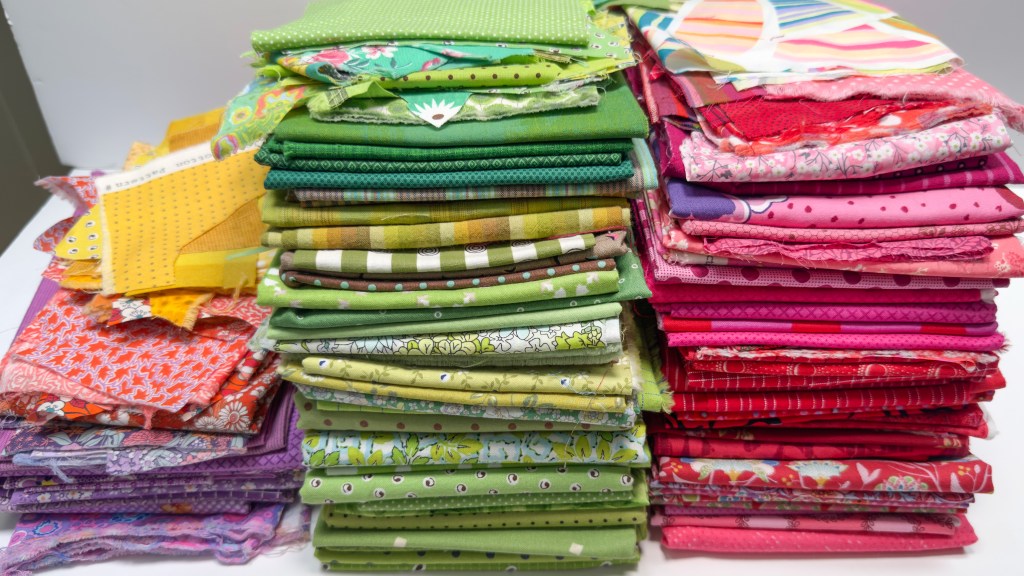
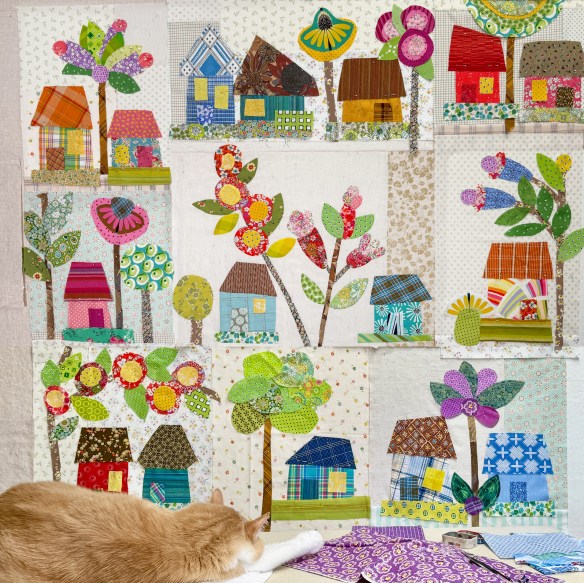
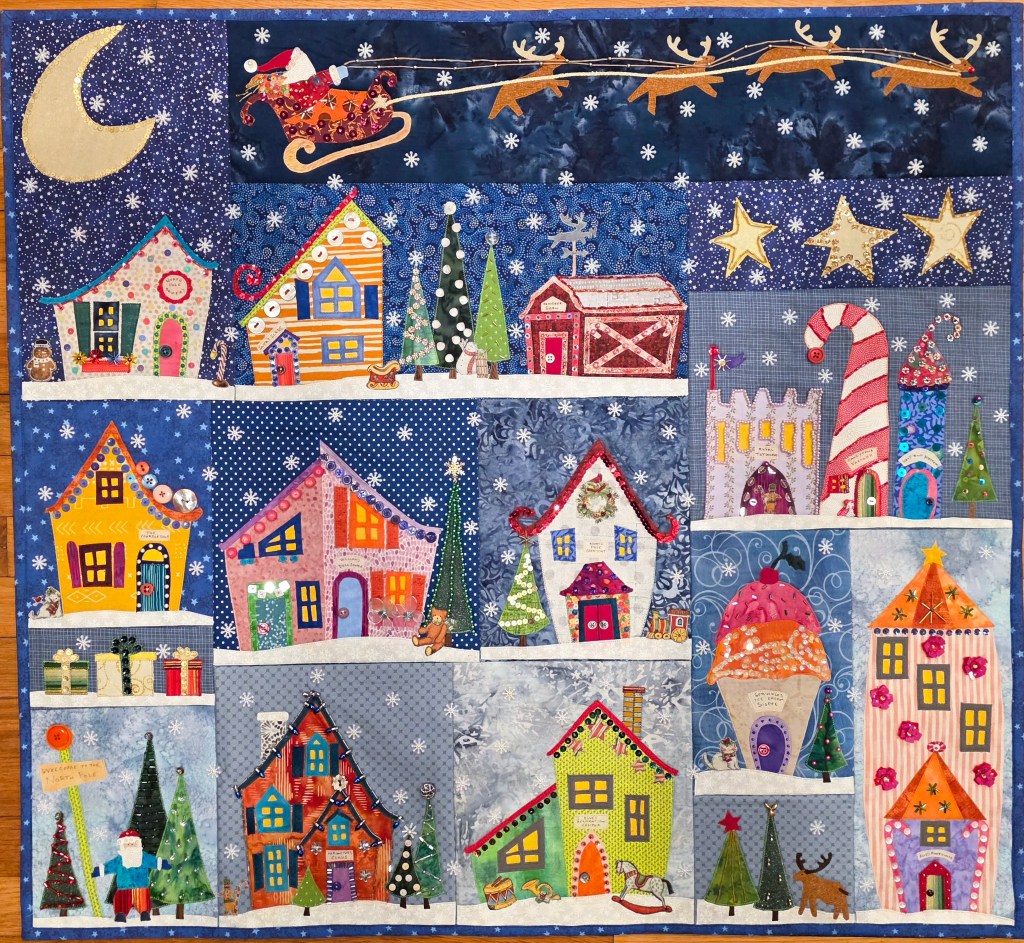
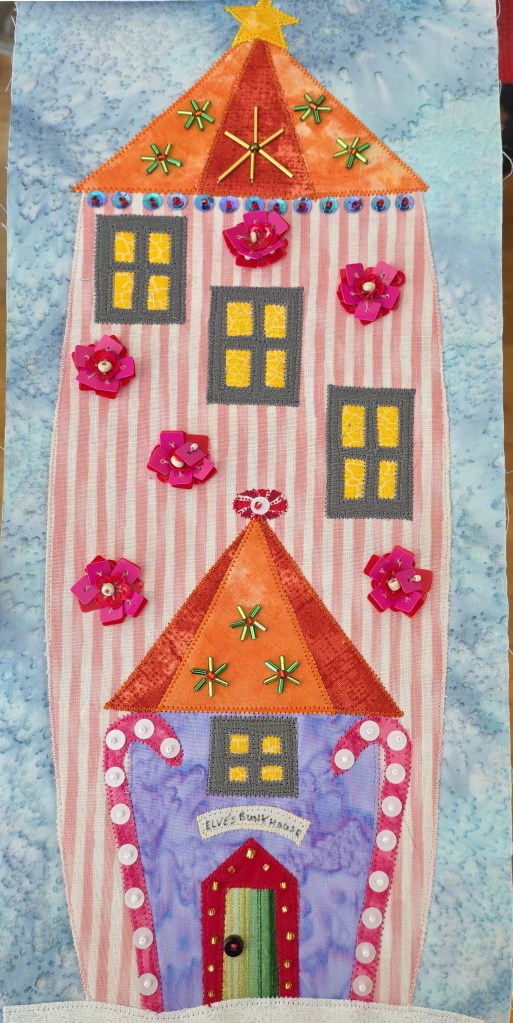
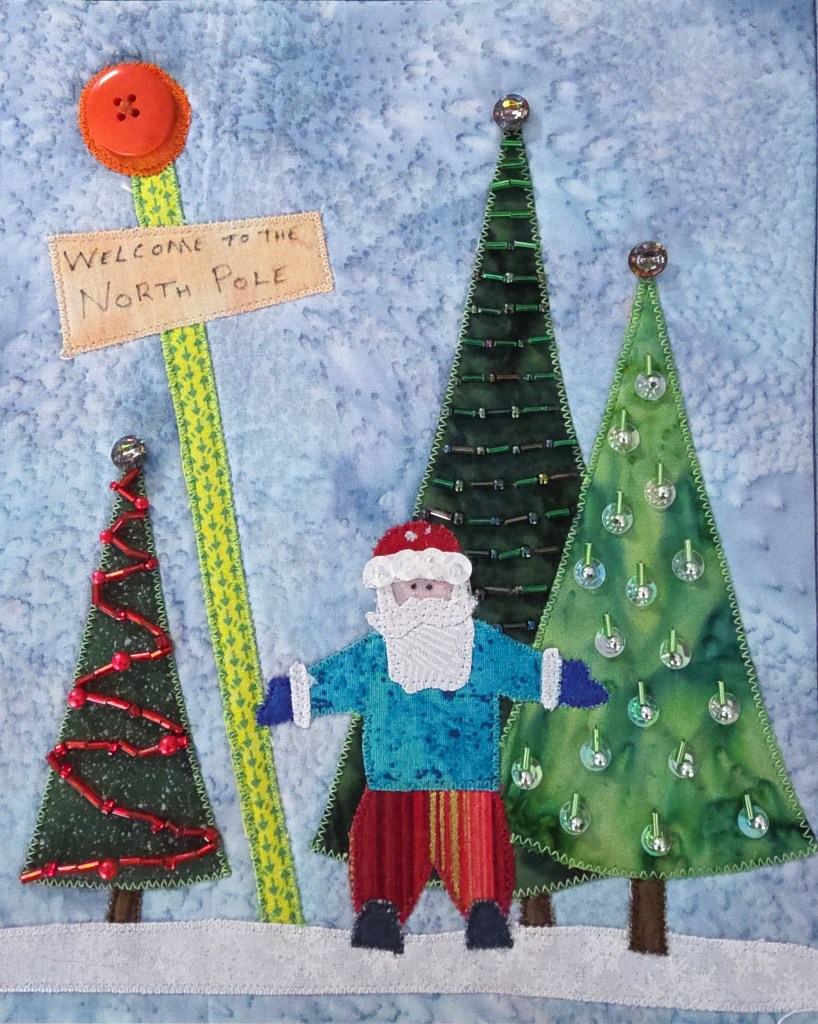
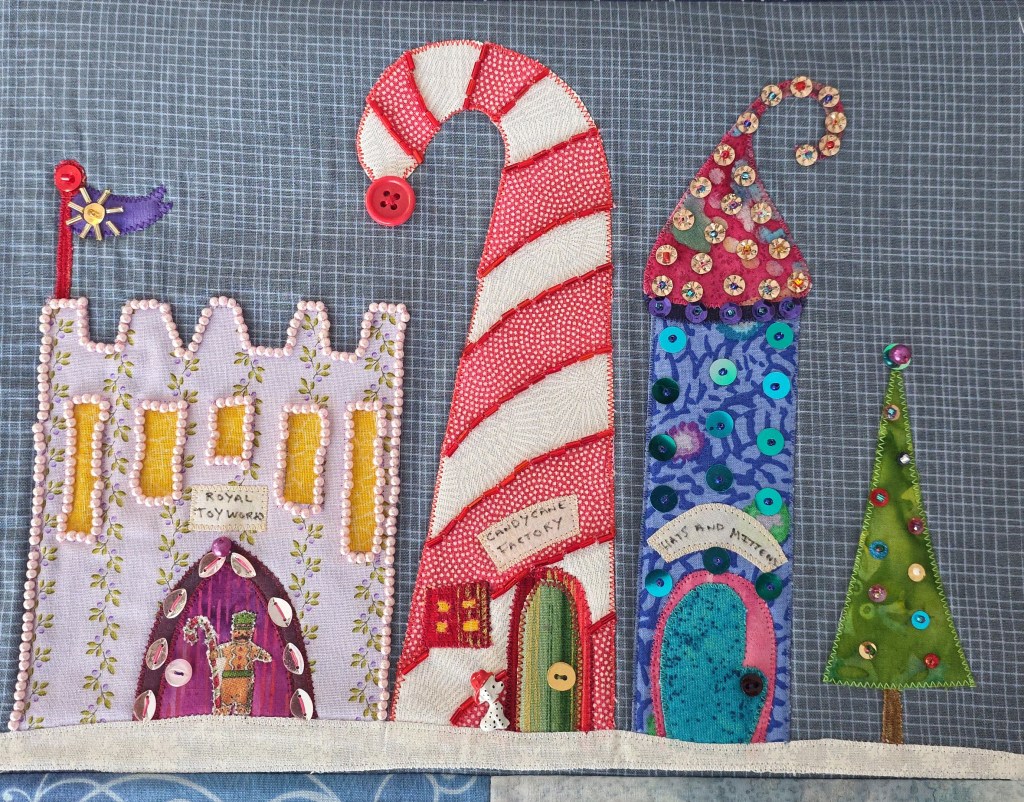
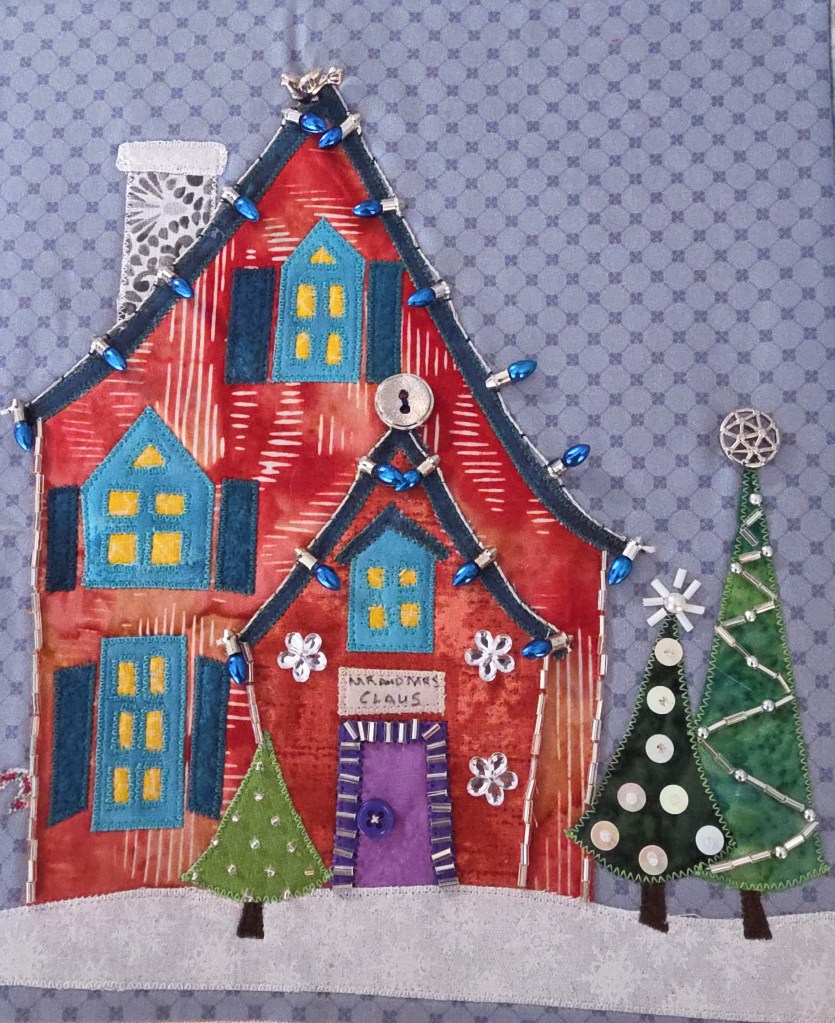
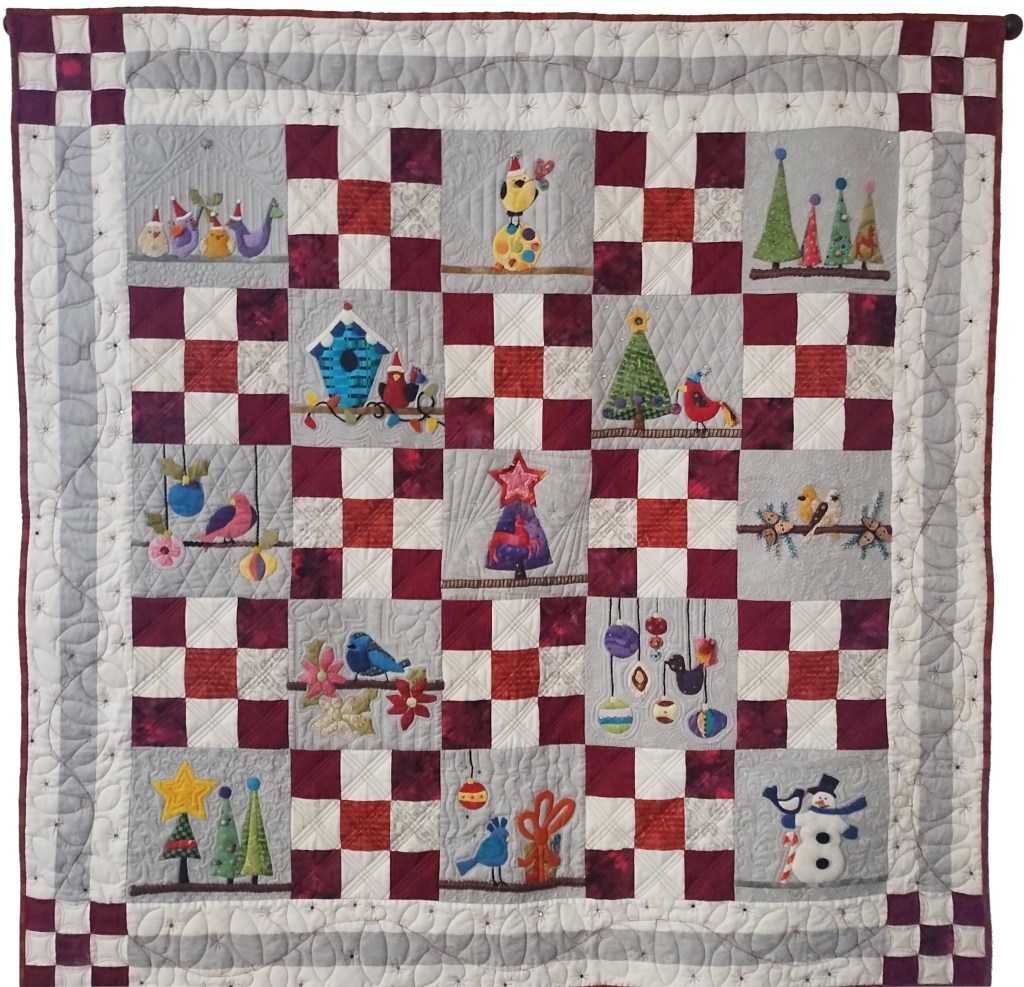
I haven’t pieced with it yet, but I will. I even have a stack of Kaffe stripes that would be perfect with these zinnias—later. When I have time. Right now I’m deep into Buttonwood Village and have already found three perfect places for a flower to sneak in.
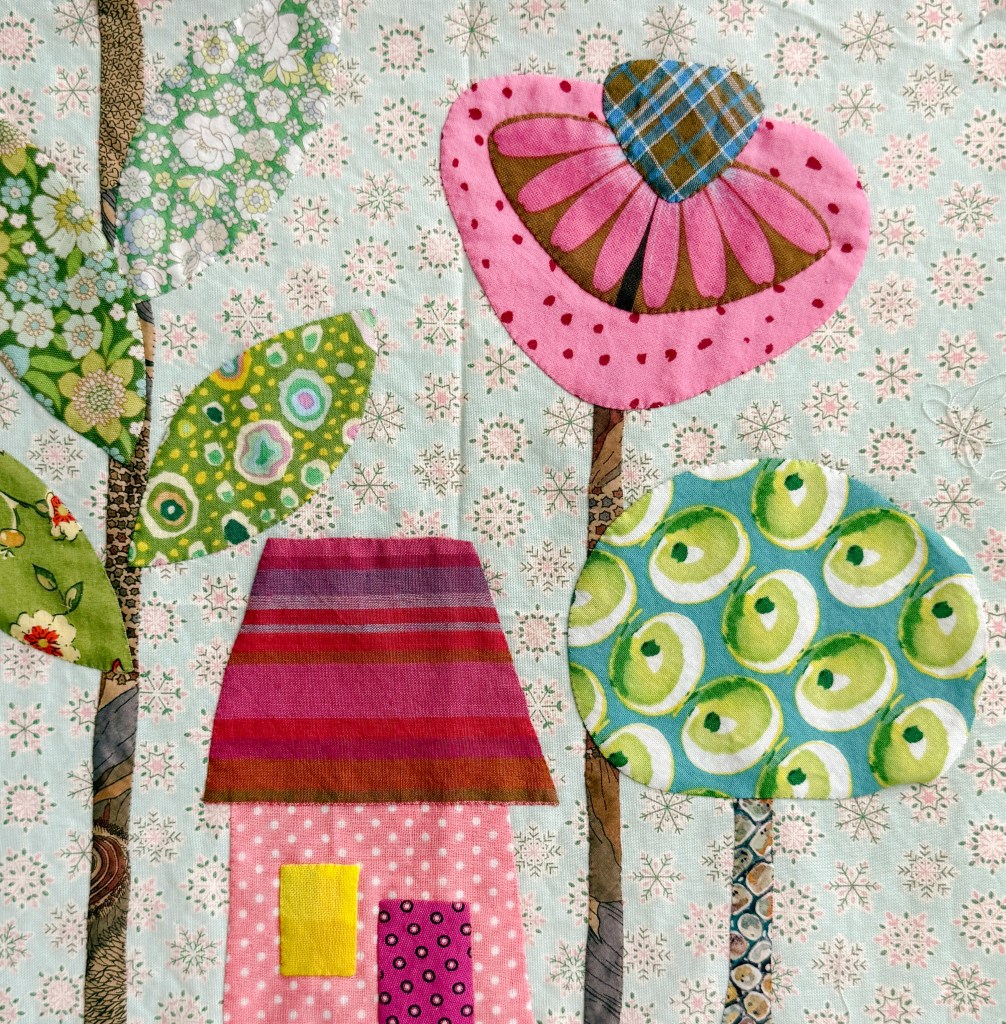
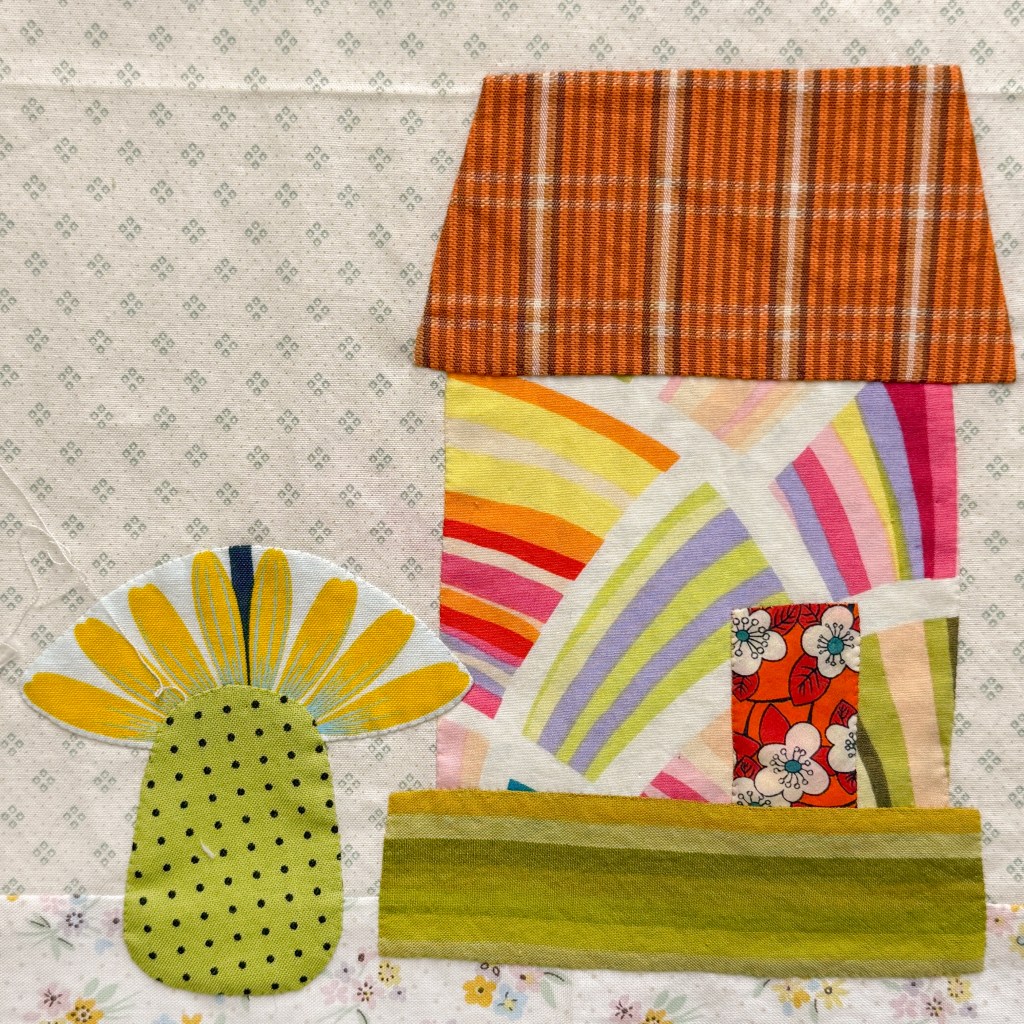

One flower becomes a tree. Another becomes a pineapple bush? And the third one could be a palm tree!
That’s the thing about bigger prints: if you avoid them, you miss out on so much fun. I encourage you to give them a try—you might be surprised where a big, beautiful print can take you 🌸.
Find Buttonwood Village BOM at Piece O’ Cake: https://pieceocake.com/products/buttonwood-block-of-the-month-digital-pattern
Find Buttonwood Village plus the the Live monthly class on Creative Spark: https://ctpub.com/products/3324756?ref=BECKYGOLDSMITH