Thanksgiving is behind us, and it’s time to turn our attention to the festivities ahead. Here is your updated gift guide with special deals, stocking stuffers, and new ideas.
Find gifts for all ages, for quilters and crafters, and for those who enjoy life in other ways. When visiting pieceocake.com, hover your mouse over Shop in the menu bar at the top of the page. Then hover over The Gift Shop. You’ll see “Gifts for Everyone” and “The Gift of Sewing” with options listed below each.
Gifts For Everyone:
Stocking Stuffers is NEW in Gifts for Everyone. It includes an assortment of small gadgets, scissors, nail files, and other useful and delightful tools and trinkets.


Then Butterflies, Beetles, and Birds! Created and produced in the Netherlands, Assembli Kits are made with paper passion. These eco friendly, sturdy paper kits can be found in Europe, and in a few museums here in the US—and at Piece O’ Cake!!!

They are made from high quality paper, and each comes with a stand that sits on a surface or can be hung on the wall. Assemble more than one and display them together. This is a fun activity for kids and adults! They are neatly packaged flat, and slide easily into a stocking 😉.
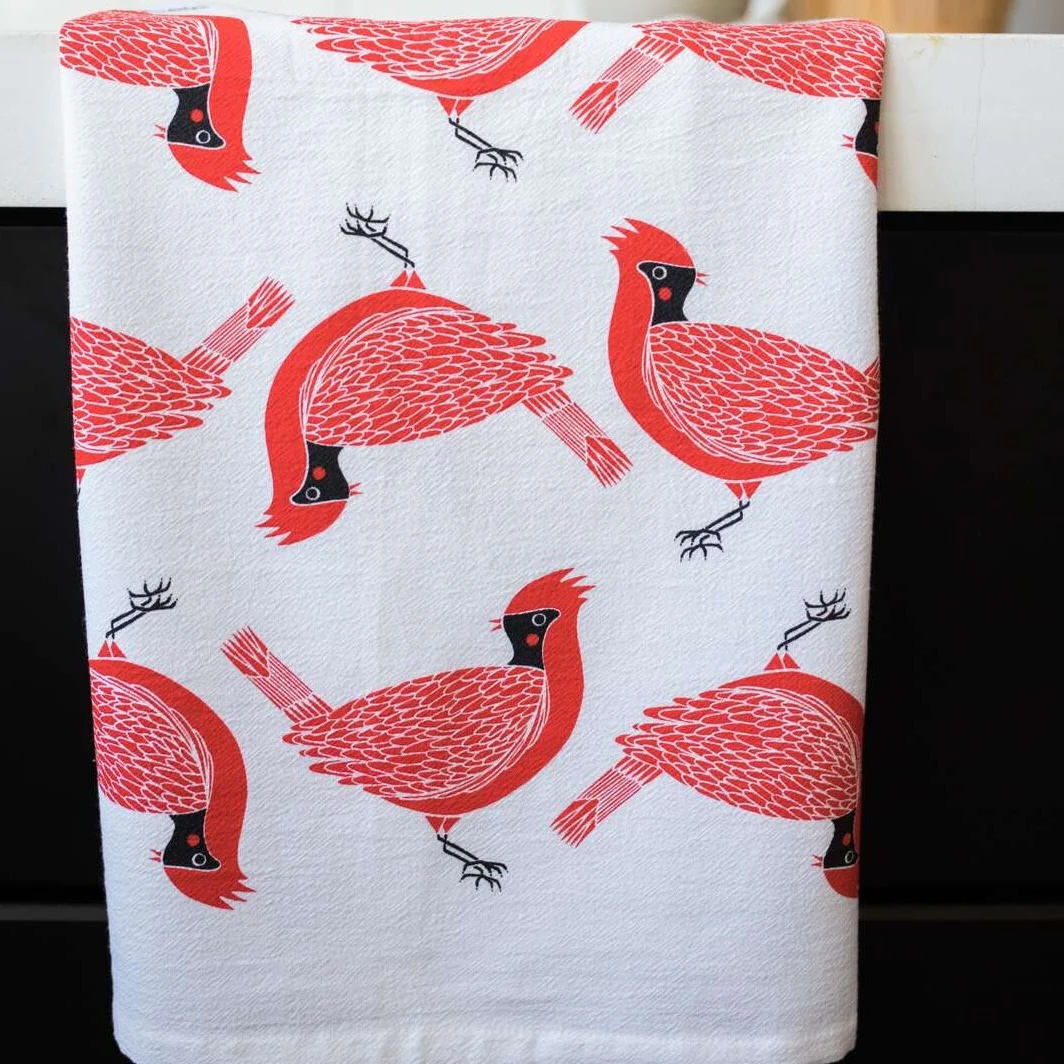
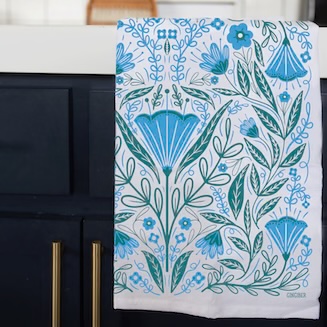
“It is the sweet simple things of life which are the real ones after all.” Gingiber Tea Towels + are next in the list.
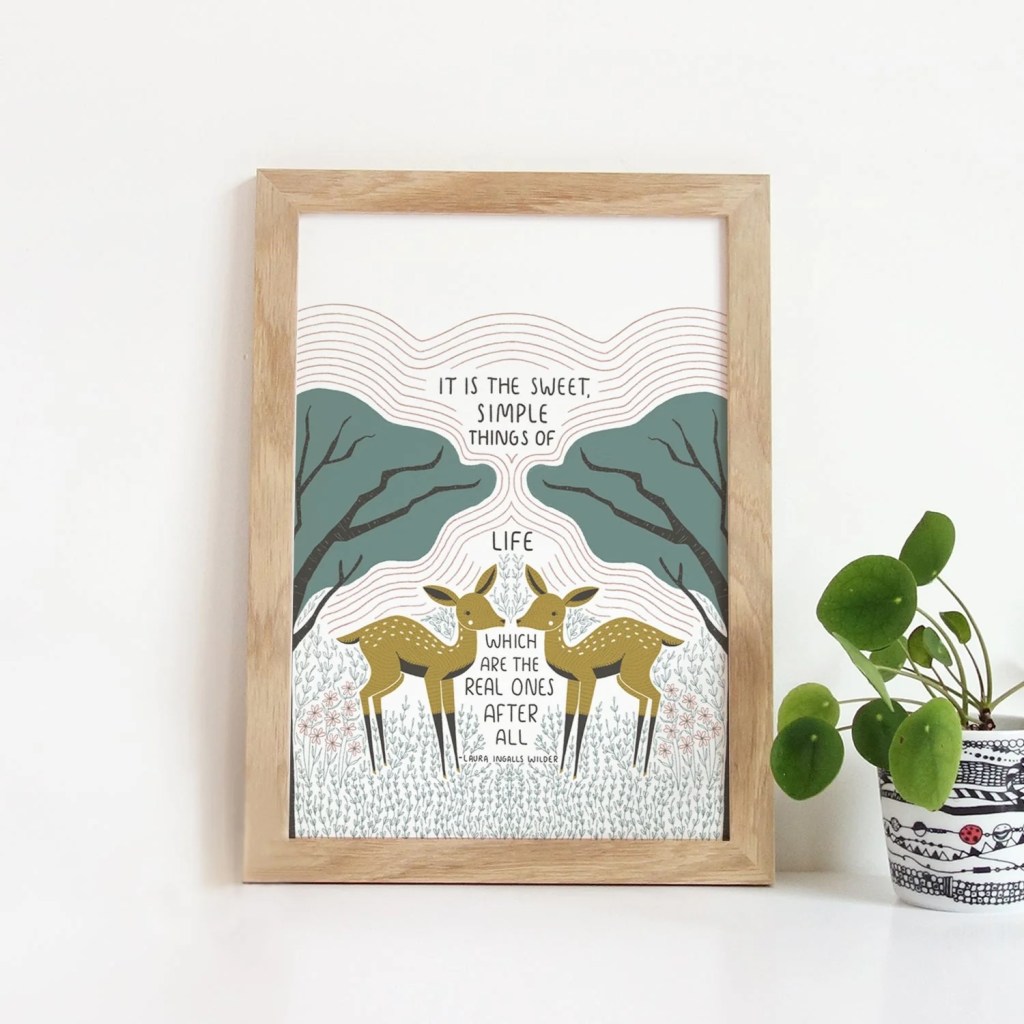
You’ll find quality tea towels, aprons, art prints, pouches, stickers, and even a small and pretty blank notebook to uplift and encourage.
Stacie Bloomfield, founder of Arkansas-based Gingiber, creates inspiring, bold, art with vibrant colors and unexpected patterns, printed on towels that actually dry your dishes and hands!
I appreciate the density of her pretty patterns on tea towels; they hide stains, and in my kitchen that keeps the tea towels in circulation longer. They also make perfect little gifts to bring to holiday dinners and parties. Make it fancy! —wrap a festive Gingiber tea towel around a bottle of wine or sparkling cider.
(And don’t forget there’s a Tea Towel Deal —buy 4 get $8 off your order— discount applied automatically at checkout.)


I’m committed to wrapping gifts this year with reusable, sustainable cloth—these tea towels, maybe a scarf, or yardage from my stash. I made a quick how-to video for this art of wrapping. In Japan it’s Furoshiki, and Korea it’s Bojagi, and you’ll see at least one comment from a South African where they’ve been doing the same for generations.

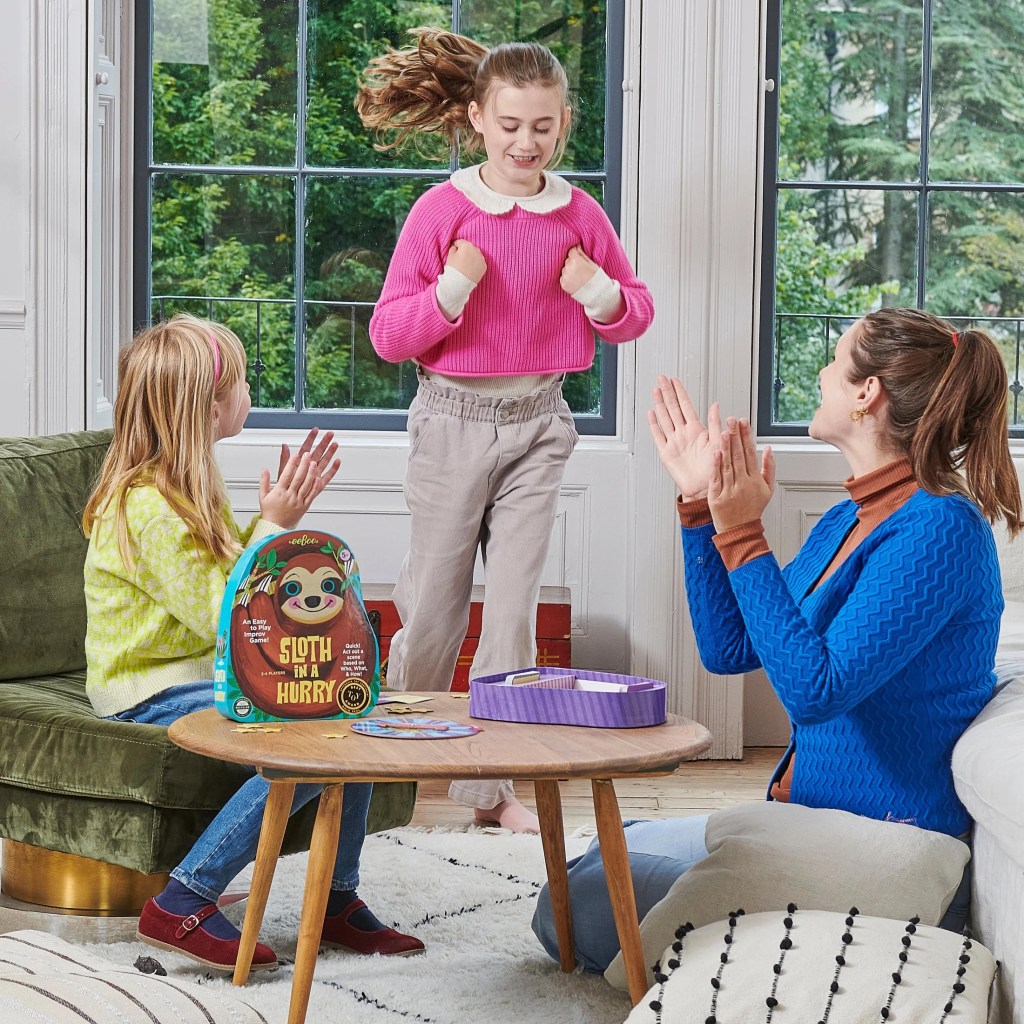
Now we come to the very best presents for little ones. eeBoo Puzzles + includes two carefully chosen games this year. One can be uproariously noisy and funny, the other more quiet, pretty, and thoughtful. Both are winners of the Oppenheimer Gold Best Toy Award!
Sloth in a Hurry is an extra-hilarious version of charades. This fast moving improv game is eeBoo’s current best seller.

Memory games are so important for developing brains, and not bad at all for our more fully developed brains as we get older 😉. As always, eeBoo brings the high quality cardboard pieces that really do feel nice to touch and hold. This particular set has the sweetest artwork we’ve ever seen. Woodland Memory & Matching Game is filled with forest fauna and flora, lovely colors, and finished with a luxurious copper colored gilding.
And yes, puzzles! eeBoo makes our most favorite puzzles. They commission well loved artists, use sustainably sourced materials, and create high quality pieces with minimal puzzle dust. All of that really matters, and impacts the touch and feel and enjoyment these puzzles bring. This year saw some of the best puzzles yet!


Absolute best seller, and our favorite of all time, The Alchemist’s Home, was joined this year by The Alchemist’s Orchard. Both display a modern family co-existing with friendly ghosts, and both home and garden are filled with charming details, myriad creatures, and happy plants!
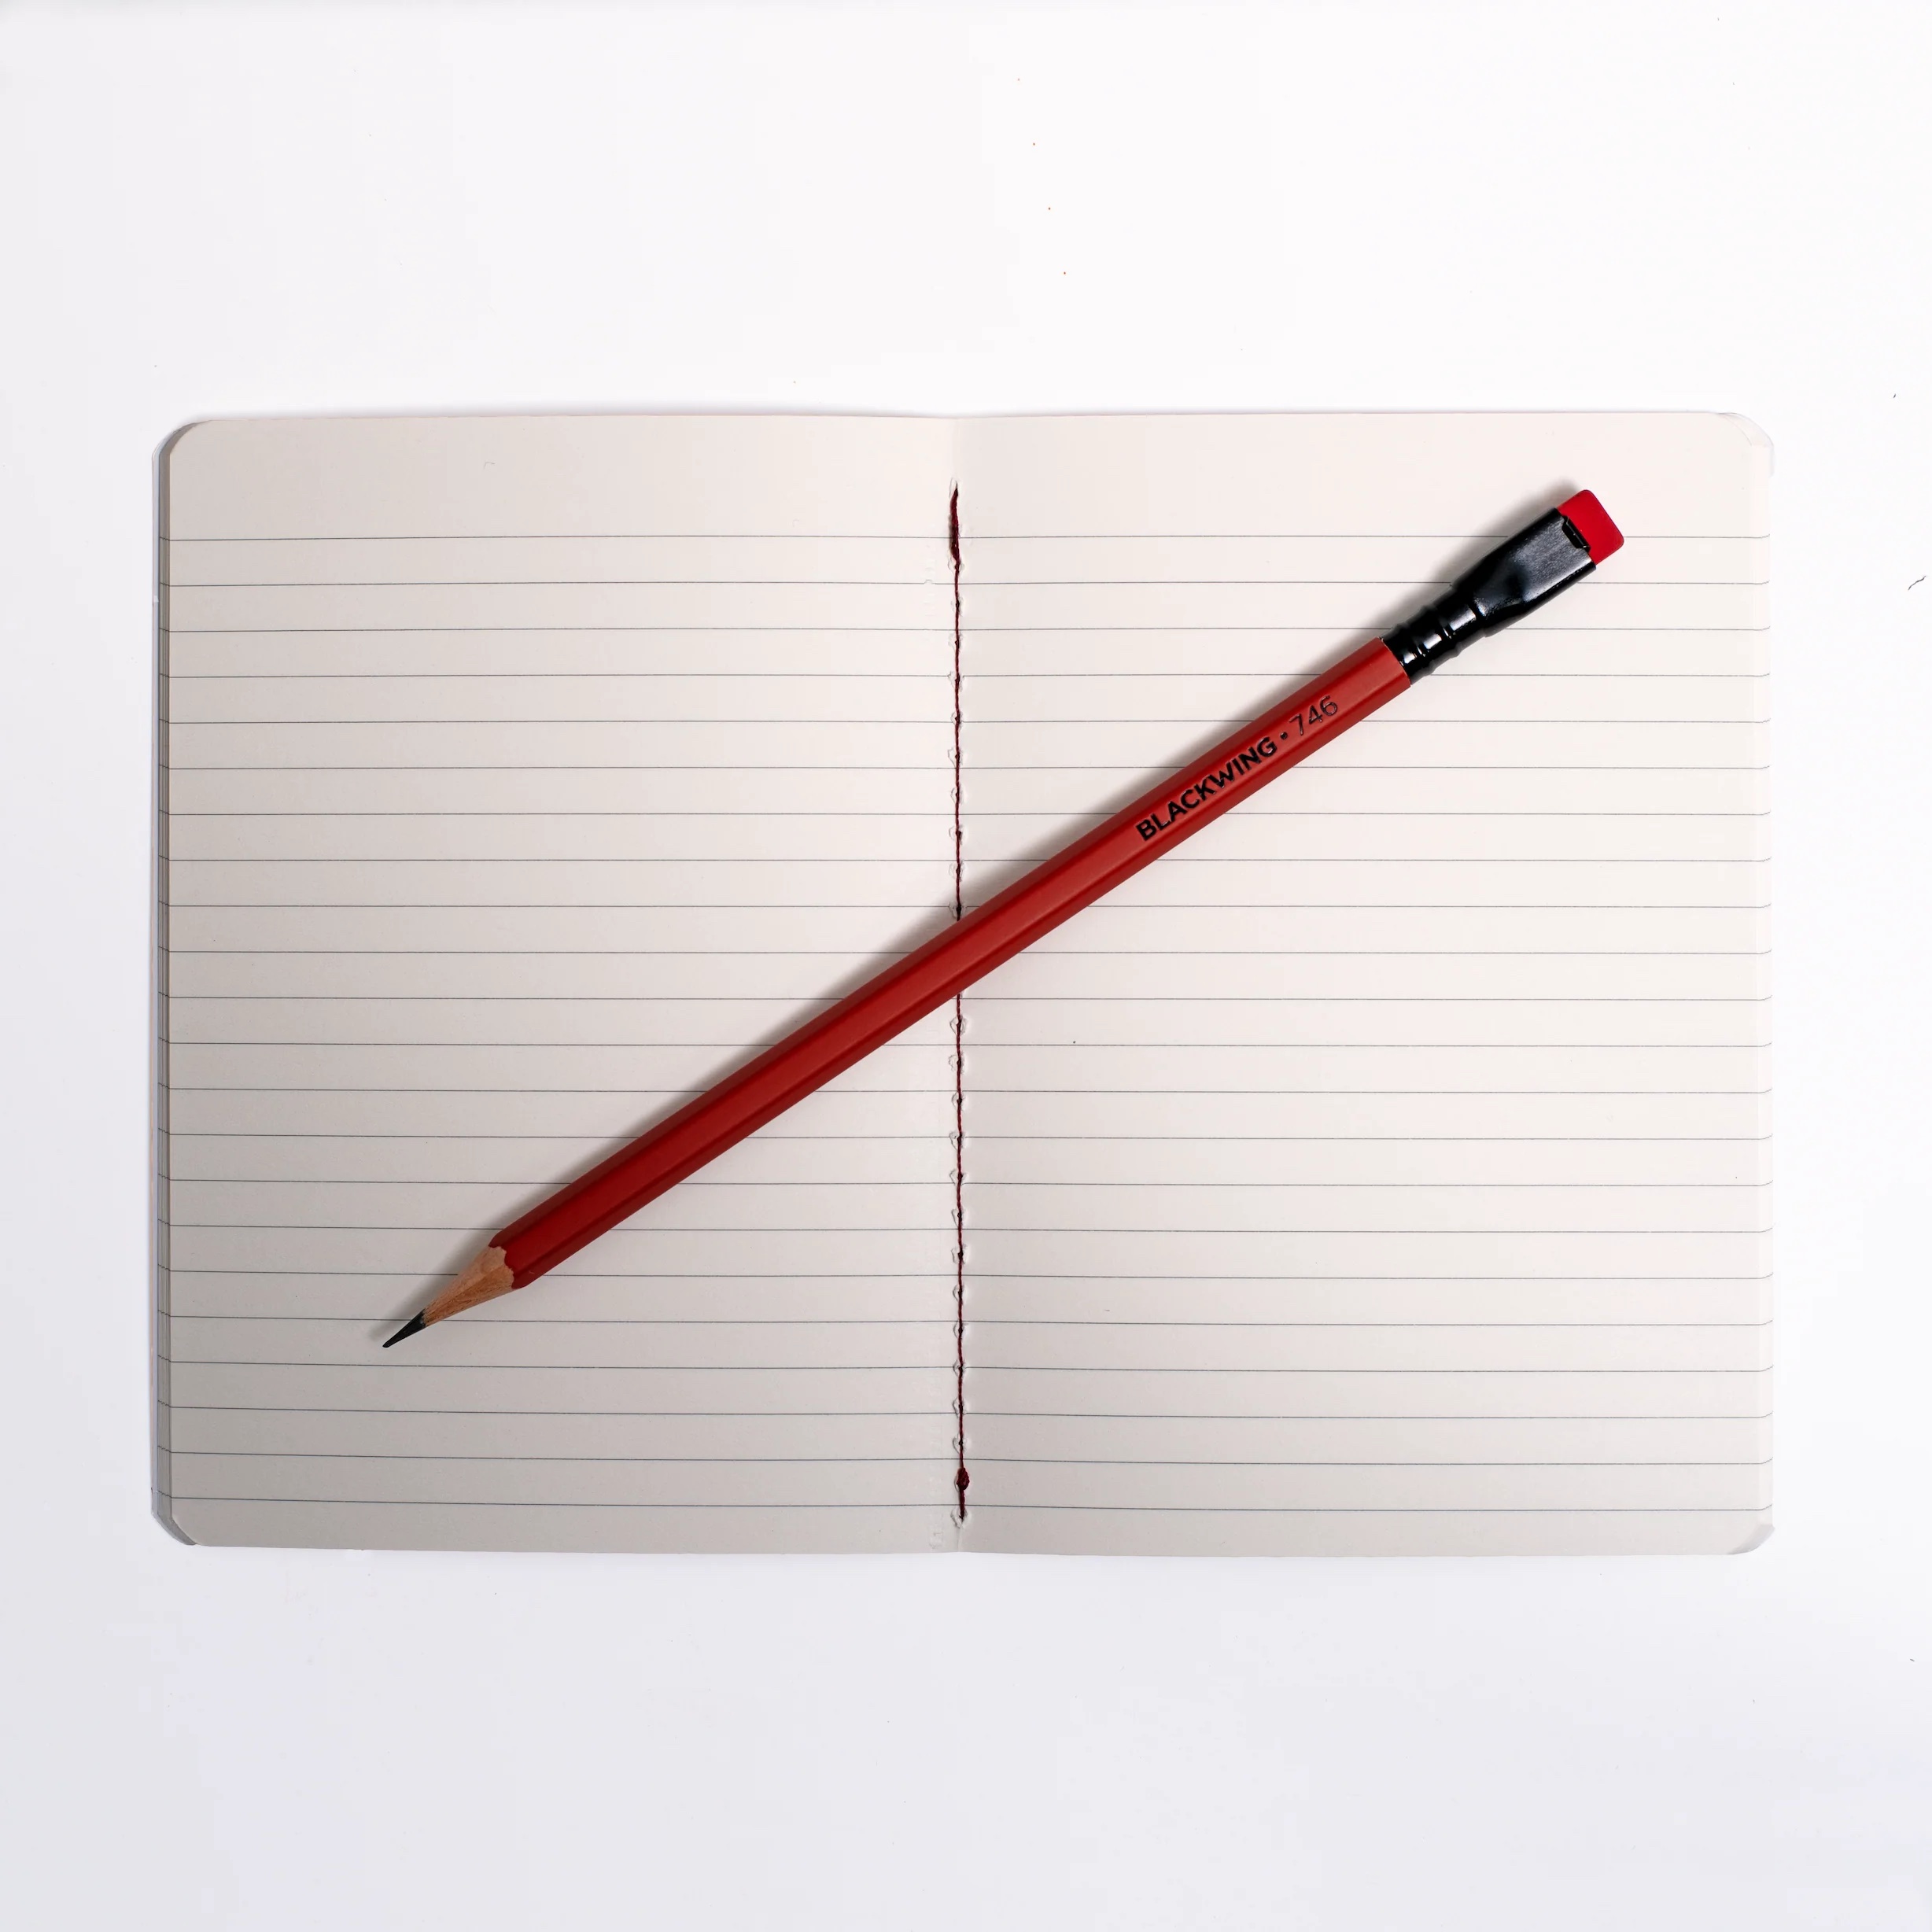
And then there are the Blackwing pencils and accessories, plus a NEW special eraser deal! Read on to discover.

When you hold a Blackwing pencil, feel it pressed onto paper, it can ruin all other pencils 🤣. Seriously. I deeply love these pencils, how they feel and how they write. Give someone you love the joy of Blackwing.
I carry 3 graphite types (plus one more, limited edition): Soft/Matte for drawing and sketching, Firm and Extra Firm for fabric (lightly!), writing, and sketching (and 2x Extra Firm, limited edition, for the same).

Choosing can be daunting, so we have brought back the Graphite Sampler Set (shown above) that includes 2 each Matte, 602, and Extra-Firm Natural pencils plus the versatile One-Step Sharpener.
I personally have all three Blackwing sharpeners, and use them. If you need more information, my video comparison can help.

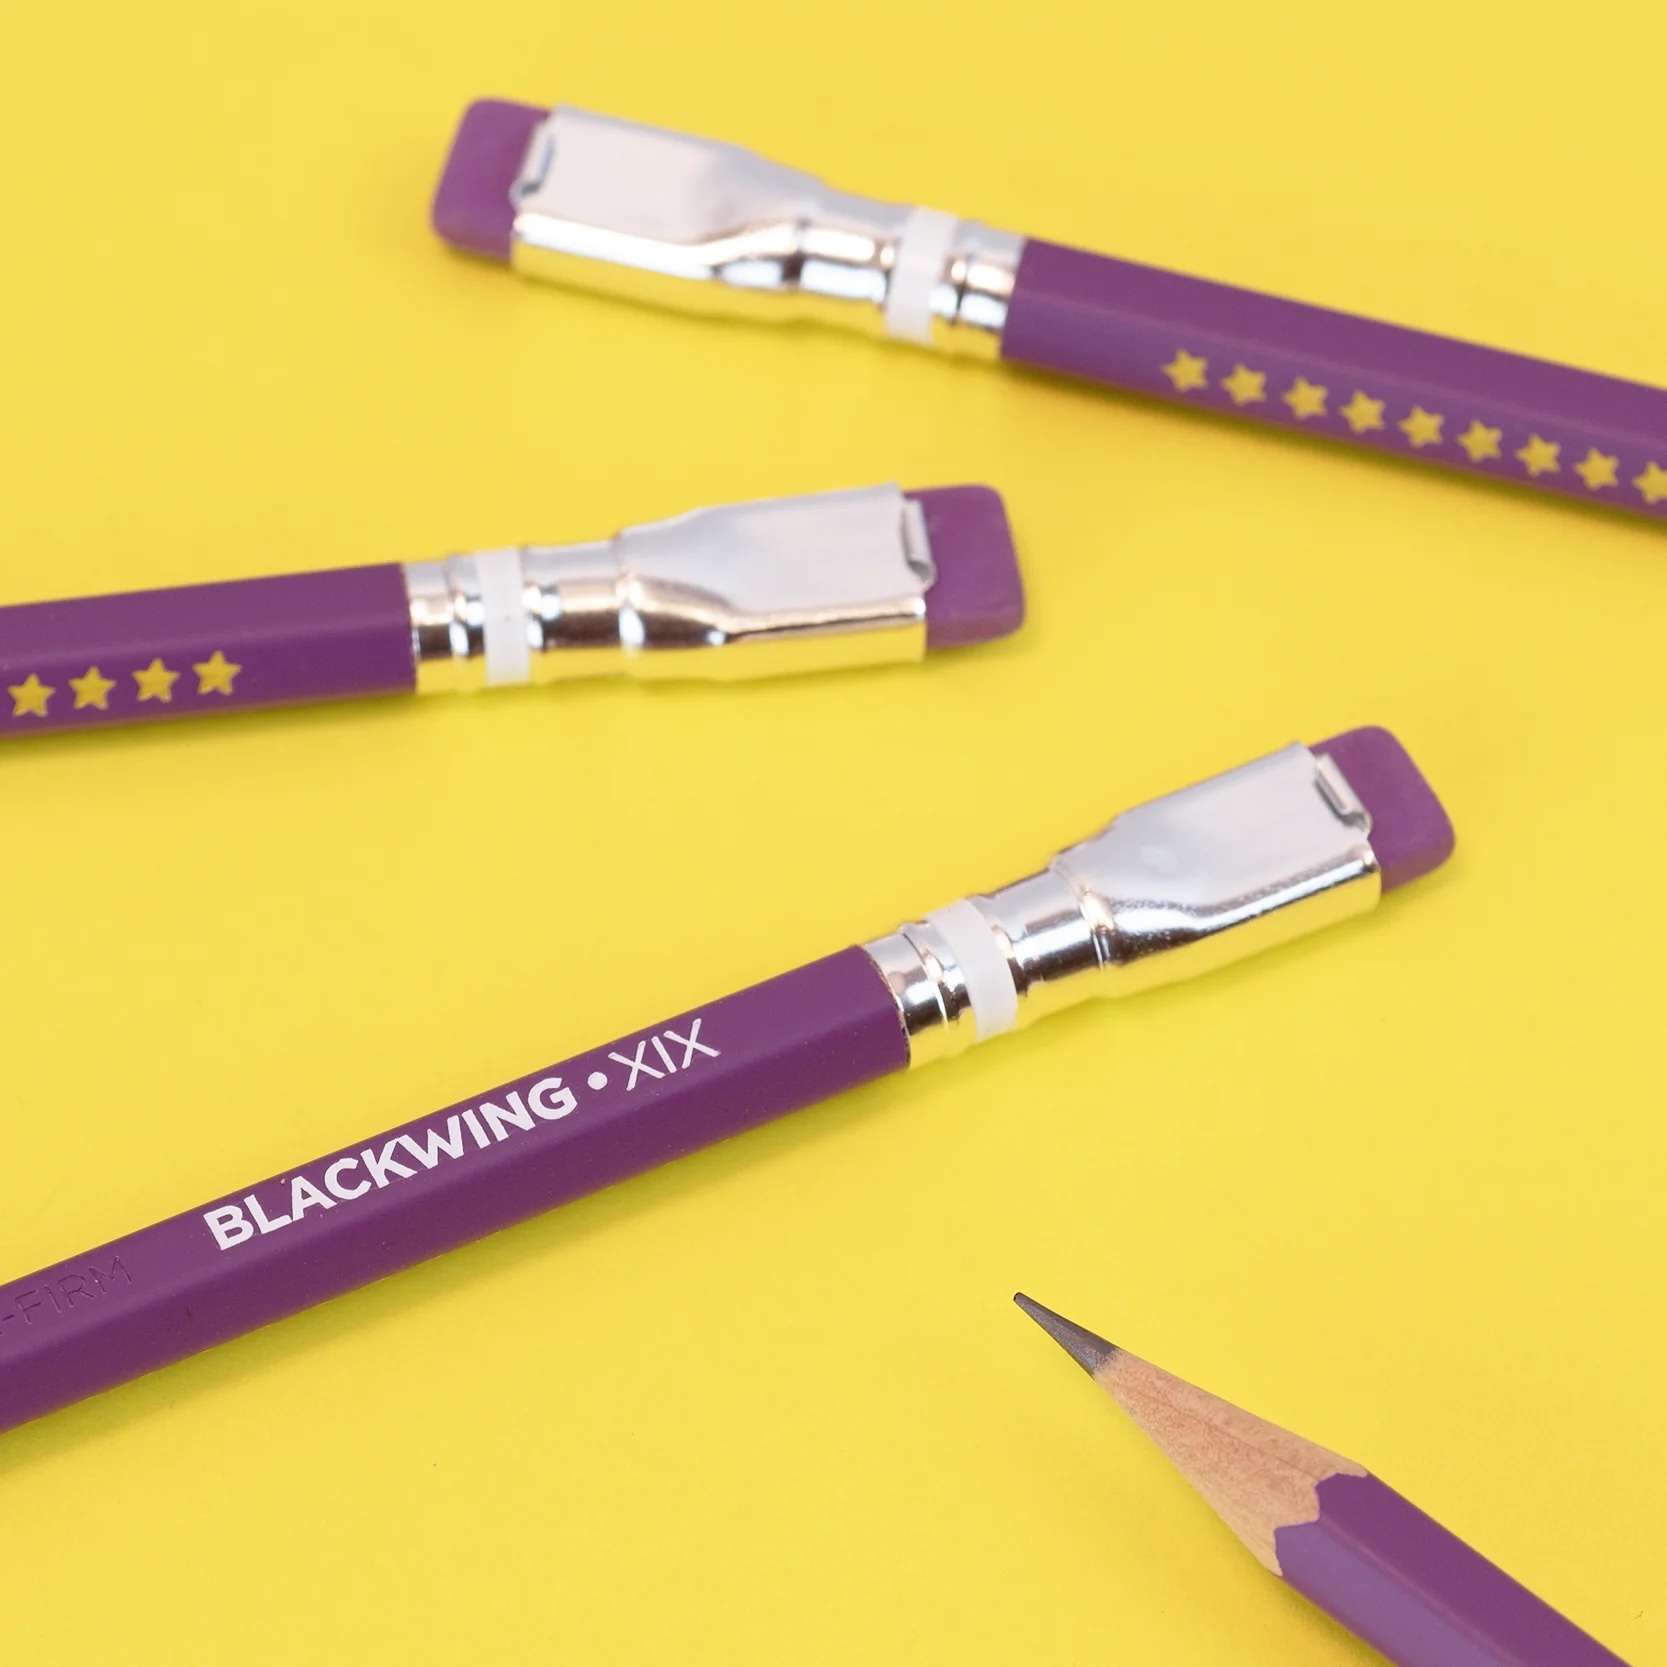

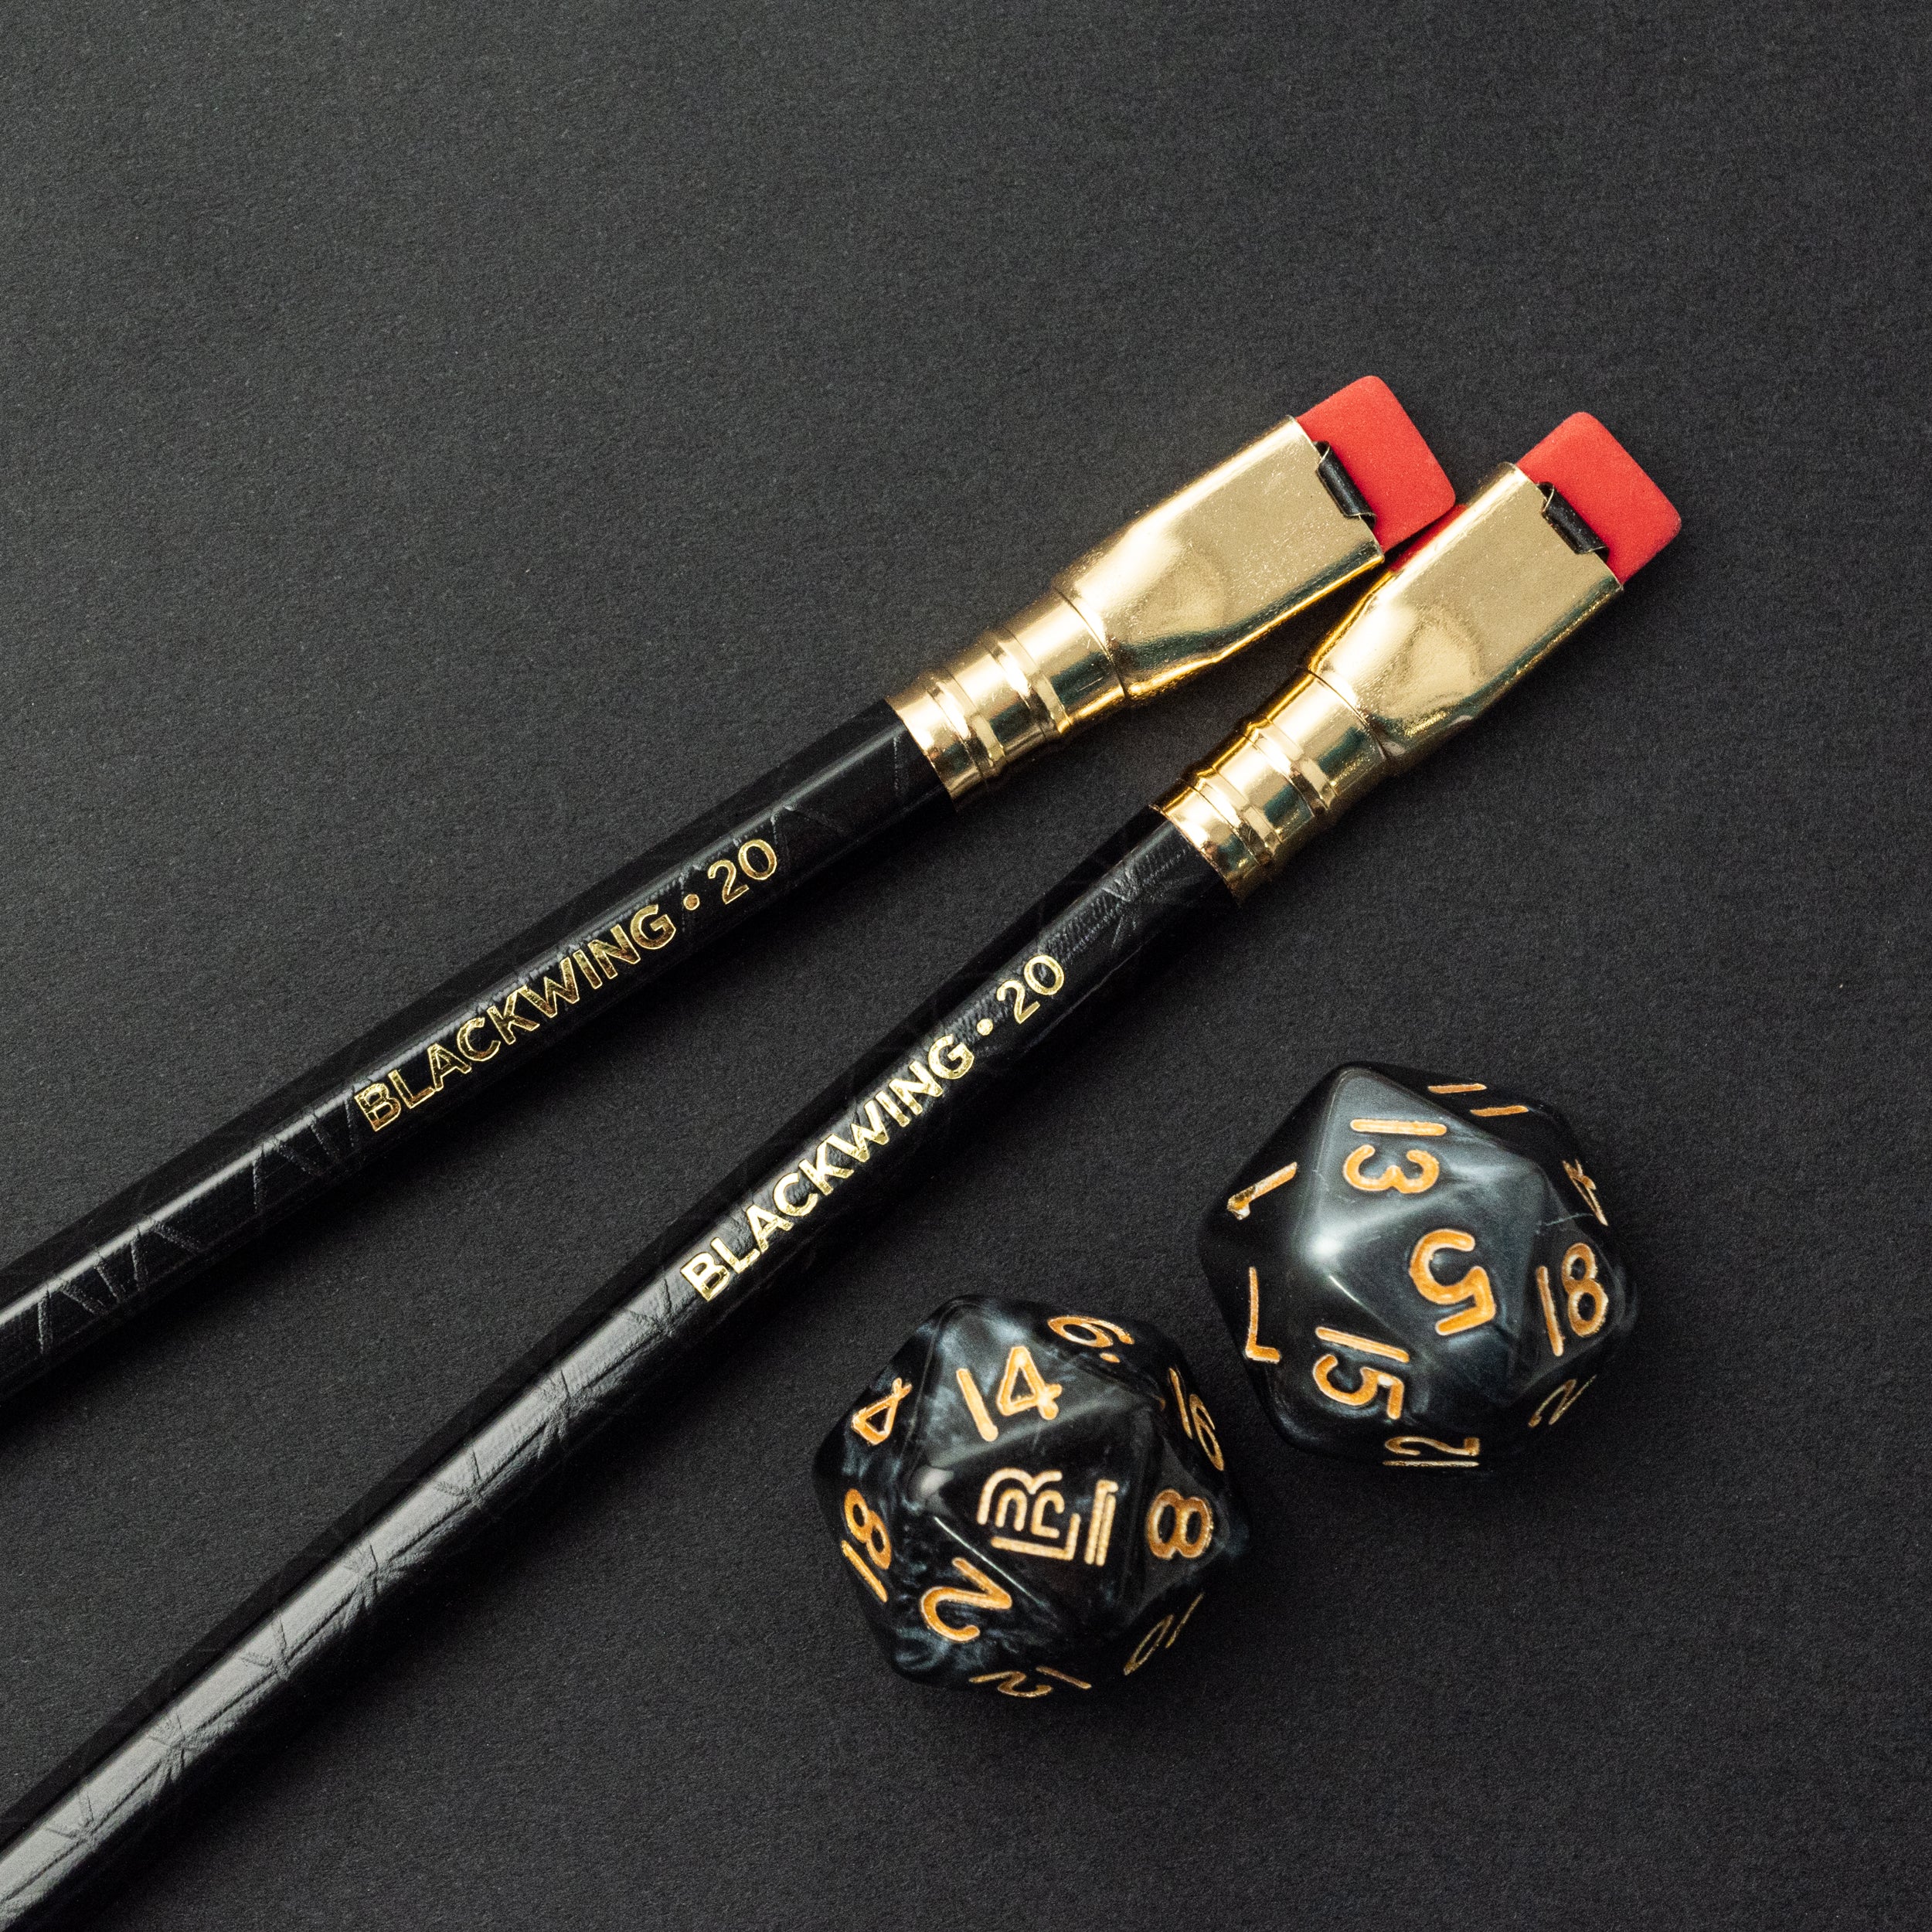
Blackwing periodically releases limited edition pencils. These Volumes come with themes and stories, and are very pretty pencils. We have a few that are now unavailable elsewhere. Browse here.
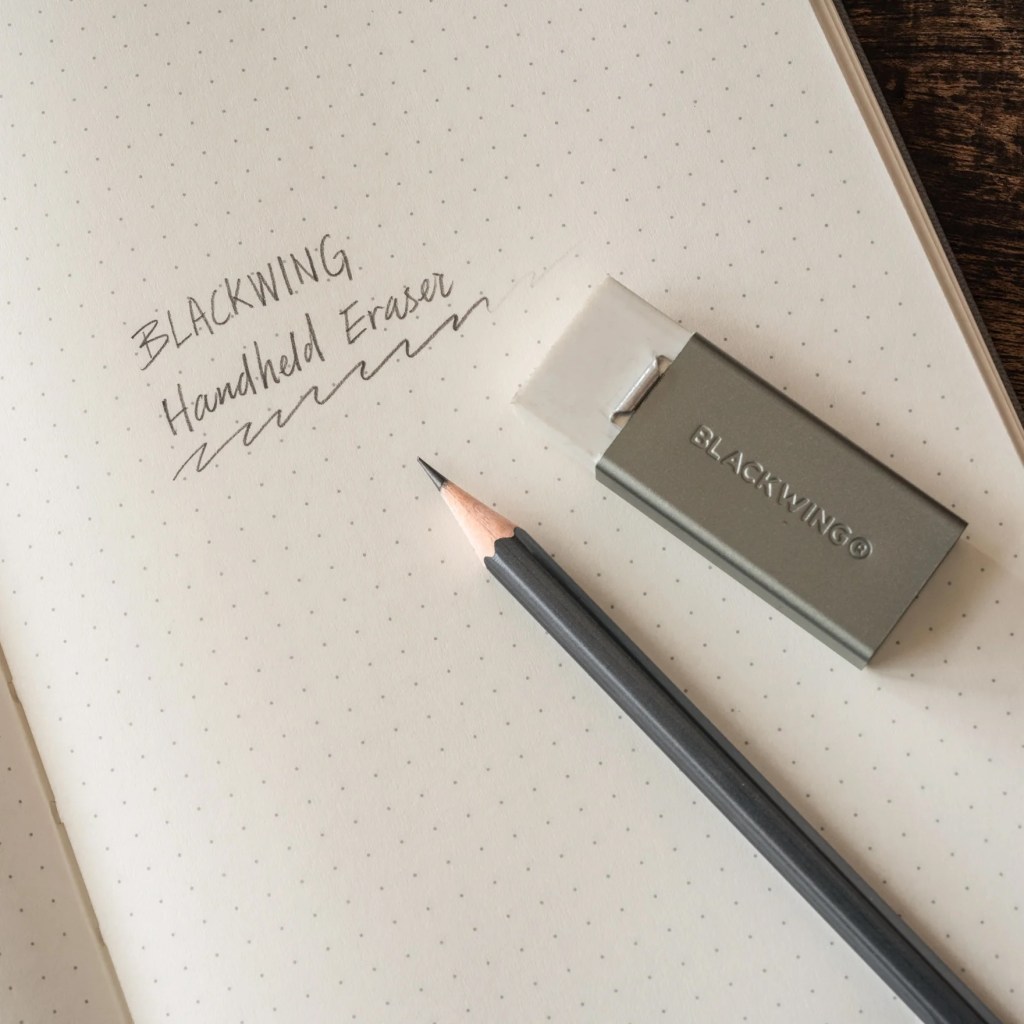
Blackwing’s pencil accessories are effective, sleek, and make life easier, and they are an affordable treat. The Point Guard is a cap that protects your sharpened pencil tip, and also protects your drawer or bag or purse from marks. Blackwing’s Handheld Eraser is a bit magical, my video explains more.
The NEW deal: We double-bought the Handheld Eraser Replacements and you win! We are giving away a whole 3-pack of these magical replacements (which can be used without the holder) with every Blackwing purchase over $35. This deal will last as long as our supplies do. That’s a $10 value!
To get the deal, you need to have at least $35 of Blackwing items in your cart, AND ALSO, in addition to that, one set of the Handheld Eraser Replacements in your cart. But no code is needed, automatically you’ll see the discount pop up as you check out, and the Handheld Eraser Replacements will be FREE.

You will find my YouTube videos all over the Piece O’ Cake store: short, sweet, and helpful. Just like walking through a shop, when you have a question, I’m there. Click here to find all Blackwing products.
Take care of your skin! LoLo is for everyone, and is especially good for crafters and quilters.
We have been faithful fans of LoLo Body skincare for many, many years now. The quality ingredients and LoLo’s formulation create moisture bars that soak in crazy quickly, allowing you to touch fabric, or grip a door knob, and not leave a residue. Because they include beeswax, the moisture is held in through multiple hand washings.


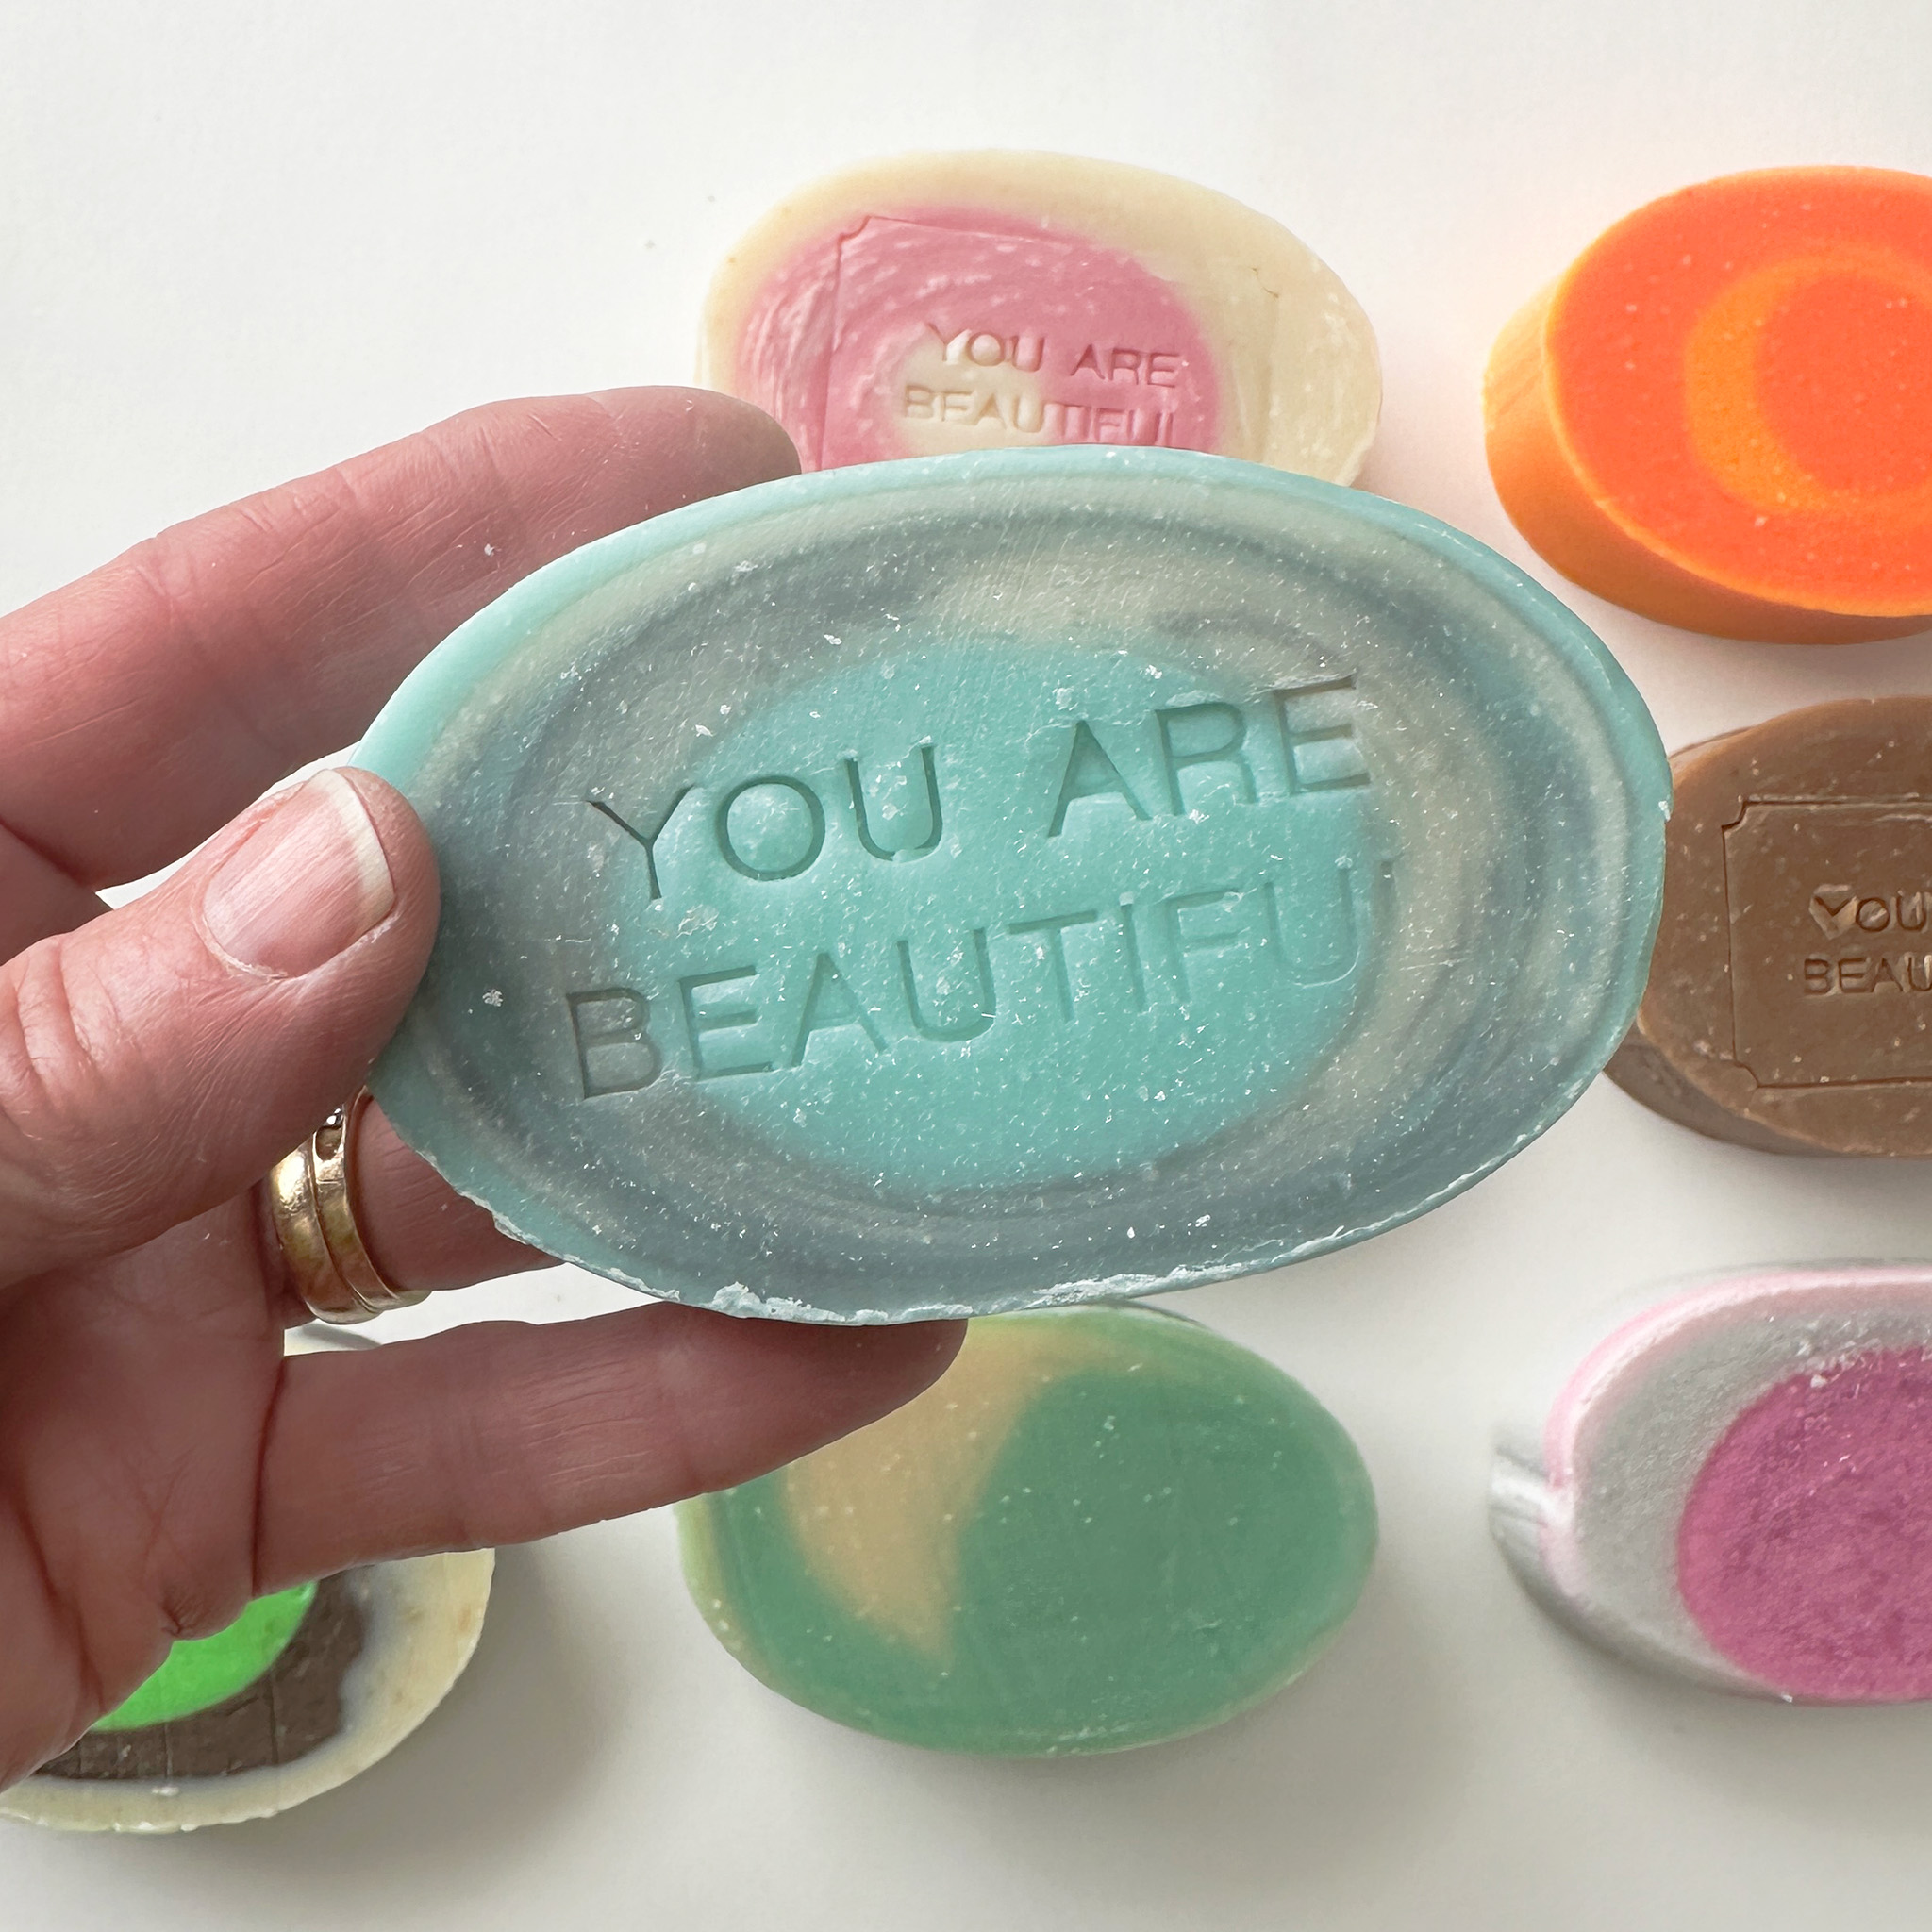


LoLo’s Cuticle Intensive is a little stick that does a fantastic job of keeping our cuticles happy and not catching on materials we are working with. They also make a Moisturizing Soap, which actually leaves your skin more moisturized after washing.
I asked LoLo for a thread conditioner, and Thread Tamer was born. It works just exactly how I want it to, and customers sing its praises. LoLo makes the most lovely subtle scents with all natural ingredients, but if you’d like unscented, choose Plain Jane in any of their products.
The Gift of Sewing
The whole Piece O’ Cake site is full of great gifts for quilting, crafting, and sewing fun! Going back to the site, look under Shop, The Gift Shop, The Gift of Sewing, then Gifts & Handcrafted Notions to find an assortment of gifts, that include handcrafted sewing boxes and notions by woodworking artisan friends.
This is the “aisle” with all kinds of beautiful and unusual gift items, click look around!


Jacquie Klassen, my friend and woodworker extraordinaire, is bringing us new boxes, both Sewing Boxes, and Pencil Boxes. The Pencil Box With More is back for Christmas and includes a free Point Guard —Yay!
For the do-ers on your list, these next items are perfect gifts that take the cake! 😉
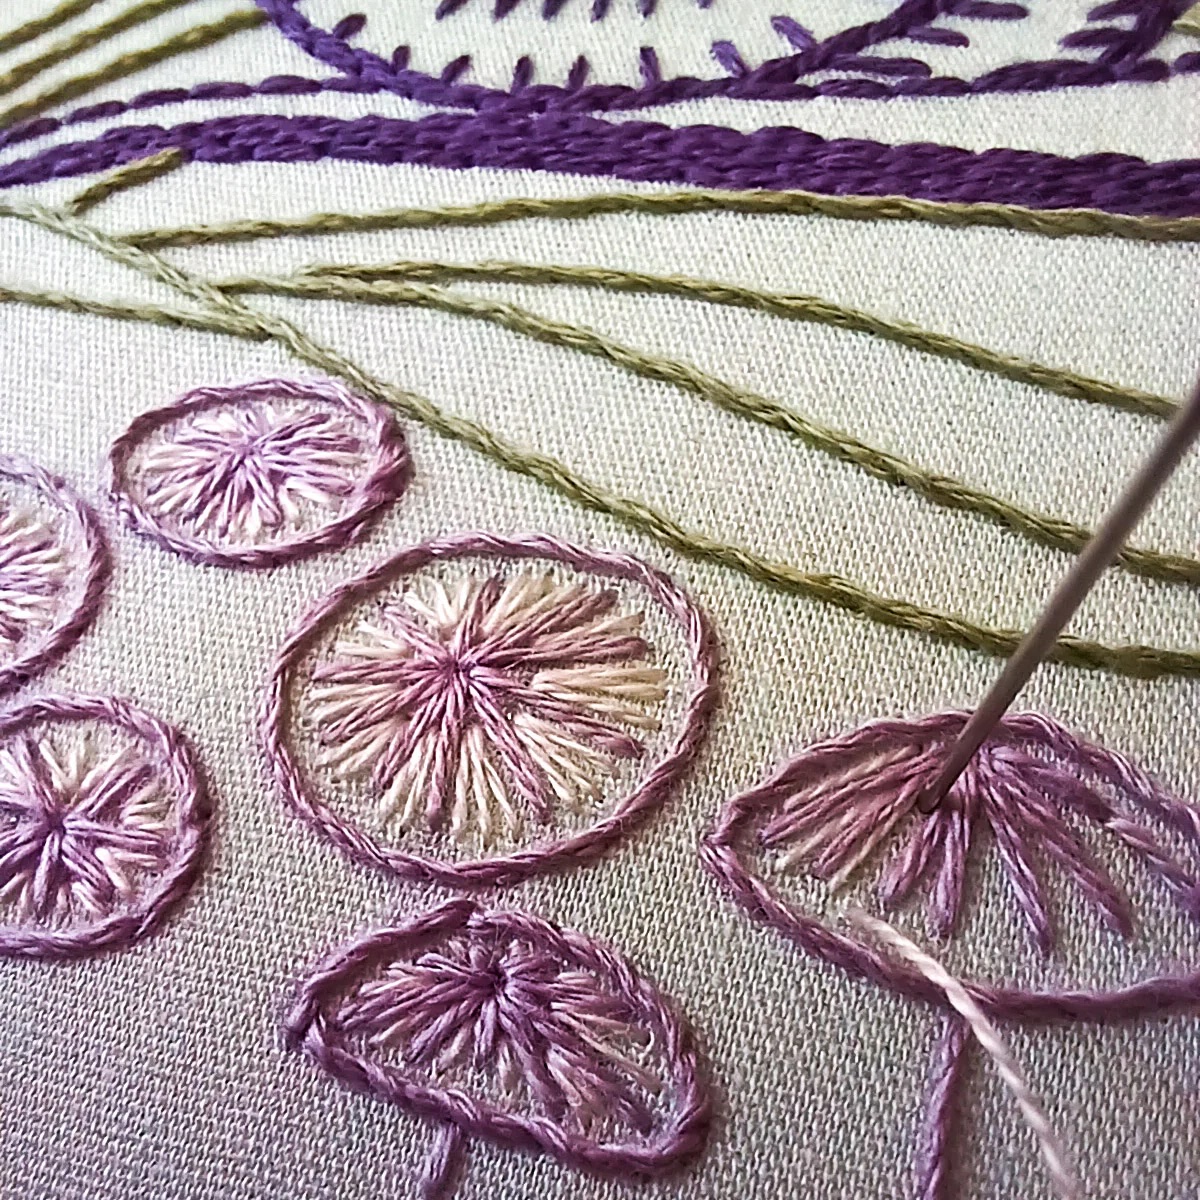
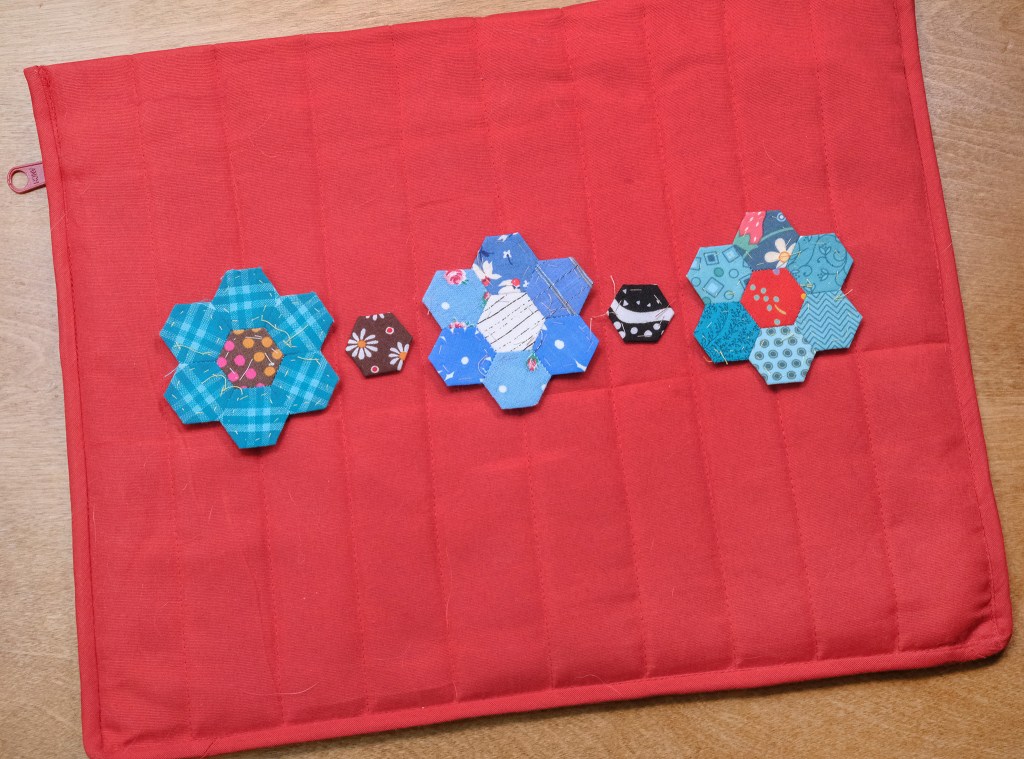
Not just any embroidery kit, cozyblue’s kits are uniquely beautiful, and come with everything in the package needed to create a hand-embroidered hoop project. Gorgeous.


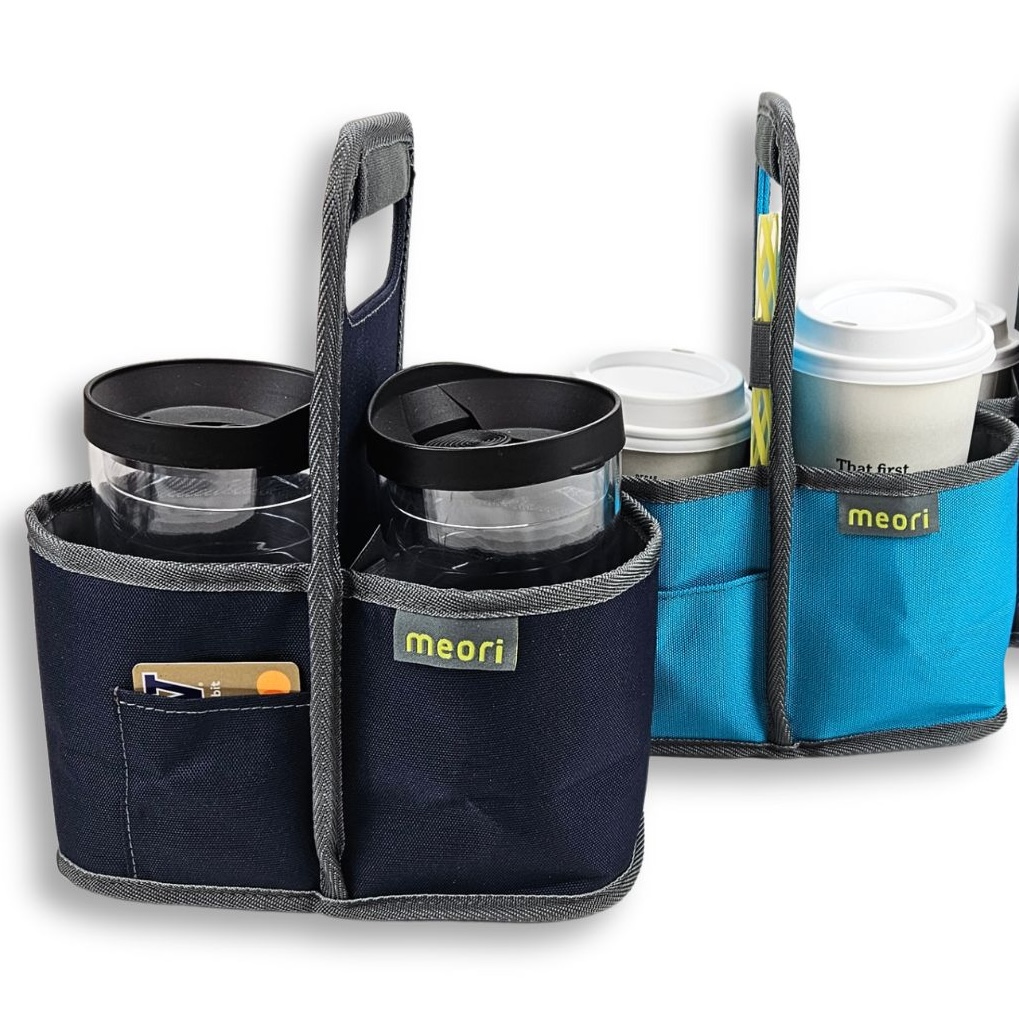
Last, but definitely not least, give the gift of organization. Find quality Yazzii organizers and bags, Meori organizing boxes, and more!


I hope you’ve enjoyed wandering through Piece O’ Cake with me. May this season be happy and bright for you and yours.