Keep calm, move fast…

I set off my oh-shit-o-meter last night. Steve brought me a glass of red wine, setting it down next to my computer, as he does almost every evening. (He is really very good to me.) I knew it was there, the fault was entirely mine when I reached past the computer (exuberantly) and knocked over the glass, splashing/spraying wine everywhere. Well, not everywhere, but there were big drops on the floor as far as 4′ away.

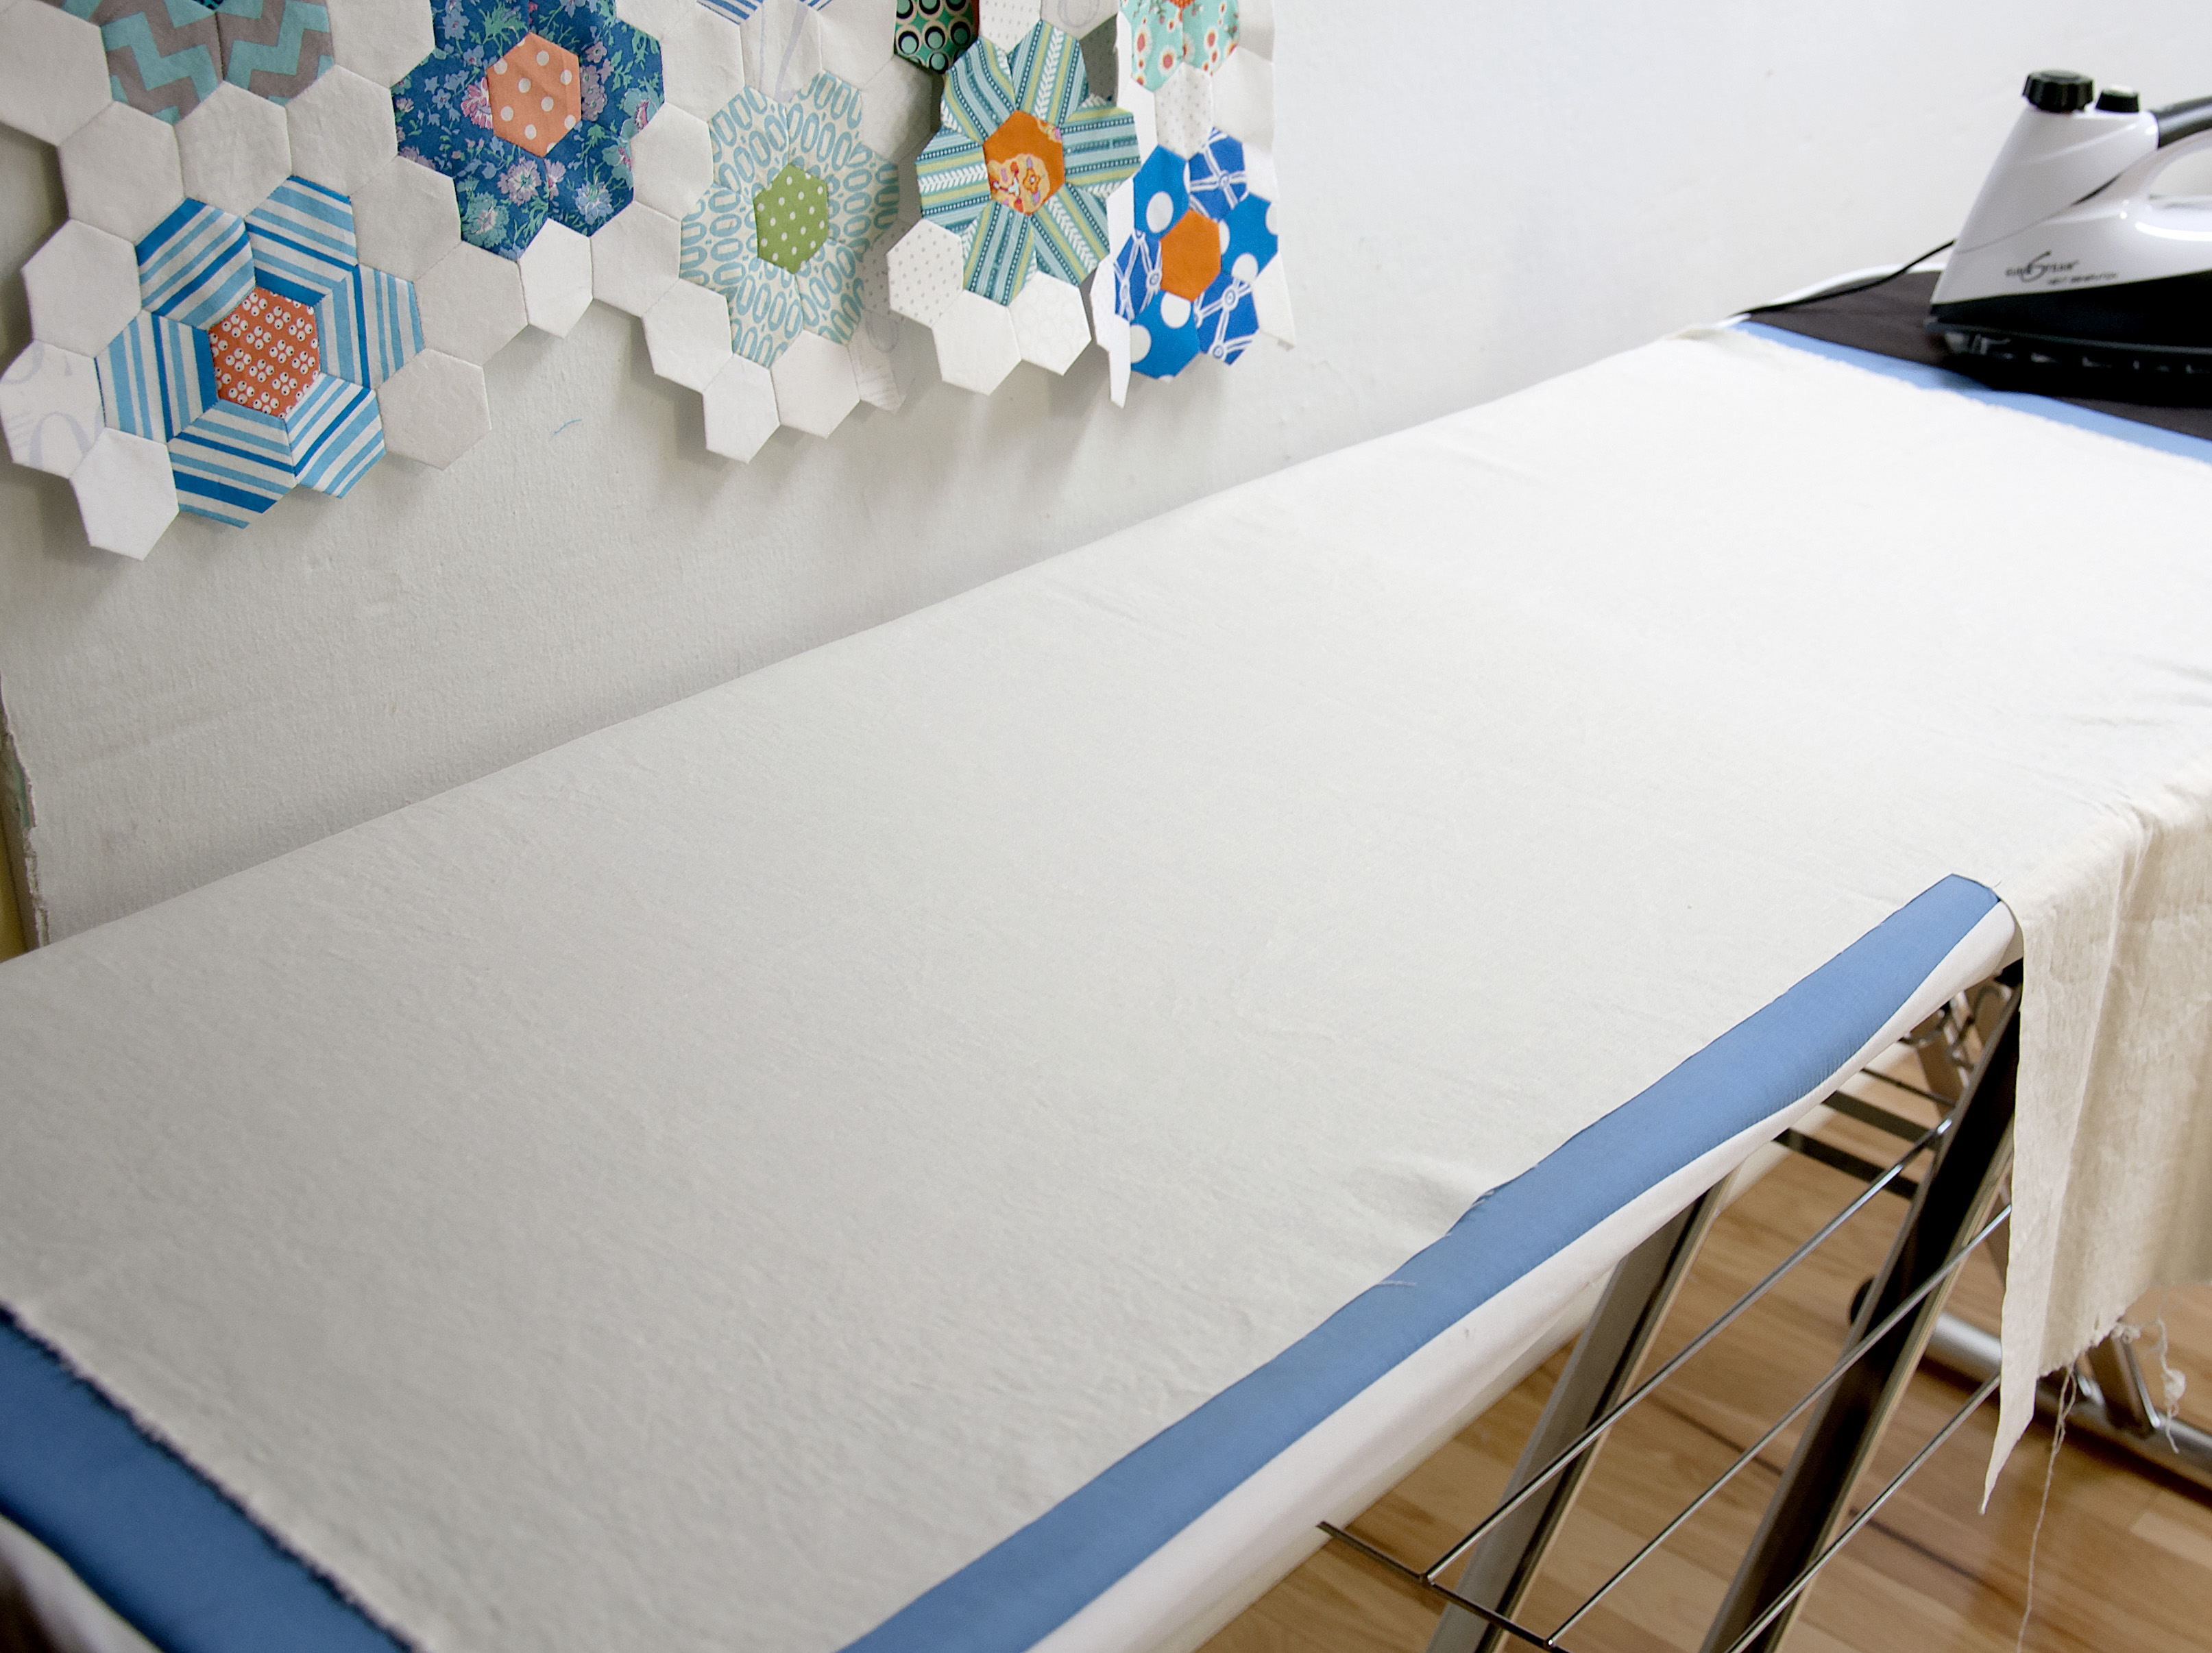
The wine also spilled onto the stool next to the computer. The stool where I stack stuff. In this case, a basted quilt, folded backing side out. This photo is staged—I didn’t stop to take a picture last night. The papers on top of the quilt had been white. They are now seriously wine-stained, along with several other papers that I threw away last night. Luckily nothing much else was damaged.

Oops-01

Steve dealt with everything else while I grabbed the quilt and ran to the kitchen. First I tried drying the backing fabric with paper towels, which sort of worked. But, oh no, the batting was damp!!!

I grabbed a knife (because who has time to hunt for scissors in a crisis) and quickly cut the basting stitches.

Oops-03

I peeled the top back before the wine soaked through to the mostly white quilt top. I found some scissors and whacked out the stained batting.

After I caught my breath, I hand washed the stained backing fabric with Orvus. I was careful not to get it too wet. I didn’t want the wine stain to migrate farther. I can still see a little purple, but no one but me (and you) will ever notice it.

Oops-02

This morning I pulled back both the backing and the quilt top, placing the batting on a cutting mat. I cut a bigger piece of replacement batting and laid it behind the hole.

Oops-04

I used a ruler to cut straight edges through both layers, discarding the excess batting.

Oops-05

Then I basted the edges of the batting together.

Oops-06

I carefully placed the 3 layers together and re-basted that corner of the quilt.

Oops-07

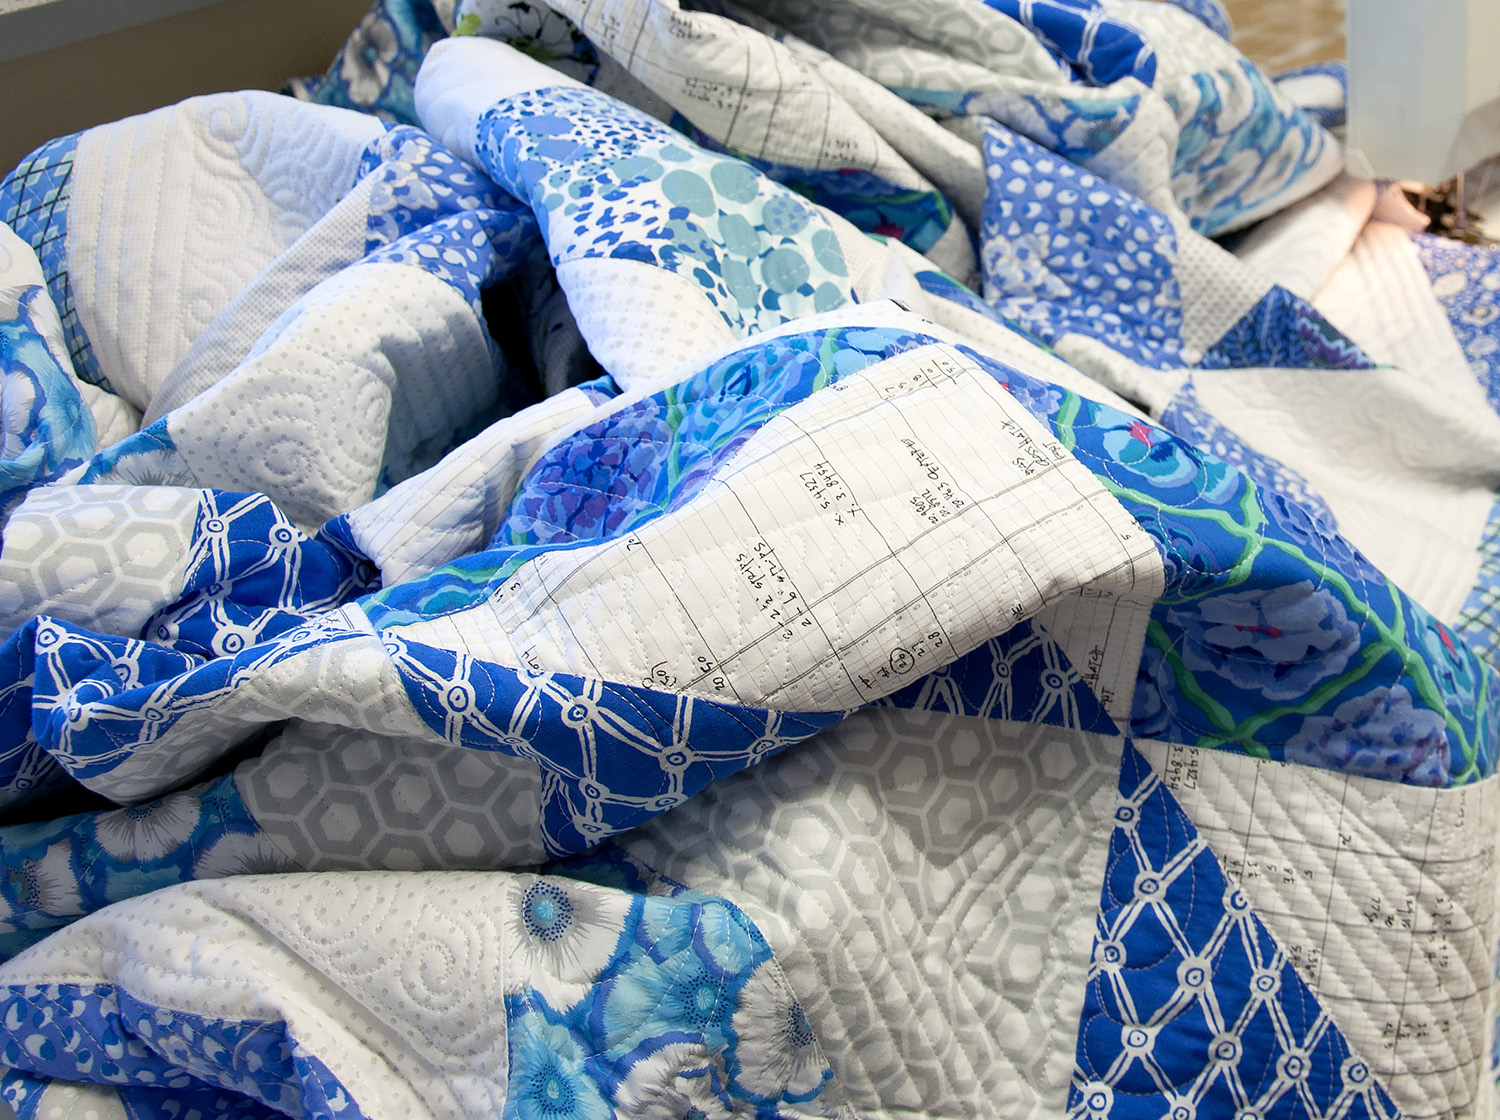
That’s when I noticed a very light stain on some of the turquoise fabric in the quilt top. It wasn’t where the wine hit the quilt and then I remembered that that fabric was stained before I cut it up. I had washed it with something red which had bled, even though I had used a Color Catcher. I didn’t realize until this morning that I had sewn the stain into the quilt.

Oops-08

This stain is almost invisible and I don’t mind it. I suspect it will remind of how lucky I was, this time.

Put your light in the right spot…

crbal150307

This is what happens if your light is way over there on the table and you are sitting too far from it. ‘Growing toward the light’ happens especially to hand sewers/appliquers. It is very hard on your back and shoulders.

Place your light in position so that you can sit up straight and see what you are doing, both at the same time. This probably means that you need an adjustable floor lamp. I use my Stella floor light, but there are other lamps that also work.

As always, pay attention to your posture.

If you are right-handed, the light should come from the left. Left-handers, the light should come from the right. In both cases this keeps the shadow from your dominant hand from falling on your work, where you are trying to see what you are doing.

Empty Spools, 2015…

You might have noticed that I was too busy to write on the blog, but I did post to instagram and facebook. I hope you enjoyed the scenery and the waves.

Today, before class was totally over, I did take photos of my students. To be honest, I am always busy being the teacher and forget to stop and be a photographer. But I noticed that most everyone was taking pictures and realized that I should be too!

Penny had already gone and I am sorry I missed getting her photo. She worked, and conquered, the Everyday Best block before leaving to take in some sites on her way north. Penny, we missed you :-).

And I don’t know how I managed to miss Jane, but I did. She worked on a lovely applque quilt-in-progress in class. It ought to come together pretty quickly once she gets home.

Here’s a slideshow of my students and at least some of the work they did in this independent study class. I have to say that every person in the room was a delight and we all had a fabulous time!

This slideshow requires JavaScript.

Yet another new iron…

I recently taught at Quilt Fiesta in Tucson. (It is fun show if any of you can make it next year!) There were lots of quilts, and there were vendors. I walked the vendors at a slow time and darned if Jamie didn’t rope me in…

Jamie-EurosteamIron

How have I missed the EuroSteam booth at every quilt show I have ever attended? Who knows. But this time Jamie had my undivided attention and darned if she didn’t sell me a EuroSteam iron. (Let me just say, she’s good at her job.)

You can buy the iron online, but it’s cheaper at a show. Plus you get to talk to a person who is very familiar with it.

EuroSteamIron-1 copy

This is a heavy iron, which is fine with me. It has a ceramic sole plate that is supposed to never scorch. Dandy! It has an aluminum water reservoir, not plastic, so should last longer.

You see that plastic/silicon thing it’s sitting on? The iron lives there. It should never, ever, be stood up on it’s end. Jamie was very clear on this point. Enough so that I have not forgotten.

Jamie showed me how to use the measuring cup that comes with and was very clear that I should never, ever, (ever!) use distilled water. Irons need the minerals in the water. Without them, they spit (I forget why). There is a very good chance that I have ruined previous irons all on my own by disregarding the instructions to use tap water. The end of the long spout is flexible so that you can fill the iron while it is flat.

EuroSteamIron-2

This iron puts out lots of steam. And it does the job. Here is cotton/linen before:

EuroSteamIron-3 copy

And then after a quick-ish press:

EuroSteamIron-4 copy

The EuroSteam works better than my most recent irons. It cost $200 and, if it continues to work well, I will consider to be money well-spent. If you are interested, look for EuroSteam at your next quilt show and try one before buying.

FYI: If you read the instructions that come with the iron, you will find lots of warnings that lead you to think that if you don’t relieve the pressure in the iron (release steam) every 10 minutes it might blow up. Jamie assured me that I could pretty much ignore that. I didn’t mean to, but I did walk off and leave the iron hot and plugged in, with water/steam inside, for over an hour. It did not blow up. I am not saying that you should ignore the safety warnings, but I personally didn’t let them frighten me off.

And, back to the water: Sherman water is full of appliance-killing calcium and salt. Jamie said to use bottled water if I wanted to, just not distilled. I was about to use what I thought was bottled spring water until I looked at the label and noticed that it said ‘purified’. I googled it and it sounds like purified water has a lot of the particles removed from it, making it similar to distilled water which is not good for the iron. I chose to use tap water instead and will look for bottled spring water for my iron.

And I have promised myself that I will follow Jamie’s instructions and drain my iron when I’m done for the day, every day. Cross my heart :-).

It’s done!

Before I left town, I put the binding on the last quilt for the piecing book.

BindingWowie copy

I don’t know that I have ever, in my life, made a quilt this big. It’s 118″ x 118″. Angela Walters quilted it and she did an excellent job. I think I would have given up way before I was finished.

I put the thinnest Quilter’s Dream batt in this quilt—the request weight. It turned out to be an excellent choice. This quilt, as big as it is, would have been way too heavy with a thicker batt. As it is, I’m not sure that it’s washable in anything other than a commercial machine. This is a bed quilt with a lot of white and I have cats and grandkids—washing is going to happen.

The piecing book that Linda and I have been working on is a revision of our book, Piecing the Piece O’ Cake Way. That book is out of print, but the information in it is still completely relevant. We, and C&T, decided that it needed to come back in an updated form.

This is a ‘heavy’ re-write, with lots of new information and quilts. It has both fun and actual work. And as of Friday, the quilts and the manuscript are now in with C&T. It feels great to have finished exactly on the date of my own personal deadline.

I know that most quilters do not link Piece O’ Cake with ‘piecing’, but I’m hoping that that will change. We were both piecers first. I hate to toot my own horn, but I can piece just about anything. And to link this train of thought back to yesterday’s post, this is yet another reason that I enjoy teaching an independent study coarse: I get to work with piecing in class!

Catching up, leaving town…

I am sitting on a plane on my way to 2 classes that I have looked forward to for a year. Tomorrow I begin a 5-day class with Gwen Marston, only the 2nd class I have taken in the last 20 years. I have heard that Gwen has threatened to retire and I did not want to miss the experience of taking a class from her.

See the grin on Bear’s face? I am wearing that same grin right now.

Bear-InHat-Feb-2015

I am teaching 5 days of independent study after Gwen’s class. I do love this class. It engages all of the parts of my brain. I get to work with quilters of all skill levels doing all sorts of things. It’s great fun!

I am using my 3-hour flight to write blog posts, this one included. I know that I won’t have time to post much over the next 2 weeks, so am writing now and scheduling them to post later. I will post to instagram pretty often, so if you want to see what I’m up to at Empty Spools, I hope you’ll follow me there.

And, because it’s pretty and (marginally) about flying, I’ll sign off with this…

ConfederateRose-Bee

After Gwen’s class I am teaching an independent study, one of my favorite things to do!