Come to A Small Town Quilt Show – In A Big Town Way…

Im teaching small town quilt show logos 1200px
Have you heard about this new quilt show? I'll be teaching, along with many other nationally known teachers, June 26-28. Now is the time to make plans to attend!
 
It is going to be held in a beautiful spot, the luxurious Zermatt Resort and Spa in Midway, UT. A luxurious resort combined with quilting—sounds perfect, doesn't it?
 
  Zermatt-Resort
 
Click here to see a list of all the classes and to register. Below, you will also find links for the Small Town Quilt Show teachers. I hope to see your smiling face there :-). 
 
Tina Lewis

The quilt pulley system…

I’ve written before about the system I use to help me manage the weight of a quilt as I machine quilt. I should have shown more details in that first post. I know that because I had requests for more information. Here is a more complete DIY guide.

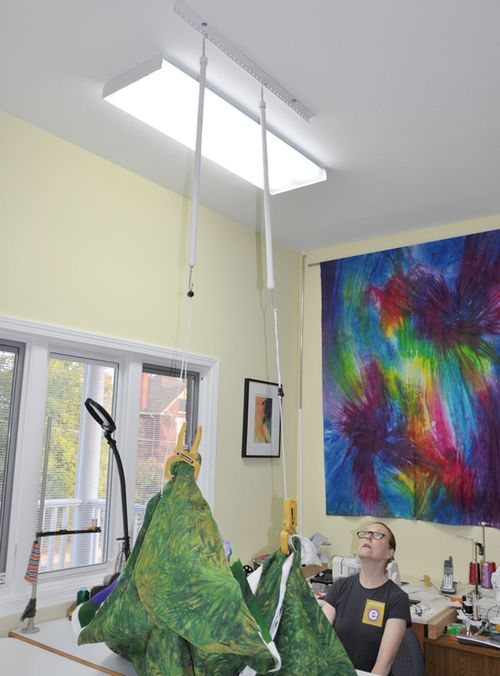
I first got the idea from Caryl Fallert-Gentry. Here she is at her machine:

QuiltPulley-01 copy

The idea is to use two quick-release clamps suspended from the ceiling to hold the weight of the quilt off of the table while you work. Her studio ceiling is very high so she added two metal poles with hooks on either end. I have 8′ ceilings so did not need the poles.

Here are the supplies you need:

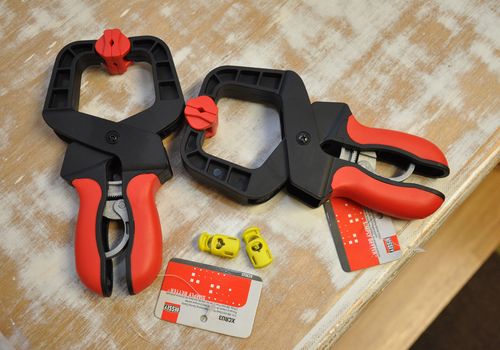
  • 2 quick-release ratcheting clamps. Don’t get regular clamps with springs only—hey are hard on your hands.
  • 2 jacket-toggles—that’s what those yellow things are
  • Several yards of nylon cord—the kind you would use in a Roman shade (not shown) 
  • 2 big, eye-bolts for the ceiling (not shown). It’s a lot easier if you can screw them through the sheet rock, into wood. Otherwise you are going to need to look for something with a toggle.


QuiltPulley-02 copy

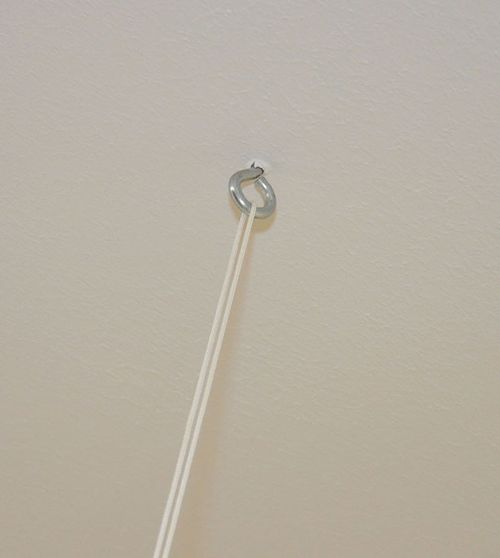
Here is what one eye-bolt looks like in my ceiling. This one measures about 7/8″ across.

QuiltPulley-05-750

I have a Sweet Sixteen. It sits in a table, front to back, not side-to-side like a home machine. My eye-bolts are positioned in the ceilling about 30″ apart, centered over the machine—one on one side, one on the other. They sit back from the front of the table about 12″.

If you machine quilt on a home machine, position one bolt (in the ceiling) behind the needle, about 12″. Position the other one 14″-16″ to the left of the needle (in the ceiling). 

Cut a length of nylon cord twice the length from your tabletop to the ceiling. That will be too long, but you can cut off the excess later.

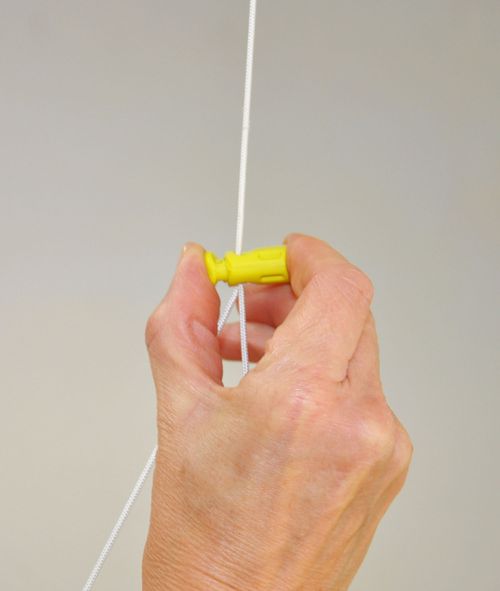
Squeeze a jacket toggle open and run one end of the nylon cord through it and then up through the eye-bolt in the ceiling. Run it back through the squeezed-open toggle.

QuiltPulley-06 copy

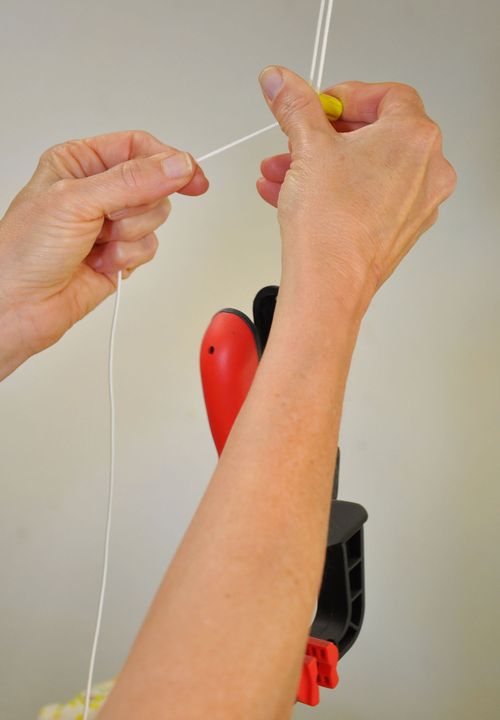
Tie one end of the nylon cord to one handle of a quick-release clamp. My clamps came with holes that were perfect for this. You might have to drill a hole.

To raise or lower the clamp, squeeze the toggle and pull the other end of the cord. As you use the clamps, you will figure out how much of the excess nylon cord you want to cut off. I like to be able to reach it from a sitting position.

QuiltPulley-09 copy

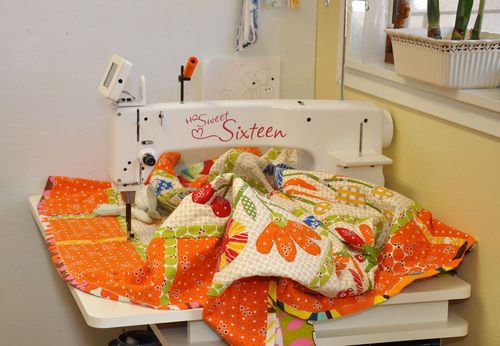
In the photo below I don’t have the clamps attached to the quilt. The weight of the quilt is on the table and hanging ove the edge. It is harder to manage.
SweetSixteen-01 copy

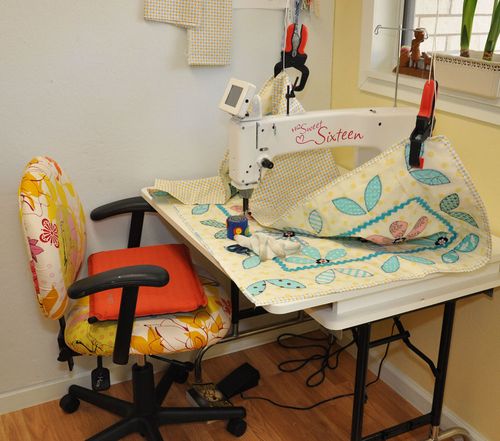
In the next photo I have portions of the quilt clamped and held up off the table. Somtimes my quilts look this tidy on the table but mostly they don’t. I don’t always clamp the outer edges of the quilt. On big quilts I have to clamp areas more in the center of the quilt.

SS-WithClamps copy

I change the position of the clamps often as I have to as I move and turn the quilt. It’s easy and fast. The more you work with them, the easier it is to know where best to clamp the quilt.

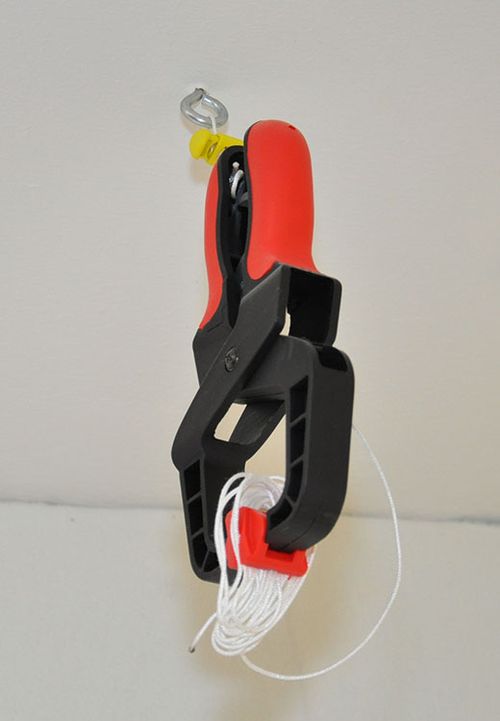
When I’m not using the clamps, I pull them up to the ceiling and clamp the coiled excess cord.

QuiltPulley-10-750

So there you have it! This is an inexpensive and simple way to control your quilt as you machine quilt. I hope you have as much success with this as I have!


 

What’s behind Door #2?

I think there is a happy family behind Door #2! I know the new block looks way too big to fit with Door #1, but it gets trimmed to size after the applique is complete. 

DoorNumberTwo-04

I've made some progress since I last showed you the doors. The panels in the yellow doors are reverse appliqued and the 'stained glass' window over the door is stitched off the block. I needed to get the whole door and trim appliqued so that I could set the rest of the block together. I've designed these blocks so that they can be set together in one quilt or stand alone as individual quilts.

Here's a tip for stitching something like the window. Cut the underneath fabric bigger than it needs to be (in this case it's the floral print). Trace around the template onto the underneath fabric. Trace and cut out the smaller pieces. Finger-press them and sew them to the fabric like this…

Window_OffBlock-1 copy

Once the 'spokes' are sewn to the underneath fabric you can treat this as one piece and sew it in place. 

As I type this I'm taking a break from cutting leaves for the plants that go next to the door. I'm going out of town tomorrow to visit the Mississippi Valley Quilt Guild in Iowa and I really want to have some stitching to take with me. So now I'm going to get back to it!

FYI – You can click here to read about my class for Adventures In Italy where I will be teaching from the door patterns. My class is called Open A Door To Adventure.


What do you pay attention to?

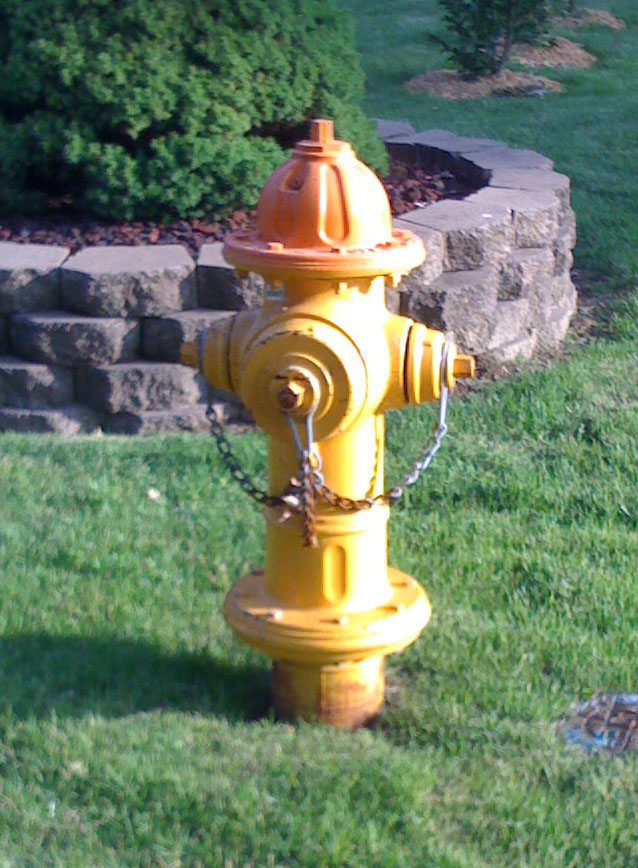
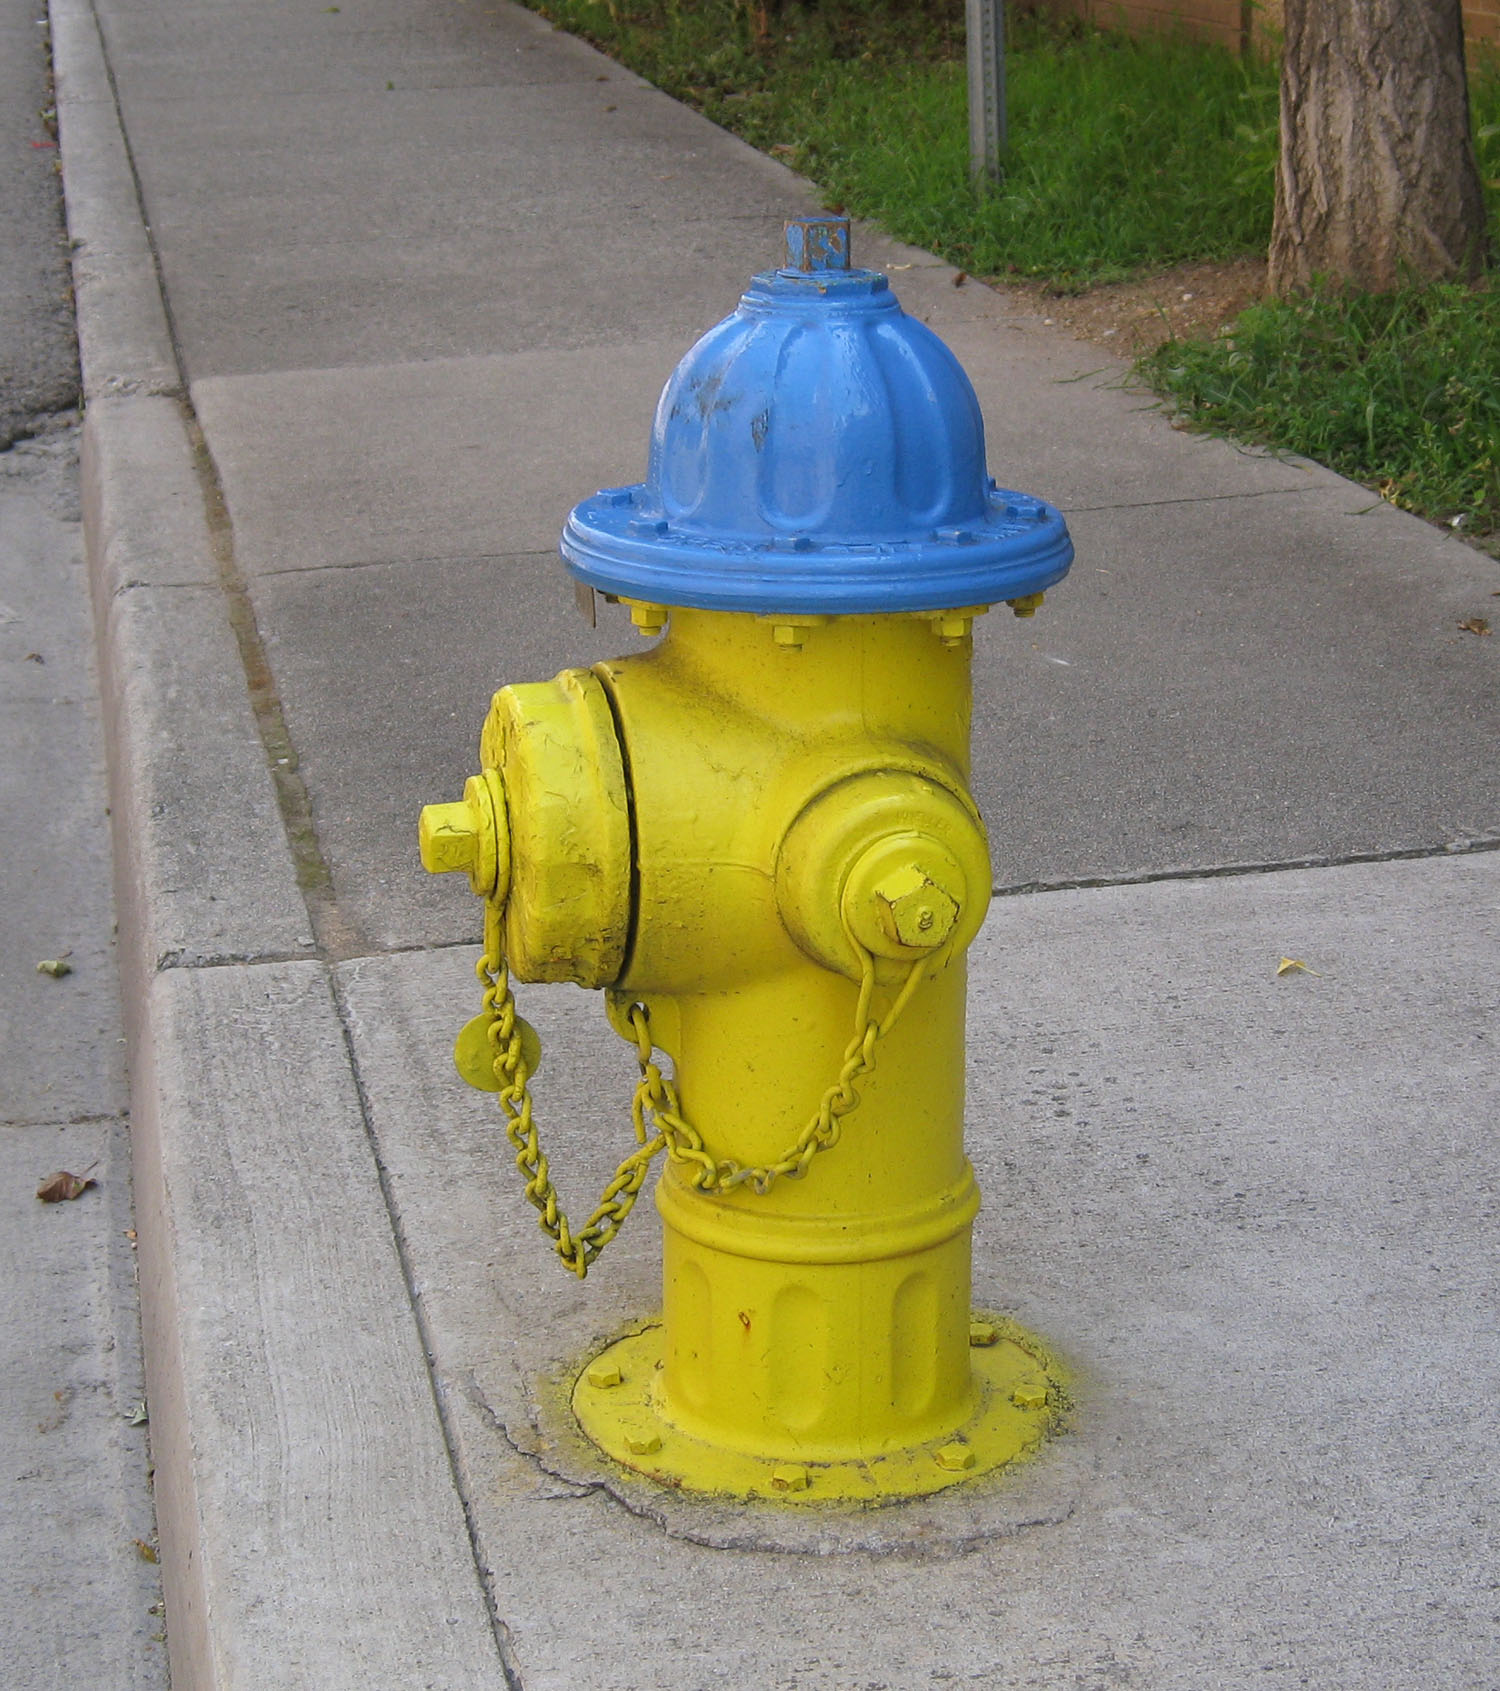
I don't know why, but on our recent road trip I started noticing fire hydrants. I realized that I have a mental image of what a fire hydrant looks like – it's red and shaped like a fire hydrant! This one that I saw in St. Louis has the right shape but the color is wrong. 

Hydrant-StLouis

In Chicago the color is right (red) but the shape is wrong.

Hydrant-Chicago

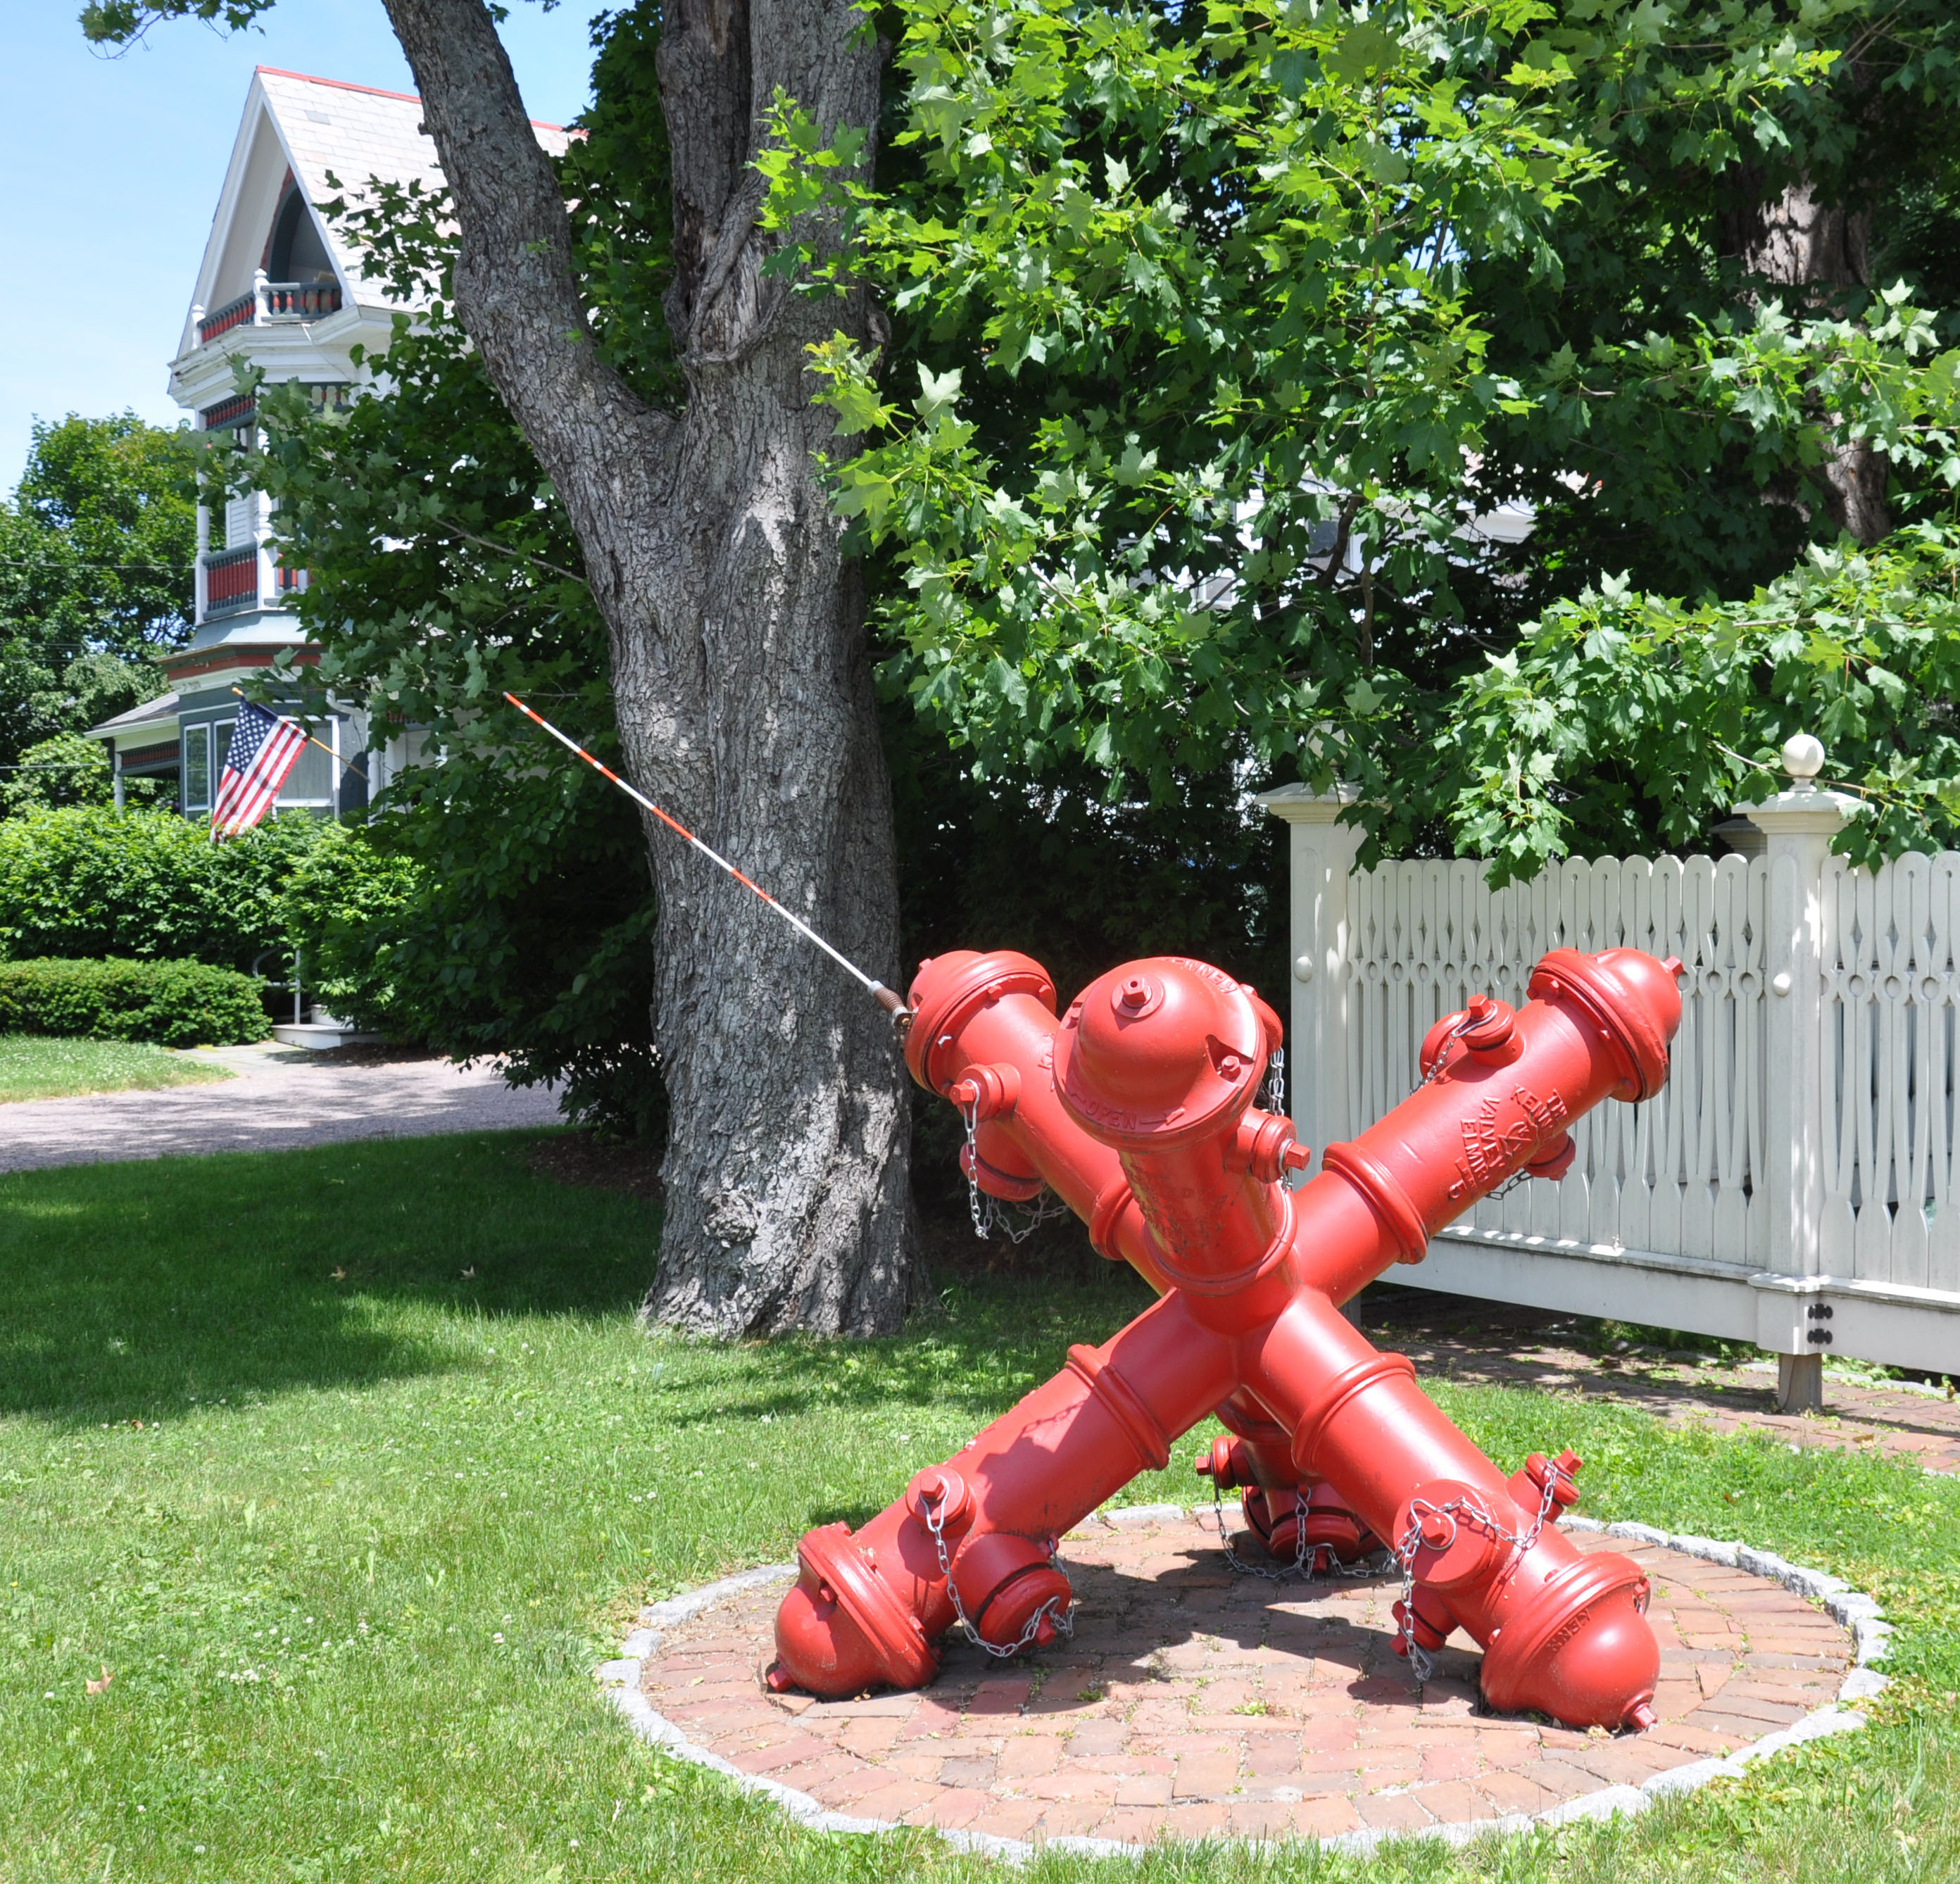
The more places we visited, the more hydrants I noticed. I must not be alone in this. At least one artist in Burlington, VT, pays attention to hydrants too.

HydrantSculpture-ShelburneVT-02

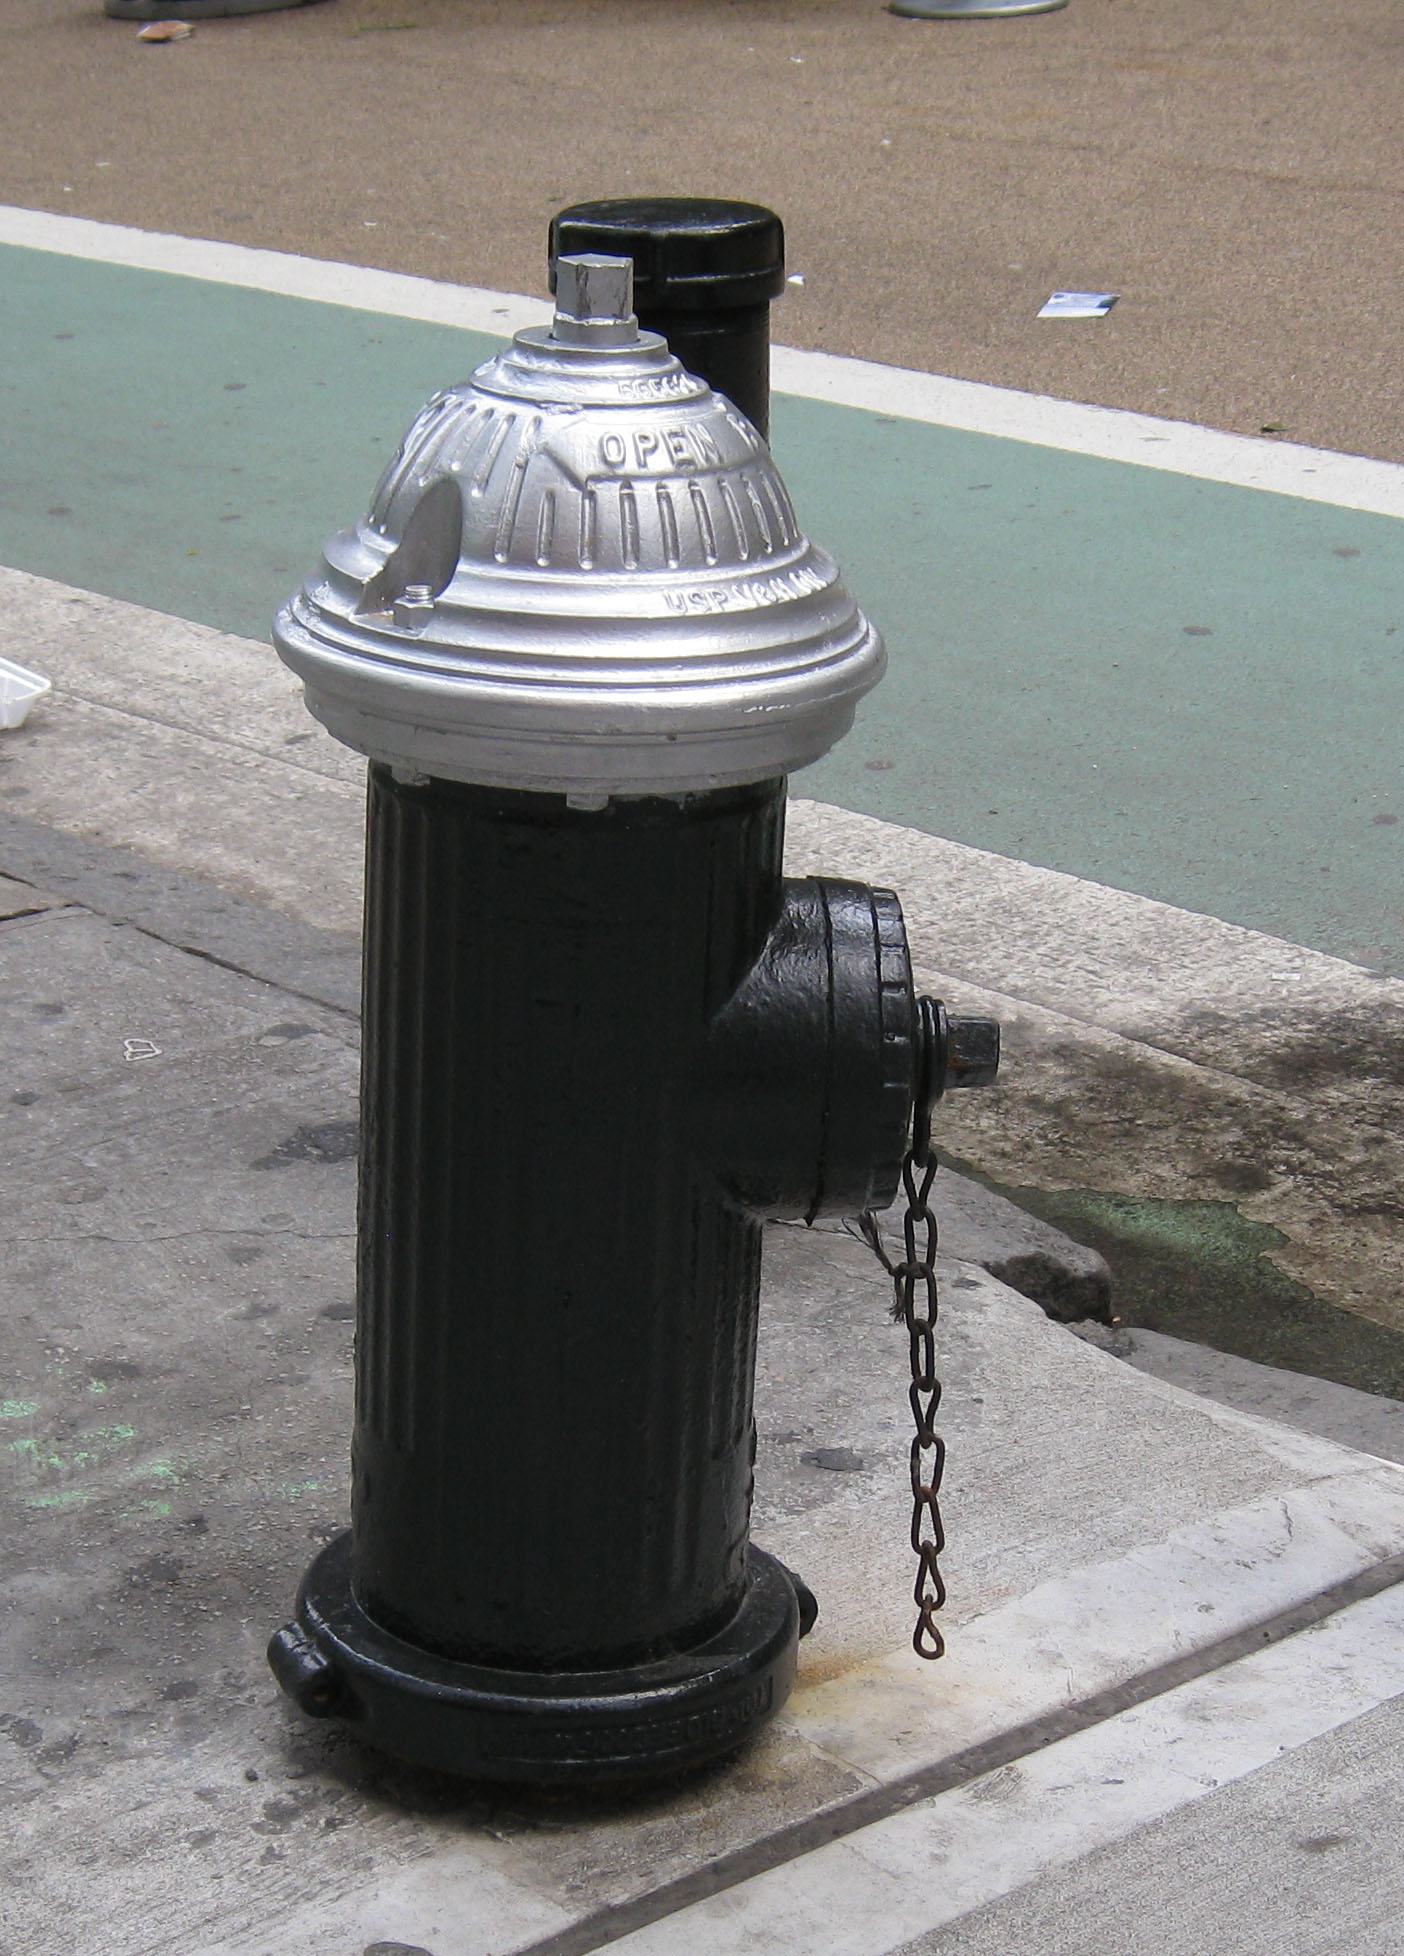
In NYC this hydrant wore basic black with silver accents.

Hydrant-NYC

This hydrant on the Johns Hopkins campus in Baltimore could use some paint – or ivy.

Hydrant-Hopkins

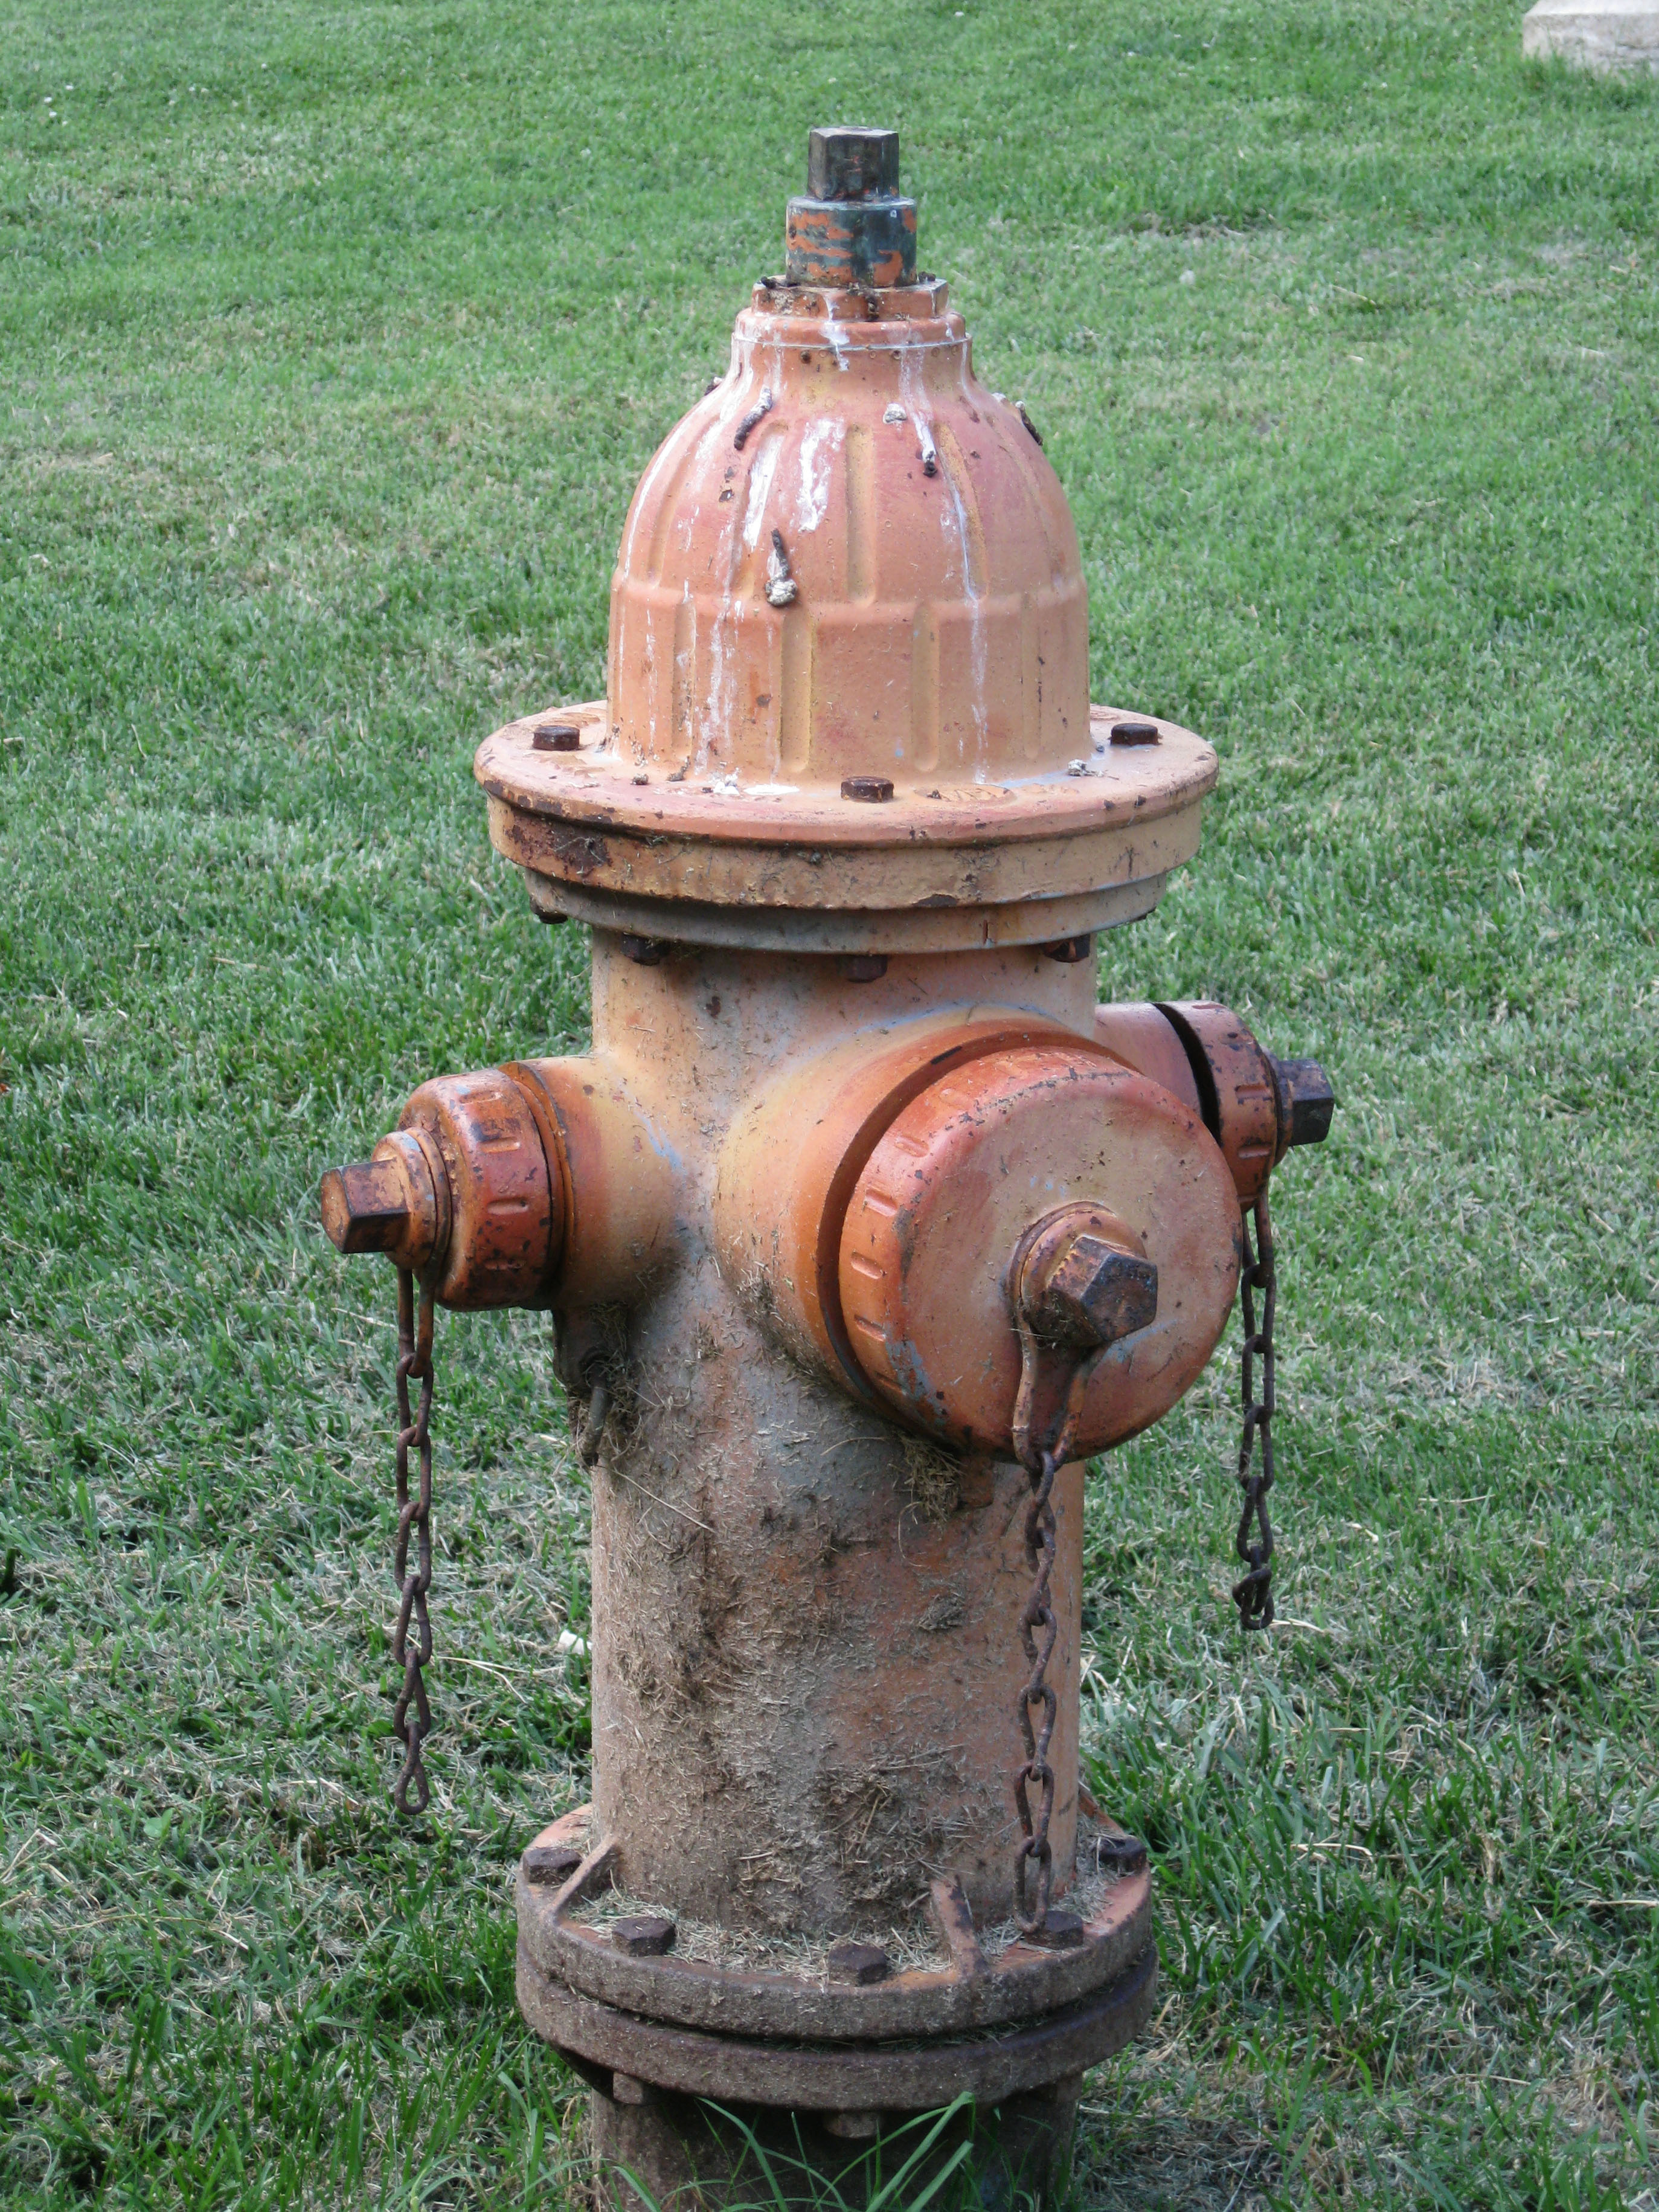
Last week in Knoxville I walked past this cheerful one every day. There was another one nearby that had a green top!

Hydrant-Knoxville

I tell people in my color lecture that it's really important to walk around with your eyes open and to pay attention to what you see. I pay attention to colors and color combinations, shapes, and textures that catch my eye.

What did I learn from these hydrants? Once I realized that all hydrants do not match the image that I have of them in my head, I saw them better. Using an unexpected color for an object in an applique quilt would make it more noticeable.

New news…

For more than a year our blog has resided on Blogspot. We have been happy with Blogspot – they are reliable and the service is free. It’s easy to love that combination. On the downside, I’ve had a bit more trouble customizing the way the blog looks than I would like to have had. It’s probably been user-error on my part but there you go. I decided a week ago to look at other options.

I found a new blog host that is easier for me to work in. I’m going to leave this blog, hosted by Blogspot, as it is right now. Our previous posts are here and will still be accessible.

So, without further ado, click here to go to our new blog!

It’s hot in Texas…

… which means it’s time to pull out the baby pool and the hose. It was 100 outside yesterday and we still had a great time. Jack surprised us when he started pouring water over his head – and it looks like he surprised himself too!

Enjoy the weekend!