The easy way to hang a quilt…

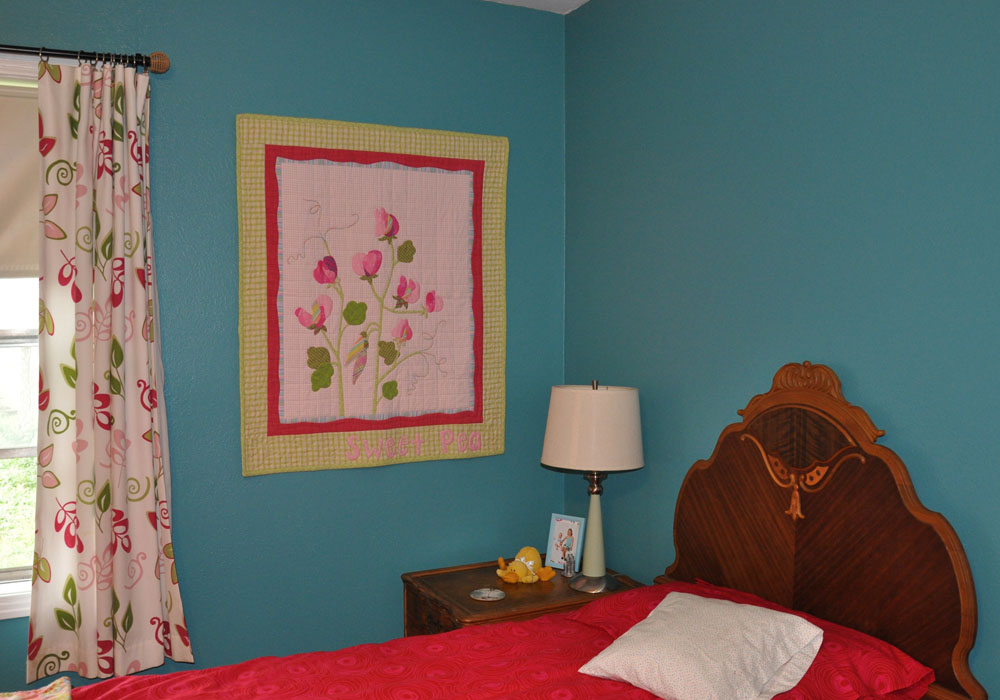
I am a minimalist when it comes to quilt hanging systems. I have used round extension rods (curtain rods) resting on big nails for a very long time. The problem with round rods is that they can sag in the middle if the quilt is heavy. Flat rods work best but they can fall forward when they rest on the nails. It finally occurred to me to drill a hole in each end of the flat rod!


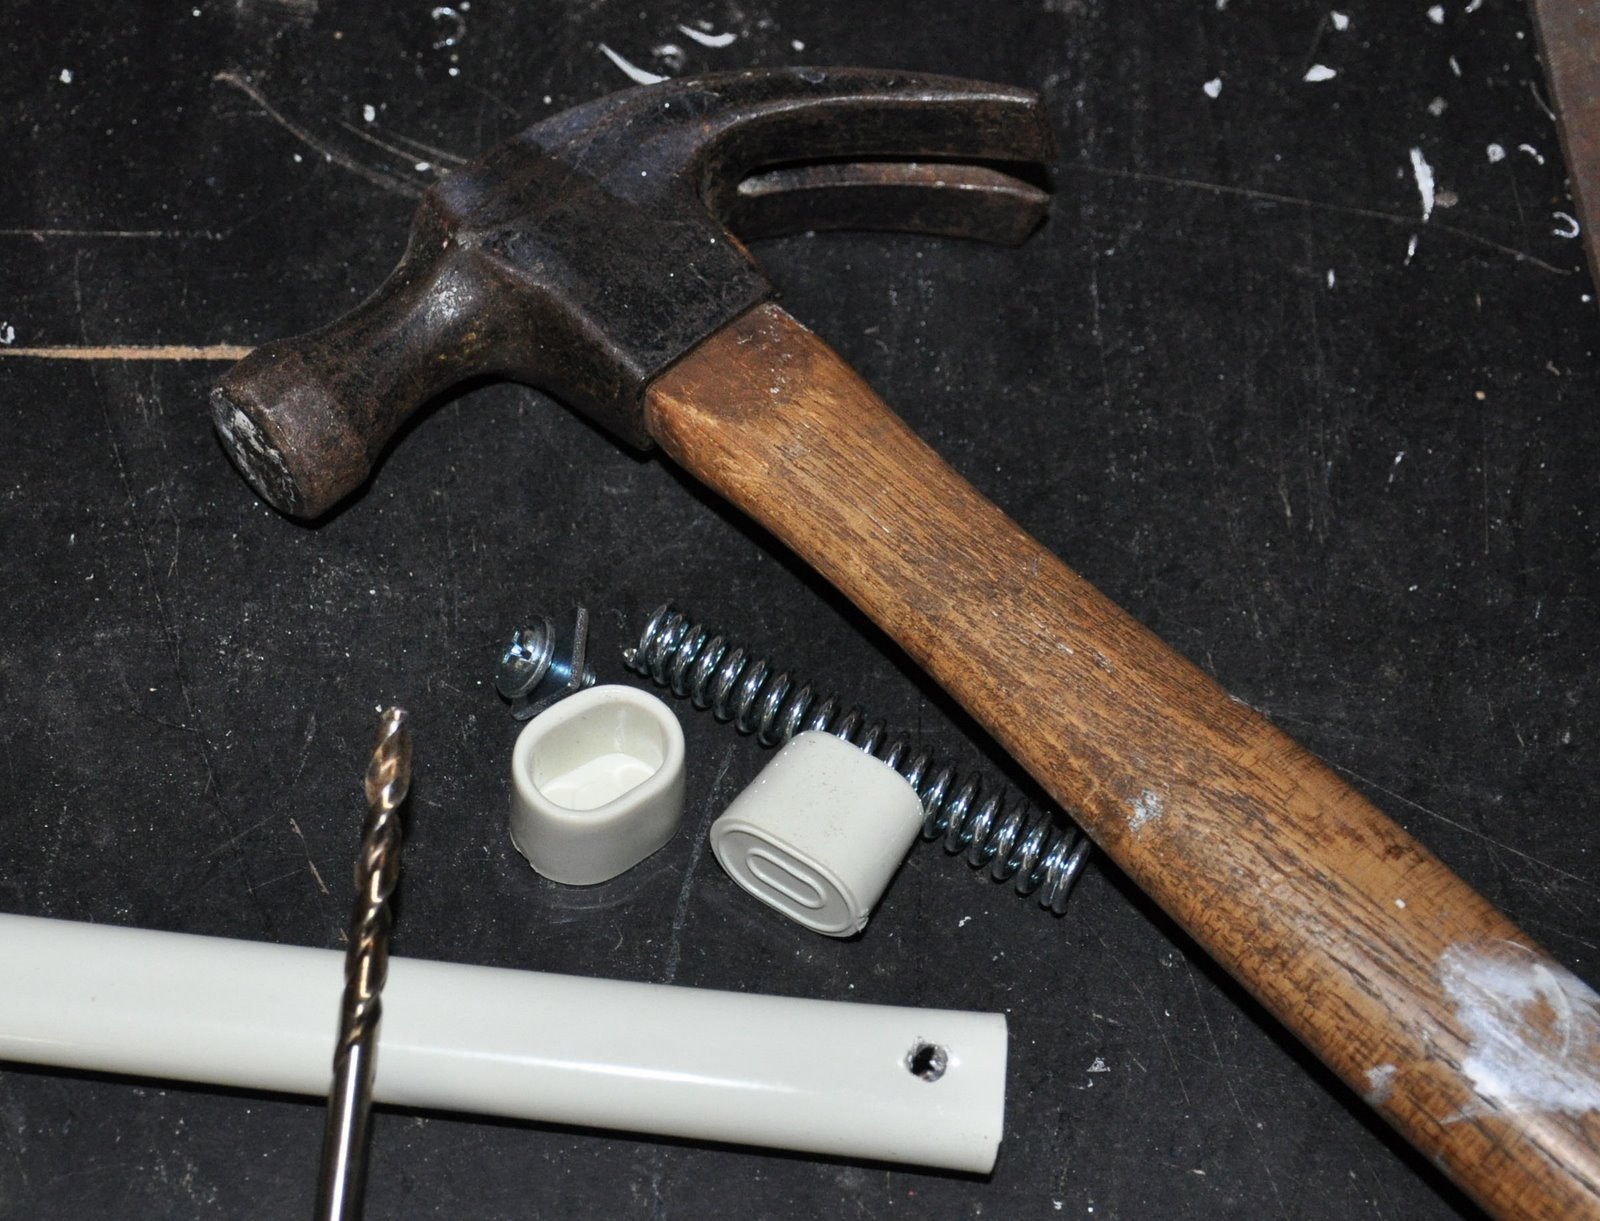
I used tension rods because, once you pull them out to the right length, they stay put (mostly). Use a drill bit that works on metal. If there are sharp edges around the newly drilled hole, file them down (or hammer the sharp edges).


A finish nail through the hole holds the rod in place.


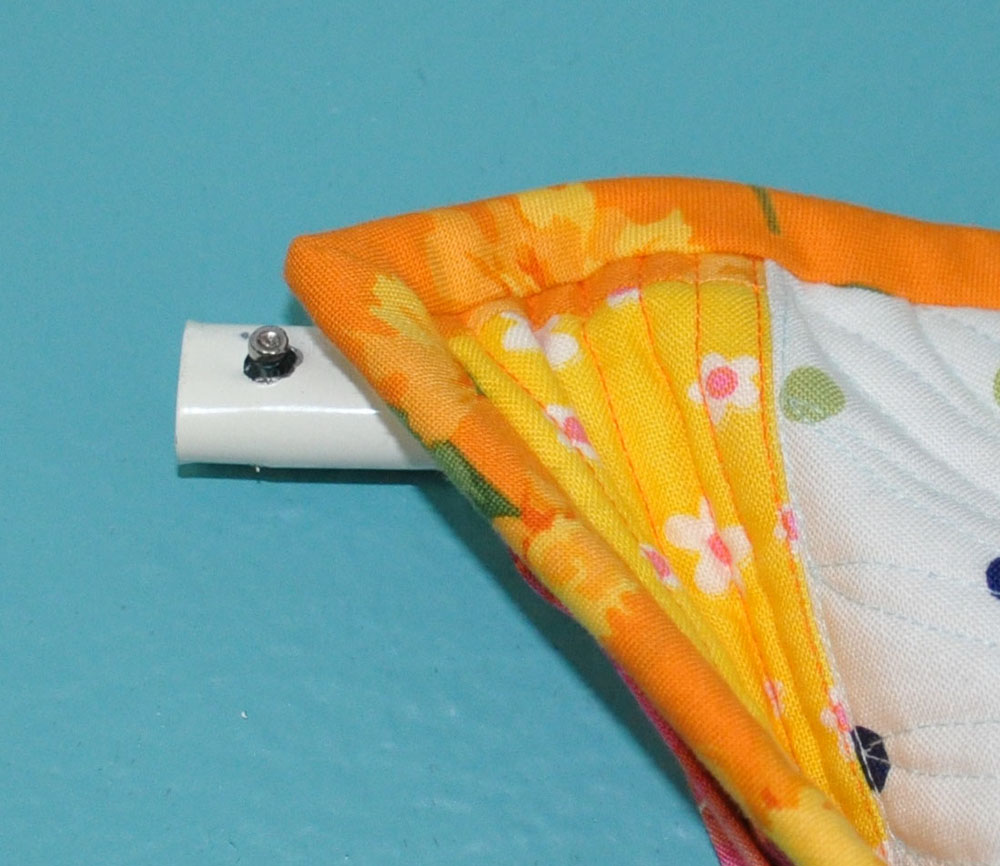
I make my quilt sleeves a little shorter than the quilt so that the ends of the rods and the nails don’t show.

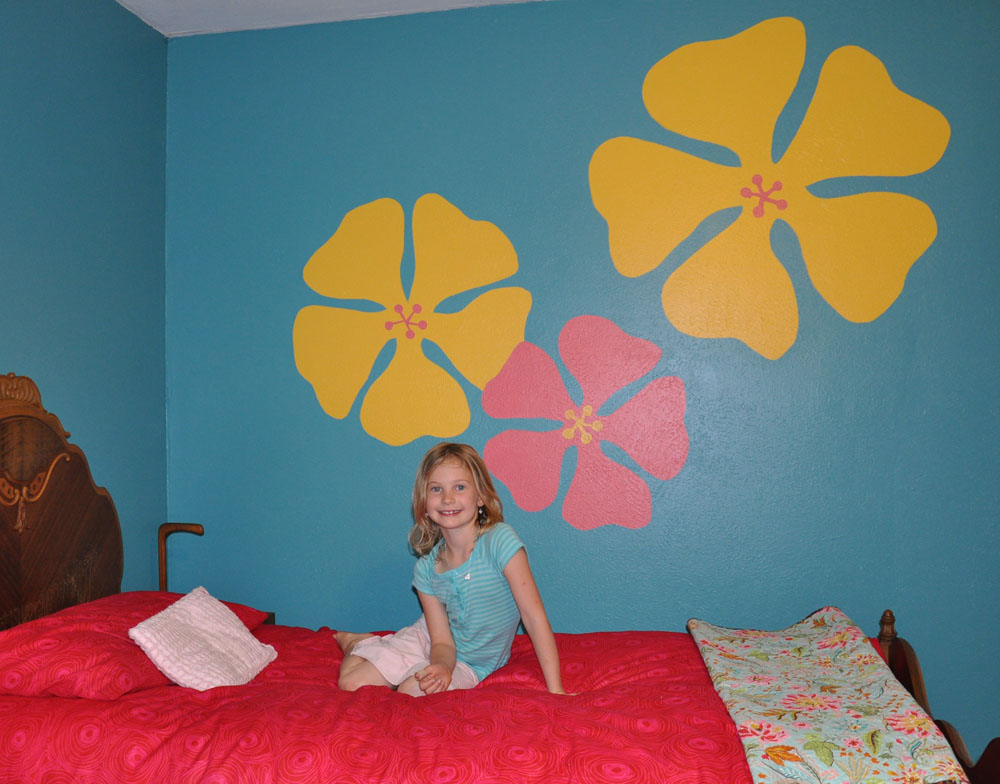
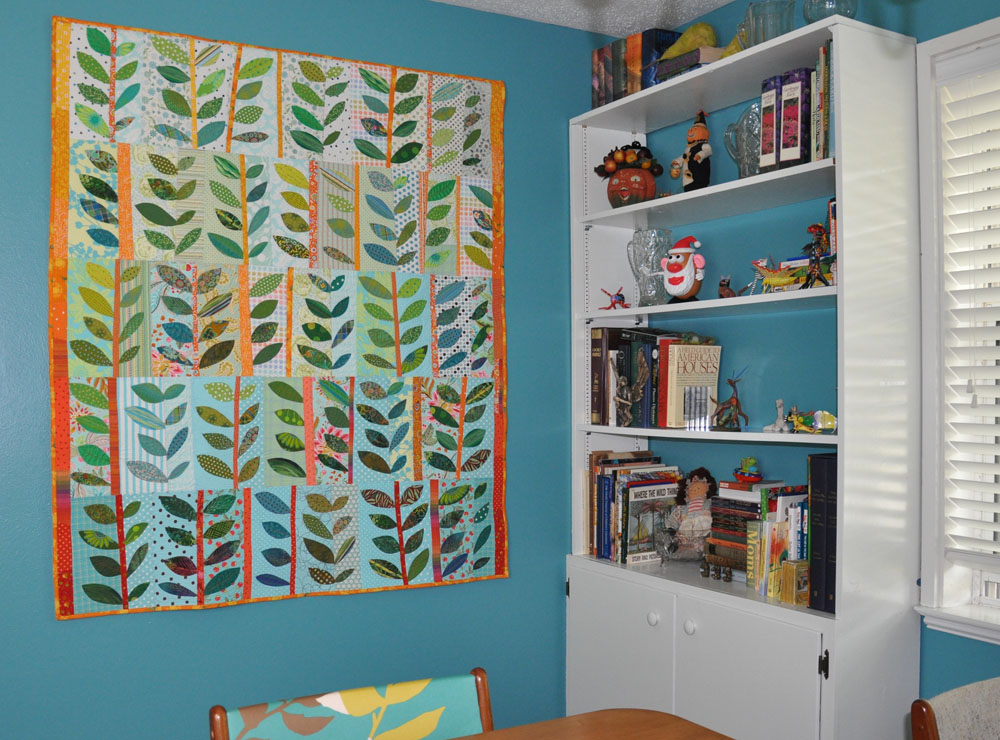
The quilt lays flat on the wall and the rectangular rod doesn’t sag!

Canning trees…

I worked in my yard 3 mornings last week. As I said in my last post, it’s been really wet here. We were in drought so I’m not complaining and neither are the plants. We don’t have grass any more – just plants and rocks and mulch. The mulch really helps to keep down the weed population but I still need to work 6-10 hours each spring and fall to get things under control.

We have a huge number of volunteer trees that come up in our yard. If I catch them when they are less that 6″ tall I can usually pull them up by hand. Taller than that and I have to cut them – but saplings cut down grow back. My friend, Laurie, shared her dad’s trick with me a couple of years ago. He “cans” little saplings.

These are my tree canning supplies – empty tin cans, small loppers, and a 4 lb. hammer. Cut the sapling off as close to ground level as you can. Turn a can upside-down on top of what remains of the tiny stump. Whammer the can as far as you can into the ground around the stump. It helps if you do this while the ground is soft.


It’s amazing – the saplings don’t come back! Over time the cans rust out and go away. Below is a can from last year.


A cool color tool…

Chuck Greens design blog, PagePlane, offers a wealth of information. Yesterday I found a link to The Color Scheme Designer that was created by Petr Stanicek. He’s from the Czech Republic, EU, and is a professional web designer and online application programmer. How cool is it that he’s made this fun tool available for free!

Click around on the Color Scheme Designer. The little circles at the top, left, let you choose different kinds of color schemes. You can move the dots on the color wheel to change the schemes you get. Honestly, you could lose all day playing with this.

Elanor’s bedroom…

For Easter, instead of buying more “stuff” for her, I asked Elanor if she wanted me to help her redecorate her bedroom. She thought that was a great idea. Elanor loved the color I used in my dining room so that’s what we used.

She uses an antique bedroom set that I got from my grandmother in her room. It’s pretty! The Sweet Pea quilt, from our book Curl Up Quilts, is hanging on her wall. The curtains from her “old” bedroom work well in this new room.

I painted these fun flowers on one wall. The new duvet covers (and quilts at the end of each bed) help to pull it all together. Elanor likes her new room so much that she’s keeping it neat and tidy – which makes her Nana (and her parents) very happy.

Happy plants…

Isn’t this an interesting flower? I especially like the pattern on the part of the flower beneath the petals. I think this flower was labeled as a pincushion flower when I bought it last year.

This flower looks a lot like a thistle. There are problems here with wild thistles running wild in the landscape, choking out native plants. But this one appears to be OK – it’s not spreading from seed (yet).

Just because they’re pretty…

Many of my early spring flowers are purple. This is a clematis that stubbornly comes back every year. I’m thankful for that.

I grow a lot of lavender. The individual flowers are not showy but the bees love it!