Show and Tell… Welcome to the North Pole

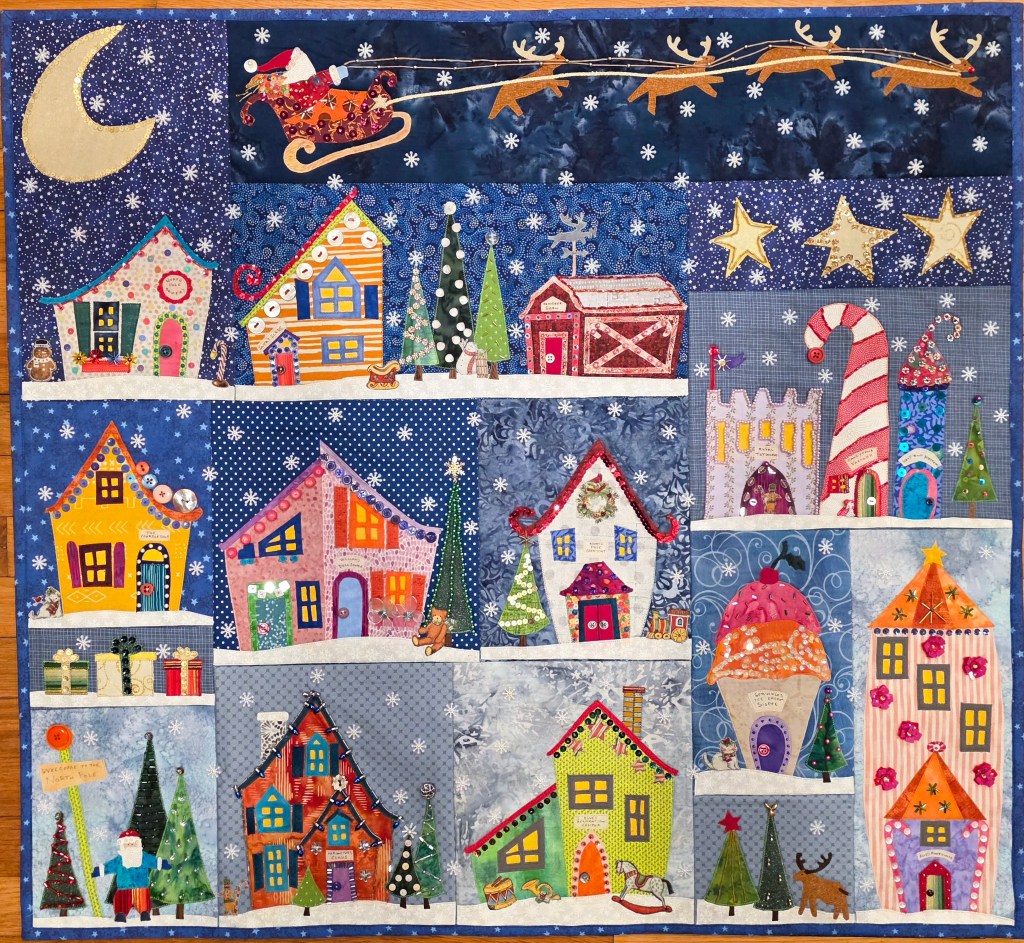
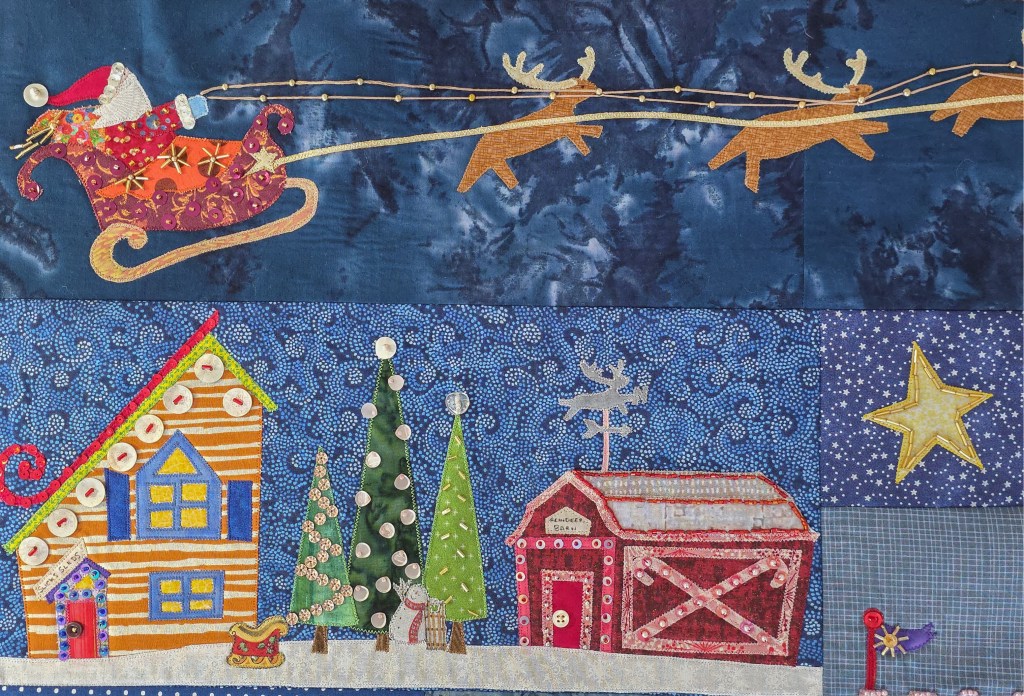
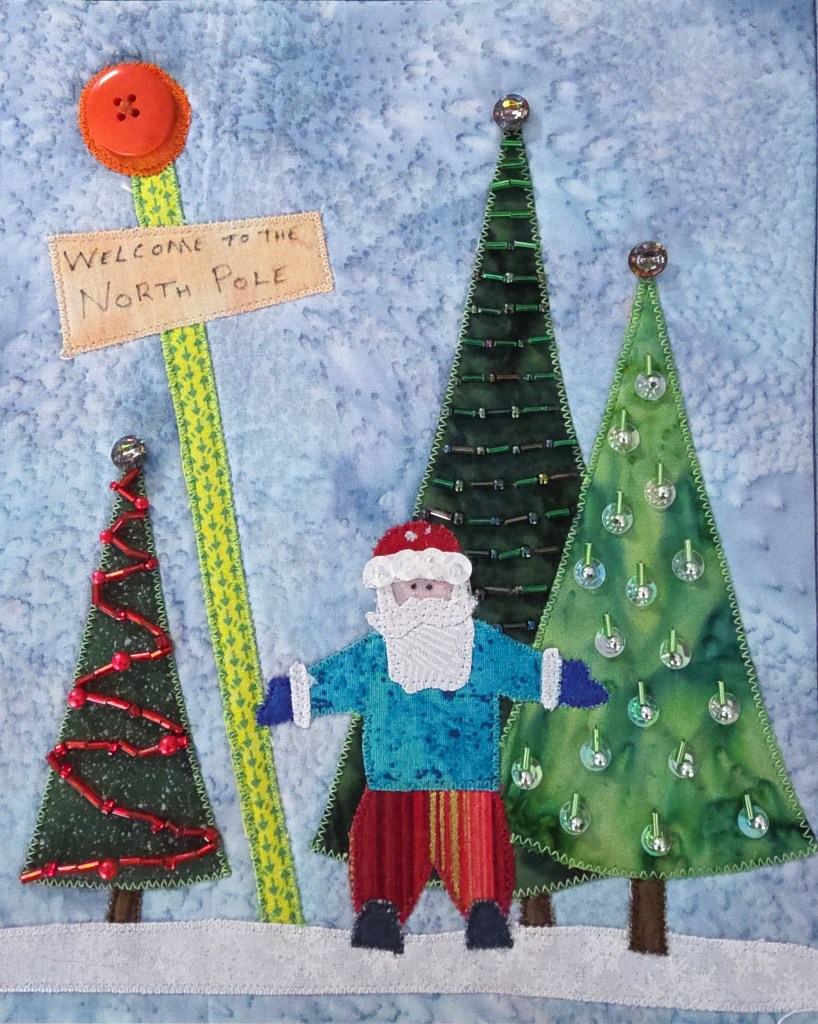
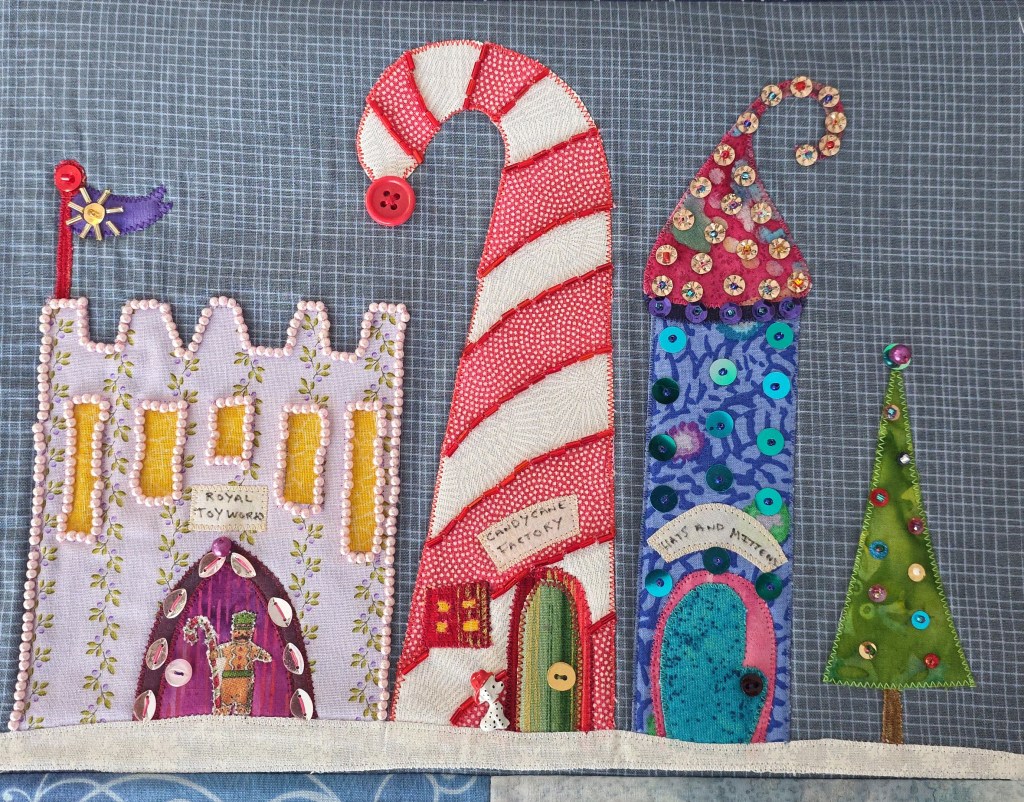
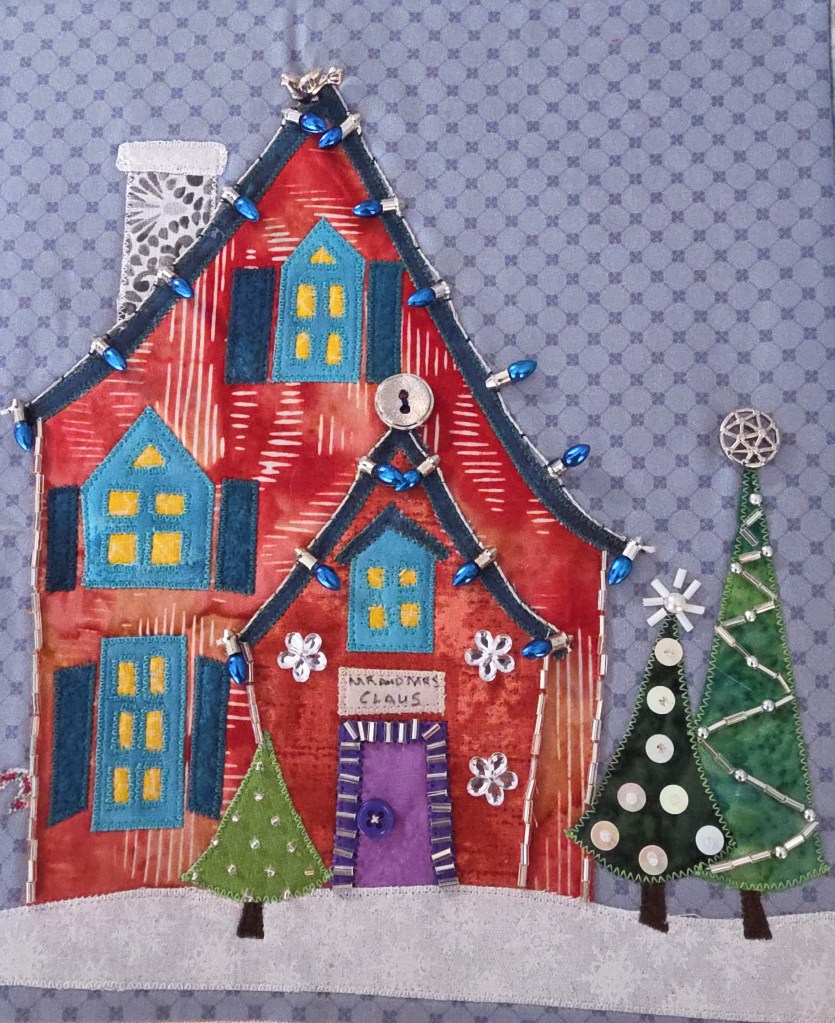
Irina Stiop sent me some pictures from her Welcome to the North Pole quilt. I’m pretty sure you will want to see all of them, but let’s start here because Irina changed the positions of the blocks to make a quilt that is more horizontal than it is square. This fits her space better. Well done, Irina!

Notice that the moon is rising in the upper left and the top backgrounds are darker. This sets the stage nicely for a night flight by Santa Claus…

Irina wrote:

I used Autocad to rearrange the layout of the quilt to accommodate my horizontal space, some dimensions had to be slightly changed.

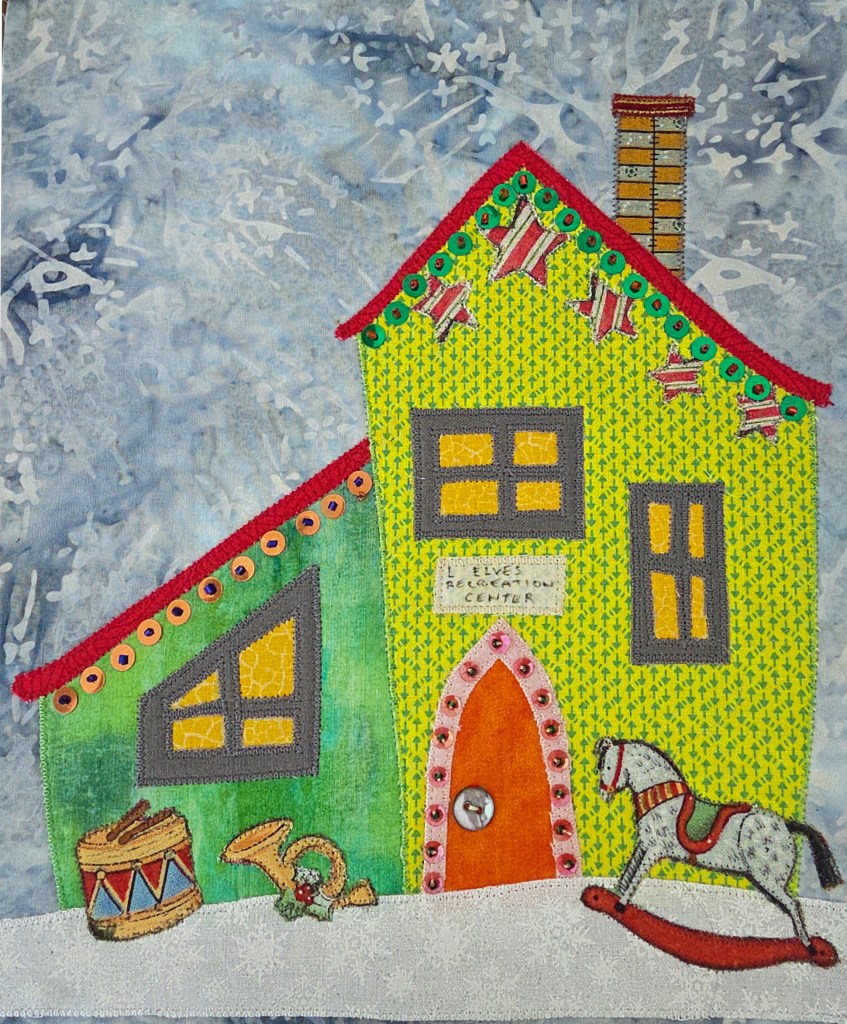
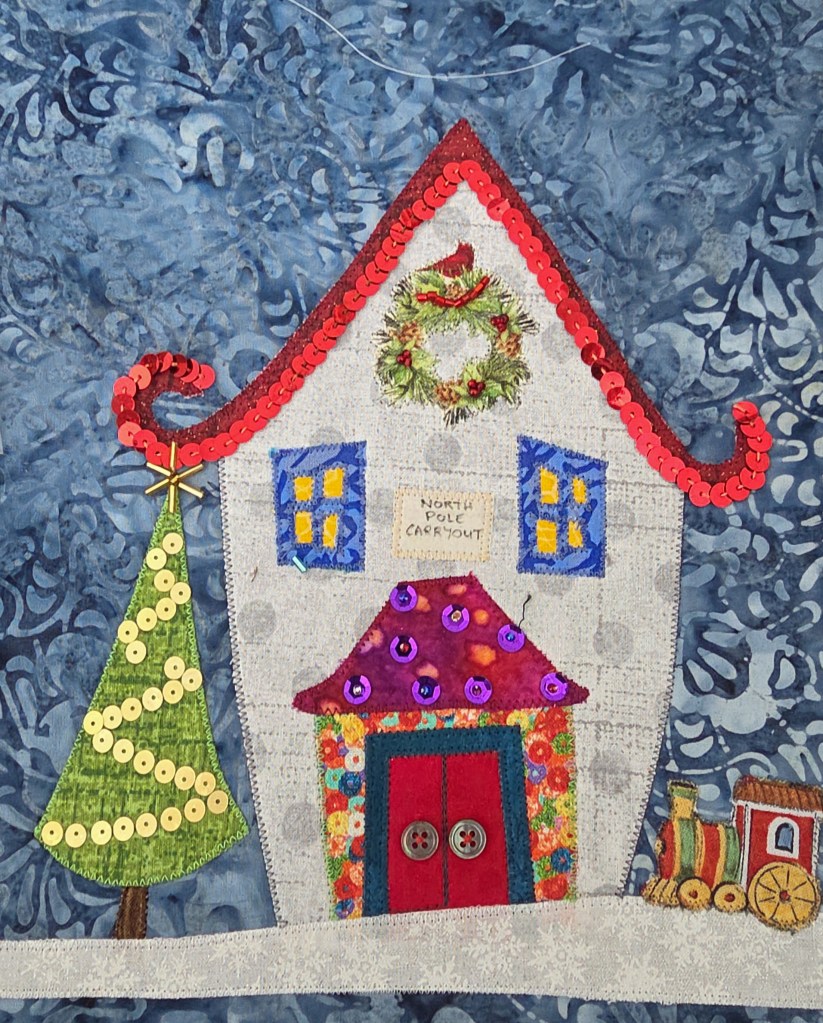
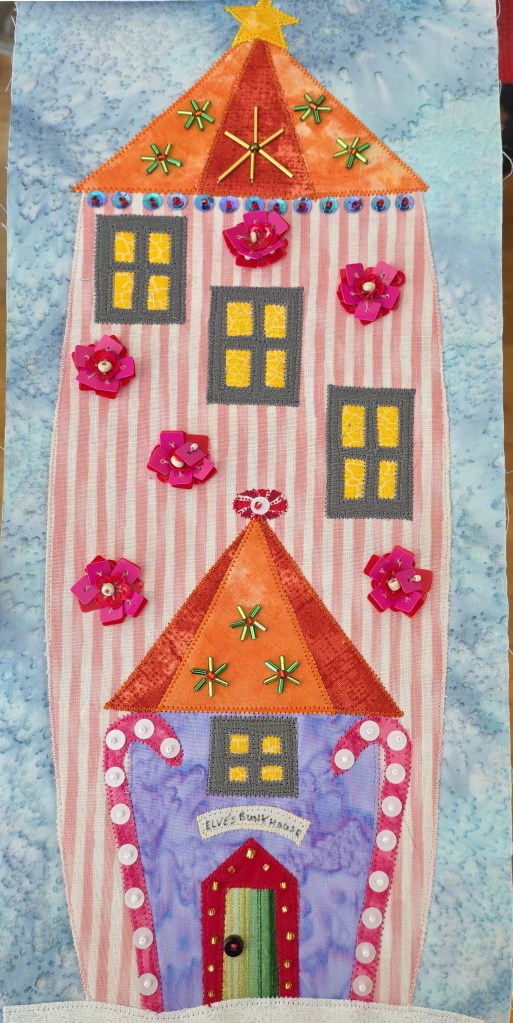
I used a raw edge applique as my method, and fusible fleece instead of batting, because it was intended as a wall hanging. I used small zigzag to attach the pieces and changed the thread according to the colors. I then embellished every block separately, and probably got carried away, but that’s ok.

I put the blocks together, added the one piece backing and stitched in the ditch. At this point a more skilled person would do FMQ around the houses, but since Im yet to master that skill, I’ve decided to add more bling in form of pearly snowflakes, which I use to tackle down the fabric

Irina made many good choices.

  • The layout of the blocks is very pleasing—I’ve not seen this before in all the years people have been making this quilt!
  • The fleece batting should support the weight of the many hard embellishments without sagging. It would be hard to quilt around all these embellishments (whether by hand or machine) so it was good that she decided against that from the beginning. (FYI: you can quilt first, then add hard embellishments.)
  • And the distribution of the snowflakes feels right. It can be hard to do that and make it feel balanced and random.

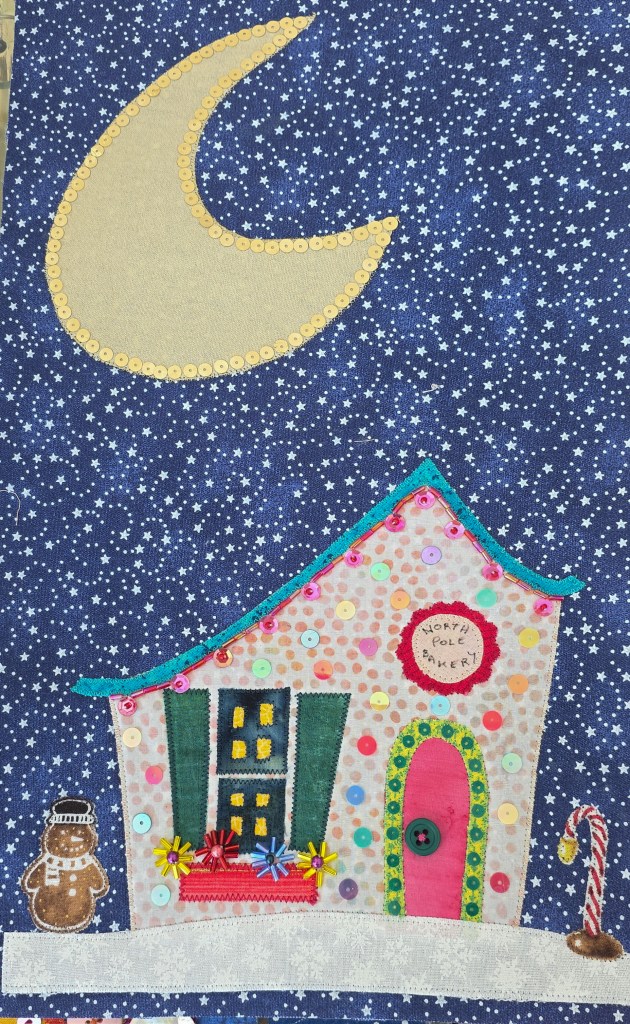
Thank you, Irina, for sharing your quilt with us! Scroll down to see the blocks in detail.

If you would like to make this quilt, click here to find the pattern.

Steve’s Birds Show & Tell…

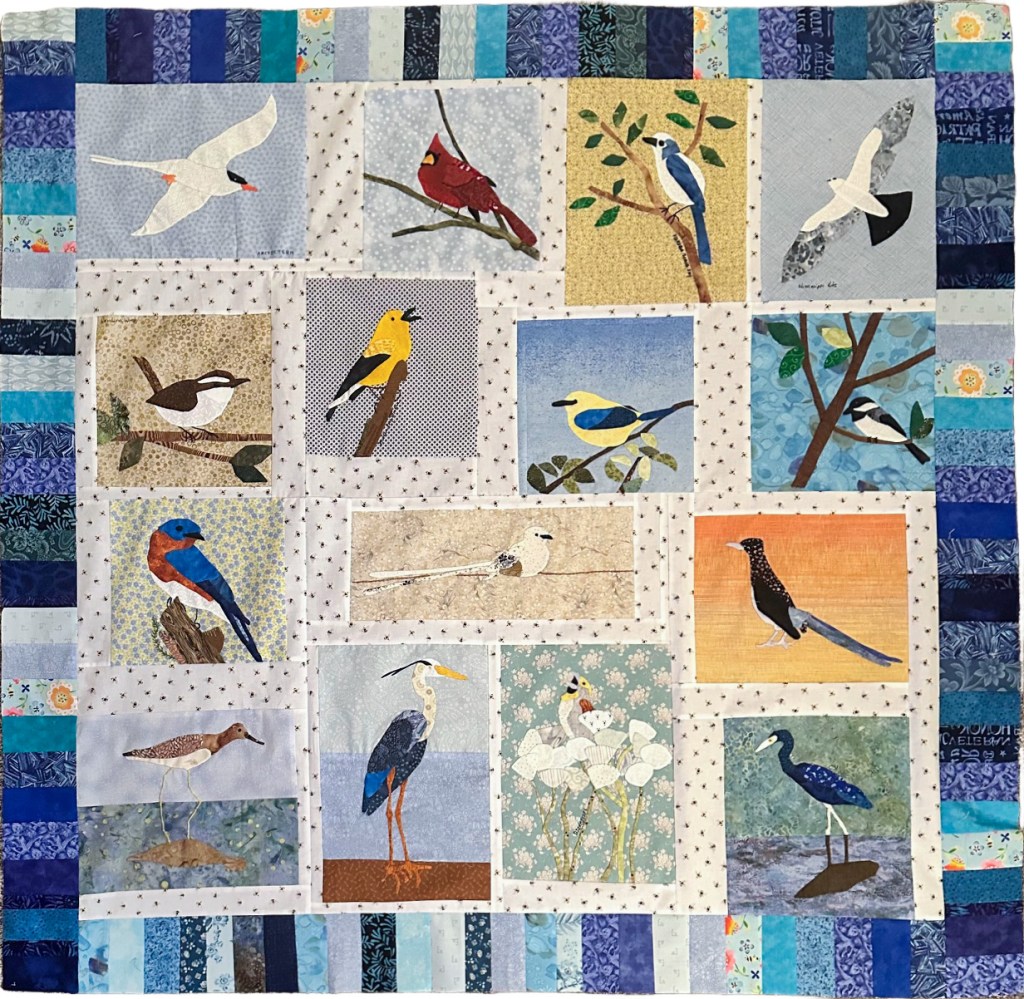
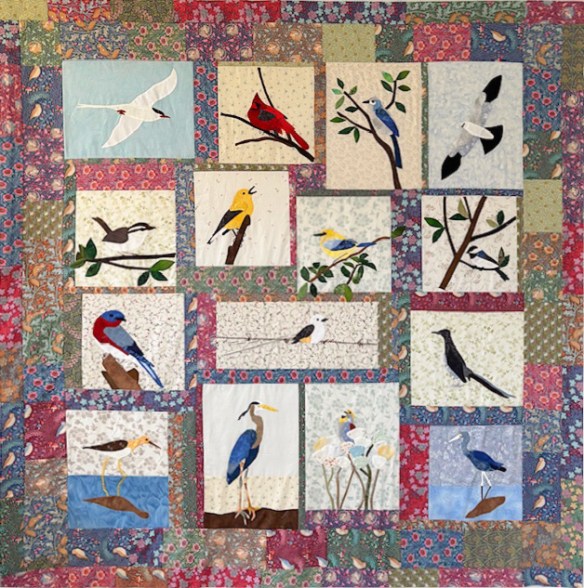
Marie Szlachtianshyn sent this photo of her Steve’s Birds quilt top. She says she wants to add a little more applique and then quilt it but I thought you would like to see it now :-).

I like the light sashing and the pieced outer borders… very nice! Thank you, Marie, for sharing your progress! I look forward to seeing this quilt when it’s all done :-).

Steve’s Birds, Show and tell…

Barbara Hotelling sent the photo of her Steve’s Birds quilt top and I want to share it with you all because her birds are just wonderful!

Wanda wrote: I learned a lot while doing this project. I did the smaller version/size of the pattern and many of the pieces were quite small. I really didn’t believe I had the skills to do the appliqué. I don’t think I could have done it without your Appliqué Mastery class and your various u-tube videos. I’ve come to enjoy needle turn appliqué, even though I am extremely slow!  That’s ok – it’s the process, right?  Anyway, while this is far from perfect I am happy with the result.  I just started hand quilting, so it will be a while before the quilt is complete.  I am certainly enjoying the project.  Thanks for everything you do!

Thank you, Wanda, for your kind words and for sharing your quilt! I hope you enjoy hand quilting it and I look forward to seeing it then too. May you have many happy stitches!

Aunt Millie’s Floral Cabins, Show and Tell…

Floral Cabins is the Peace River Quilt Guild 2027 Opportunity Quilt. Learn more about this wonderful quilt below…

This quilt top was donated to our Guild by the husband of former Guild member Connie Deckenbach, after she passed away. Connie had completed the center Log Cabin but the wide borders were unfinished.

Linda Macklin found the perfect pattern for the border & purchased “Aunt Millie’s Garden” by Becky Goldsmith and Linda Jenkins. Once the written permission from Becky Goldsmith, arrived allowing us to use the border pattern Linda, along with JoAnn Burtscher, Pat Moore and Jane Schurr donated all the bright batiks and hand appliquéd the border.

Guild Member Robin Kinley quilted the quilt and Pat Moore did the binding. The label was the finishing touch made by Pam Hunt.

This quilt was entered into the PRQG’s 2025 quilt show and won First Place in the Collaborative Category.

I’m sure Connie is smiling down on her friends and I know whoever wins this opportunity quilt will love and treasure it. Thank you, Linda, for sharing it with us!

Looking ahead to the 2025 BOM

My quilts begin with an idea, then sketches. What you see below is the final sketch before I moved it to the computer.

This new quilt is going on my bed. Steve’s Birds, the current 2024 BOM, is for Steve’s bed. (Yes, we sleep in different rooms because—snoring 🤣. In our case, a good night’s sleep leads to a very happy marriage.)

The new BOM patterns will be available on their own, in January 2025. The downloadable patterns will not come with fabric—you can use any fabric that suits you. However, I am doing my best to make it easy for you to color your quilt like mine, if you want to.

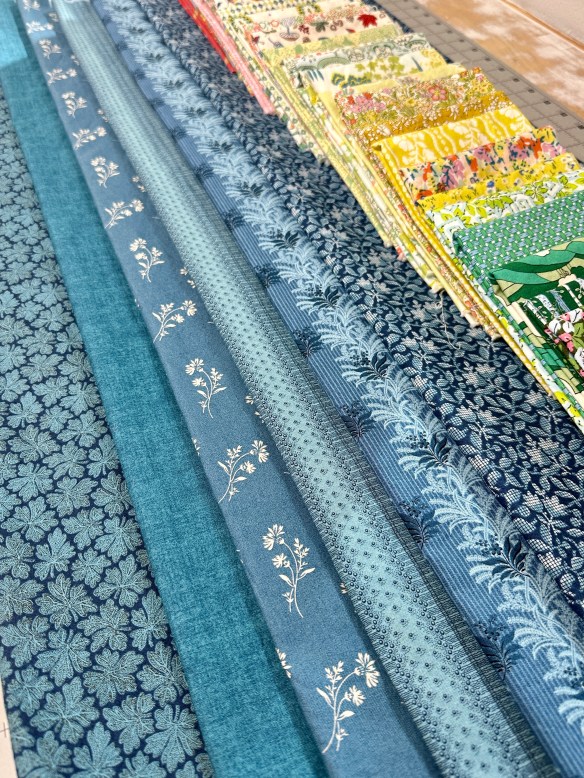
I am using medium blue backgrounds cut from a variety of Laundry Basket fabrics. This is what I have so far, there may be more. We will offer a kit with similar background fabrics, in a few months, for those who want it.

I am going to use many Liberty of London quilting weight cotton prints in my applique. The prints are iconic, the colors make me smile. I have started gathering fat quarters, but it takes time. You have to get the fabric when it is available and it sells out fast. Some fabric that we have on order won’t be released until next year. Patience is a hard virtue 🤣.

Knowing that some of you will also want to start building a palette of fabric, we are offering a Liberty Stash Building Club that will start soon. If you are interested, please get on the Waiting List. There are a limited number of slots and being on the Waiting List does not guarantee a spot—but you will get an email when it’s time to really sign up.

You don’t have to save this fabric for the 2025 BOM—you can use it for other projects. In fact, you will have Liberty left over after the BOM to use in other projects.

I need to start my quilt soon and will probably have to supplement with other fabric from my stash. Happily, Liberty plays well with other fabrics ☺️.

My color class…

After The Quilter’s Practical Guide To Color was published, people asked me to teach a class on color. I’ve been teaching this class for about a year and, judging from student responses, it is one of my very best classes.

This is a no-sew class. Students come with 4″ squares of white paper and 4″ squares of fabric in a variety of colors and values. I begin with a mini-version of my color lecture and then show how I organize fabric for a project. Students organize their own fabric squares and then the fun begins!

I choose a block from  The New Quick & Easy Block Tool and a color combo and everyone quickly mocks up 4 blocks. ‘Quickly’ is key. Thinking too much about color choices can stop a project from ever happening and it’s important to learn to trust your instincts.

Once glued, we put the blocks together on a table. They are flat and it’s hard to see a pattern, so I use my phone to take a photo. It’s always fun to hear the gasp as everyone sees the pattern emerge on the screen.

These photos are from a color class taught at Happiness Is… Quilting in McKinney, TX.

IMG_9726

Grandmother’s Choice Block

Everyone is working from the fabric they brought and it’s a stretch to imagine using them together in a quilt, but it is surprising how well the blocks come together.

We change the layout and take more photos:

Each individual knows what they like and what they don’t. We talk about why some colors/values/settings work better than others. My goal is to empower each student, to make color their friend and ally.

Here is the Homeward Bound block in complimentary reds and greens:

This slideshow requires JavaScript.

It’s fun to put different blocks together, just to see what happens.


This was a 6-hour class, so there was time to mock up several blocks. As the day went on, everyone loosened up and color decisions come quicker and with more confidence.

This slideshow requires JavaScript.

I love this class because quilters who begin the day nervous, leave knowing that color is their friend. Trust me when I tell you that color is your friend too!

PS: If you are a shop or guild and would like to have me come teach, email me. I’m usually booking about 2 years out.