I shared the Flutterbye Butterflies pattern with Margery Tadder, an internet friend, a while ago. I asked her to keep it a secret until the book was closer to release. The book, 100 Whimsical Applique Designs, is available now for presale so it is time to share Margery’s Butterflies :-). I love it so much!
At long last, I’m sending a picture of my butterflies using your lovely Flutterbye pattern. I’ll be 93 December 1st and compared to some of my contemporaries, am doing wondrously well. After surviving a long bout of pneumonia and slowly regaining energy, am back out and about and grateful for it! I used the butterflies for a pillow. Am really happy how they turned out after a couple false starts.
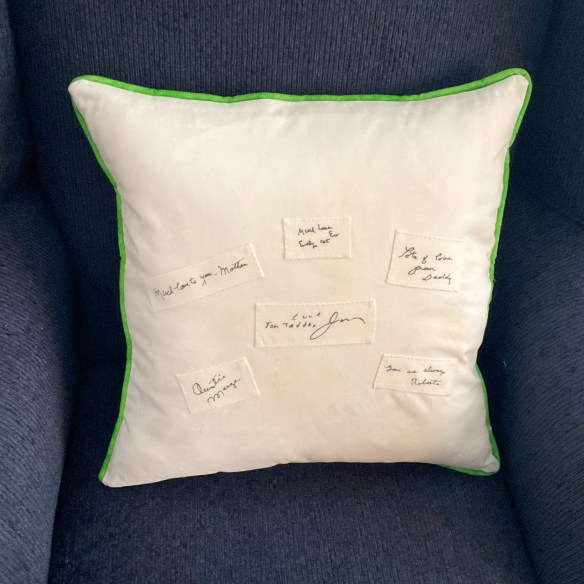
Over the years I have saved family signatures thinking to use them in a quilt. It never happened but on the pillow back will trace the names of those who have passed away. It will be the perfect place.
This is my finished(yay!) Flutterbye pillow and also one of the back although it didn’t turn out as I had hoped. My plan was to scatter a number of signatures in a freeform way, but about went out of my tree trying to trace them so they didn’t look like a jumbled mess! After wasting a couple pieces of fabric, got serious and did a few the easiest way possible!
Love the butterflies and tulips and they are such pretty and cheery spot on this cold and snowy day! But what’s not to love about this darling pattern?! The pillow does need to be stuffed again as this form is too loose. You probably know the story…the Navajo women purposely make a mistake in their weavings so the gods won’t be angry because only the gods are allowed to be perfect. I tell you, if there are any Navajo gods looking down on my pillow they definitely aren’t mad! haha.
Thank you many times again, Becky, for your generosity and kindness, and Best Wishes to you and your family for a very Happy Thanksgiving!
Margery, thank you for sharing your pillow and the story to go with it. I think the signatures on the pillow back are perfect as they are and I’m not entirely sure that it needs more stuffing—but that is your call :-). I hope you keep right on stitching because it does bring joy, both in the doing and the finishing!
Kathi Dineen sent me the story that goes with these 7 wonderful quilts…
I have a Hand Appliquetion class every month. Last December I asked the ladies to bring a Christmas project—quilt table runner—pillow etc. I brought my Slice of Christmas quilt and all fell into “let’s do, it”
Here you go 7 quilts finished this year!! Thank you for all you do-love your work!!
Kathi at The Quilt Works, Albuquerque
Linda and Kathi
I love every one of these quilts! And how fun is it to see how different they are from each other :-).
Lorna has been making sequin ball ornaments using the Sequin Ball Kit at pieceocake.com and she wanted to share the story. Here’s Lorna…
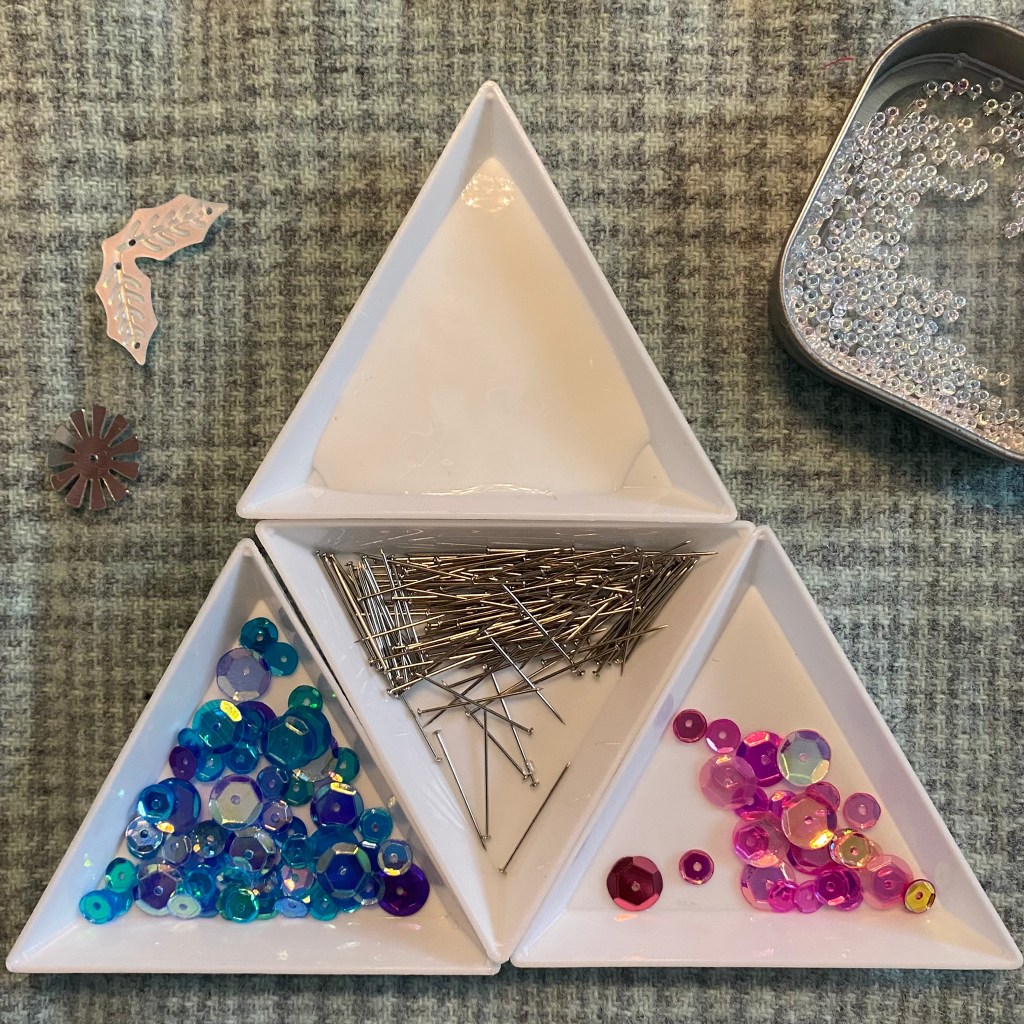
I had an idea to use wool like Becky did (video at bottom), but vertically, and it was honestly easier than I thought it would be. I cut 1/2″ wool strips about 4-1/2″ long (you can always trim, so don’t stress) with a rotary cutter and I set up my work space.
Somewhere in the middle of making the ball, I realized that I forgot to poke a hole through the center of the ball for the wire. I’m going to add that later, after I find a skewer to poke through.
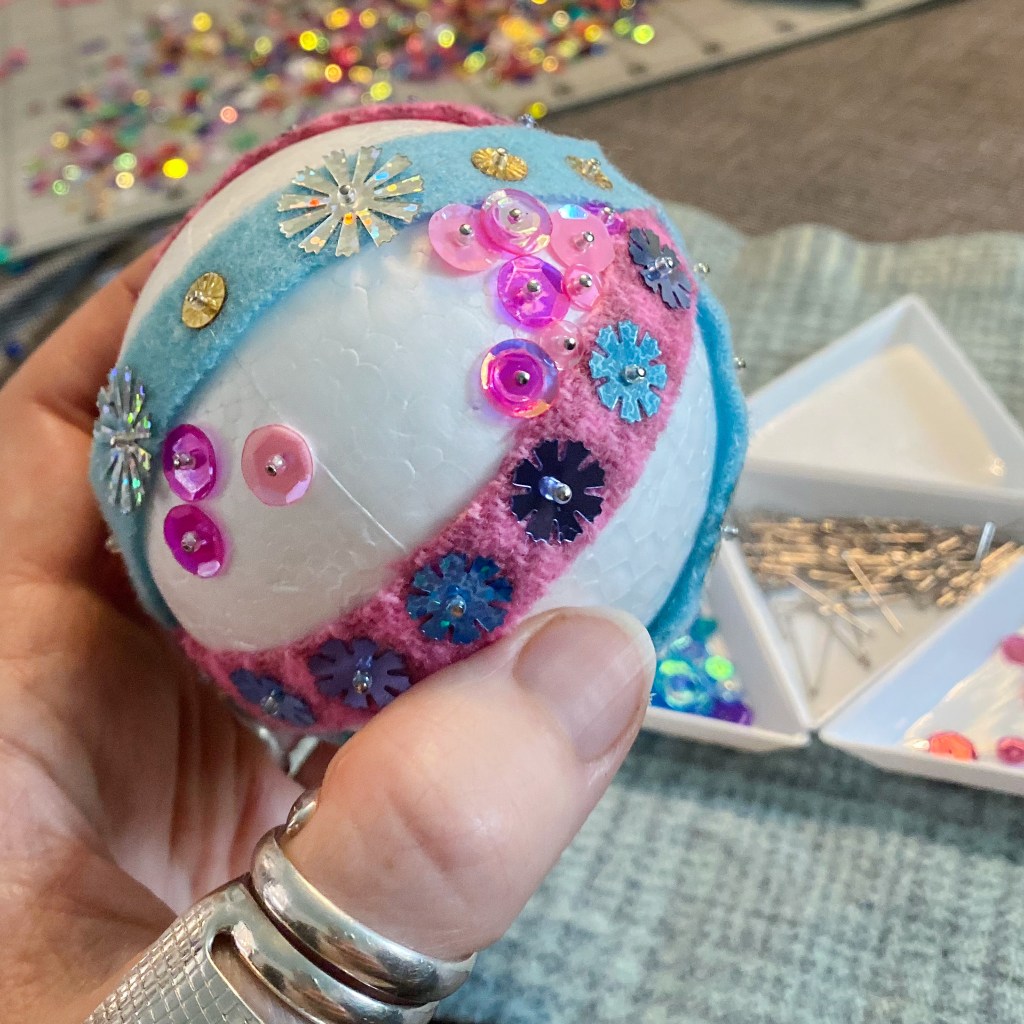
I started with the blue strips. The foam balls have a little mark on the top and the bottom, and a faint line around the middle, again making this easy. I loaded my pin with the bead and sequin, used the tip of the pin to put a little glue at the top (or bottom) of the ball, added the wool on the glue, dipped the tip of the pin in the glue again and then stuck it through the wool into the ball to secure it. Then I did the same at the bottom (or top), and here is where you can trim if your wool strip is too long.
Then it was just the regular process of loading the pin with the bead and the sequin and the glue, but through the wool into the ball. I did the same with the other two blue wool strips.
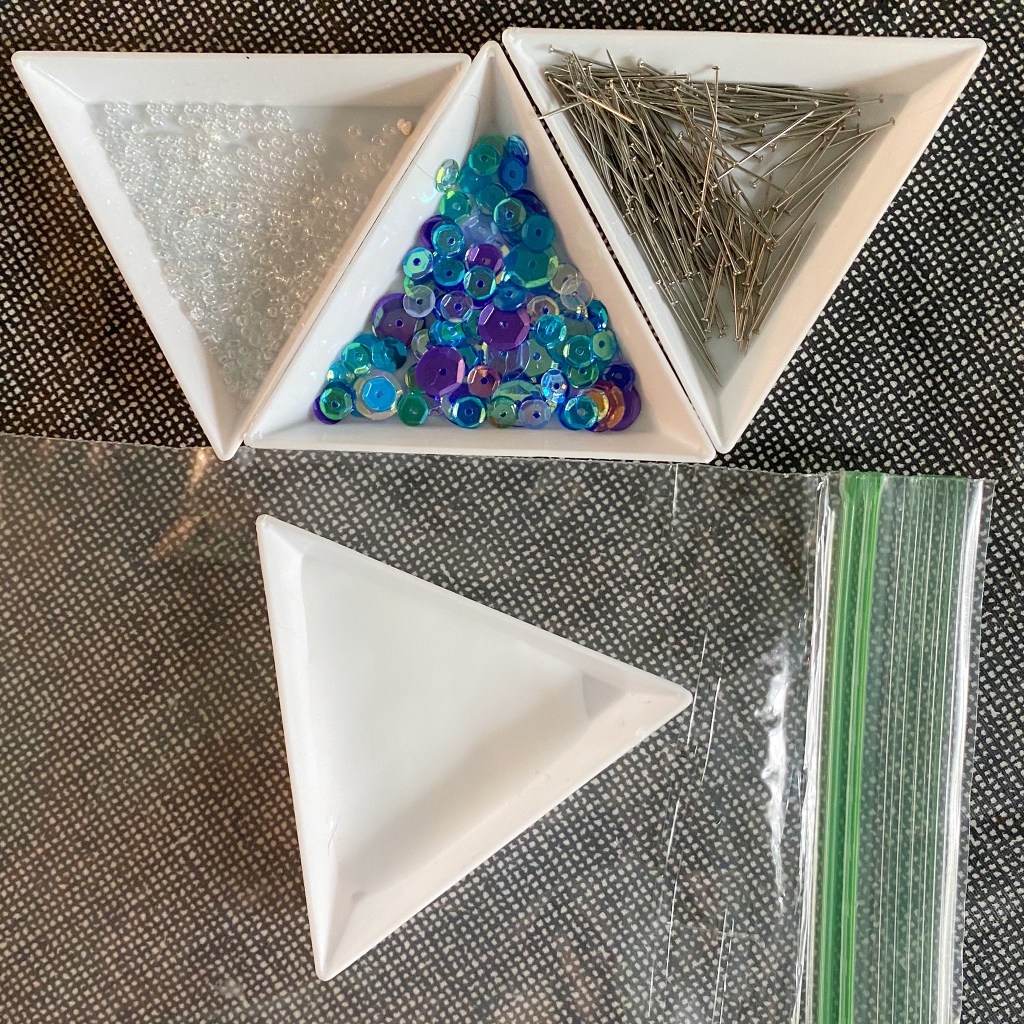
I trimmed the pink wool strips so they would kind of fit in, and did the same process with those three. At that point I had created 6 small empty sections and I sorted out pink and blue sequins into my trays. Then it was just the normal process as described in the video.
I haven’t filled in the blue wedges yet, but the pink are done. Overnight, I put my bead tray with glue into a plastic sandwich baggy to keep the glue from drying, and it worked just fine.
I liked the 1/4″ strips with the little stars, and if I had it to do again, I’d play more with the wool. In fact, I’m already thinking about what my next ball will be like. It might be a rainbow! We talk about wool applique being fast, but wool makes this super fast, too. The more wool you use, the faster it goes. And it’s pretty!
If you don’t already have wool scraps, Tracy Trevethan Wool is the best, quality and color selection, IMO (in my opinion).
This is Susan Buscher’s Whimsical quilt, appliqued in wool. Isn’t it wonderful! She shared it during Show and Tell at the Out on a Limb quilt guild in Jasper, GA last week and let me take a photo. Thank you, Susan, for sharing your quilt with us!
I thought I would share my quilt with you. I started it over 10 years ago in Virginia. My granddaughters would visit from Colorado every summer for several months. After work I would pick them up from the child minder and take them to the community pool. (Micky’s pool, as they called it). He was a friend who offered us free access to his community pool, his children had grown and no longer used it and he still had to pay for it as part of his homeowner’s dues.
I would bring my Stars in the Garden blocks with me to hand applique, after watching your videos, I found a sense of peace of mind and a soothing experience.
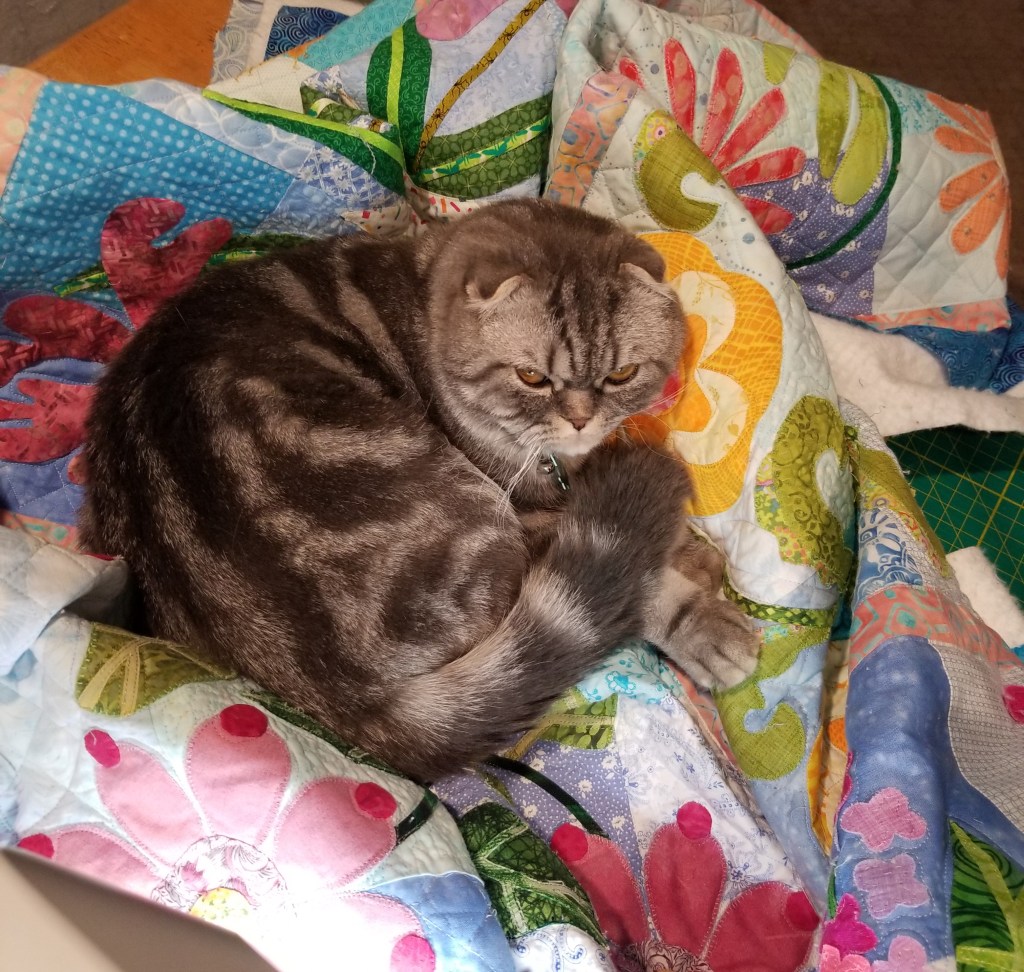
I started to quilt it 3 months ago and hated what I did, so spent hours with my ‘quicker picker, back sewer’ taking it all out. Decided on 1 inch blocks around the applique and I had a little help!
His name is Gloomy! I enjoy your Jim shots and thought you would enjoy mine.
Thank you Marian for sharing your beautiful quilt—and Gloomy!—with us. I am certain that I’m not the only one with a grin on my face :-). Your quilt is cheerful and beautifully made. Well done, you! And lovely that you have such nice memories woven into it. I’ll bet it is great to sleep under.
Many thanks to the talented Margery Tadder who has shared her lovely quilt with us! She emailed to say:
Being a bird watcher I just had to make a Backyard Birds quilt, and what a cheery addition to my home! I love the bright colors and the happy look of it. It was fun sewing the cute birds although at age 92 my manual dexterity is not what it used to be! So, did resort to machine appliqué on a few of the tinier pieces and circles. I also turned one bird into a magpie because they are so prevalent in my neighborhood.
Margery Tadder
I love this happy quilt! The addition of the magpie is perfect, and it is well-placed. And I must add that I sincerely hope to be appliqueing when I am 92! Well done, Margery, and thank you for sharing your wonderful quilt with us!