Here are a few more quilts from the show. I only took photos where permitted. The quilts below are followed by the information from the artists.
The landscape quilts below were hanging in the judged show.

After the Storm by Ruth Powers


Summer Storm by Peg Collins

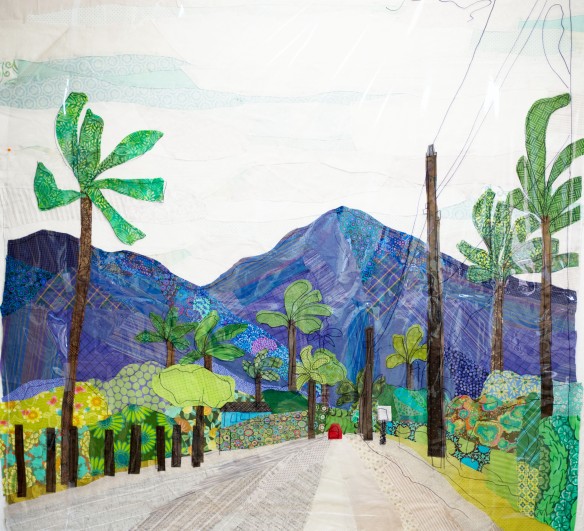
The following quilt was on the cover of the Quilt Market guide. It was stunning.

Rosita by Cecilia Koppmann


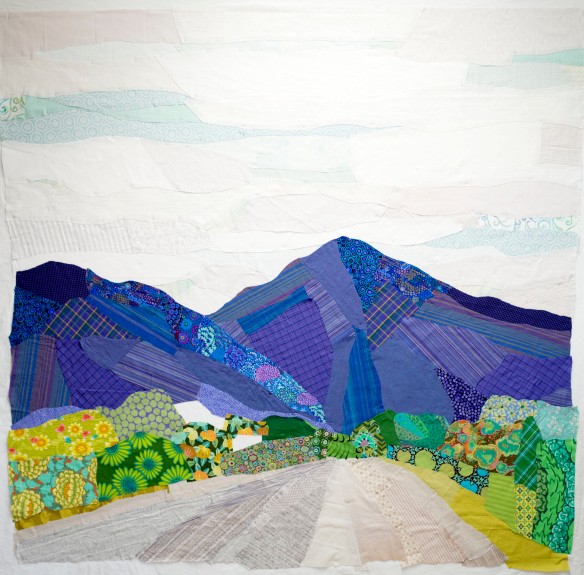
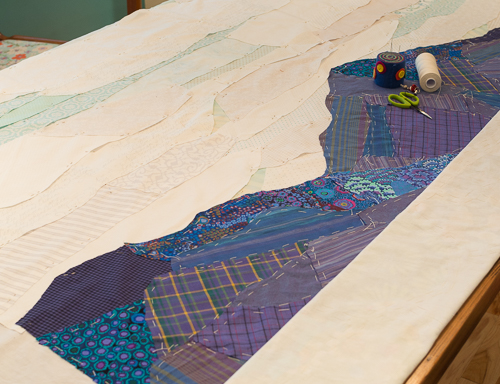
Detail of Rosita by Cecilia Koppmann

Detail of Rosita by Cecilia Koppmann
The next quilt was hanging in an exhibit of Dear Jane quilts. It just made me happy!

Sea of Color, Field of Flowers by Wanda Cracknell


Detail of Sea of Color, Field of Flowers by Wanda Cracknell