Always looking…

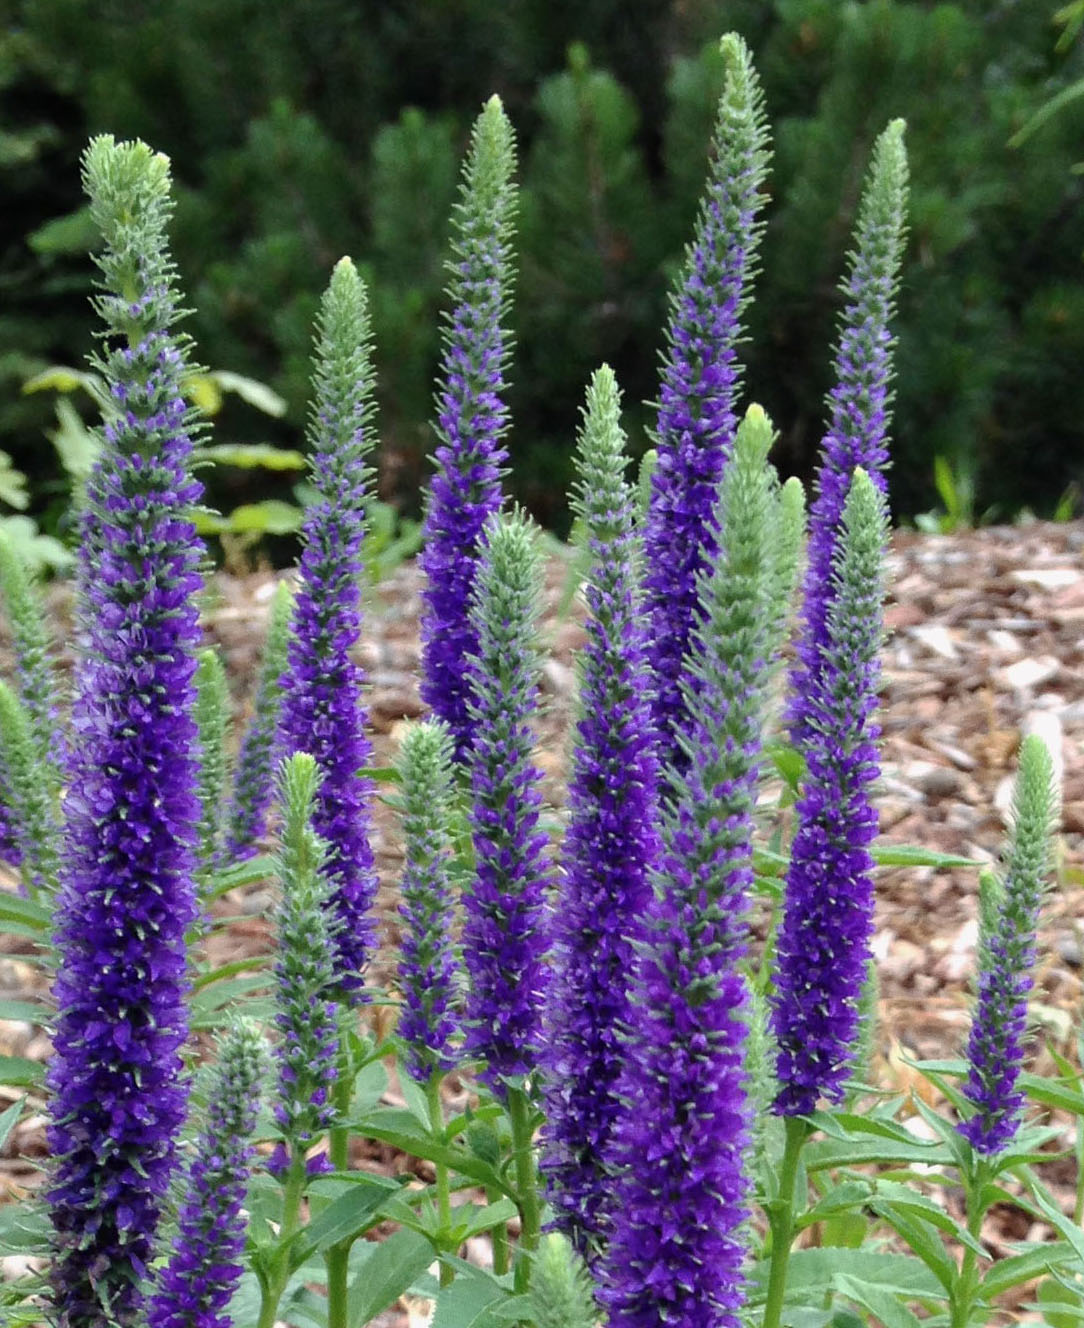
I am learning to really appreciate the camera in my iPhone. It is usually with me and so I can stop and take quick pics even on my morning walk. Use your imagination and these salvias could instead be green-tipped purple trees in a Dr. Seuss landscape!

PurpSalvia-GreenTips-2

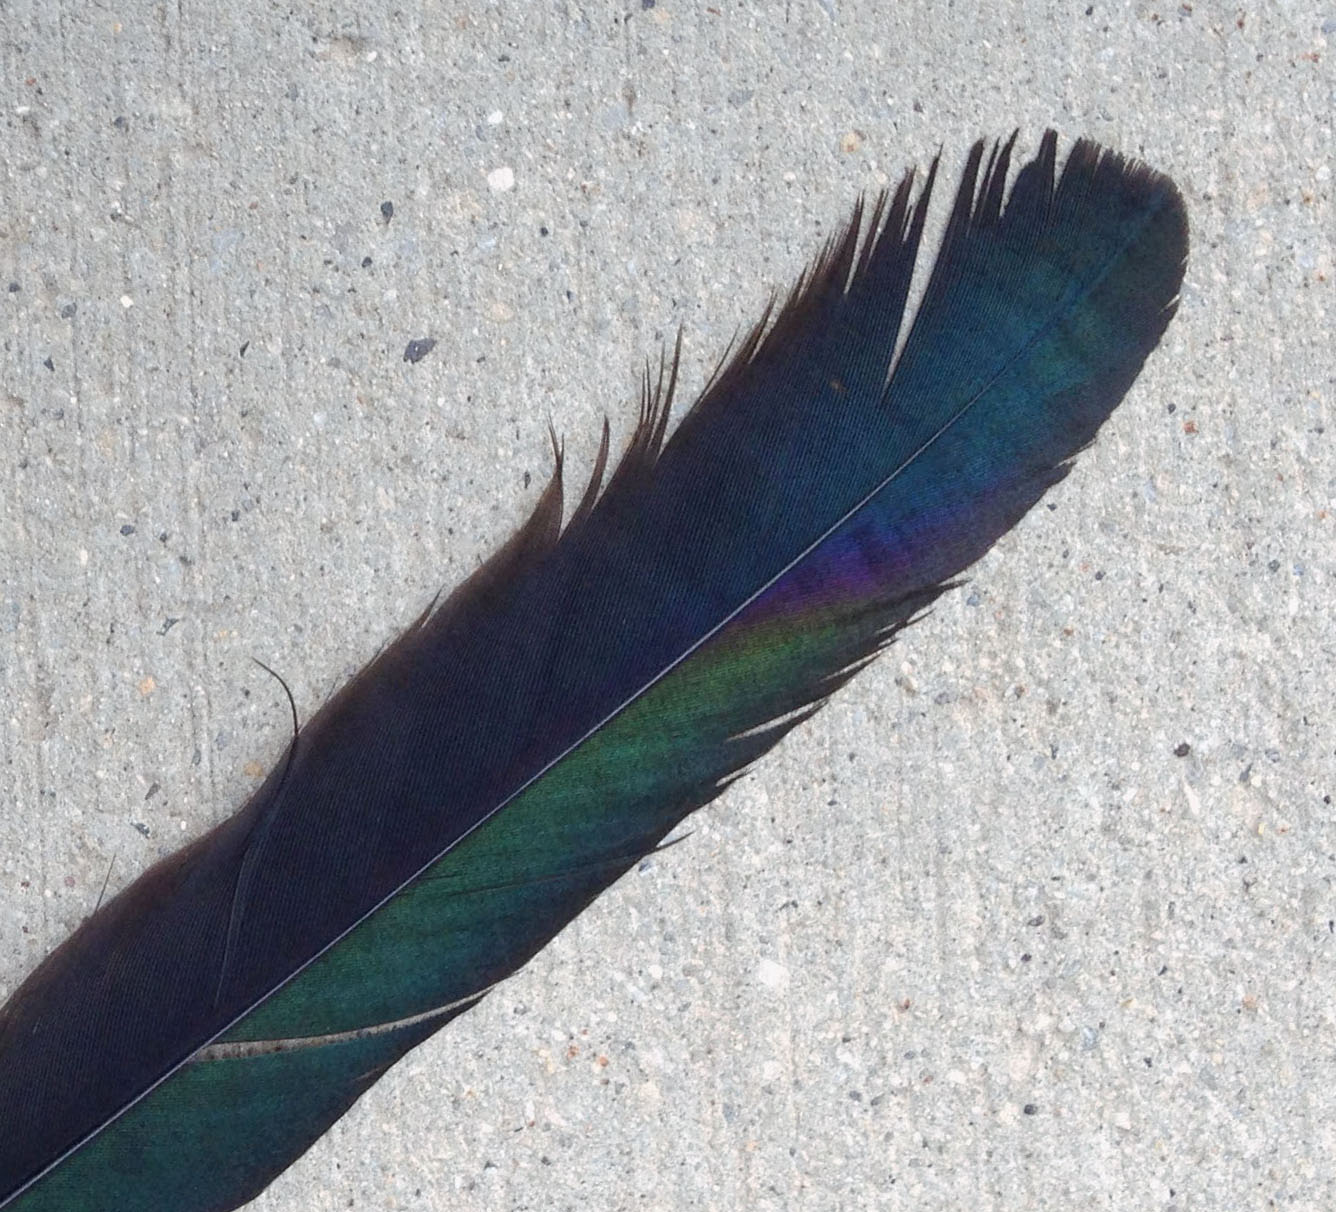
Wouldn’t the colors in this feather, used with the grays in the concrete, be perfect in a quilt?

Feather-MidwayUT-2

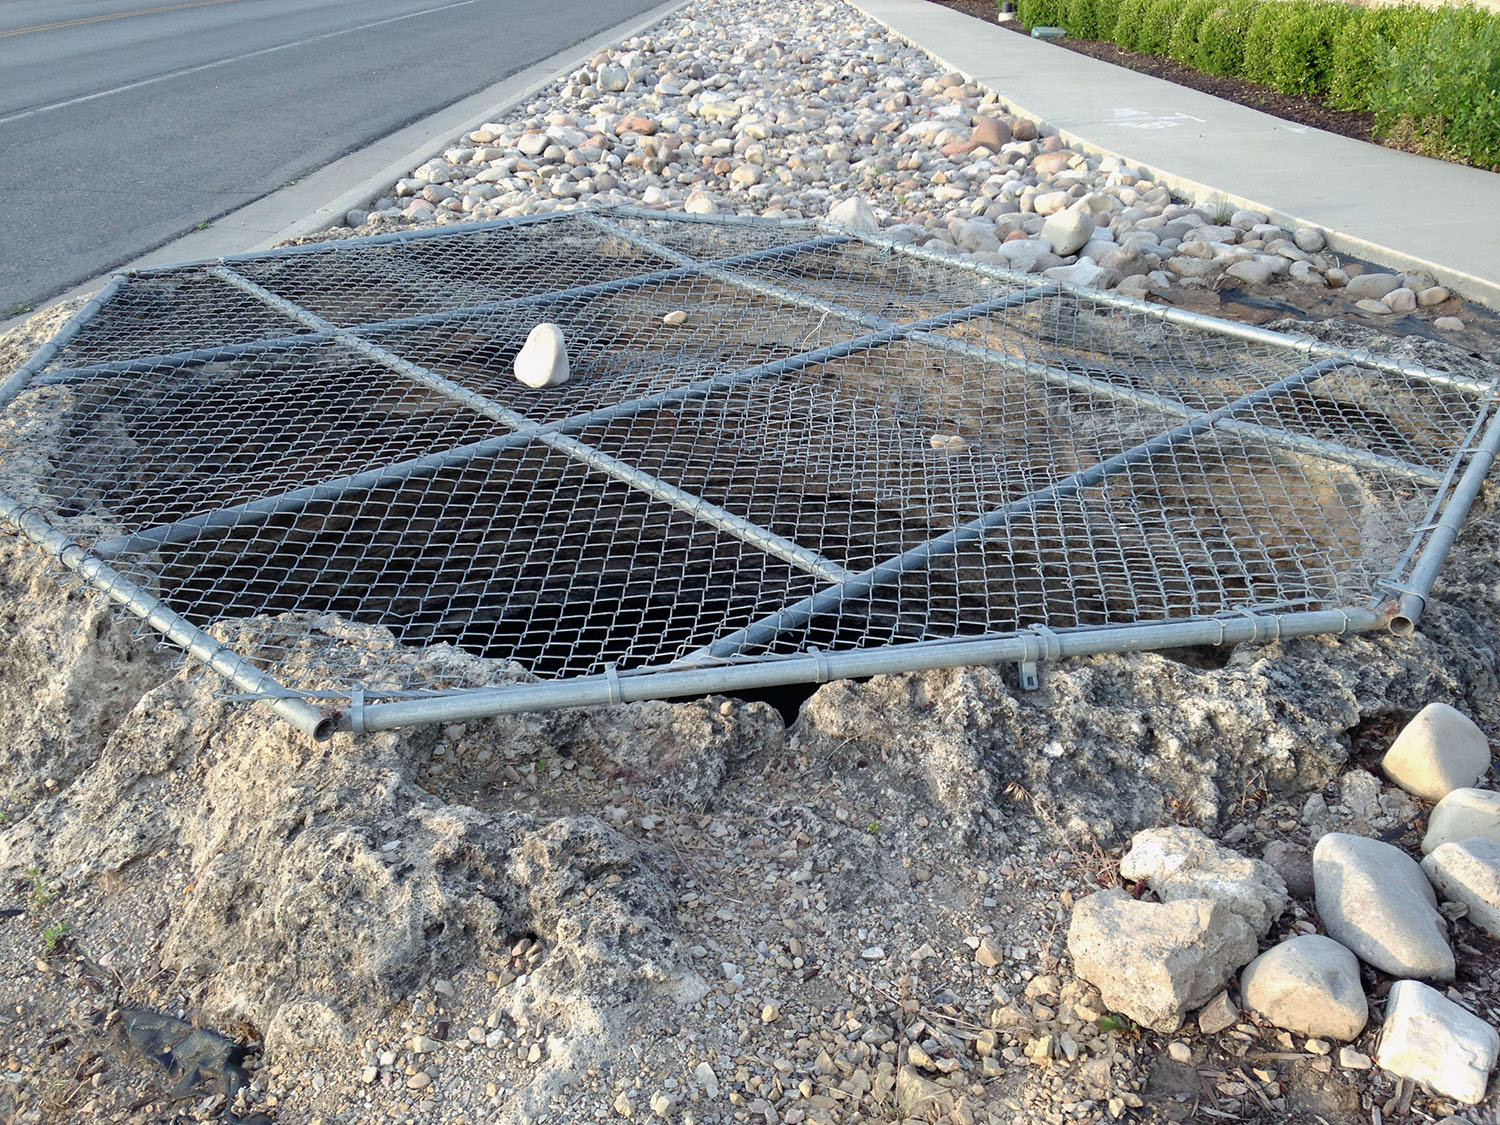
On the same morning walk, I noticed this water meter cover. You can’t really tell from the photo, but it was tall, the center part stuck up several inches, which is unusual. I love the mix of colors and textures. It struck me that the bright turquoise on the worn iron cover is the same as the turquoise in my shoes.

WaterMeter-MidwayUT

There are just too many cool things that a person can take a picture of!


Seen in Midway…

There are geothermal springs around Midway. The biggest is the Homestead Crater, which was across the street from the Zermatt Resort where I was staying.

HomesteadCrater-1

In this case the crater is not a dip in the ground, it’s a mounded hill. Apparently the water used to bubble up and out of the crater. The hill was formed by the mineral deposits. Some thoughtful person(s) engineered this crater so that the water flows out of it on one side. On the other side there is a tunnel that takes you to the pool that remains inside the crater.

HomesteadCrater-2

There is still an opening at the top  that lets in light and air. There are lights in the water which is why the water glows in the photo. The water is 95° or so and full of minerals. You can pay a fee to float or scuba dive, or do what I did and just take a look.

I saw several other small craters on my morning walks that were posted “do not enter” but I would not be at all surprised to hear that every now and then someone does get into them.

HomesteadCrater-Not-1

HomesteadCrater-Not-2

There were small streams on the resort property and the water flowing in them was warm—not at all what you’d expect in a mile-high mountain stream!


He was inspired!

I told Jack about Andrew and his sock monkeys, I showed him the pictures, and then I gave him the kit I bought. Well, Jack was ready to make a sock monkey, right then! I did the machine sewing, taught him how to turn the arms and tail inside out, and how to stuff.

I threaded a needle and showed him the basics and he took off. It put a smile on my face :-).

JackSockMonkey-1

He still has an ear, the arms and tail to sew on tonight—Lorna will be there to thread the needle and do the knots. I suspect that it won’t be long before Jack can do that by himself as well.

JackSockMonkey-2

He is already imagining which of his socks would make good monkeys. He has always enjoyed fun socks and has some excellent ones to choose from.

Update: Jack came by last night with his finished monkey!

JackSockMonkey-3

A new quilt show!

I just returned from Midway, UT, where the very first Small Town Quilt Show – In a big way! was held. Midway is a lovely place; it is only 10 minutes from Park Cities if that helps you to get a fix on it. The event was held at the Zermatt Resort and it’s a place I would happily return to.

I didn’t take pictures of the usual quilt show things because I was too busy either teaching, or shopping, to do that. There was, however, one vendor who had some really fun things made from wool. Yes, I could make these coasters but it was so much nicer to buy them!

woolcoasters

There were some exceedingly cute sock monkeys hanging on the front of the booth (and I wasn’t the only one who thought so). As it turns out they were made by Andrew, the grandson of the lady in charge. Did I get her name? Sigh, I did not. However, the receipt is from Winnie Press. This is Andrew’s very first sock monkey, made when he was 8 or 9…

AndrewsSockMonkey-01 copy copy

He follows his own monkey-making muse, rather than a strict pattern…

AndrewsSockMonkey-02 copy

The monster was my favorite :-).

AndrewsSockMonkey-03 copy

Andrew is older by a couple of years or so now, and still making monkeys. Honestly, he could go into business… there were a lot of us who would have happily bought one of his creations. Instead, I bought a kit for Jack. He’s 6, and probably a bit young for this. Or not!


Who says chewing gum is a bad idea?

I always thought that sitting quietly composed would leave a better impression than if I were seen sitting chewing gum. Apparently, not so much…

I am currently wearing a dental device that prevents me from chewing gum, not that I chew gum that often. But now I’m more sorry that I can’t chew gum when I’m sitting in an airport, among strangers.

Pixelate it!

An image on your screen is actually made up of lots and lots of little tiny squares, each one with its own color (a pixel). We don’t see the little squares unless the image is enlarged to the point where it is no longer smooth.

Counted cross-stitched images are created by sewing x-shaped stitches, in specific colors, inside little squares that are formed by the weave of the base cloth. The images are ‘pixelated’ so it makes sense that there is a free tool for cross-stitchers to make a pixelated chart of any image.

Even if you are not a cross-stitcher, this is a cool tool. In fact, it was a quilter in my class last week who shared the site with me (thank you, Lucy!). She is making a quilted portrait of her granddaughter from little squares of fabric that she is coloring with the help of the chart she made on My Photo Stitch.

Here’s how it works: Go to myphotostitch.com and click the try it free button. I used the VW Bug image from last week’s blog post…

VWBug-SurfBoard-2

Myphotostitch.com generated the following pattern and thread chart.

Screen Shot 2014-06-20 at 1.27.03 PM

This is one of the pages with 1/4 of the chart, showing where each color goes.

Screen Shot 2014-06-20 at 1.29.48 PM

It’s always nice to find another tool for the toolbox :-).